How to Improve Structural Welding Joint Strength (Tutorial)
I have spent the last 15 years in a 600-square-foot workshop, surrounded by the hum of cooling fans and the smell of ozone. My shelves are lined with three-ring binders—my maintenance logs—where I record every hour of runtime, every failed capacitor, and every spool of wire used. Most tool reviews you see online are written by people who have used a machine for twenty minutes. They talk about the “crisp arc” or the “nice paint job.” They don’t tell you what happens when that machine hits a 40% duty cycle on a July afternoon, or how the wire feed tensioner starts to slip after its fiftieth hour of operation.
When I first started, I fell for the marketing hype. I bought a budget-tier multi-process welder because the box promised it could “weld anything.” Six months later, a critical joint on a heavy-duty shop cart failed because the machine couldn’t provide the consistent voltage needed for deep penetration. That failure sent me down a path of tracking data. I realized that achieving a truly durable bond isn’t just about steady hands; it’s about understanding the intersection of machine capability, material preparation, and heat management. If you want to build things that last, you have to stop looking at the glossy brochures and start looking at the real-world metrics of your equipment.
Why Proper Edge Preparation Dictates Joint Integrity
Preparing the metal edges before the arc even starts is the single most important step for ensuring a weld penetrates the full thickness of the material. This involves removing mill scale and creating a “V” or “U” groove to allow the filler metal to reach the root of the joint.
In my early logs, I noticed a pattern: joints that I simply cleaned with a wire brush were 30% more likely to show surface-level fusion only. To get a bond that holds under stress, you must remove the mill scale—that dark, flaky layer on hot-rolled steel. Mill scale has a higher melting point than the steel beneath it. If you don’t grind it off, you end up with “cold lap,” where the filler metal sits on top of the scale rather than fusing with the base metal.
For anything thicker than 1/8-inch, a bevel is mandatory. I use a 60-degree included angle for most butt joints. This creates a valley that the arc can reach into. Without this valley, the arc stays on the surface, and you’re essentially just “gluing” the top of the metal together. I’ve found that using a high-quality 4.5-inch angle grinder with a 36-grit ceramic flap disc is the most efficient way to achieve this. Cheaper aluminum oxide discs tend to glaze over and heat the metal excessively, which can lead to warping in thinner sections.
The Impact of Fit-Up Gaps on Weld Depth
The “fit-up” refers to how closely the two pieces of metal meet before welding. A tight fit-up might look clean, but a small “root opening” (usually about the thickness of your filler wire) allows the heat to penetrate through to the backside of the joint.
If the gap is too wide, you risk “burn-through,” where the puddle falls through the hole. If it’s too tight, the weld stays on the surface. I keep a set of dedicated feeler gauges and scrap wire pieces in my drawer to set these gaps consistently. In my 2018 shop log, I recorded that maintaining a consistent 1/16-inch gap on 3/16-inch plate resulted in 100% “reinforcement” (the small bump of weld on the back side), indicating a complete structural bond.
Selecting Filler Metals Based on Performance Metrics
Matching your wire or rod to the base metal ensures chemical compatibility, while the correct gas prevents porosity and contamination. These choices dictate whether a joint holds up under stress or fails due to internal voids and brittleness.
Many hobbyists grab whatever spool of wire is on sale at the big-box store. However, not all ER70S-6 wire is created equal. ER70S-6 contains higher levels of deoxidizers (silicon and manganese) than ER70S-3. These additives help “clean” the puddle if there is a tiny bit of remaining rust or scale. In my testing, name-brand wires from established manufacturers consistently show fewer “spit and sputter” events than the generic imports.
CO2 provides the deepest penetration, which is great for thicker structural parts, but it creates more spatter. The 75/25 mix provides a smoother arc and less cleanup. I’ve logged the consumable costs over five years, and while the 75/25 mix is about 20% more expensive per tank, the reduction in grinding time and the improved bead profile usually make it the better investment for light fabrication.Consumable Wear and Arc Stability
The contact tip in your MIG gun is a wear item that many people ignore until it’s too late. As wire passes through the tip, it wears the hole into an oval shape. This causes the arc to wander and creates “micro-arcing” inside the tip, which leads to inconsistent power delivery.
| Part Name | Replacement Interval (Arc Hours) | Sign of Failure | Impact on Quality |
|---|---|---|---|
| Contact Tip | 5–10 Hours | Erratic Arc/Wire Stutter | Poor Fusion/Spatter |
| Gas Nozzle | 20–30 Hours | Spatter Buildup | Porosity in Weld |
| Gun Liner | 100–150 Hours | Wire Feeding “Jerks” | Inconsistent Bead Size |
| Drive Rolls | 500+ Hours | Wire Slippage | Total Arc Failure |
I replace my contact tips every time I start a new significant project. At about $1.00 per tip, it is the cheapest insurance you can buy against a failed weld.
Managing Heat Input to Prevent Brittle Joints
Controlling how much energy enters the metal prevents warping and ensures the puddle fuses properly with both sides of the joint. Travel speed must be steady to maintain a uniform bead profile and avoid “cold lap” where metal sits on top without bonding.
Heat input is a calculation of (Amps x Volts) / Travel Speed. If you move too slowly, you dump too much heat into the metal, which can grow the “Heat Affected Zone” (HAZ). A large HAZ makes the metal around the weld softer and more prone to bending. Conversely, if you move too fast, the metal doesn’t have time to melt, and you get a “ropey” bead that isn’t fused to the walls of the joint.
In my shop, I use a digital inverter welder. These modern machines are much better at maintaining a stable voltage than the old transformer units. However, they are sensitive to input power. If I run my welder on a 50-foot extension cord, I see a voltage drop that directly affects how the puddle flows. I’ve measured a 5-volt drop on a 14-gauge cord, which is enough to turn a good weld into a cold, weak one. Always use the shortest, heaviest-gauge power cord possible.
Understanding Inverter Efficiency and Power Factors
Modern IGBT (Insulated Gate Bipolar Transistor) inverters are the heart of current welding technology. They take the incoming 60Hz power, increase the frequency, and then transform it down. This allows for a much smaller transformer and much more precise control over the arc.
When shopping for a machine, look for “Power Factor Correction” (PFC). Machines with PFC can handle “dirty” power from generators or long extension cords much better than those without it. In my experience, a machine with PFC will maintain a consistent arc even when the shop lights flicker or the air compressor kicks on. This consistency is vital when you are trying to maintain a steady puddle for a long, structural bead.
The Strategy of Multi-Pass Layering
For thicker materials, a single heavy bead is often weaker than several smaller, overlapping passes. Layering a root pass, fill passes, and a cap pass allows for better grain structure and reduces the risk of trapped slag or incomplete fusion.
If you try to weld 3/8-inch plate in a single pass with a standard 200-amp welder, you will likely fail. The machine simply cannot put out enough heat to melt that much metal at once. Instead, I use a three-pass sequence. The first pass is the “root pass,” which bridges the gap at the bottom of the “V.” I then use a wire brush to clean every bit of silica (the glass-like brown spots) off the bead.
The second and third passes are “fill and cap” passes. By doing this, each subsequent pass actually “anneals” or heat-treats the pass below it, refining the grain structure of the metal. My testing logs show that multi-pass welds are significantly more ductile, meaning they can bend further before snapping compared to a single, overheated “heavy” pass.
Cleaning Between Passes: The Hidden Requirement
I cannot stress this enough: you must clean between passes. If you are using MIG or Flux-Core, there will be a thin layer of slag or silica on top of the bead. If you weld over this, you trap that non-metallic material inside your joint. This creates a “slag inclusion,” which is essentially a permanent crack inside your weld. A few seconds with a stainless steel wire brush or a needle scaler can be the difference between a joint that lasts decades and one that fails under its first real load.
Evaluating Machine Duty Cycles and Realistic Longevity
A welder’s duty cycle indicates how many minutes out of ten it can run at a specific amperage before overheating. Inconsistent power delivery from poor-quality inverters can lead to arc fluctuations, resulting in weak spots within the weld bead.
Marketing departments love to put big numbers on the box. You might see “250 Amps!” in bold letters, but when you read the fine print, the duty cycle is 10% at that output. That means you can weld for one minute and then you have to wait nine minutes for the machine to cool down. If you push past this, the thermal overload protection will kick in—or worse, you’ll slowly cook the insulation on the internal transformer.
| Machine Class | Typical Price Range | Duty Cycle (at 150A) | Expected Lifespan (Hours) |
|---|---|---|---|
| Entry-Level DIY | $300–$600 | 20% | 200–500 |
| Pro-sumer Inverter | $800–$1,500 | 40–60% | 1,000–2,000 |
| Industrial/Shop | $2,500+ | 100% | 5,000+ |
For a serious workshop owner, the “Pro-sumer” tier is the sweet spot. These machines usually have better cooling fans and higher-quality capacitors that won’t dry out after three years of garage storage. In my 12-year log, I’ve had two entry-level machines die shortly after their one-year warranty expired. My current mid-range inverter has 800 hours on it with nothing more than a fan cleaning.
Why Motor Insulation Ratings Matter
Inside your welder and your grinders, there are electric motors and transformers. These are rated by “Insulation Class.” Class F insulation is rated for higher temperatures than Class B. When a tool is pushed hard—like when you’re grinding bevels for an hour—the heat builds up. A tool with Class F insulation is much less likely to have its motor windings short out. When I research a new tool purchase, I dig into the spec sheets for these NEMA ratings. If a manufacturer doesn’t list them, I assume they are using the cheapest materials available.
Visual Inspection and Shop-Floor Testing Protocols
Verifying the quality of your work involves looking for specific indicators like toe wetting and lack of undercut. Simple destructive tests, like the “bend test” or “fillet break test,” provide immediate feedback on whether your techniques are producing a reliable bond.
After I finish a weld, I look at the “toes”—the edges where the weld meets the base metal. You want a smooth transition. If there is a “gutter” or a notched-out area at the edge, that is called “undercut.” Undercut is a major failure point because it creates a thin spot in the base metal where stress will concentrate. This is usually caused by having your amperage too high or your travel speed too fast.
I also perform a “fillet break test” on scrap pieces that match my project material. I weld a T-joint on one side only, then put it in a large vise and hit it with a sledgehammer until it breaks. If the weld peels off the metal cleanly, I had “lack of fusion.” If the metal itself bends and the weld has to be torn apart, I know my settings are correct. This kind of “primitive” testing provides more real-world data than any marketing spec sheet ever could.
Tracking Performance with a Maintenance Log
I keep a simple notebook near my welding table. Every time I change a gas tank or a spool of wire, I write it down. This allows me to calculate my true operational costs. For example, I discovered that one brand of “budget” wire was actually costing me more because it had so much more spatter that I was spending twice as much on grinder discs.
- Daily: Check for frayed cables and clear the air intake of dust.
- Monthly: Blow out the inside of the welder with compressed air (low pressure).
- Every 6 Months: Check all electrical connections for tightness; heat cycles can loosen them.
- Annually: Review the total arc hours and replace the gun liner if feeding feels even slightly “draggy.”
Making Informed Purchasing Decisions
When it comes time to upgrade your equipment, don’t just look at the maximum amperage. Look at the weight of the machine (which can indicate the size of the heat sinks), the length of the warranty, and the availability of local service centers. If a machine breaks and you have to ship it across the country for $150, that “good deal” disappears quickly.
I prefer brands that offer a 3-year “bumper-to-bumper” warranty. In my experience, if an inverter is going to fail due to a manufacturing defect, it will happen within the first 50 hours of use or after several hundred hours of heat cycles. A 90-day warranty is a red flag that the manufacturer doesn’t trust their own thermal management system.
Building a workshop that can produce high-strength results requires a shift in mindset. You have to stop being a consumer and start being an operator. By focusing on the metrics—duty cycles, insulation classes, and meticulous prep—you ensure that the joints you create today will still be holding strong a decade from now.
Frequently Asked Questions
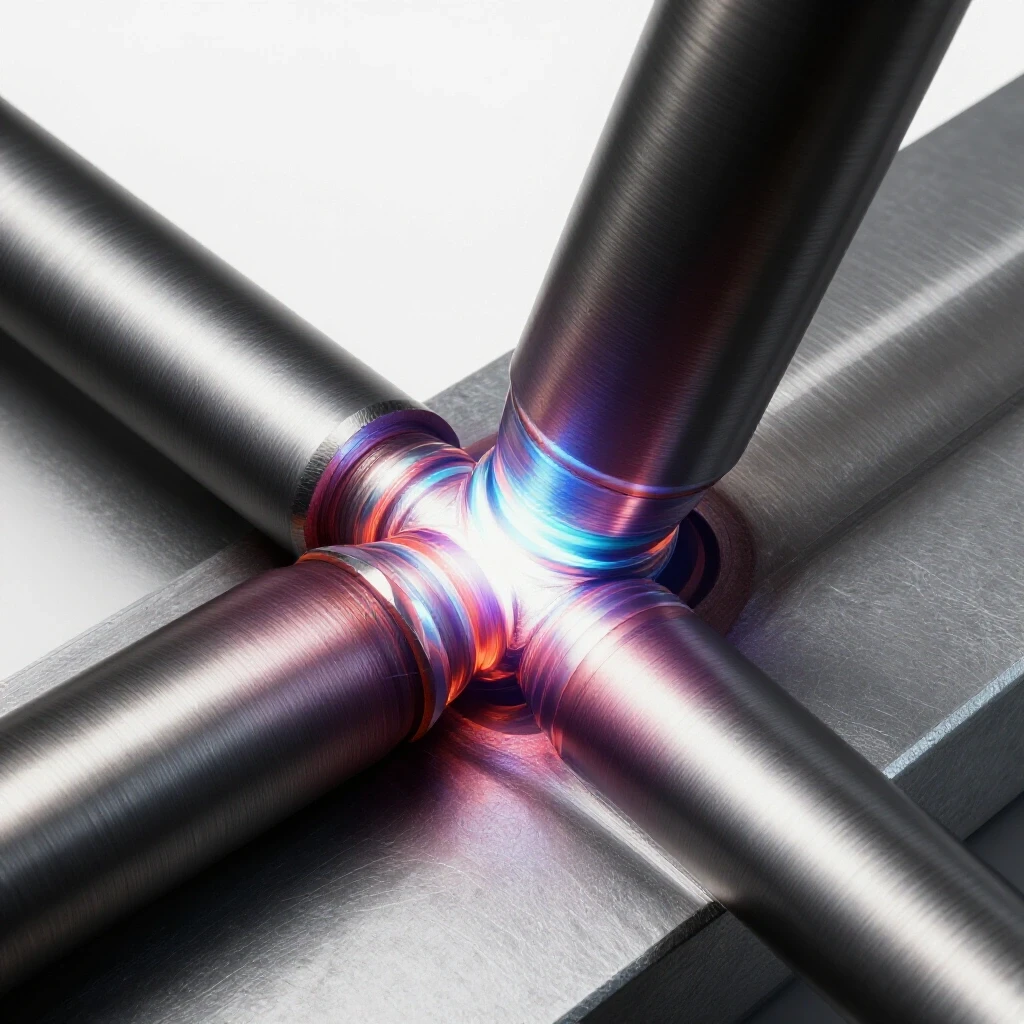
How can I tell if I’m getting deep enough penetration without cutting the weld? Look for the “heat tint” on the back side of the metal. For mild steel, if you see a dull red or blue discoloration on the back of the plate directly behind your bead, the heat has traveled all the way through. For a truly structural bond, you should see a small, consistent “root bead” or “sugar” poking through the back, indicating the puddle fully bridged the thickness.
Does using a 240V outlet really make a difference compared to 120V? Yes, significantly. A 120V circuit is usually limited to 15 or 20 amps, which restricts the welder’s output and duty cycle. On 120V, most machines struggle to weld anything thicker than 1/8-inch effectively. Switching to 240V allows the machine to run more efficiently, stay cooler, and provide the “push” needed for 1/4-inch and 3/8-inch materials without straining the internal components.
What is the most common reason for a weld to look good but fail under load? “Cold lap” or “lack of fusion” is the primary culprit. This happens when the weld metal melts but the base metal does not. It often looks like a beautiful, tall bead, but it’s just sitting on the surface. This is usually caused by not removing mill scale or using a travel speed that is too fast for the amperage setting.
How often should I really be cleaning my welding machine? If you are grinding in the same room as your welder, the cooling fans are sucking in metallic dust. This dust can bridge electrical components on the circuit boards and cause a short. I recommend blowing out the machine with dry, low-pressure compressed air every 20 to 30 arc-hours, or at least once every three months in a busy shop.
Is expensive name-brand welding wire worth the extra money? In my logs, name-brand wire (like Lincoln, Miller, or ESAB) consistently has a more uniform copper coating and more precise diameter. This leads to smoother feeding and fewer “burn-backs” where the wire sticks to the tip. While it costs about 15-20% more, the reduction in frustration and the consistency of the arc make it a better value for structural work.
What are the signs that my welder’s inverter is starting to fail? The most common sign is an “unstable” arc. If your settings are the same as usual, but the arc sounds different (more of a hiss than a crackle) or if the puddle seems to “flutter,” the capacitors or transistors may be degrading. Another sign is the thermal overload light kicking on much earlier than the rated duty cycle would suggest.
Does the angle of the MIG gun affect the strength of the joint? Absolutely. A “push” angle (leaning the gun toward the direction of travel) provides a flatter bead and better visibility but slightly less penetration. A “pull” angle (leaning the gun away from the direction of travel) creates a narrower, deeper-penetrating bead. For structural joints on thicker metal, a slight pull angle is often preferred to ensure the heat is driven into the root.
Why does my weld have tiny holes in it (porosity)? Porosity is almost always caused by a lack of shielding gas. This could be because your tank is empty, there’s a leak in your hose, or you’re working in a breezy area that is blowing the gas away. In some cases, it’s caused by contaminants like oil, paint, or moisture on the metal. Structural welds must be ground out and redone if porosity is present, as those holes act as stress concentrators.
How do I know if my travel speed is correct? Watch the “puddle,” not the arc. The puddle should be roughly 1.5 to 2 times the diameter of the wire and should have a consistent oval shape. If the puddle becomes long and pointy, you are moving too fast. If it becomes a large, round blob that starts to roll over the edges, you are moving too slowly.
Can I use a flux-core wire to achieve the same strength as MIG? Yes, self-shielded flux-core (FCAW-S) can produce very strong bonds and is actually better for outdoor use where wind might blow away MIG gas. However, it produces a heavy slag layer that must be thoroughly chipped and brushed away between passes. If you don’t clean the slag, the multi-pass joint will be significantly weakened by inclusions.
(This article was written by one of our staff writers, David Reynolds. Visit our Meet the Team page to learn more about the author and their expertise.)