How to Level a Heavy Workshop Workbench Floor Stand (Guide)
I remember standing over a 2,000-pound precision lathe three years ago, watching a finish pass turn into a mess of rhythmic ripples. On paper, my feeds and speeds were perfect. The carbide insert was fresh. Yet, the tool chatter was so aggressive it felt like the machine was trying to walk out of the shop. After two hours of checking spindle bearings and tightening the carriage, I realized the problem wasn’t in the headstock. It was the floor. One of the rear mounting points had less than a sixteenth of an inch of “daylight” under it. That tiny gap allowed the entire casting to flex under load, creating a harmonic vibration that ruined every part I touched.
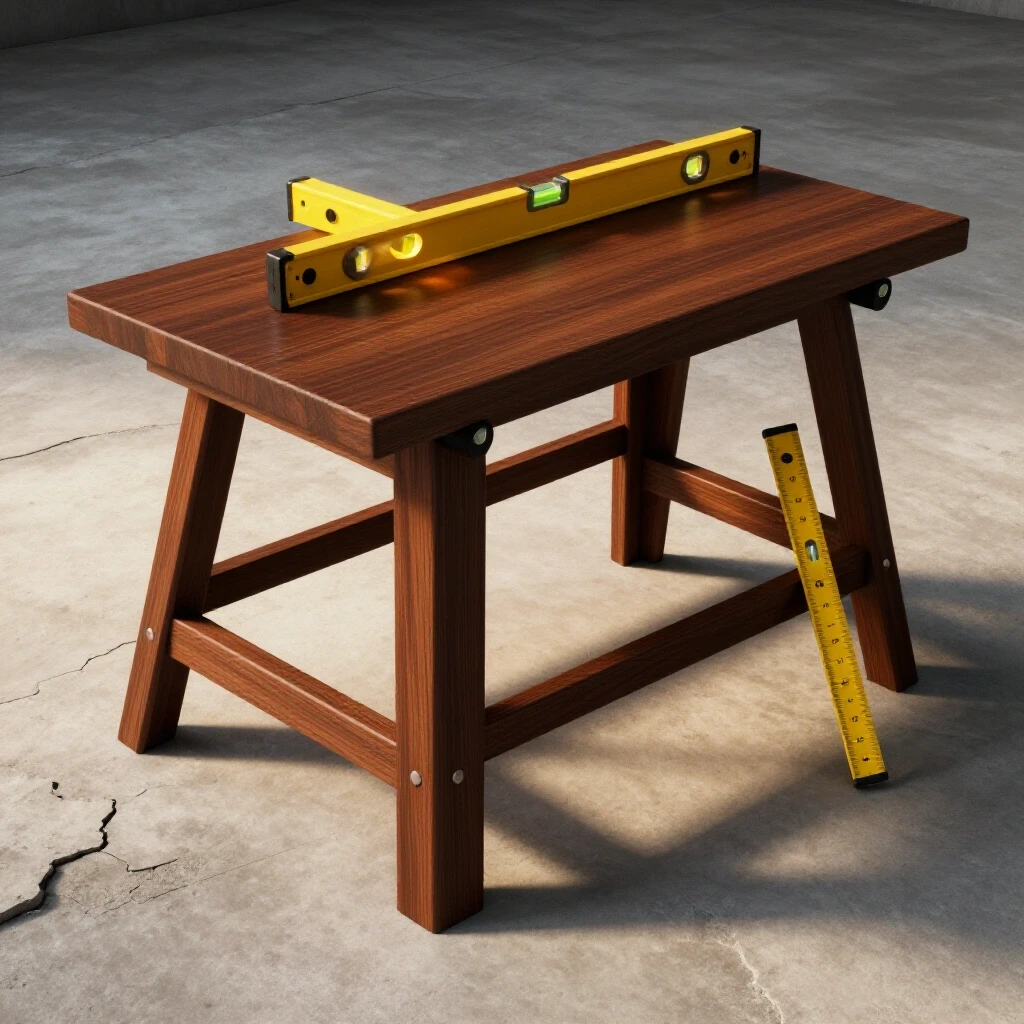
In my 15 years as a diagnostic specialist, I’ve learned that the most complex fabrication errors often have the simplest, most overlooked roots. We spend thousands on high-end welders and precision mills, but we often set them on uneven concrete and wonder why our tolerances drift. Achieving a perfectly stable contact between your heavy equipment and the shop floor is the first step in any metalworking diagnostic guide. If your base isn’t true, your measurements won’t be either.
The Foundation of Precision: Why Structural Stability Matters
Structural stability is the ability of a workbench or machine base to remain stationary under load and resist external forces. It ensures that the energy generated by a motor or a hammer blow is absorbed by the mass of the stand rather than being reflected back into the workpiece.
When a heavy stand is not properly seated, it introduces a host of “phantom” issues. You might see troubleshooting weld porosity on your checklist, only to realize the porosity is actually caused by the table micro-shaking, which disrupts your shielding gas envelope. Or perhaps you are fighting tool chatter solutions that never seem to work because the machine’s frame is under torsional stress. A stand that isn’t neutral—meaning it isn’t sitting flat without being forced—will eventually warp.
- Vibration Transfer: Gaps between the floor and the stand act like a tuning fork, amplifying motor frequencies.
- Frame Twist: If you bolt a stand down to an uneven floor without shimming, you can actually twist a heavy steel frame by several thousandths of an inch.
- Measurement Drift: A stand that rocks even slightly will cause digital readouts (DROs) and dial indicators to jump, making precision layout impossible.
Identifying the Root Cause of Machine Instability
This diagnostic phase involves isolating whether the issue stems from the floor’s topography, the stand’s geometry, or the weight distribution of the equipment. Before you reach for a wrench, you must determine exactly where the contact failure is occurring.
I start every diagnostic by “mapping” the footprint. I use a long straightedge and a set of feeler gauges. By sliding a 0.002-inch gauge under the feet while the stand is under its normal working load, I can find exactly where the weight is—and isn’t—distributed. If you can slide a gauge under a foot, that foot is not supporting weight, and the stand is effectively a tripod. Tripods are stable for cameras, but they are a nightmare for heavy fabrication because they allow for diagonal “teetering.”
| Symptom | Potential Root Cause | Diagnostic Test |
|---|---|---|
| Rhythmic Tool Chatter | Resonant vibration from a “floating” leg | Feeler gauge test under all contact points |
| Inconsistent Weld Penetration | Table movement during thermal expansion | Dial indicator check during a heat cycle |
| Lathe Bed Twist | Uneven floor pressure on the casting | Precision spirit level check across ways |
| Workbench “Walking” | Kinetic energy transfer through air gaps | Visual inspection for “dust lines” under feet |
The Physics of Leveling: Establishing a Reference Plane
A reference plane is an imaginary, perfectly flat horizontal surface used as a benchmark to ensure all points of a machine base are co-planar. In a workshop, we use gravity as our constant to find this plane.
When you are stabilizing a metalwork foundation, you aren’t just trying to make it “flat.” You are trying to make it perpendicular to gravity. This is critical for machines like lathes or mills where oil flow and bearing loads depend on a level orientation. I’ve seen oiling systems fail on heavy grinders simply because the stand was tilted five degrees toward the rear, preventing the lubricant from reaching the front ways.
Calibrating Your Leveling Instruments
Before you trust a level, you must verify its accuracy. I use the “180-degree flip” method. Place your level on a surface and note the bubble position. Flip the level end-for-end. If the bubble doesn’t land in the exact same spot, your level is lying to you. For high-precision work, a standard carpenter’s level is rarely enough. I prefer a machinist’s level with a sensitivity of 0.0005 inches per foot.
Understanding Parallax Error
When reading a manual level, always look at the bubble from directly above. Looking at an angle—parallax error—can make a leg look perfectly adjusted when it is actually out by a full sixteenth of an inch. This is a common mechanical troubleshooting step that beginners miss.
Executing a Systematic Leveling Procedure
A systematic procedure uses iterative adjustments—moving from the highest point to the lowest—to distribute weight evenly across all contact points. This is where most fabricators lose patience and start guessing, which leads to “chasing the bubble” around the stand.
I follow a strict four-point logic. First, find the highest corner of your floor. This is your “anchor” point. You will never lower this corner; you will only raise the others to match it. If your stand has threaded feet, you are in luck. If it’s a fixed-leg stand, you’ll be using metal shims.
- Clean the Contact Zone: Even a small metal chip or a pebble under a foot can throw off your readings by 0.020 inches.
- Identify the High Point: Place your level along all four sides and both diagonals. The corner where the bubble consistently moves toward is your high point.
- Adjust the Opposite Diagonal: If the front-left is high, start by adjusting the back-right. This stabilizes the primary axis of the stand.
- Close the Gaps: Use feeler gauges to ensure the remaining two feet are making firm contact before you make final leveling turns.
The Cross-Corner Technique for Eliminating Rocking
If your workbench rocks back and forth, you have a “short leg” situation. To fix this without ruining your level, I use the cross-corner method. I place a dial indicator on the corner that is lifting. I then adjust the diagonal opposite corner until the indicator shows the gap has closed. This prevents you from over-correcting one side and creating a new tilt in the other direction.
Troubleshooting Persistent Vibrations and Tool Chatter
Sometimes, even a perfectly level stand still vibrates. This is often due to resonant harmonics—the frequency at which a structure naturally wants to vibrate. If your motor is spinning at 1,750 RPM and your stand’s natural frequency is near that, the vibration will amplify.
In my experience, tool chatter solutions often involve changing the “stiffness” of the stand-to-floor interface. If metal-on-concrete contact is causing high-frequency ringing, I might use high-density lead shims or vulcanized rubber pads. These materials dampen the vibration energy before it can travel back up into the tool bit.
- Check for Backlash: If your stand is level but your machine still feels loose, check for spindle backlash or lead screw play. A level base makes these mechanical issues easier to isolate.
- Mass Loading: Sometimes, a stand is just too light for the work. I’ve solved many chatter issues by adding 200 pounds of sandbags or steel plates to the lower shelf of a stand. This lowers the center of gravity and changes the resonant frequency.
Material Selection for Precision Shimming
When you are performing metal fabrication fixes, the material you use to fill gaps matters as much as the adjustment itself. I’ve seen people use wood scraps or folded cardboard. These are “soft” materials that will compress over time, leading to a loss of alignment within weeks.
Always use “hard” shims. Cold-rolled steel, brass, or stainless steel are ideal. They do not compress, they don’t rot, and they resist the cutting fluids common in a metal shop.
| Shim Material | Compression Resistance | Corrosion Resistance | Best Use Case |
|---|---|---|---|
| Stainless Steel | Excellent | Excellent | Permanent machinery mounting |
| Brass | Good | Excellent | Fine adjustments (0.001″ – 0.005″) |
| Cold-Rolled Steel | Excellent | Fair | General heavy workbench leveling |
| Aluminum | Fair | Good | Temporary setups; prone to galling |
Case Study: The “Wandering” Welding Table
A client once called me because he was experiencing consistent cracking in his TIG-welded aluminum frames. He suspected a gas issue or a bad batch of filler rod. We went through the troubleshooting weld porosity protocol, but the gas was pure and the rod was clean.
I noticed that as he moved around the table, the table shifted slightly. We put a dial indicator on the tabletop and had him lean on the opposite side. The table deflected by nearly 0.080 inches. Because the table wasn’t level and one leg was barely touching the floor, the heat from the welding was causing the table frame to expand and “twist” the workpiece while the weld was still in the plastic state. This introduced stress that led to the cracks. We leveled the table using steel shims and anchored it. The cracking stopped immediately.
Essential Tools for Stand Alignment
To do this job right, you need a specific kit. Relying on your eyes is a recipe for frustration. Here is the checklist I use when I walk into a shop to solve an alignment issue:
- Machinist’s Precision Level: Look for a sensitivity of at least 0.005″ per foot.
- Feeler Gauge Set: Must include blades from 0.0015″ to 0.035″.
- Digital Dial Indicator: Useful for measuring “bounce” or “rock” in a stand.
- Straightedge: A 48-inch precision ground steel rule.
- Shim Stock Roll: Assorted thicknesses of steel or brass.
- Infrared Thermometer: To check if floor-leveling issues are being caused by uneven thermal expansion (common near bay doors).
- Smartphone with Vibration App: While not a professional seismograph, these apps are great for finding “peaks” in vibration while a machine is running.
Maintaining Long-Term Stability
A shop floor is a living thing. Concrete settles, and temperature changes cause expansion and contraction. I recommend a “lathe alignment checklist” approach for all your heavy stands. Every six months, take five minutes to check the level.
If you notice your machine starting to produce tool chatter again, don’t immediately adjust the machine. Go back to the floor. Check the shims. Check the feet. If a mounting bolt has vibrated loose, it can create a tiny gap that restarts the vibration cycle.
- Mark Your Positions: Once a stand is leveled, trace the feet on the floor with a paint pen. If the stand moves, you’ll know instantly.
- Document the Shims: Keep a small log of how many shims are under each leg. If you have to move the stand for cleaning, you can return it to its “level” state much faster.
- Torque Check: If the stand is bolted down, use a torque wrench to ensure even pressure. Uneven bolting can warp the very stand you just worked so hard to level.
Final Diagnostic Steps
Before you declare the job finished, perform a “stress test.” Place a bowl of water on the stand and turn on the machine or strike the table with a dead-blow hammer. Watch the ripples. They should dissipate almost instantly. If the water continues to dance, you still have a harmonic issue related to floor contact.
Leveling a heavy shop support isn’t about the bubble being in the middle. It’s about ensuring that every ounce of the machine’s weight is being transferred directly and evenly into the earth. When you achieve that, your tools will run quieter, your welds will be cleaner, and your frustration levels will drop. Precision isn’t something you buy; it’s something you build, starting from the ground up.
Frequently Asked Questions
Why can’t I just use a standard bubble level from the hardware store? Standard levels are designed for construction tolerances, often accurate to only 0.050 inches per foot. For metalworking, where we deal in thousandths of an inch, you need a machinist’s level that is ten to twenty times more sensitive to detect the slight tilts that cause tool chatter.
Is it better to bolt a stand to the floor or let it sit free? For machines with high reciprocating mass (like a power hacksaw), bolting is usually necessary. However, for most workbenches, a “free-standing” approach with proper leveling and high-friction pads is better as it allows the stand to settle naturally without being forced into a twist by floor anchors.
How do I handle a floor that is visibly sloped for drainage? You must use adjustable threaded feet with a ball-and-socket joint (swivel feet). These allow the foot to sit flat on the angled floor while the threaded stud remains perfectly vertical, preventing “point loading” on the edge of the foot.
What is the “tripod effect” in machinery leveling? A four-legged stand will almost always have one leg that carries less weight because floors are never perfectly flat. This causes the stand to act like a tripod that can tip onto the fourth leg under load, creating intermittent stability issues and vibration.
Can I use plastic shims for my heavy workbench? No. Plastic shims will “creep” or cold-flow under heavy weight. Over a few months, the plastic will thin out, and your stand will go out of level again. Always use metal shims (steel, brass, or aluminum) for permanent stability.
How does an unlevel table contribute to welding porosity? While not a direct chemical cause, an unstable table causes the welder’s hand to shake or the workpiece to shift. This movement can pull the tungsten out of the gas shield or create turbulence in the shielding gas flow, leading to atmospheric contamination in the weld pool.
How often should I re-check the level of my heavy equipment? In a new shop, check every three months for the first year as the building settles. In an established shop, an annual check or a check whenever you notice new vibration issues is sufficient.
What should I do if my floor is too uneven for shims? If the gap is larger than 1/4 inch, you should use a dedicated steel “puck” or spacer block under the leg before fine-tuning with thinner metal shims. Avoid stacking more than five shims, as a tall stack can become unstable.
Does temperature affect my stand’s alignment? Yes. In large shops, the side of the stand facing a heater or a sunny window will expand more than the shaded side. This can cause the stand to “arch” slightly. For high-precision work, try to level your machines at the average operating temperature of the shop.
Can I use a laser level for this process? Laser levels are great for layout over long distances, but for leveling a single stand, a precision spirit level is more accurate. Most affordable lasers have a “dot size” that is too large to detect the minute adjustments needed for machinery.
(This article was written by one of our staff writers, Paul Whitaker. Visit our Meet the Team page to learn more about the author and their expertise.)