How to Organize and Store Layout Squares on Shop Carts (Fix)
I remember the exact sound my 12-inch combination square made when it hit the concrete floor of my garage three years ago. It wasn’t a dull thud; it was a high-pitched, metallic “ping” that told me instantly the blade was no longer true. I was moving my welding cart across a seam in the floor, and the vibration simply walked the square right off the side tray. In custom fabrication, your layout tools are your eyes. If they are out of alignment because they’ve been bouncing around in a loose drawer or sliding off a flat shelf, every cut and weld that follows will be a struggle.
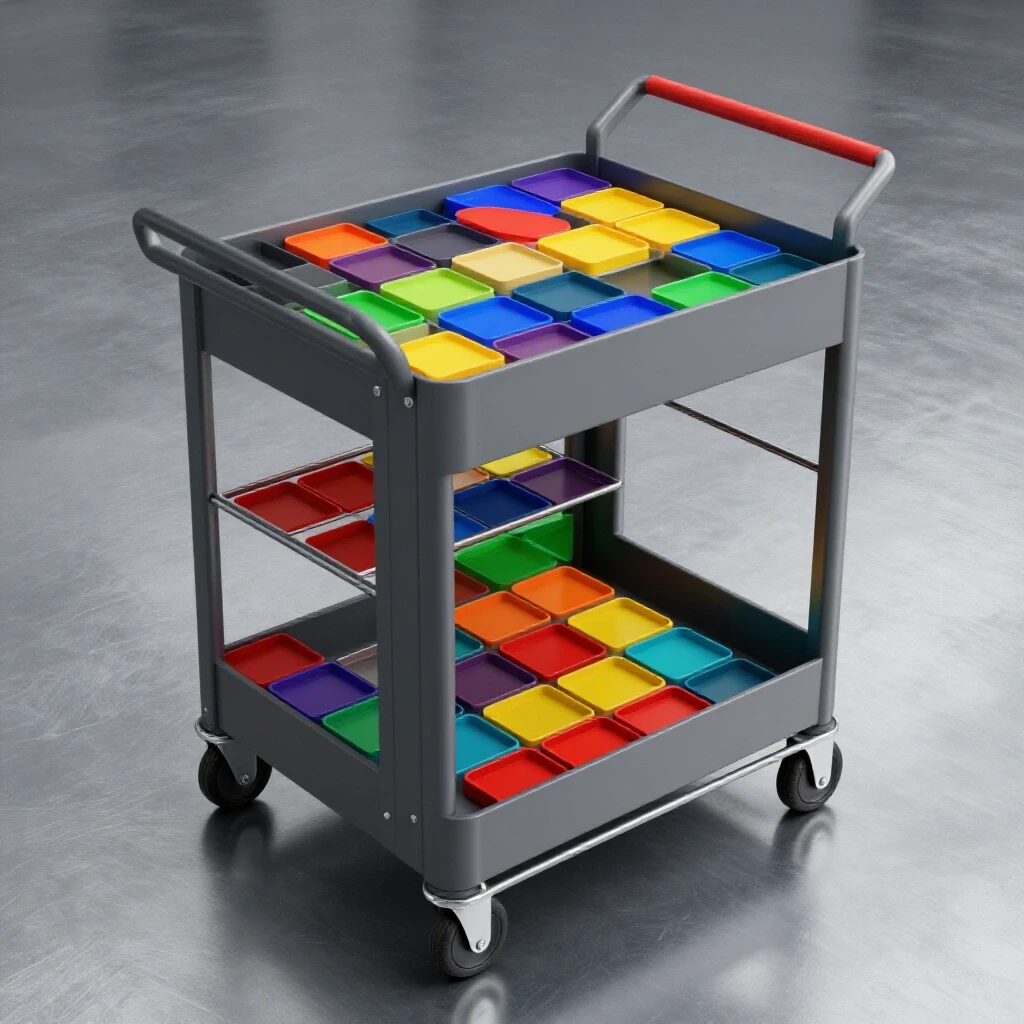
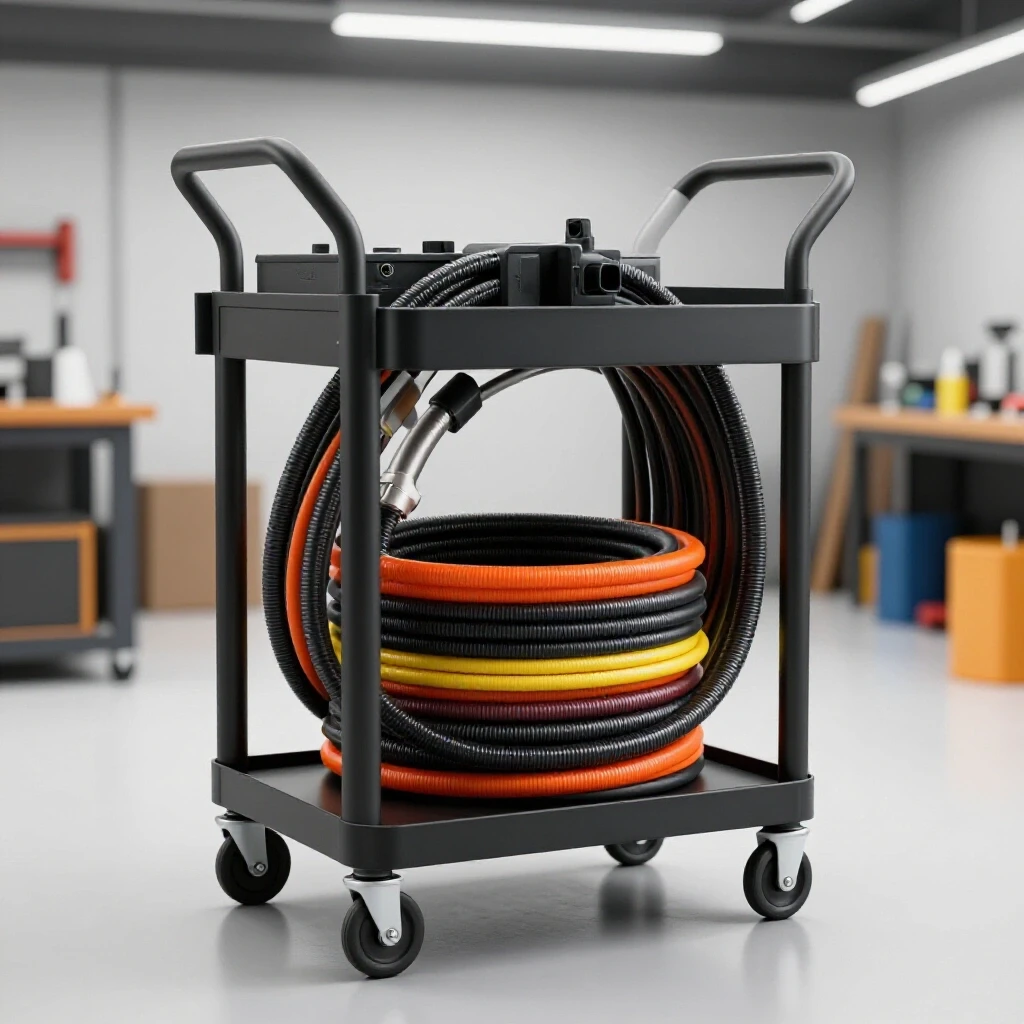
That accident changed how I look at my mobile workstations. A shop cart is a dynamic environment, constantly subjected to vibration, tilt, and impact. Storing precision tools like framing squares, speed squares, and combination squares requires more than just a dedicated spot; it requires a secure, engineered retention system. Over the years, I’ve developed several methods for building custom fixtures that keep these tools locked down while keeping them within arm’s reach during a build.
The Physics of Tool Retention on Mobile Workstations
Designing effective retention for layout tools involves understanding how motion affects unanchored objects on a cart. When you push a cart over a threshold or a stray bit of welding slag, the energy transfers through the frame and into your tools, often causing them to shift or fall.
Mobile tool security is the practice of using mechanical or magnetic force to counteract the kinetic energy generated during cart transport. By creating a dedicated “home” for each square, you eliminate the risk of tool-on-tool impact, which can nick the precision-ground edges of your measuring equipment. In my experience, a well-designed holder must address three specific forces: gravity, lateral sliding, and vertical bounce.
Evaluating Material Choices for Custom Square Brackets
When I start a project to build on-cart fixtures, I first look at the materials that will interface with my precision squares. You want a material that is durable enough to withstand shop use but won’t mar the etched scales or the ground faces of your squares.
Choosing the right material for square holders involves balancing rigidity with surface protection to ensure the storage solution doesn’t become the source of tool wear. While steel is the easiest to weld directly to a cart, I often incorporate plastic or rubber liners to provide a soft landing for the tools.
| Material Type | Pros | Cons | Best Use Case |
|---|---|---|---|
| 16-Gauge Sheet Steel | Easy to weld; very durable | Can scratch aluminum squares | Heavy framing square holsters |
| Aluminum Flat Bar | Non-magnetic; won’t rust | Harder to join to steel carts | Speed square vertical slots |
| HDPE Plastic | Zero risk of scratching | Requires mechanical fasteners | Liners for precision combo squares |
| Neodymium Magnets | High holding power | Can attract metal shavings | Quick-access vertical mounting |
In my shop, I prefer using 14-gauge or 16-gauge cold-rolled steel for the main structure of the brackets. It provides the necessary stiffness to prevent the holder from bending if the cart bumps into a workbench. For my high-end precision squares, I always line the steel slots with adhesive-backed felt or thin rubber strips to maintain a +/- 1/16th inch snug fit.
Fabricating Vertical Slot Systems for Framing Squares
Framing squares are notoriously difficult to store on carts because of their awkward “L” shape and large footprint. A vertical slot system is a space-saving fixture that utilizes the side panels of a cart to hold the square upright and out of the way of the work surface.
A vertical slot is a narrow channel designed to house the body of a square, typically using a friction fit or a gravity-fed “drop-in” design. This method is superior to laying the square flat because it protects the long legs from being bent by other tools piled on top. When I build these, I aim for a slot width that is exactly 1/32nd of an inch wider than the thickness of the square’s blade. This prevents the tool from rattling while allowing for easy removal.
- Measure the thickness of your framing square blade. Most professional steel squares are roughly 0.080 to 0.100 inches thick.
- Cut two strips of 1-inch wide steel flat bar to a length of 12 inches.
- Use a spacer (like a piece of scrap sheet metal) that matches your square’s thickness to set the gap between the flat bar and the cart side.
- Tack weld the strips vertically to the side of the cart, ensuring they are perfectly plumb.
- Check the fit by sliding the square in; it should slide smoothly but not tilt more than 2 degrees.
Implementing Magnetic Retention for Speed Squares
Speed squares are heavy and compact, making them prime candidates for magnetic mounting. However, a simple magnet isn’t enough; you need a “pocket” to prevent the square from sliding down the cart wall when you hit a bump.
Magnetic retention uses the force of permanent magnets to pull the tool against a flat surface, while a physical ledge or “cup” supports the tool’s weight. This dual-action system is my favorite for speed squares because I can grab the tool with one hand without fumbling with latches. I typically use magnets with a pull force of at least 10 pounds to ensure the square stays put during transport.
- Step 1: Fabricate a small “L” bracket from 1-inch angle iron to act as a bottom shelf.
- Step 2: Drill a recessed hole in the cart wall just above the shelf to house a 1/2-inch neodymium disc magnet.
- Step 3: Use epoxy to secure the magnet so it sits flush or slightly sub-flush with the cart surface.
- Step 4: Cover the magnet with a thin layer of duct tape or vinyl to prevent metal-on-metal scratching and to keep fine metal dust from sticking to the magnet face.
One thing I’ve learned is that magnets can occasionally magnetize your tools, which causes them to attract small steel chips. To avoid this, I use “shielded” magnetic mounts where the magnet only contacts the tool at a single point, or I use a mechanical toggle to move the magnet away when not in use.
Engineering Vibration-Resistant Combination Square Holsters
Combination squares are the most delicate of the layout family. The locking nut and the scribe can easily be damaged or vibrated loose. For these, I build fully enclosed “holsters” that support both the head and the blade.
A combination square holster is a form-fitting sleeve that encapsulates the blade while providing a notched seat for the cast-iron head. This design prevents the head from sliding down the blade, which is a common problem with vertical storage. When designing these, I calculate the “clearance fit,” which is the intentional space left between the tool and the holder to allow for easy access without excessive play.
- Blade Sleeve: I use a piece of rectangular tubing or two pieces of small C-channel welded together. The internal dimension should be no more than 1/8th inch larger than the blade width.
- Head Support: At the top of the sleeve, I weld a small “U” shaped fork. The head of the square sits in this fork, taking the weight off the blade’s locking mechanism.
- Retention Pin: For carts that travel over very rough floors, I drill a small hole through the holster and use a lynchpin or a spring-loaded ball detent to lock the tool in place.
I once built a cart for a mobile repair job that required traveling over gravel. I didn’t have a retention pin on my combo square holster, and by the time I reached the job site, the vibration had unscrewed the locking nut completely. I spent twenty minutes looking for that nut in the rocks. Now, every holster I build has a positive locking feature.
Dimensional Tolerances and Layout Metrics for Tool Fixtures
When you are building these holders, you are essentially performing a mini-fabrication project on your cart. You must apply the same precision to the holders as you do to your main builds. If your holder is crooked, it might put a torsional (twisting) load on your square, which can warp it over time.
| Metric | Target Value | Reason |
|---|---|---|
| Slot Clearance | +0.030″ to +0.060″ | Prevents binding while minimizing rattle |
| Magnet Pull Force | 10 – 15 lbs | Sufficient for 7″ speed squares |
| Bracket Thickness | 14ga – 16ga Steel | High strength-to-weight ratio |
| Tack Weld Size | 1/8″ to 3/16″ | Enough to hold the bracket without over-heating the cart panel |
| Mounting Height | 30″ – 40″ from floor | Ergonomic “strike zone” for quick access |
I generally aim for a dimensional tolerance of +/- 1/16th inch for all my cart fixtures. This ensures that the tools fit correctly but aren’t so tight that they become difficult to remove when you’re wearing welding gloves.
Overcoming Heat Distortion When Welding Holders to Carts
A common mistake I see is fabricators getting too aggressive with the welds when attaching these brackets to their carts. Most shop carts are made of thin-gauge sheet metal, which warps easily under heat.
Heat distortion is the physical warping of metal caused by the uneven expansion and contraction during the welding process. If you weld a long, continuous bead to attach a square holder, you will likely bow the side panel of your cart, which might make your new holder misaligned or even prevent the cart drawers from opening.
To prevent this, I use a “stitch and cool” sequence. I place small 1/4-inch tack welds every 2 inches along the bracket. I never weld more than two tacks in the same area without letting the metal return to a temperature where I can comfortably touch it with my bare hand. Using a copper heat sink behind the panel can also help pull the thermal energy away from the thin sheet metal, preserving the flatness of the cart wall.
Strategic Layout for Multi-Square Tool Stations
If you have multiple squares, don’t just scatter them around the cart. I find it most efficient to group them into a single “layout station” on one end of the cart. This reduces the time spent walking around the cart and keeps all your precision measuring tools in one protected zone.
- Map the footprint: Lay all your squares on a table in the orientation you want them on the cart.
- Check for interference: Ensure that the long leg of the framing square won’t block a drawer or hit your knee while you’re pushing the cart.
- Sequence the mounting: Install the largest holders (framing squares) first, then tuck the smaller holders (combination and speed squares) into the remaining gaps.
- Shadowing: Use a permanent marker or paint pen to trace the outline of each tool on the cart. This “shadowing” makes it instantly obvious if a tool is missing at the end of the day.
This systematic approach not only protects the tools but also improves your workflow. When I’m in the middle of a complex weldment, I don’t want to think about where my 45-degree square is. I want my hand to find it automatically.
Maintaining and Calibrating Your On-Cart Storage
Once your retention system is built, the job isn’t quite finished. Mobile environments are dirty. Grinding dust, oil, and metal shavings will eventually find their way into your tool slots.
I make it a habit to blow out my square holders with compressed air once a week. If you use magnetic mounts, you’ll need to wipe them down frequently, as they will attract “beards” of metal fuzz that can scratch your tools. Every few months, I also pull my squares out and check them against a known reference—like a granite surface plate or the “flip test” on a straight edge—to ensure that the vibration of the cart hasn’t affected their accuracy.
Building these custom fixtures is an investment in your future accuracy. It takes a few hours of fabrication time, but it saves you the cost of replacing dropped tools and the frustration of a project that’s “just a little bit out of square.”
FAQ: Precision Square Storage on Mobile Carts
How do I prevent my steel square from rusting while stored on a cart? The best method is to apply a thin coat of paste wax or a dedicated tool protectant to the square. In the holder itself, avoid using materials like open-cell foam that can trap moisture against the metal.
Will neodymium magnets damage the accuracy of my squares? No, the magnets will not physically warp the tool. However, they can magnetize the steel, causing it to attract metal chips. Using a “stand-off” design where the magnet is separated by a thin layer of plastic can reduce this effect.
What is the best height to mount squares on a cart? I recommend the “waist-to-chest” zone, typically between 30 and 45 inches from the floor. This prevents you from having to bend down to grab a tool and keeps the squares away from the floor where they might get hit by debris.
Should I use vertical or horizontal storage for framing squares? Vertical is almost always better for mobile carts. It uses less “real estate” on the cart walls and keeps the weight of the tool distributed along its strongest axis, reducing the risk of bending.
How do I line a metal slot to prevent scratching? I use adhesive-backed UHMW (Ultra High Molecular Weight) plastic tape. It is extremely slippery, wear-resistant, and thin enough that it won’t interfere with a tight tolerance fit.
Can I use PVC pipe as a holder for combination squares? You can, but it’s not very durable in a welding environment. A stray spark can melt the PVC. I prefer fabricating the sleeve out of light-gauge steel and lining it with a non-marring material.
What do I do if my cart wall is too thin to weld a bracket to? In that case, I use a “backing plate” on the inside of the cart. I bolt the bracket through the cart wall and into the backing plate, which sandwiches the thin sheet metal and provides a rigid mounting point.
How tight should the “friction fit” be for a speed square? It should be tight enough that you have to give the tool a slight tug to remove it, but not so tight that the cart moves when you pull the tool. A 5-pound pull force is usually the “sweet spot.”
Is it worth building a locking lid for my tool holders? If you frequently transport your cart in a truck or trailer, yes. For a cart that stays inside a shop, a simple gravity-fed slot or a strong magnet is usually sufficient.
How do I ensure my custom bracket is square to the cart? Use a secondary square (one you aren’t currently building a holder for!) to align the bracket before tack welding. Even a simple 1/16th-inch misalignment can make the tool feel “sticky” when you try to slide it into the holder.
What is the best way to store a scribe that comes with a combination square? Most combo squares have a small threaded hole for the scribe. If yours is prone to falling out, I weld a tiny piece of 1/8-inch tubing to the side of the holster specifically to hold the scribe.
How can I tell if my square has been damaged by cart vibration? Perform a “line test.” Draw a line against a straight edge, then flip the square over and see if the blade aligns with the same line. If there is a gap at the top or bottom, the square is no longer true.
(This article was written by one of our staff writers, Robert Kline. Visit our Meet the Team page to learn more about the author and their expertise.)