How to Organize Small Clamps on a Mobile Shop Cart (Tips)
In my thirteen years as a prototype technician, I have learned that the success of a project often depends on the tools you can reach in three seconds or less. There is a specific kind of frustration that occurs when you are holding a frame member in place, watching the heat from a tack weld begin to pull the metal, and you cannot find a small C-clamp to secure the joint. I have spent many hours in my own shop chasing tools that rolled to the back of a messy cart. Those lost minutes lead to cold restarts and alignment errors that are difficult to fix once the metal cools.
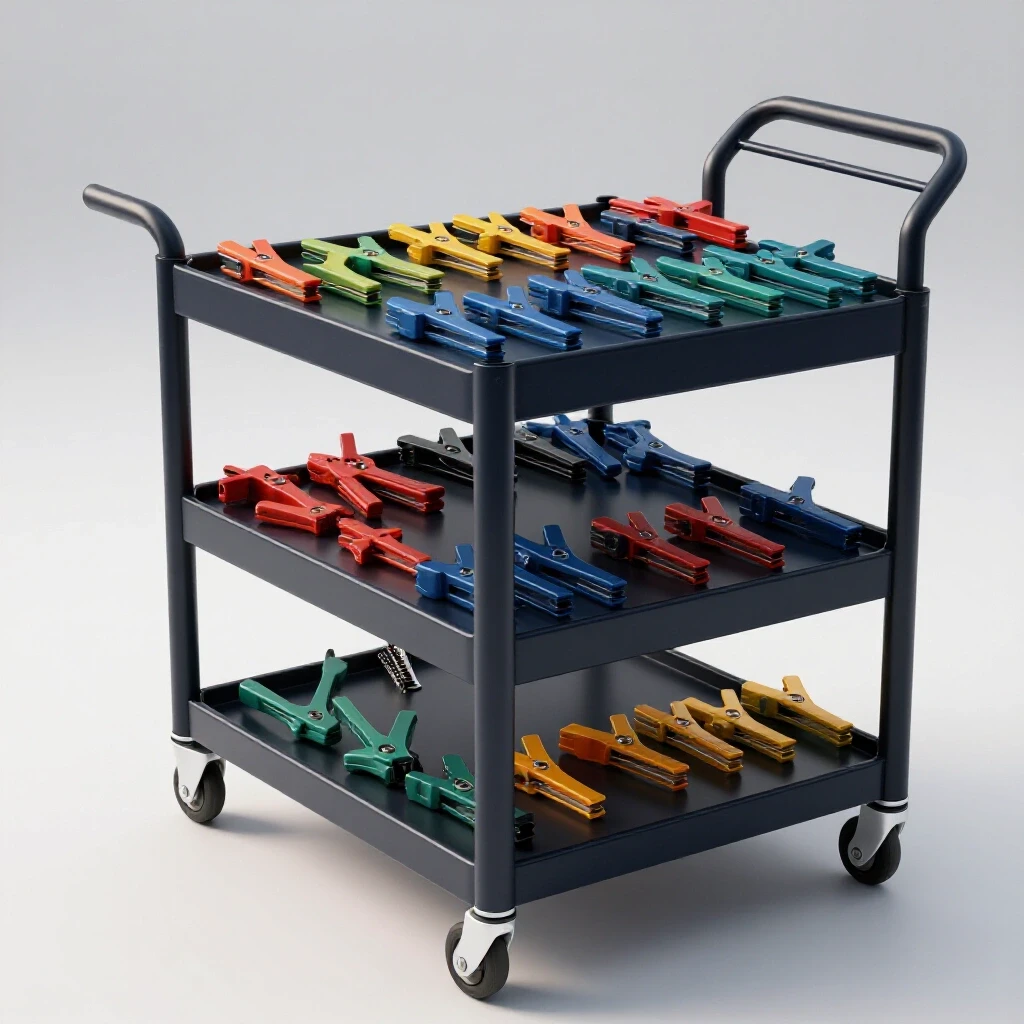
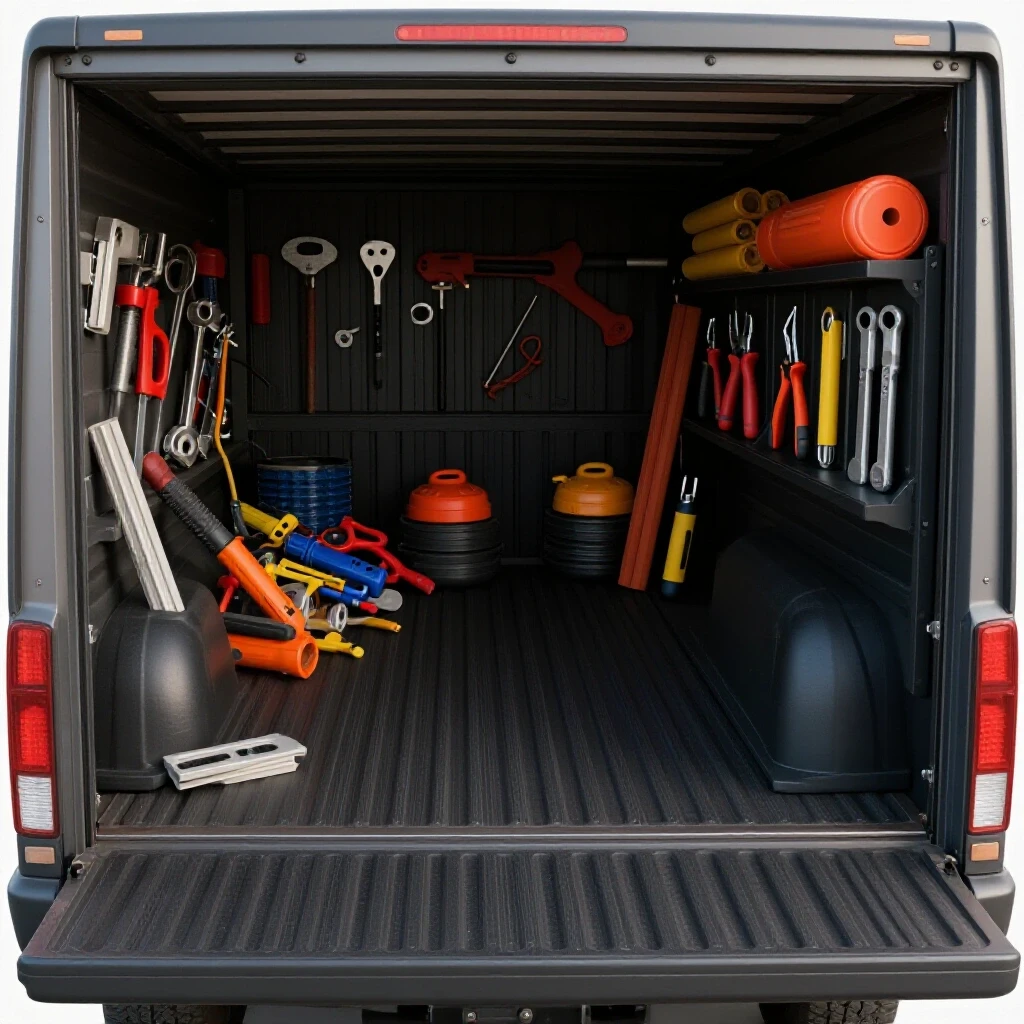
A mobile cart is the heartbeat of a small fabrication space. However, when that cart becomes a pile of tangled steel, it loses its utility. Small clamps, specifically those under six inches, are notorious for migrating to the bottom of deep bins or getting buried under offcuts. By creating a dedicated system to house these essential tools on your rolling workstation, you can maintain a tighter grip on your workflow and your tolerances.
Designing a Layout for Compact Tool Accessibility
Designing a storage system for small tools involves assessing your current inventory and predicting future needs. A well-planned layout ensures that every small C-clamp or spring clamp has a dedicated spot. This reduces clutter on the cart deck and keeps the center of gravity low for safe movement across the shop floor.
When I start a new organization project, I begin by laying out every small clamp I own on a flat surface. I group them by type: C-clamps, spring clamps, and small F-style bar clamps. This visual inventory allows me to calculate the linear inches of rack space required. For a mobile cart, I aim for a “high-density, low-profile” approach. You want the tools to be on the exterior or in dedicated side-racks so the main deck remains clear for your actual workpiece.
I have found that a vertical orientation is almost always superior to horizontal stacking. When tools are stacked horizontally, the one you need is invariably at the bottom. By hanging clamps vertically on the side of the cart, you can see the throat depth and opening capacity at a glance. This is crucial when you are trying to manage weld sequencing and need to move quickly between different joint configurations.
Material Selection for Custom Tool Racks
Choosing the right materials for your cart modifications affects durability and weight. Lightweight steel tubing or thin-gauge sheet metal provides strength without making the cart difficult to push. Selecting materials that resist vibration ensures that your small clamps stay seated even when the cart travels over uneven concrete or expansion joints.
In my experience, 1/8-inch flat bar is one of the most versatile materials for building clamp racks. It is thin enough to fit inside the throat of most small clamps but rigid enough to hold a full load without sagging. If you are working with a wooden cart, high-quality plywood or even PVC pipe sections can work, but for a metal fabrication cart, I prefer a welded steel rack. Steel racks handle the abuse of a shop environment and won’t crack if you accidentally bump the cart into a heavy workbench.
- Flat Bar (1/8″ x 1″): Ideal for hanging C-clamps and F-clamps.
- Square Tubing (1/2″): Useful for creating stand-offs that keep the clamps away from the cart body.
- Round Bar (1/4″): Great for creating hooks for spring clamps.
- Sheet Metal (16 gauge): Can be bent into “V” channels for specialized clamping tools.
Implementing Slotted Rail Systems for Precision Access
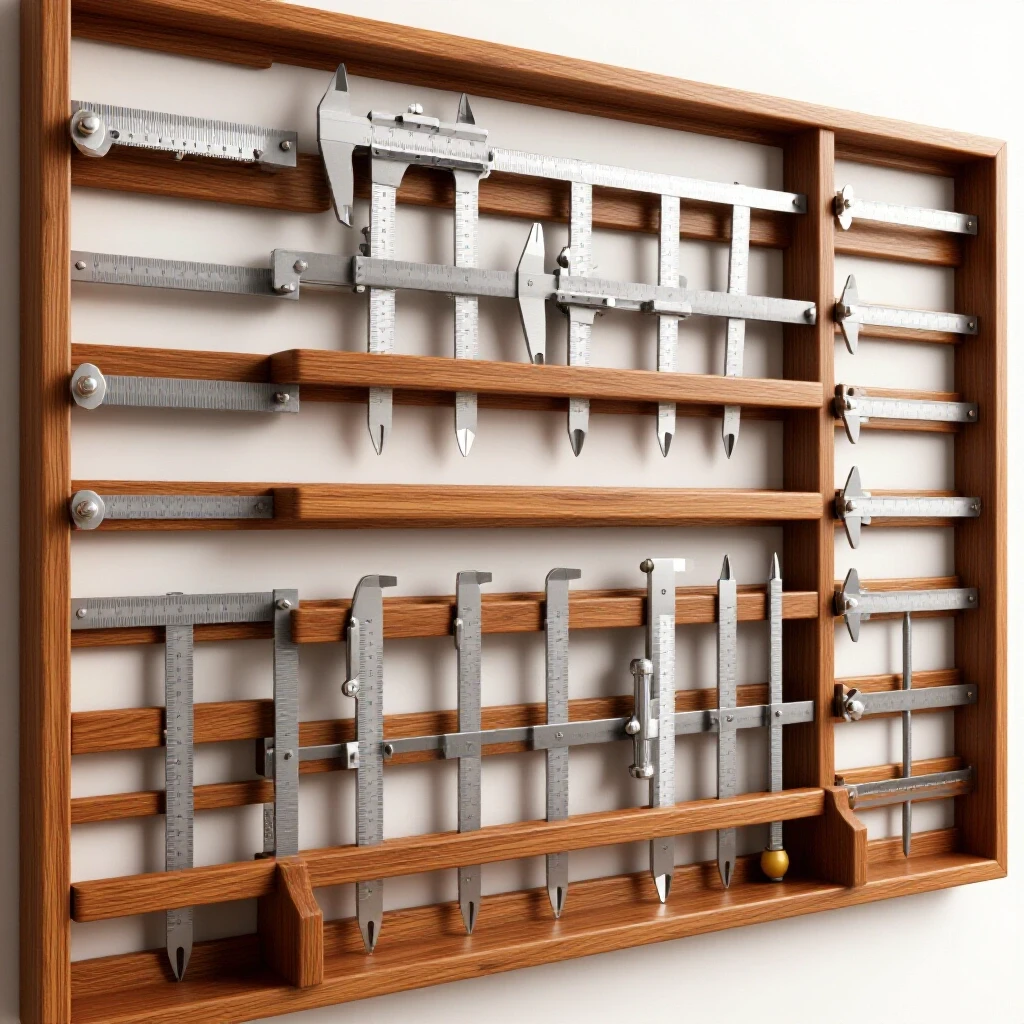
Slotted rails are horizontal bars with cutouts designed to hold the frames of small F-clamps or C-clamps. This method utilizes vertical space, allowing you to stack tools closely together. By sizing the slots to match the throat depth of your tools, you prevent them from swinging or falling during transport.
The key to a successful slotted rail is the spacing. If the slots are too close, the handles of the clamps will interfere with each other. If they are too far apart, you waste valuable real estate on your cart. I typically use a 1.5-inch center-to-center spacing for small 2-inch and 3-inch clamps. This provides enough clearance for your fingers to wrap around the handle without bumping the adjacent tool.
To build these, I take a piece of flat bar and use a portable band saw or a zip disc to cut vertical notches. I then weld this bar to the side of the cart using small spacers. These spacers are vital; they create a gap between the rail and the cart wall, allowing the “back” of the clamp to slide in freely. Without that 1/2-inch to 3/4-inch gap, the clamp won’t sit flush, and it will likely rattle off the moment you move the cart.
Magnetic Storage Solutions for Rapid Tool Retrieval
Magnetic strips offer a versatile way to hold lightweight steel clamps and accessories on the exterior of a cart. These strips provide instant access during fast-paced assembly tasks. For mobile applications, the magnetic force must be strong enough to overcome the jolts and vibrations of a rolling cart without dropping the tools.
I use magnets primarily for my smallest spring clamps and sheet metal alignment clips. These tools are often too light to stay put on a traditional hook but are perfect for magnetic attachment. However, you must be careful with placement. Magnets attract grinding dust and metal shavings like a sponge. I prefer to mount magnetic strips on the upper half of the cart, away from the floor where dust tends to settle.
When selecting magnets, look for “rare earth” or neodymium strips encased in a steel channel. The steel channel focuses the magnetic field and provides a mounting point for screws or tacks. I once tried using cheap refrigerator-style magnetic tape, and it was a disaster. The first time I hit a crack in the concrete, half my clamps ended up on the floor. Use high-pull-force magnets to ensure your tools stay put during transit.
Organizing by Clamp Type and Throat Depth
Grouping tools by their physical dimensions and mechanical function streamlines the selection process during a build. When you organize by throat depth and opening capacity, you eliminate the guesswork involved in grabbing a tool mid-fabrication. This systematic approach allows you to maintain focus on the alignment of your workpiece rather than the search for hardware.
| Clamp Type | Typical Size | Recommended Spacing | Storage Method |
|---|---|---|---|
| Small C-Clamp | 1″ – 3″ | 1.5 inches | Slotted Flat Bar |
| Spring Clamp | 2″ – 4″ | 2.0 inches | Round Bar Hooks |
| F-Style Bar Clamp | 4″ – 6″ | 1.75 inches | Vertical Notched Rail |
| Locking C-Plier | Small | 2.5 inches | Peg or Tab |
I find it helpful to arrange them in ascending order of size. For example, my 1-inch C-clamps are at the front of the rack, followed by 2-inch, then 3-inch. This creates a visual “staircase” effect. When I’m working on a complex layout, I know exactly where to reach for a specific size without even looking. This muscle memory is a massive advantage when you are trying to hold a part square with one hand and reach for a clamp with the other.
Managing Weight Distribution and Cart Stability
A mobile cart’s stability is directly affected by how and where you store heavy steel tools. Placing too much weight on the upper rails or on one side can make the cart prone to tipping, especially when moving over obstacles. Distributing the weight of your small clamps evenly across the cart frame ensures a smooth and safe transition between work areas.
Small clamps may not seem heavy individually, but a collection of twenty or thirty cast-iron C-clamps can easily add 40 to 50 pounds to one side of your cart. If this weight is mounted high up, the cart becomes top-heavy. I always try to mount my heaviest small clamps (like the deep-throat C-clamps) lower on the cart’s side panels. This keeps the center of gravity closer to the casters.
Another factor is the “swing” of the tools. If your clamps are hanging loosely, they will act like a pendulum when you push the cart. This shifting weight can make the cart difficult to steer. Using a secondary “rest bar” near the bottom of the clamps can prevent them from swinging. The clamp sits in the top rail, and the bottom of the frame rests against a lower bar, keeping it pinned in place while the cart is in motion.
Custom Hooks and Tabs for Specialized Clamping Tools
Standard racks often fail to accommodate specialized tools like locking pliers or cantilever clamps. Creating custom-shaped hooks or tabs allows these unique items to be stored securely alongside your standard inventory. These custom solutions prevent odd-shaped tools from taking up valuable shelf space or rolling around in bins.
For locking C-pliers, I prefer a simple “tab” system. I weld small 1-inch pieces of round bar or square stock protruding horizontally from the cart frame. The pliers can be clamped directly onto these tabs. This is the most secure way to store them because the tool’s own locking mechanism holds it to the cart. It won’t fall off, no matter how bumpy the floor is.
For spring clamps, a simple horizontal rod works best. I use a 1/4-inch round bar and weld it at an upward angle of about 5 degrees. This slight “kick-up” at the end of the rod prevents the clamps from sliding off due to vibration. It is a simple fix that saves a lot of annoyance.
Reducing Noise and Vibration During Transport
Metal-on-metal contact creates significant noise and can lead to tool wear over time. Implementing dampening materials or tension-based storage can silence the “clatter” of a mobile cart. This makes for a more professional shop environment and prevents the constant rattling from loosening the fasteners on your cart.
I have found that a thin strip of rubber adhesive or even a bead of silicone along the contact points of the rack can work wonders. If you are using the slotted rail method, lining the inside of the slots with a bit of heat-shrink tubing or plasti-dip provides a cushioned seat for the clamp. This small detail makes the cart much quieter to move.
Another trick is to slightly tighten the clamps onto the rack. If you are using a flat bar rack, you can actually spin the screw of the C-clamp until it lightly grips the bar. This takes more time to “unload” the tool, but it is the ultimate way to prevent noise. For a cart that moves frequently across a large shop, this extra step is often worth the effort.
Maintaining the Organization System
The best storage system in the world is useless if it isn’t maintained. Establishing a “return to home” habit ensures that tools are always where you expect them to be. Periodically auditing your cart layout allows you to adjust for new tool acquisitions or changes in your fabrication workflow.
At the end of every work session, I take two minutes to scan my cart. If I see an empty slot on the clamp rack, I know there is a tool left on the workbench or under a pile of scrap. This habit has saved me from losing dozens of small clamps over the years. It also ensures that when I start work the next morning, I am not beginning the day with a search-and-rescue mission.
Every six months, I evaluate if the layout still works. If I find myself using a certain type of spring clamp more often for sheet metal work, I might move its rack to a more prominent position. Flexibility is key to a productive shop. Your cart should evolve as your skills and project types change.
Building a Side-Mounted Clamp Tray for Tiny Hardware
Sometimes, the smallest clamps are too tiny for a traditional rack. A shallow, partitioned tray mounted to the side of the cart can house these “micro” tools along with related hardware like shim stock or copper backing plates. This keeps the smallest items from getting lost in the “black hole” of a large tool drawer.
I built a small tray out of 16-gauge sheet metal and divided it into three sections. One section holds my 1-inch spring clamps, another holds my small magnetic squares, and the third holds my brass spacers. By mounting this tray at waist height on the side of the cart, I have immediate access to the “finesse” tools needed for delicate layout work.
To prevent items from jumping out of the tray, I lined the bottom with a thin magnetic sheet. This provides just enough pull to keep the small steel parts from bouncing around while I’m rolling the cart over the threshold of my garage. It’s a simple addition that significantly improves the utility of a standard mobile workstation.
Frequently Asked Questions
How do I prevent my small C-clamps from rusting while stored on the cart? Rust is a common issue in shops with high humidity. I recommend a light coat of dry lubricant or paste wax on the threads and frames. Avoid heavy oils, as they attract grinding dust, which can gum up the threads and make the clamps difficult to use. A dry PTFE spray is usually the best balance between protection and cleanliness.
What is the best height to mount a clamp rack on a standard 36-inch high cart? I prefer to mount the primary rack between 24 and 30 inches from the floor. This puts the handles within easy reach without requiring you to bend over too far. It also leaves the top 6 inches of the cart’s side clear for handle attachments or cord wraps.
Should I use vertical or horizontal slots for my F-clamps? Vertical slots are generally better for mobile carts. When the bar of the F-clamp is dropped into a vertical slot, gravity helps keep it seated. Horizontal slots allow the clamps to slide side-to-side, which can be noisy and unstable during transport.
How can I store plastic spring clamps on a metal cart? Since plastic clamps won’t stick to magnets, a horizontal round bar is the best option. You can simply “clamp” them onto the bar. If you have many of them, a “daisy chain” approach works well, where you clamp one to the bar and then clamp the next one to the handle of the first.
Will adding a heavy clamp rack to one side of my cart cause it to tip? It can, especially if the cart has a narrow wheelbase. To counter this, try to balance the weight by mounting other tools (like a power strip or a heavy vise) on the opposite side. Always test the cart’s stability by giving it a gentle push from the side before fully loading the racks.
How do I stop the clamps from “walking” off the ends of the rails? The simplest solution is to weld a small “stop” or a vertical tab at each end of your flat bar racks. This creates a physical boundary that the clamps cannot slide past. For a non-permanent fix, a heavy-duty rubber band or a bolt through the end of the bar works just as well.
What size flat bar is best for 2-inch C-clamps? A 1/8-inch thick by 1-inch wide flat bar is the standard choice. Most 2-inch C-clamps have a throat opening that easily clears a 1-inch bar, and the 1/8-inch thickness is thin enough to allow the clamp to slide on and off without snagging.
Can I use PVC pipe to organize clamps on a mobile cart? Yes, you can bolt sections of PVC pipe to the side of a cart to create “holsters” for bar clamps. However, PVC is prone to cracking if hit by a heavy piece of steel. If you use PVC, ensure it is UV-rated and securely fastened with large washers to prevent the bolts from pulling through the plastic.
How many clamps should I realistically keep on my mobile cart? Only keep the tools you use for 80% of your tasks. For most builders, this means 8 to 12 C-clamps, 6 to 8 spring clamps, and 4 to 6 small F-clamps. Storing your entire collection on the cart adds unnecessary weight and clutter. Keep the “specialty” or “extra-large” clamps on a wall rack and reserve the cart for your “daily drivers.”
Is it better to weld or bolt the racks to the cart? If the cart is steel, welding is faster and creates a more rigid connection that won’t vibrate loose. However, bolting allows you to remove or reposition the racks later if you decide to change your layout. If you bolt them, use nyloc nuts to ensure they don’t back off due to the constant vibration of the cart moving.
Summary of Key Metrics for Cart Organization
To ensure your mobile storage solution is effective, keep these benchmarks in mind during your build:
- Linear Space: Allocate roughly 1.5 to 2 inches of rail per small clamp.
- Clearance: Maintain a 1/2-inch gap between the rack and the cart body.
- Weight Limit: Aim to keep the total added weight of the clamps below 20% of the cart’s rated capacity.
- Height: Keep the center of the rack below the 30-inch mark for stability.
- Fasteners: If bolting, use Grade 5 hardware or better to handle the shear loads of the tools.
By following these guidelines, you can transform a chaotic mobile cart into a high-efficiency workstation. Having your small clamping tools organized and within reach doesn’t just save time; it reduces the stress of the build. When you aren’t fighting your equipment, you can focus on the precision and quality of your fabrication work. Start by auditing your current cart this weekend—your future self will thank you during your next complex assembly.
(This article was written by one of our staff writers, Robert Kline. Visit our Meet the Team page to learn more about the author and their expertise.)