How to Plan Machine Clearance for Small Garage Shops (Fix)
When I started my first metalworking shop in a single-car garage back in 2013, I had exactly $2,000 and a lot of ambition. My background as an industrial maintenance technician taught me how to fix machines, but it didn’t fully prepare me for the spatial puzzles of a 200-square-foot room. I quickly learned that a workshop is more than just a collection of tools; it is a system of movement. If you place a bandsaw too close to a wall, you cannot feed a long piece of steel through it. If your welding table is cramped, you risk fire hazards or tripping over cables.
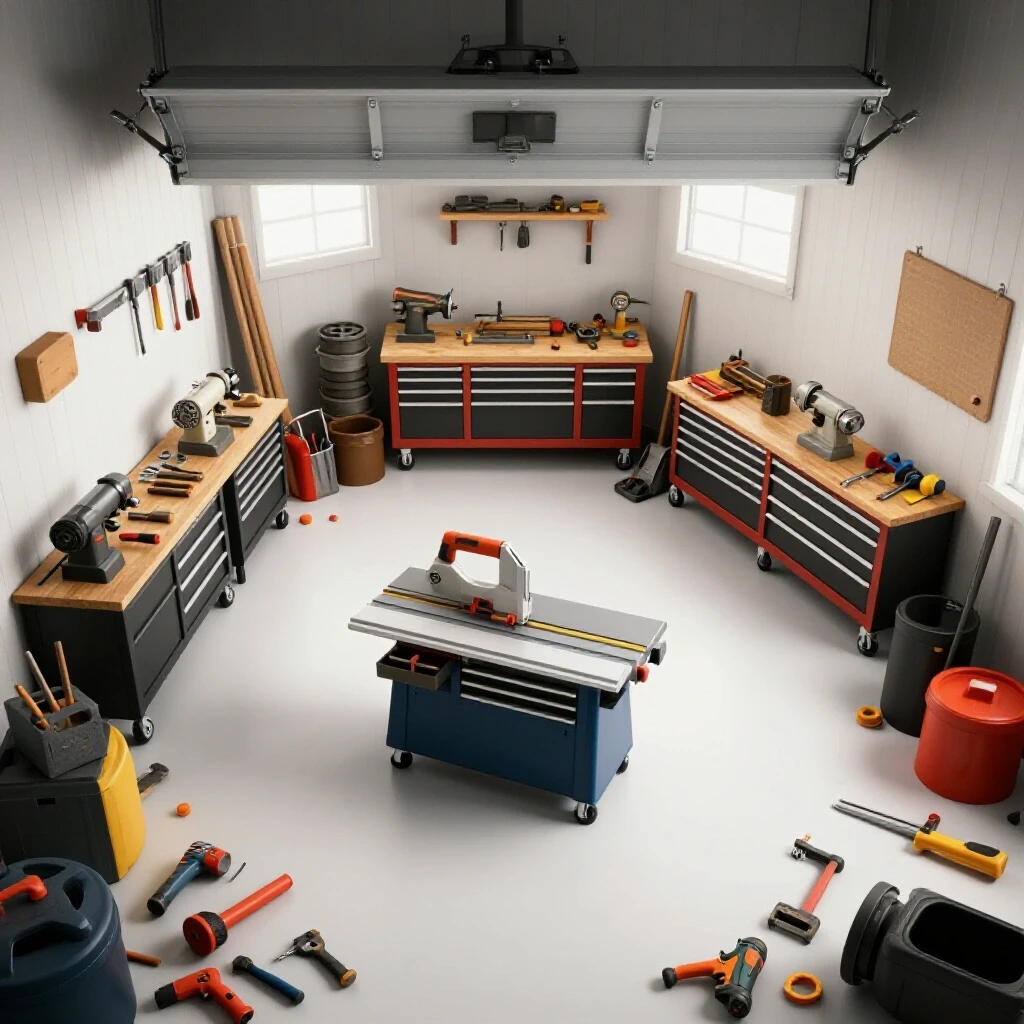
Setting up a functional fabrication space on a budget requires a shift in perspective. You aren’t just buying tools; you are managing “operational envelopes.” This term refers to the total space a machine needs to function safely, including the operator’s stance and the movement of the material. In this guide, I will share the data and layouts I’ve refined over a decade to help you avoid the analysis paralysis that often stalls new makers. We will focus on making every square inch count while keeping your startup costs under control.
Assessing Your Footprint and Equipment Spacing
Planning the physical arrangement of your workshop involves mapping out the floor space to ensure you can move safely between machines while handling heavy or long metal stock. Most garage shops operate in areas under 250 square feet, making every inch of clearance vital for both safety and productivity.
In my early days, I made the mistake of pushing every machine against the wall to “save space.” I soon realized that I couldn’t reach the back of my lathe for maintenance, and my bench grinder was throwing sparks directly onto my wooden storage shelves. To fix this, I began using a 24-to-48-inch rule. This means leaving at least two feet of clear space around the sides and rear of stationary tools for access, and up to four feet in front for the operator.
Machine Footprint and Working Zone Requirements
Every tool has a static footprint (the floor it covers) and a dynamic working zone (the space needed to use it). For example, a small horizontal bandsaw might only take up 4 square feet of floor space, but if you are cutting a 10-foot stick of square tubing, your actual space requirement grows to 14 feet in length.
| Equipment Type | Static Footprint (Avg) | Required Operator Clearance | Material Feed Clearance |
|---|---|---|---|
| Bench Grinder | 2′ x 1′ | 3′ in front | 1′ sides (spark zone) |
| MIG Welder/Cart | 2′ x 3′ | 4′ around table | 6′ (cable reach) |
| Drill Press | 2′ x 2′ | 3′ in front | 3′ sides for long stock |
| Horizontal Bandsaw | 4′ x 2′ | 3′ side access | 10’+ (stock dependent) |
| Small Bench Lathe | 4′ x 2′ | 3′ in front | 2′ rear (maintenance) |
When you are working with a limited budget, you cannot afford to buy tools that don’t fit your space. I recommend using blue painter’s tape on your garage floor to outline these zones before you buy a single piece of equipment. This physical “mock-up” reveals bottlenecks that a drawing might miss, such as a garage door track that prevents you from standing upright near a tall drill press.
Managing Power Constraints in a Residential Space
Understanding the electrical limits of your garage is the first step toward a safe workshop, as metalworking tools often pull significant amperage that can trip standard household breakers. Most residential garages are wired with a single 15-amp or 20-amp circuit, which is shared with lights and perhaps a garage door opener.
In my first shop, I tried to run a small flux-core welder and a shop vacuum at the same time. The breaker tripped instantly. This is because a welder, even an entry-level one, can pull 15 to 20 amps under load. To manage this without expensive electrical upgrades, you must learn to sequence your work. This means only one high-draw tool runs at a time. I also suggest documenting your “power budget” by checking the nameplate on every motor to see its FLA (Full Load Amps) rating.
Understanding Duty Cycles and Circuit Loads
A duty cycle is the amount of time a tool can run in a ten-minute period before it needs to cool down. For instance, a welder with a 20% duty cycle can only weld for two minutes out of ten. Pushing a tool past this limit generates heat, which increases electrical resistance and can damage your equipment or even the wiring in your walls.
- 15A Circuits: Suitable for small grinders, hand drills, and LED lighting.
- 20A Circuits: Necessary for most entry-level MIG welders and larger 1.5 HP motors.
- Dedicated Lines: If possible, dedicate one circuit solely to your welder to prevent light flickering or brownouts.
- Extension Cords: Avoid them. If you must use one, it must be a heavy-duty 10-gauge or 12-gauge cord to prevent voltage drops that can burn out motors.
By tracking your power consumption, you can plan your workflow around your shop’s limits. I keep a simple log near my breaker box that lists which outlets are on which circuit. This record-keeping prevents the frustration of mid-cut power losses and ensures you are operating within the safety margins of your home’s electrical system.
Prioritizing Tools and Allocating Your Startup Budget
A common pitfall for beginners is spending their entire budget on a “fancy” machine while neglecting the essential safety gear and measuring tools required to use it effectively. I follow a 30% rule: allocate 30% of your total budget to high-quality safety equipment and precision measuring tools before you look at the big machines.
When I built my shop, I prioritized a solid workbench and a reliable way to cut metal. You don’t need a massive milling machine on day one. Instead, focus on “foundational tools” that allow you to complete 80% of common fabrication tasks. This approach keeps your costs low and prevents your garage from becoming a graveyard of specialized tools you rarely use.
Essential Starter Tool Sequencing
Starting with the right sequence of purchases allows you to build projects that help you organize the shop itself. For example, buying a welder first allows you to build your own heavy-duty tool stands and carts, saving you hundreds of dollars in the long run.
- Safety and Measurement: ANSI-rated eye protection, auto-darkening welding helmet, fire extinguisher, and a set of quality calipers.
- Cutting: A portable band saw or a cold-cut saw. Avoid cheap abrasive “chop saws” if possible, as they create excessive dust and heat.
- Joining: An entry-level MIG or Flux-Core welder. Look for brands with established domestic support for replacement parts.
- Refining: A 4.5-inch angle grinder with a variety of discs (cutting, grinding, and flap discs).
- Work Surface: A steel-top welding table or a heavy wooden bench with a 1/4-inch steel plate topper.
Interestingly, cheap abrasives often cost more over time. A $2 grinding disc might last for ten minutes of work, while a $7 high-performance ceramic disc might last for two hours. I track the lifespan of my consumables in a spreadsheet to ensure I am getting the best value per cut. This kind of data-backed decision-making is what separates a professional-grade hobby shop from a money pit.
Establishing Safety Zones and Ventilation Standards
Metalworking produces hazards that woodshops do not: ultraviolet light from welding, hot sparks that fly up to 20 feet, and toxic fumes from galvanized coatings or welding flux. OSHA guidelines for industrial spaces provide a great framework for home safety, even if they aren’t legally enforced in your garage.
Ventilation is perhaps the most overlooked aspect of a small shop layout. You need a way to exhaust fumes and bring in fresh air. In my shop, I calculated my CFM (Cubic Feet per Minute) requirements based on the volume of the garage. For a standard 20′ x 20′ garage, you want to exchange the air at least 4 to 6 times per hour during light work, and much more frequently during heavy welding or grinding.
Workshop Air Exchange and Fire Safety
A simple box fan in a window is rarely enough for metal fabrication. You need “source capture” ventilation, which means a fan located as close to the spark or smoke source as possible. This prevents the contaminants from spreading throughout the entire garage and into your home.
| Activity | Hazard Type | Recommended Safety Measure | Minimum Ventilation |
|---|---|---|---|
| Grinding | Metal Dust/Sparks | Face Shield + Respirator | 500 CFM local exhaust |
| MIG Welding | Ozone/Fumes | Auto-darkening Mask | 800-1000 CFM at source |
| Solvent Cleaning | Chemical Vapors | Nitrile Gloves + Ventilation | Cross-breeze (Open doors) |
| Plasma Cutting | Metal Smoke | Shaded Lens + Exhaust | 1200+ CFM high-volume |
Fire safety is another non-negotiable. I keep a 10lb ABC-rated fire extinguisher within three steps of my welding table. I also established a “clean zone” where no flammable materials like sawdust, oily rags, or cardboard are allowed. This 35-foot rule (based on NFPA 51B standards) is the gold standard for preventing accidental fires in a fabrication environment.
Workflow Execution and Material Storage
Once your machines are spaced correctly and your power is managed, you must address how you will store and move material. Steel is heavy and often comes in 20-foot lengths. In a small garage, you cannot store this flat on the floor without creating a major trip hazard.
I solved this by building vertical storage racks and putting every heavy machine on locking casters. Mobility is the ultimate “fix” for small space constraints. If you need to cut a long piece of pipe, you can simply wheel your bandsaw to the center of the garage or out into the driveway. This flexibility allows a 200-square-foot space to function like a 500-square-foot one.
Organizing Your Fabrication Workflow
A logical workflow follows the path of the material: Storage -> Cutting -> Cleaning -> Joining -> Finishing. Try to arrange your shop so that you aren’t carrying heavy steel back and forth across the room.
- Material Intake: Keep your steel rack near the garage door.
- Processing Station: Place your saw and drill press nearby.
- The “Clean Zone”: Dedicate a specific area for degreasing and prep work to keep oils away from your welding table.
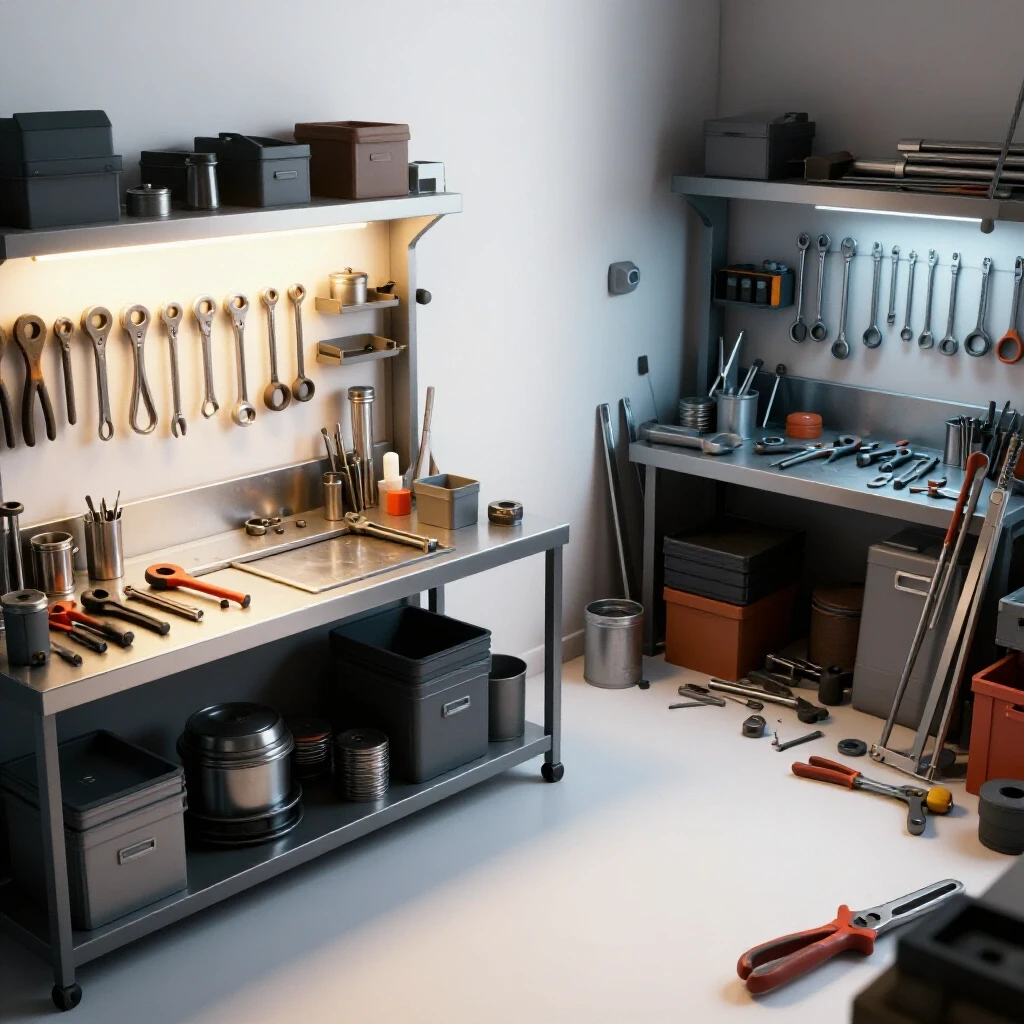
- Tool Shadow Boards: Use pegboards or foam inserts to organize hand tools. Knowing exactly where your 1/2-inch wrench is saves minutes of frustration during a build.
I use a digital shop layout tool to simulate these movements before I move heavy benches. By visualizing the “swing” of a drill press handle or the “pull” of a welding lead, I can identify potential collisions. This methodical approach ensures that your first project is a success rather than a struggle against your own workspace.
Tracking Progress and Continuous Improvement
The final piece of the puzzle is record-keeping. I maintain a shop log where I track tool maintenance, electrical issues, and project costs. This data helps me decide when it is time to upgrade a tool or change the layout. For example, if I notice I am constantly moving my grinder to reach an outlet, I know my current layout is inefficient.
Building a workshop is an evolving process. Your first layout will not be your last. By focusing on clearance, power, and safety from the start, you create a foundation that can grow with your skills. You don’t need a massive budget to have a professional-grade experience; you just need a plan that respects the physics of your space and the limits of your equipment.
Summary of Next Steps for Beginners
- Measure and Tape: Outline your 24-48 inch operational envelopes on the floor.
- Audit Your Power: Identify which outlets are on which breakers and label them.
- Budget for Safety: Ensure 30% of your funds go to PPE and measurement.
- Prioritize Mobility: Put heavy equipment on high-quality locking casters.
- Start a Log: Track your costs and tool performance from day one.
Frequently Asked Questions
How much space do I really need behind a metal lathe?
For a small benchtop lathe, you should leave at least 18 to 24 inches of clearance from the wall. This space is necessary for cleaning the chip tray, adjusting the motor belt, and accessing the change gears. If the lathe is pushed tight against a wall, heat can build up, and maintenance becomes so difficult that it often gets neglected, leading to premature tool failure.
Can I run a MIG welder on a 15-amp household circuit?
While some small 110V welders are rated for 15-amp circuits, they will often trip the breaker when you try to weld thicker material (1/8 inch or more). For a reliable experience, a 20-amp dedicated circuit is highly recommended. If you must use a 15-amp line, keep your wire speed and voltage settings low, and ensure no other appliances or lights are running on that same circuit.
What is the most cost-effective way to ventilate a garage for welding?
The most budget-friendly method is a combination of “cross-ventilation” and “source extraction.” Open the garage door a few inches and place a high-velocity fan in a window or side door to pull air out. Simultaneously, use a smaller, portable fume extractor or a flexible duct attached to a powerful shop fan positioned directly next to your welding arc to catch smoke before it reaches your face.
Why is 30% of the budget recommended for safety and measuring tools?
In metalworking, precision is everything. A cheap welder can still stick metal together, but a cheap pair of calipers will lead to parts that don’t fit, wasting expensive steel. Similarly, your health is irreplaceable. High-quality respirators (like a P100 rated mask) and ANSI Z87.1+ eye protection prevent long-term health issues that far outweigh the cost of the gear.
How do I prevent my garage floor from being damaged by hot sparks?
Concrete can “spall” or pop when exposed to intense heat from welding or heavy grinding. Using a welding blanket on the floor under your work area is an affordable fix. Additionally, keeping your workspace clean of metal dust (swarf) prevents it from being ground into the concrete, which can cause permanent staining and a slippery surface.
What are the risks of not having enough clearance around a bench grinder?
The primary risk is the “spark envelope.” Bench grinders throw hot metal fines at high speeds. If there isn’t at least 3 feet of clear space around the tool, these sparks can ignite flammable materials or bounce off walls and hit the operator. Lack of clearance also makes it difficult to grind long items, like a lawnmower blade or a piece of bar stock, as you will hit the wall before the job is done.
Is a horizontal bandsaw better than a chop saw for a small shop?
For a small garage, a horizontal/vertical bandsaw is usually the better choice. It is much quieter, produces significantly less dust and sparks, and allows for more precise cuts. While a chop saw is cheaper initially, the cost of replacing abrasive blades and the mess it creates in a confined space often make it more expensive and frustrating in the long run.
How do I calculate if my garage has enough power for all my tools?
You don’t need enough power to run everything at once; you need enough for your highest-draw tool plus your lights. Look at the “Amperage” (A) or “Watts” (W) on your tool’s data plate. If your welder pulls 20A and your lights pull 2A, you need a 22A capacity. Since you won’t be welding and grinding at the same time, you only need to ensure your largest single load fits within your breaker’s limit.
What is the best way to store long pieces of steel in a 1-car garage?
Vertical storage is the most space-efficient. Build a sturdy rack that allows you to stand 20-foot “drops” or 10-foot sticks upright, secured with a chain or bar. This uses only a few square feet of floor space. If your ceiling is too low, use a horizontal rack mounted high on a wall, above head height, making sure it is anchored into the wall studs to support the significant weight of the metal.
How often should I check the clearance and layout of my shop?
I recommend a “layout audit” every six months or after every major project. Ask yourself if you felt cramped, if you tripped over cords, or if you had to move five things to get to one tool. Small adjustments, like moving a workbench six inches or rerouting a power strip, can significantly improve your safety and comfort without costing a dime.
(This article was written by one of our staff writers, Michael Thompson. Visit our Meet the Team page to learn more about the author and their expertise.)