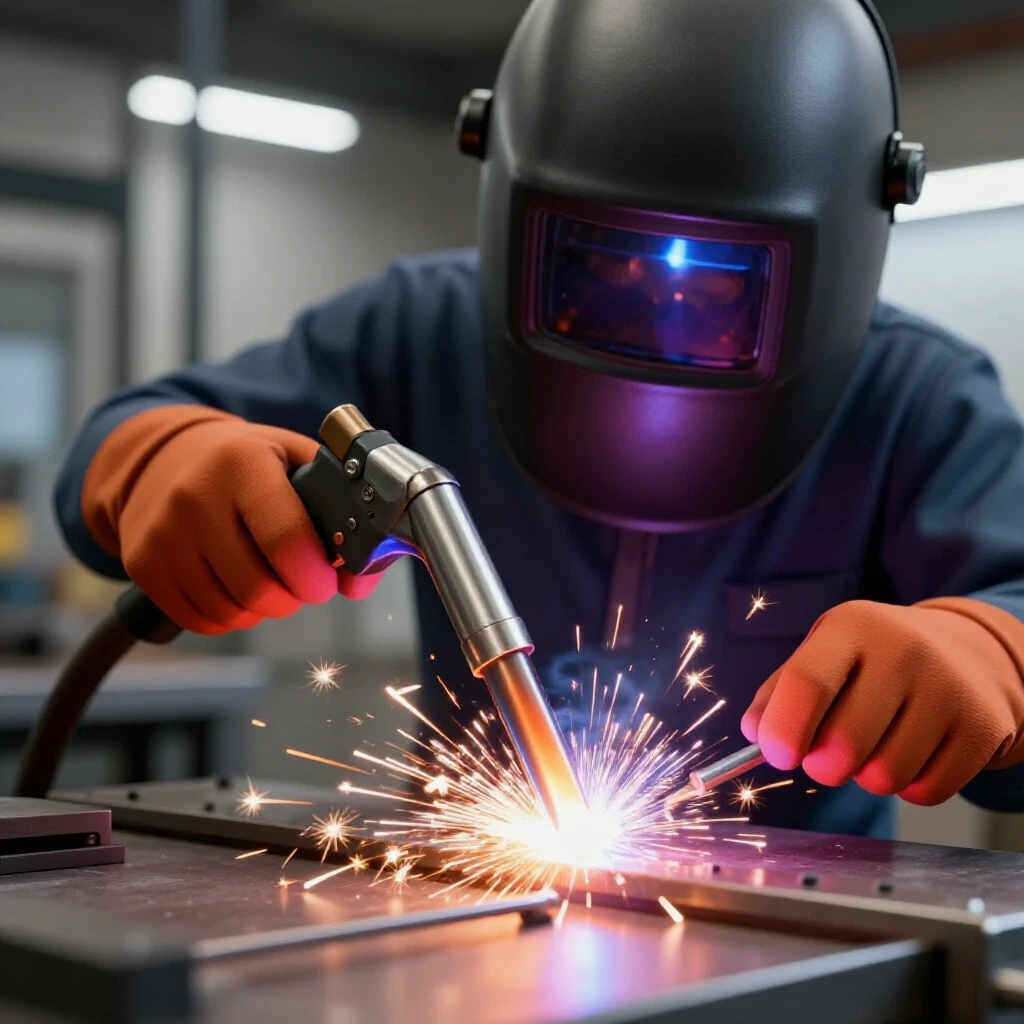
How to Prep and Weld Clean Corner Joints in Steel (DIY Fix)
The first time I tried to join two pieces of steel at a right angle, the result looked more like a bird nest than a structural joint. I remember the frustration of watching the arc wander, the metal blowing through the edge, and the finished piece ending up warped and out of square. Over the last 12 years of my fabrication journey, I have learned that these struggles are not a lack of talent but a lack of systematic practice.
When you are starting out in a home shop, the sheer number of variables can feel overwhelming. You have to manage hand speed, torch angle, heat settings, and body positioning all at once. I spent my first three years just guessing, but my progress only truly accelerated when I started tracking my metrics and treating each weld like a data point. By focusing on the physical mechanics and the science of the metal, you can move past the plateau of “good enough” and start producing professional results.
Mastering Body Mechanics for Steady Arc Control
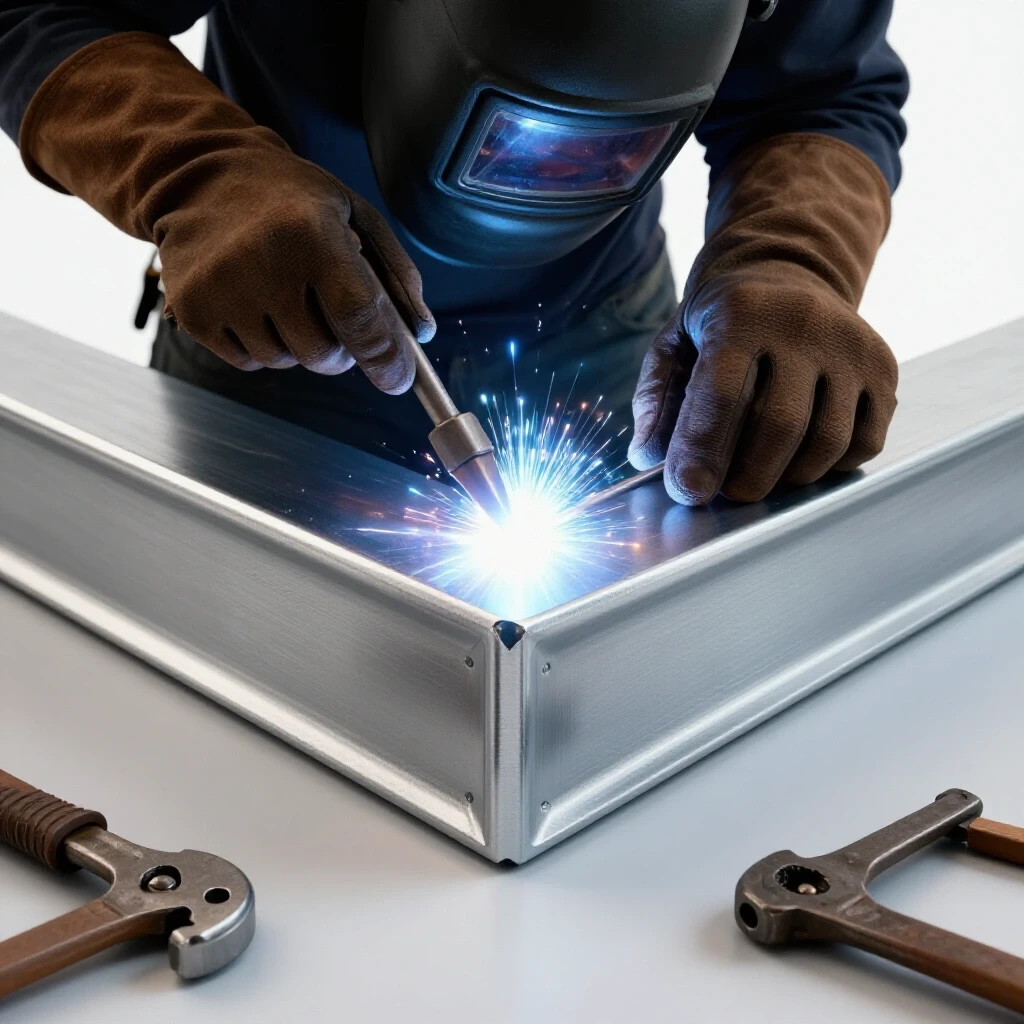
The physical alignment of your body determines the stability of your hands during a metalworking session. Proper positioning reduces fatigue and prevents the “shaky hand” syndrome that leads to inconsistent bead patterns and irregular penetration. Without a stable base, your torch control will suffer regardless of your machine settings.
When I teach students, the first thing I look at is their feet. If you are reaching too far or leaning awkwardly, your muscles will tense up. This tension transfers directly to your weld puddle. I recommend the “three points of contact” rule: keep both feet firmly planted and lean your hip or non-welding elbow against the workbench. This creates a tripod effect that stabilizes your upper body.
Before you pull the trigger, perform a “dry run.” Move your torch along the entire length of the joint without the arc. If your hand catches on a glove or your sleeve bunches up halfway through, you will see a defect in your weld at that exact spot. Practicing the physical motion helps build the muscle memory required for a smooth, continuous travel speed.
- Stance: Feet shoulder-width apart, knees slightly bent.
- Bracing: Use your off-hand to support your torch hand, resting your pinky finger on the work surface if heat allows.
- Breathing: Take a deep breath and exhale slowly as you weld to keep your heart rate steady.
Decoding the Molten Puddle and Machine Settings
Understanding how heat interacts with steel allows you to adjust your wire speed or amperage on the fly. The puddle is your primary feedback loop, indicating whether your travel speed is too fast or your heat is too low. Learning to read the fluid dynamics of the metal is the core of consistent fabrication.
In my early years, I blindly followed the charts on the inside of the welder door. While those are good starting points, they don’t account for the temperature of your shop or the specific alloy of your steel. You must learn to listen to the arc. A perfect MIG weld should sound like sizzling bacon—a steady, crisp crackle. If it sounds like a machine gun, your wire speed is too high. If it pops and sputters, your voltage is likely too low.
The table below shows the baseline parameters I use for common steel thicknesses when practicing corner seams.
| Material Thickness | Voltage Setting | Wire Feed Speed (IPM) | Travel Speed Goal |
|---|---|---|---|
| 1/8 inch (3.2mm) | 17-18V | 200-220 IPM | 10-12 inches per minute |
| 3/16 inch (4.8mm) | 19-20V | 240-260 IPM | 8-10 inches per minute |
| 1/4 inch (6.4mm) | 21-22V | 280-300 IPM | 6-8 inches per minute |
Building an intuitive sense for these settings takes time. I suggest keeping a logbook where you record your settings and the resulting bead appearance. Over time, you will start to see the relationship between heat input and puddle flow.
Creating the Clean Zone for Structural Integrity
Preparing the steel surface involves removing mill scale, rust, and oils to ensure the arc remains stable. A clean zone extends at least one inch from the joint, preventing porosity and inclusions in the final weld. Proper preparation is 80% of the work required for a high-quality finish.
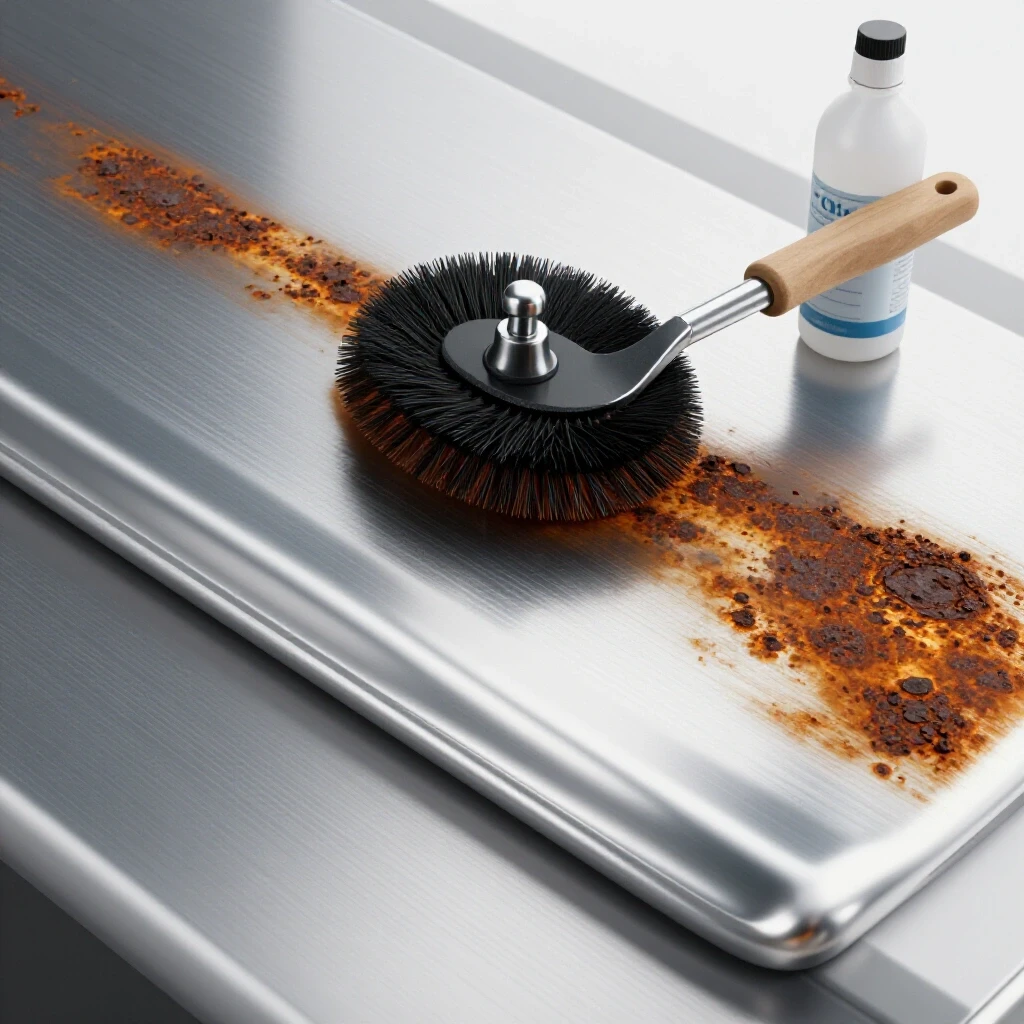
Mill scale is the dark, flaky coating found on hot-rolled steel. It is an electrical insulator and will cause your arc to dance around, leading to poor fusion. I use a flap disc on a 4.5-inch angle grinder to take the metal down to a bright, shiny finish. If you can see your reflection in the steel, it is ready to be joined.
After grinding, wipe the area with a degreaser like acetone. Even the oils from your skin can introduce contaminants that weaken the bond. Once the metal is clean, the fit-up is your next priority. For a corner joint, the two pieces should meet precisely. Any gaps will require more filler metal and increase the risk of warping the project.
- Grinding: Use a 40 or 60 grit flap disc for fast removal.
- Degreasing: Use a lint-free rag and a dedicated metal cleaner.
- Squaring: Use a machinist square or a magnetic corner clamp to hold the pieces at exactly 90 degrees.
Executing Precise 90-Degree Corner Fusions
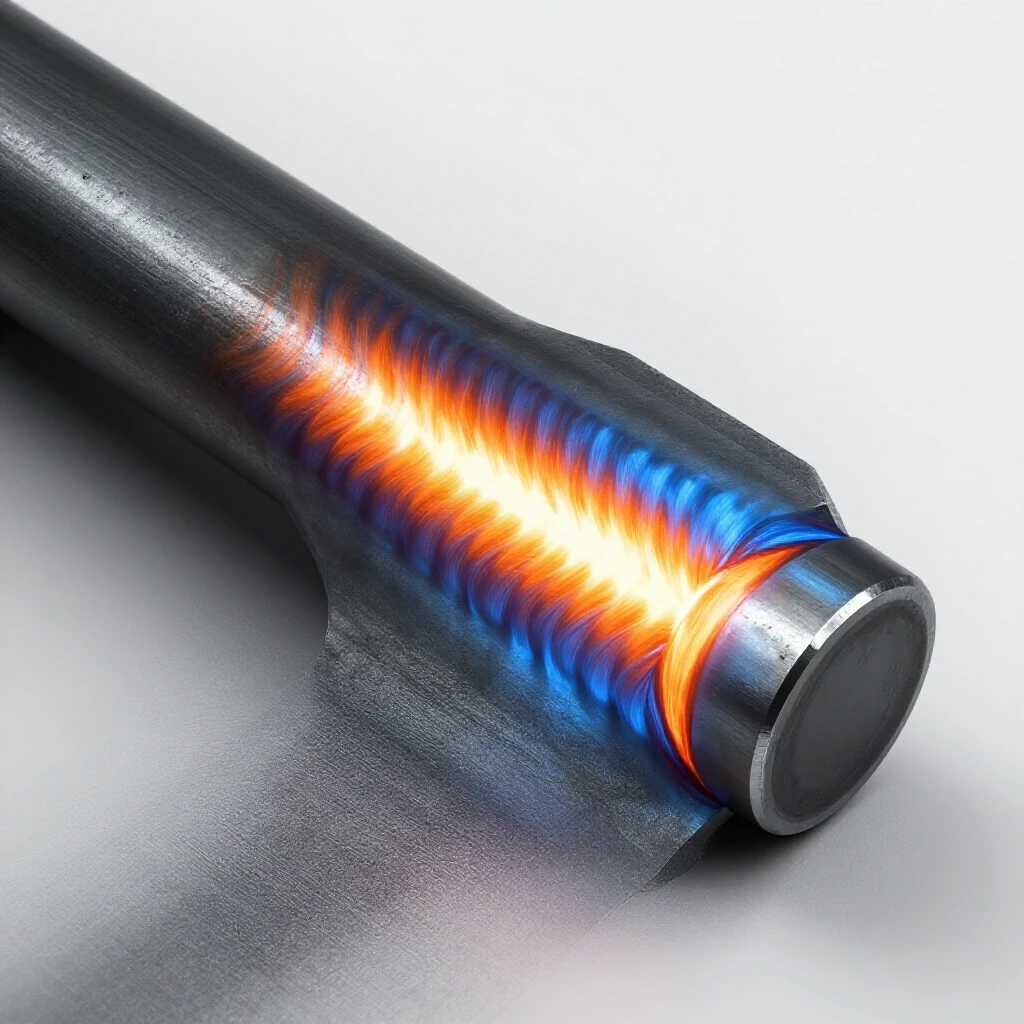
Corner joints require specific torch angles and travel speeds to ensure the weld bead ties into both edges without blowing through the metal. Managing the heat at the corner is crucial for a flush, professional finish. This is where your hand-eye coordination is most tested.
There are two main types of corner joints: the inside fillet and the outside corner. For an inside corner, you need to point the wire directly into the “root” or the very bottom of the V-shape. I use a 45-degree angle between the two plates and a 10-to-15 degree “drag” angle (leaning the torch away from the direction of travel). This pushes the heat into the joint and ensures deep penetration.
For an outside corner, the risk is melting away the sharp edges of the steel. I often reduce my voltage by half a volt and increase my travel speed. The goal is to bridge the two edges with a bead that is slightly convex. If the bead is flat or sunken, you aren’t adding enough filler metal or your travel speed is too high.
| Joint Type | Torch Work Angle | Travel Angle | Focus Point |
|---|---|---|---|
| Inside Corner | 45 Degrees | 10-15 Degrees Drag | The Root (Bottom) |
| Outside Corner | 90 Degrees (Centered) | 5-10 Degrees Push/Drag | The Top Edges |
Tracking Your Progression with Systematic Logging
Recording your machine settings, travel speeds, and visual results helps you identify patterns in your learning. This data-driven approach turns “lucky” good welds into repeatable, professional-grade skills. I have kept a shop journal for over a decade, and it is the most valuable tool I own.
When you finish a practice run, don’t just throw the scrap away. Cool it down and look at it under a bright light. Look for “undercut,” which is a small groove melted into the base metal next to the weld. This is usually caused by too much heat or a travel speed that is too slow. Also, check for “overlap,” where the weld metal is just sitting on top of the steel without actually fusing.
I recommend the following five-step review process for every practice session:
- Visual Inspection: Is the bead width consistent from start to finish?
- Measurement: Use a fillet gauge to check the size of the weld.
- Cross-Section: Occasionally cut a joint in half with a saw to check the internal penetration.
- Photography: Take a photo of your best and worst welds of the day.
- Data Entry: Note the voltage, wire speed, and how the arc felt.
Overcoming the Mid-Project Plateau
Every fabricator hits a point where they feel like they aren’t getting any better. You might find that your beads look great for the first two inches and then fall apart. This is often a sign of “hand fatigue” or a loss of focus. When this happens, I go back to the basics: bead-on-plate drills.
Instead of trying to build a complex project, take a flat piece of scrap and just run straight lines. Focus entirely on maintaining a consistent “stick-out”—the distance between your contact tip and the metal. Keeping this distance at exactly 3/8 of an inch will stabilize your heat input.
Interestingly, I found that my biggest breakthroughs happened when I slowed down my practice. Instead of trying to weld faster, I focused on the “ripple” of the puddle. Each ripple represents a tiny movement of your hand. If the ripples are evenly spaced, your travel speed is consistent. If they are bunched up or stretched out, your hand is moving erratically.
Advanced Techniques for Heat Management
As you move from 1/8-inch steel to thinner materials, heat management becomes your primary challenge. Steel expands when heated and contracts as it cools. In a 90-degree joint, this contraction will pull the plates toward each other, turning your perfect 90-degree angle into an 85-degree angle.
To fight this, use “tack welds.” These are tiny, temporary welds at the ends and the center of your joint. I always tack the ends first, then check the squareness. If the metal has pulled, I can gently tap it back into place before laying down the final bead. For longer seams, I use a “backstepping” technique. I weld a three-inch section, then move ahead three inches and weld back toward the previous bead. This distributes the heat more evenly and reduces warping.
- Tack Spacing: For 12 inches of joint, use tacks every 3 to 4 inches.
- Cooling: Allow the metal to air cool. Never quench a structural weld in water, as this can make the steel brittle.
- Clamping: Leave your clamps on until the metal is cool to the touch.
Practice Drills for Muscle Memory
To build the hand-eye coordination needed for clean corner seams, you must put in the “hood time.” I suggest a structured 30-minute practice routine before starting any actual project. This warms up your muscles and lets you calibrate your machine to the day’s conditions.
- The Straight Line (5 mins): Run three 6-inch beads on a flat plate. Focus on a straight path.
- The Restart (5 mins): Stop a weld halfway through, then try to restart it so the transition is invisible.
- The Corner Tack (10 mins): Practice fitting two pieces of scrap at 90 degrees and placing perfect, consistent tacks.
- The Full Seam (10 mins): Weld a full corner joint, focusing on maintaining a 45-degree torch angle.
By the end of this routine, you should be able to tell if your travel speed is hitting the 10-12 IPM target. If you are moving too fast, your bead will be thin and pointy. If you are too slow, the bead will be wide and tall.
Using Technology to Refine Your Technique
In the modern shop, we have tools that I didn’t have 12 years ago. Slow-motion video is a game changer. Set up your phone to record your weld through a spare welding lens. When you play it back in slow motion, you can see exactly what the puddle is doing. You might notice that your hand is shaking more than you realized, or that the wire is hitting the front edge of the puddle instead of the center.
There are also digital parameter calculators available as smartphone apps. You input your metal type, thickness, and joint style, and it gives you a suggested starting point for your settings. While these don’t replace experience, they significantly shorten the learning curve for beginners.
Common Pitfalls and How to Fix Them
Even experienced fabricators run into issues. The key is knowing how to diagnose the problem by looking at the finished bead. One common issue is “porosity,” which looks like tiny holes or bubbles in the weld. This is almost always caused by a lack of shielding gas, either because the tank is empty or a breeze is blowing the gas away.
Another issue is “cold lap,” where the weld looks like it is sitting on the surface like a bead of water on a waxed car. This happens when the base metal isn’t getting hot enough to melt and fuse with the filler. To fix this, you can either increase your voltage or slow down your travel speed to allow the heat to soak in.
- Excessive Spatter: Usually caused by a wire feed speed that is too high or a dirty surface.
- Burn-Through: Caused by too much heat or a travel speed that is far too slow.
- Warping: Caused by concentrated heat in one area. Use tacks and backstepping to fix.
Final Steps for a Professional Finish
Once the welding is done, the work isn’t quite over. A professional-grade joint should require minimal cleanup. If you have managed your parameters correctly, you should only have a light coating of “silica” (brown glass-like spots) or a small amount of spatter.
I use a wire brush to remove the silica while the weld is still warm. If there is spatter, a light pass with a chipping hammer or a scraper should pop it right off. If you find yourself needing to grind the entire weld flat to make it look good, you need to go back to the practice plate. A good weld should be aesthetically pleasing exactly as it was laid down.
Building these skills is a marathon, not a sprint. I still have days where my hand isn’t as steady as I’d like. But because I have a systematic approach, I can identify the problem and correct it. Keep your logs, watch your videos, and don’t be afraid to fail on scrap metal so you can succeed on your real projects.
Frequently Asked Questions
Why does my weld bead look like it is “piled up” on the steel? This is usually a sign of “cold lap” or insufficient heat. Your voltage may be too low for the thickness of the steel, or your wire feed speed is too high, causing too much metal to be deposited before the base metal can melt. Try increasing your voltage in small increments or slowing your travel speed.
What is the best way to keep a corner joint at exactly 90 degrees? Tack welding is the most effective method. Place a small tack at each end of the joint. Check the angle with a square. If it has pulled out of alignment, you can “cold set” it by tapping it with a hammer before doing the final weld. Using heavy magnetic clamps also helps hold the pieces during the initial tacking.
How do I stop the end of the weld from blowing a hole in the corner? The edges of the steel get hot very quickly because there is less metal to soak up the heat. When you get within a half-inch of the end, speed up your travel slightly or “flick” the torch away to let the puddle cool for a fraction of a second. This prevents the heat from building up and melting the corner away.
Should I push or drag the torch when welding an inside corner? For MIG welding on steel, a slight “drag” (pulling the torch) is generally preferred for beginners. It provides better visibility of the puddle and deeper penetration into the root of the joint. “Pushing” creates a flatter bead and less penetration, which is sometimes useful for very thin metals but harder to control.
How clean does the steel really need to be? It needs to be “shiny clean.” Any mill scale, rust, paint, or oil will destabilize the arc. This leads to spatter and “porosity” (tiny holes in the weld). Always grind back at least one inch from the area you plan to weld to ensure the arc has a clean path to the base metal.
How do I know if my travel speed is correct? Watch the shape of the puddle. If the back of the puddle is a nice, rounded oval, your speed is likely correct. If the puddle looks like a long, pointed V, you are moving too fast. If the puddle is a large, wide circle that seems to be getting out of control, you are moving too slow.
What is “undercut” and how do I avoid it? Undercut is a groove melted into the base metal right at the edge of the weld bead. It weakens the joint. It is caused by having your torch angle too high (pointing more at one plate than the other) or by moving too fast while using high heat. Ensure your torch is split exactly 45 degrees between the plates.
Why is my welder making a loud popping sound instead of a smooth sizzle? Popping usually indicates that your wire feed speed is too high for the voltage you have selected. The wire is hitting the metal before it has a chance to melt into a puddle, causing it to “stub” and pop. Lower your wire feed speed or increase your voltage until you get a steady, crisp sizzle.
Can I weld a corner joint in one pass? For steel up to 1/4 inch thick, a single pass is usually sufficient if your machine has enough power. For thicker materials, you may need a “root pass” to ensure penetration followed by a “cover pass” to fill the joint. For most DIY projects using 1/8-inch steel, one well-executed pass is the goal.
How can I practice my hand stability without wasting gas and wire? Try “dry runs” with the machine turned off. Place your torch in the joint and move it from one end to the other while focusing on keeping a consistent 3/8-inch distance from the metal. You can also tape a pencil to your torch and try to draw a perfectly straight line on a piece of paper at a consistent speed.
(This article was written by one of our staff writers, Thomas Langley. Visit our Meet the Team page to learn more about the author and their expertise.)