How to Prevent Heat-Affected Zone Cracks in Steel (DIY Fix)
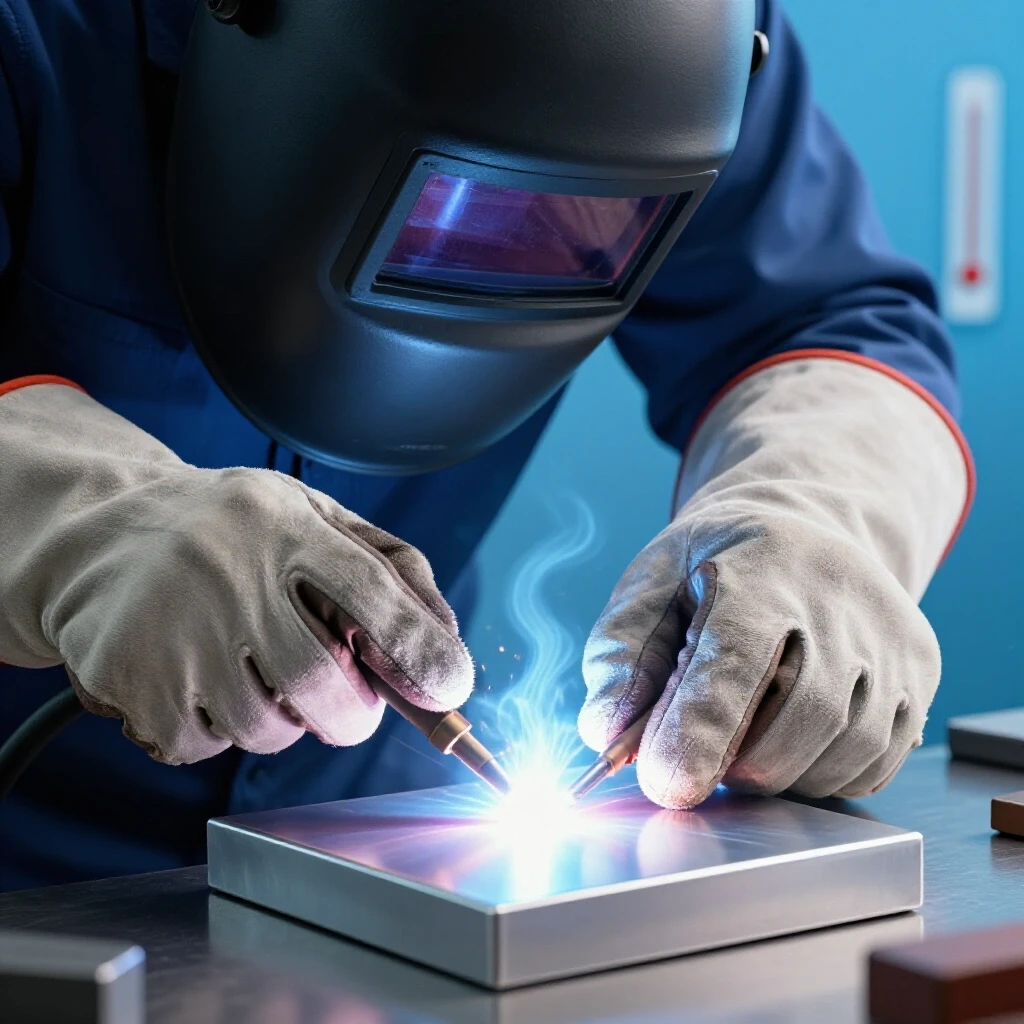
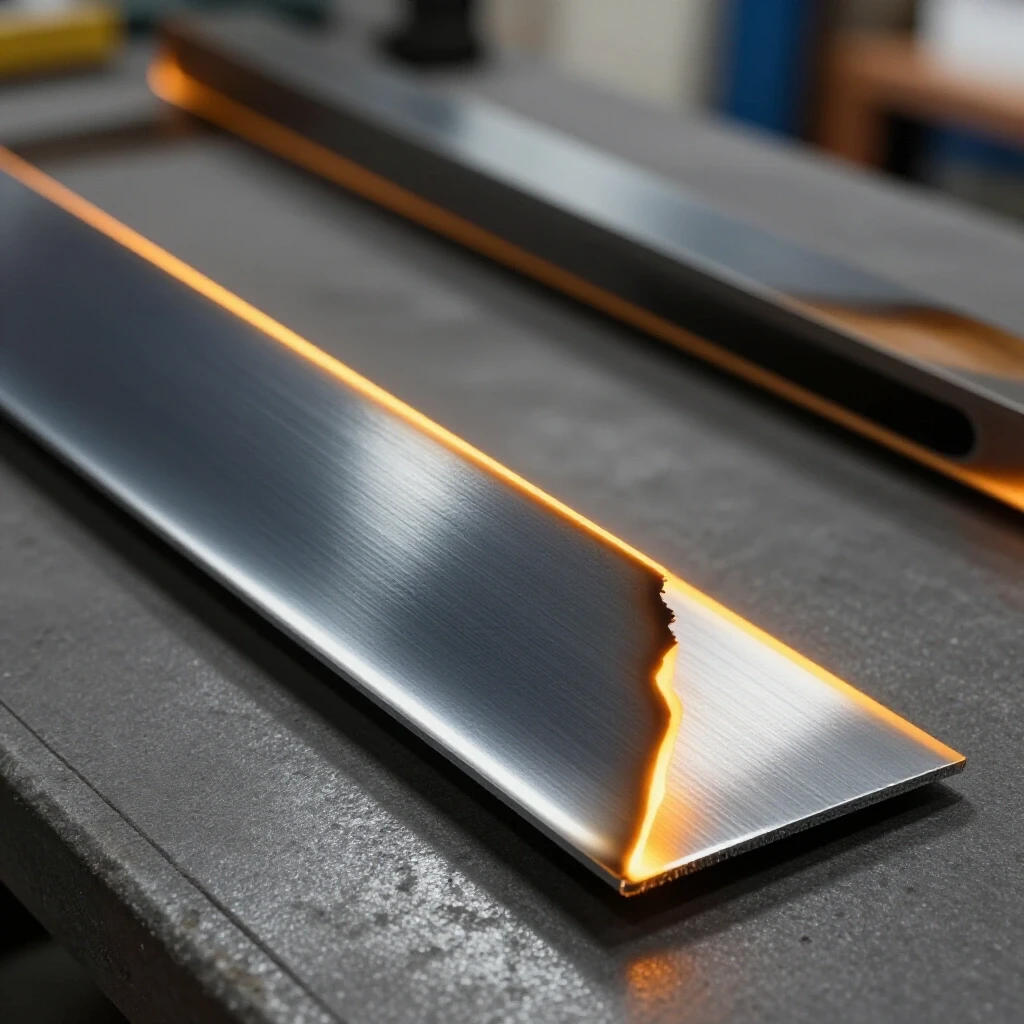
I’ve spent the better part of 18 years in fabrication shops, and if there is one thing I’ve learned, it’s that steel is a living thing. It moves, it breathes, and it reacts to heat in ways that aren’t always visible to the naked eye. There is a specific kind of frustration that comes when you finish a heavy-duty bracket or a structural repair, the bead looks like a “stack of dimes,” and then you hear it. That sharp, metallic ping an hour later. That sound is the heart of a fabricator sinking because you know exactly what happened: the metal just gave up at the boundary.
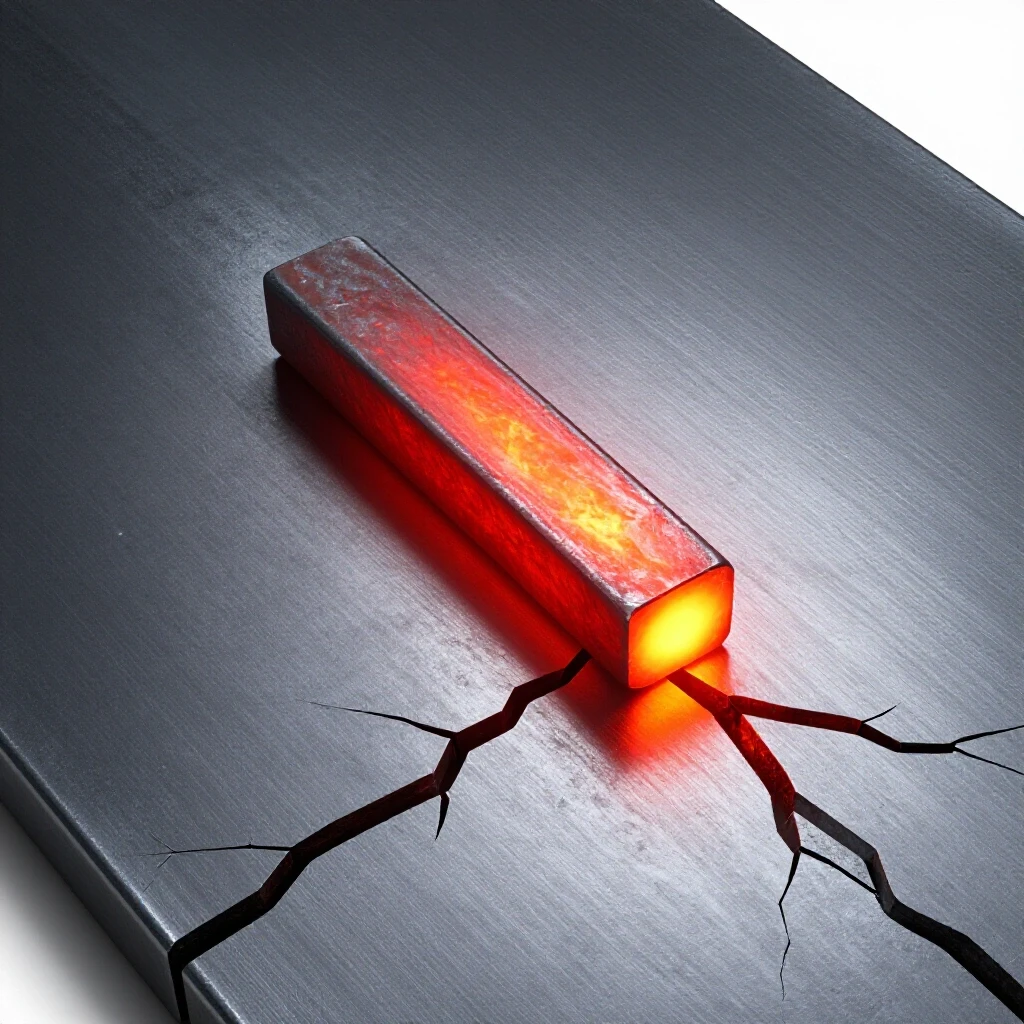
In my time as a millwright and diagnostic specialist, I’ve seen this happen on everything from massive industrial rollers to simple shop jigs. It isn’t usually the weld itself that fails; it’s the area right next to it. This zone, which has been cooked but not melted, becomes the weakest link in your chain. Tracking down why these fractures occur requires a shift from “just welding” to a systematic diagnostic mindset. We have to look at the metallurgy, the moisture, and the mechanical stresses as variables in a complex equation.
Decoding the Mechanics of Boundary Failures in Steel
This section explores why the area surrounding a weld bead often fails even when the weld itself looks perfect. We look at the transformation of steel into brittle martensite and how rapid temperature drops create internal stresses that lead to structural fractures.
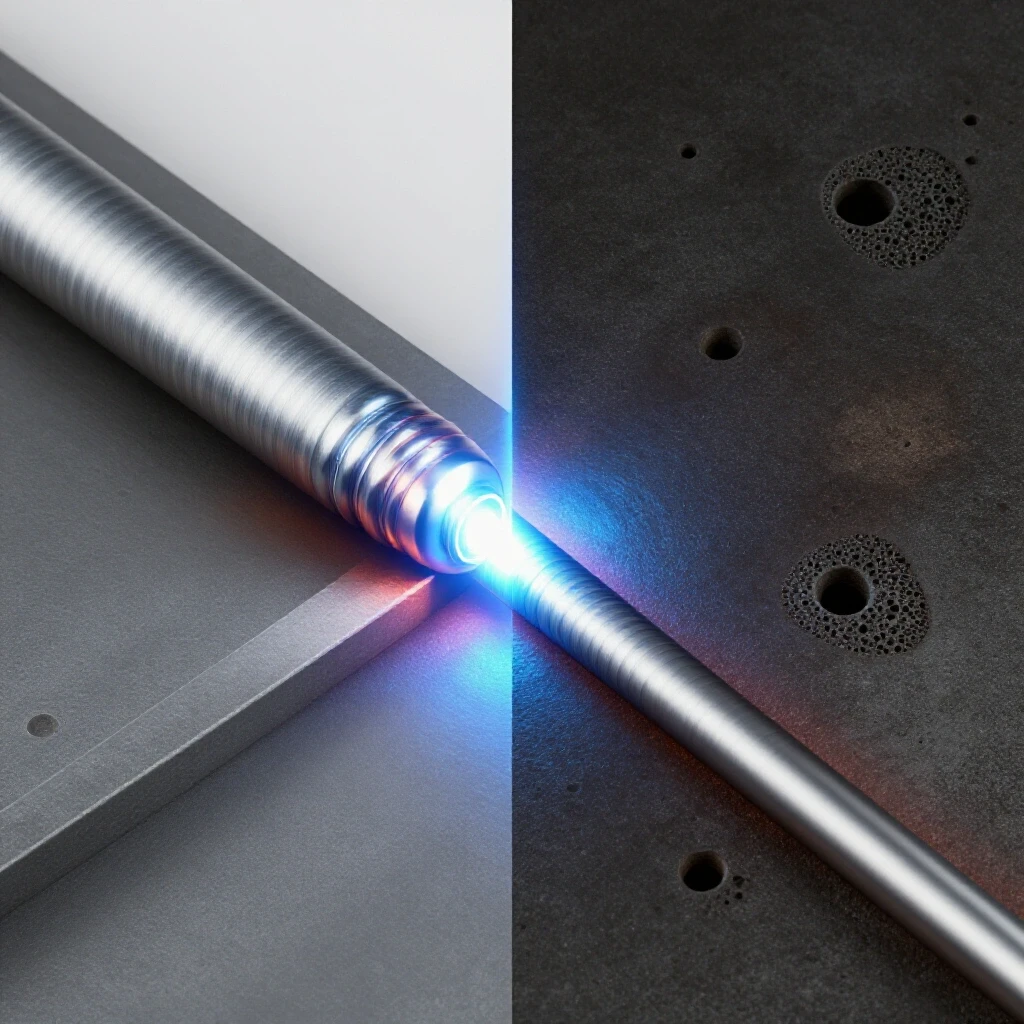
When we talk about the Heat-Affected Zone (HAZ), we are talking about the portion of the base metal that didn’t melt but had its microstructure altered by the intense heat of the arc. In carbon steels, if this area cools too quickly, it undergoes a phase change. It turns into martensite, a structure that is incredibly hard but also very brittle. Think of it like glass; it can handle pressure, but it can’t handle a shock or a pull.
Interestingly, this brittle zone is particularly sensitive to hydrogen. If hydrogen atoms get trapped in that hard structure, they create immense internal pressure. This is often called “underbead cracking” or “cold cracking” because it typically happens after the metal has cooled down, sometimes up to 48 hours later. As a result, your diagnostic process must account for both the cooling rate and the presence of moisture.
- Martensite Formation: Occurs when steel is quenched or cooled rapidly from high temperatures.
- Hydrogen Embrittlement: Small atoms of hydrogen wedge themselves into the grain structure, causing internal stress.
- Residual Stress: The natural pulling of the metal as it shrinks during cooling.
Systematically Isolating Thermal Stress Variables
Isolating the causes of structural failure requires a controlled approach where each potential culprit is tested individually. By mapping out the diagnostic path, we can determine if the issue stems from the material thickness, the ambient shop temperature, or the specific welding parameters used.
When I’m called in to diagnose a recurring crack in a shop’s workflow, I start by looking at the “quench effect.” If you are welding a 1-inch thick plate in a shop that is 40 degrees Fahrenheit, that thick plate acts like a giant heat sink. It sucks the heat out of the weld zone so fast that it effectively quenches the steel. Building on this, we have to measure the cooling rate.
I use a simple infrared thermometer or temperature-indicating crayons to see how fast the temperature drops. If the metal falls from welding heat to room temperature in a matter of seconds, you are almost guaranteed to have a brittle boundary. To fix this, we have to control the variables of heat input and heat dissipation.
| Variable | Diagnostic Check | Target Metric |
|---|---|---|
| Base Metal Temp | Use IR thermometer before striking arc | Min 60°F (15°C) |
| Material Thickness | Measure with calipers | > 1/2 inch requires preheat |
| Cooling Rate | Time the drop from 400°C to 100°C | Max 10°C per minute |
| Ambient Airflow | Check for fans or drafts | Zero direct wind on weldment |
Managing Hydrogen Contamination to Avoid Cold Cracking
Hydrogen is a silent killer in fabrication, often entering the metal through moisture in electrodes or on the steel surface. This section details how to select and store filler materials to keep hydrogen levels low and prevent it from becoming trapped in the cooling metal.
In my experience, many “inexplicable” cracks are actually caused by poor rod storage. If you are using an electrode like 7018, which is a low-hydrogen rod, it is designed to be kept bone-dry. The flux on these rods is like a sponge; it pulls moisture right out of the air. When you strike an arc, that moisture breaks down into hydrogen, which then hitches a ride into the hot metal.
I’ve seen guys pull a handful of 7018s out of an open box that’s been sitting on a damp concrete floor for three months. That is a recipe for disaster. To troubleshoot this, I always suggest a “fresh rod test.” If the cracking stops when you use a brand-new, vacuum-sealed pack of rods, you’ve found your culprit.
- Electrode Care: Store low-hydrogen rods in a rod oven at 250°F (120°C) once the seal is broken.
- Surface Prep: Grind away all mill scale, rust, and oil. These contaminants contain hydrocarbons that release hydrogen during welding.
- Gas Purity: If using MIG or TIG, ensure your shielding gas is dry and your flow rate is set correctly (typically 20-30 CFH) to prevent atmospheric contamination.
Preheating Techniques for Stable Thermal Transitions
Preheating involves raising the temperature of the base metal before welding to slow down the cooling process. By using basic tools like propane torches, you can ensure the steel doesn’t “quench” itself, which helps prevent the formation of brittle structures in the transition zone.
The most effective DIY fix for boundary cracking is the use of a preheat. By raising the temperature of the steel to between 150°C and 300°C (300°F to 575°F) before you start, you reduce the “thermal shock.” This allows the hydrogen more time to diffuse out of the metal while it is still hot and prevents the formation of that brittle martensite.
I usually use a simple propane “weed burner” or an oxy-acetylene torch for this. The key is to heat the metal evenly. Don’t just blast the spot where the weld will go. You need to soak the surrounding area—at least 3 inches in every direction—to ensure the entire zone stays warm. I use a 200°C Tempilstik; I rub it on the steel, heat it until the mark melts, and then I know I’m in the safe zone.
- Clean the surface: Remove all grease and scale.
- Apply heat: Move the torch in a wide, circular motion.
- Verify temp: Use a temperature-indicating crayon or a digital probe.
- Maintain interpass temp: If the project takes a long time, re-heat between passes to stay above 150°C.
Controlling Cooling Rates with Shop-Floor Insulation
Once the arc is extinguished, the speed at which the metal returns to room temperature determines its final strength. This section covers DIY methods for slowing that descent, such as using ceramic blankets or buckets of vermiculite to keep cooling under 10 °C per minute.
The work isn’t done when the weld is finished. In fact, the most critical diagnostic window is the first thirty minutes of cooling. If you leave a hot weldment on a cold steel table, the table will wick the heat away instantly. I’ve seen 2-inch thick plates crack right down the middle because they were cooled too fast by a shop fan.
To prevent this, I use “slow-cooling” stations. For smaller parts, I keep a bucket of vermiculite or dry sand. As soon as the weld is done, I bury the part in it. For larger structures, I wrap the weld area in a ceramic fiber blanket. The goal is to keep the cooling rate below roughly 10°C per minute. If you can still feel heat in the part an hour later, you’ve done it right.
- Insulation Blankets: Use welding-rated fiberglass or ceramic blankets to wrap the joint.
- Sand/Vermiculite: Excellent for small parts; acts as a thermal buffer.
- Avoid Drafts: Close shop doors and turn off cooling fans until the part is below 100°C.
Identifying Mechanical Misalignments That Trigger Fractures
Structural issues like poor fit-up or excessive vibration can put undue stress on a fresh weld boundary. Here, we examine how to diagnose alignment errors and tool chatter that might weaken a joint before it has even fully cooled and set.
Sometimes the crack isn’t purely metallurgical; it’s mechanical. If your parts don’t fit together perfectly, you are forcing the weld to bridge a gap. As that weld cools, it shrinks. If the parts are clamped so tightly they can’t move, or if they are misaligned, that shrinkage force has nowhere to go. It pulls on the brittle HAZ, and the metal snaps.
In my diagnostic work, I check for “fit-up stress.” I look for gaps larger than 1/16th of an inch in critical joints. I also look for tool chatter or machinery vibrations that might be shaking the part while it’s cooling. A lathe with 0.002 inches of spindle backlash can create subtle vibrations that act like a jackhammer on a cooling, brittle weld.
- Check Backlash: Use a dial indicator to ensure machine components aren’t vibrating the weldment.
- Verify Fit-up: Ensure surfaces are flush. A 0.005-inch gap can triple the residual stress on a joint.
- Stress Relief: Sometimes, a light peening (tapping the weld bead with a ball-peen hammer) while it’s still hot can help “relax” the metal and prevent cracking.
Case Study: The Heavy Equipment Mounting Bracket
A few years ago, I was helping a guy who was building custom mounts for a backhoe. He was using 3/4-inch AR400 steel. Every single mount he welded would crack about an inch away from the bead the next morning. He was frustrated, thinking his welder was underpowered or his wire was bad.
We sat down and looked at his process. He was welding in a garage that was about 45 degrees. He was using a standard MIG setup with no preheat. We did a “fault-tree” analysis. * Step 1: We checked for porosity. None found. * Step 2: We checked the wire. It was standard ER70S-6, which is fine, but his gas flow was a bit low at 15 CFH. We bumped it to 25 CFH. * Step 3: We introduced a 250°C preheat using a propane torch. * Step 4: We wrapped the bracket in a heavy welding blanket immediately after the last pass.
The result? Not a single crack. The issue wasn’t his machine; it was the physics of the cooling rate. By slowing down the “quench,” we prevented the steel from turning into that brittle, glass-like state.
Diagnostic Math: Calculating the Cooling Gradient
To truly master this, you need to understand the numbers. You don’t need a lab, but you do need to track your time and temperature. If you know your start temp and your end temp, you can calculate your cooling rate.
The Formula: (Start Temp – End Temp) / Time in Minutes = Cooling Rate
If your weld is 400°C and it drops to 100°C in 5 minutes, your rate is 60°C per minute. That is far too fast for high-carbon or thick steel. You want that number to be closer to 10°C per minute. To achieve this, you either need to increase the starting heat (preheat) or increase the insulation (blankets).
Practical Tools for Shop-Level Diagnostics
You don’t need expensive sensors to find the root cause of boundary fractures. A few basic tools, used systematically, will tell you everything you need to know about why your steel is failing.
- Digital Infrared Thermometer: For real-time monitoring of preheat and interpass temperatures.
- Temperature-Indicating Crayons (Tempilstiks): These are more accurate than cheap IR guns on shiny metal. They melt at a precise temperature.
- Magnifying Glass (10x): To inspect for “micro-cracks” that appear before the final failure.
- Dial Indicator: To check for mechanical play or backlash in your jigs (aim for less than 0.002″ play).
- Stopwatch: To track cooling rates and ensure you aren’t rushing the process.
Summary of Prevention Steps
- Preheat: Always preheat steel thicker than 1/2 inch to 150–300 °C.
- Dry Rods: Use low-hydrogen electrodes and keep them in an oven or a sealed container.
- Clean Surfaces: Grind back to bright metal to eliminate hydrogen-rich contaminants.
- Slow Cool: Use blankets or sand to keep the cooling rate under 10 °C per minute.
- Check Fit: Minimize gaps and mechanical stress in the joint design.
Building a habit of systematic observation is what separates a hobbyist from a master fabricator. When a weld fails, don’t just grind it out and try again the same way. Stop, look at the cooling rate, check your moisture sources, and measure your temperatures. Usually, the fix is as simple as a torch and a blanket.
FAQ: Troubleshooting Steel Boundary Cracks
Why does the crack happen next to the weld and not in it? The weld metal itself is often more ductile than the base metal. The area next to it, the Heat-Affected Zone, gets hot enough to change its internal structure but isn’t replaced by new, flexible filler metal. If it cools too fast, it becomes brittle martensite, which snaps under the stress of the weld shrinking.
Can I use a hairdryer to preheat the metal? No. A hairdryer cannot generate the BTUs needed to raise the temperature of thick steel to the required 150–300 °C. You need a propane torch, an oxy-acetylene setup, or an electric induction heater to properly soak the metal with heat.
Does this happen with all types of steel? It is most common in high-carbon steels, alloy steels, and thick sections of mild steel. The more carbon or “alloying elements” in the steel, the more likely it is to form brittle structures during rapid cooling.
How long should I wait to see if a crack develops? Hydrogen-induced cracks are often delayed. You should wait at least 24 to 48 hours before putting a critical weldment into service. If it hasn’t cracked by then, it is likely stable.
What is the “ping” sound I hear after welding? That is often the sound of a “cold crack” forming. As the metal shrinks during cooling, the internal stresses exceed the strength of the brittle Heat-Affected Zone, causing a sudden, microscopic fracture that rings through the metal.
Is it okay to quench a weld in water to cool it down faster? Never. Quenching a weld in water is the fastest way to create a brittle, cracked joint. It almost guarantees the formation of martensite and traps hydrogen inside the metal.
How do I know if my 7018 rods are “wet”? If the arc is erratic, there is excessive spatter, or you see tiny pinholes (porosity) in the weld bead, the rods likely have moisture in the flux. You can sometimes see the flux “bubbling” slightly near the arc.
Will a preheat ruin the strength of the steel? For standard structural steels, a preheat up to 300°C is perfectly safe and actually improves the final strength by preventing brittle zones. Only specialized heat-treated steels require strict limits on total heat input.
What if I don’t have a welding blanket? In a pinch, you can use dry sand, a bucket of wood ashes, or even several layers of heavy, dry cardboard (though watch for fire hazards). The goal is simply to create an insulating barrier that stops the air from sucking the heat away.
Can mechanical vibration really cause a weld to crack? Yes. If a part is vibrating at a high frequency while it is in the “brittle range” of cooling (around 200-400°C), those vibrations can act as “stress risers” that initiate a crack in the Heat-Affected Zone. Always ensure your workpieces are clamped rigidly.
(This article was written by one of our staff writers, Paul Whitaker. Visit our Meet the Team page to learn more about the author and their expertise.)