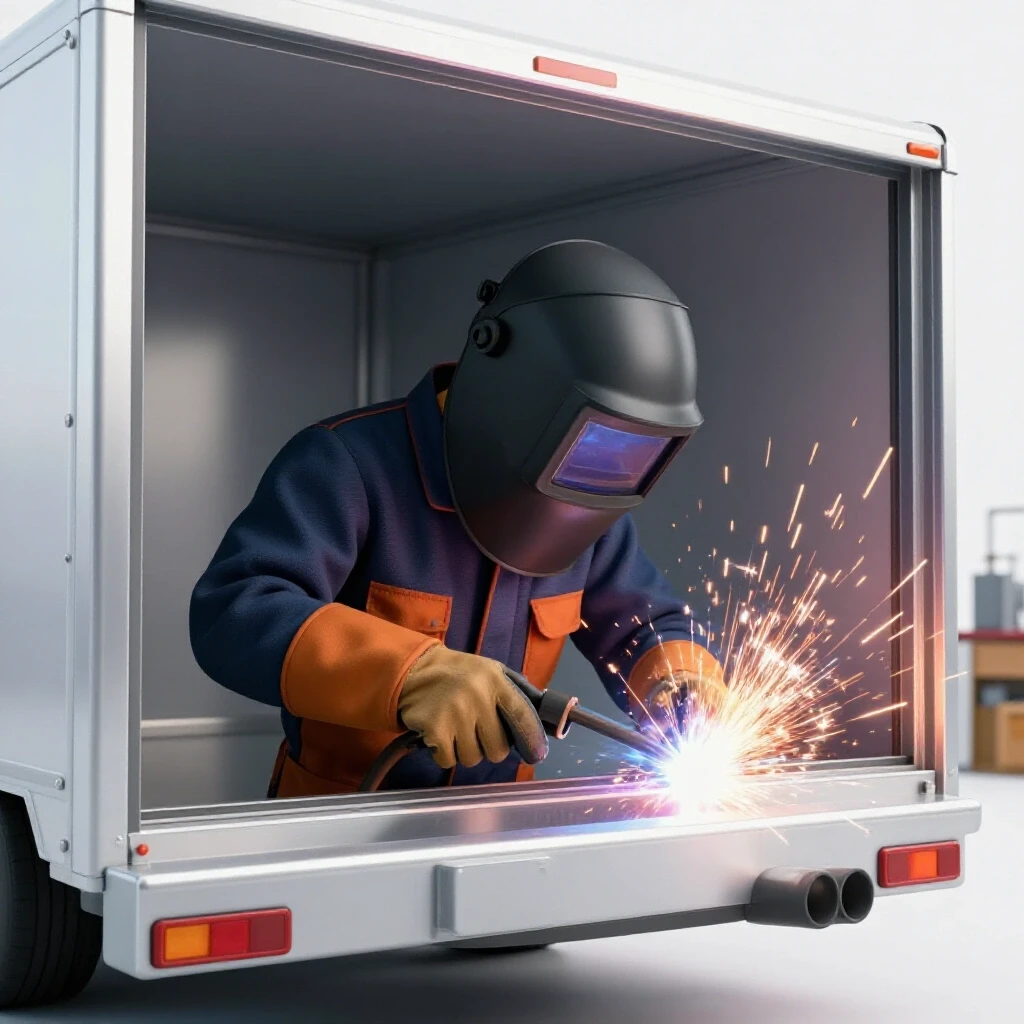
How to Read the Weld Puddle for Strong Penetration (Guide)
When I first started metalworking twelve years ago, I spent weeks simply making “sparkly blobs.” I could strike an arc and move the torch, but I had no idea what was happening inside the heat. It wasn’t until I stopped looking at the bright light and started focusing on the molten pool itself that my skills began to shift. Learning to interpret the behavior of liquid metal is the single most important milestone for any fabricator.
This guide is designed to help you move past the “guessing” phase of your development. We will focus on the physical mechanics of monitoring the weld pool to ensure your joints are structurally sound. By using structured practice and data-driven tracking, you can overcome the plateaus that often stall beginner and intermediate progress. We will break down the visual cues, the math of heat input, and the body mechanics required for professional results.
Understanding the Fluid Dynamics of the Molten Pool
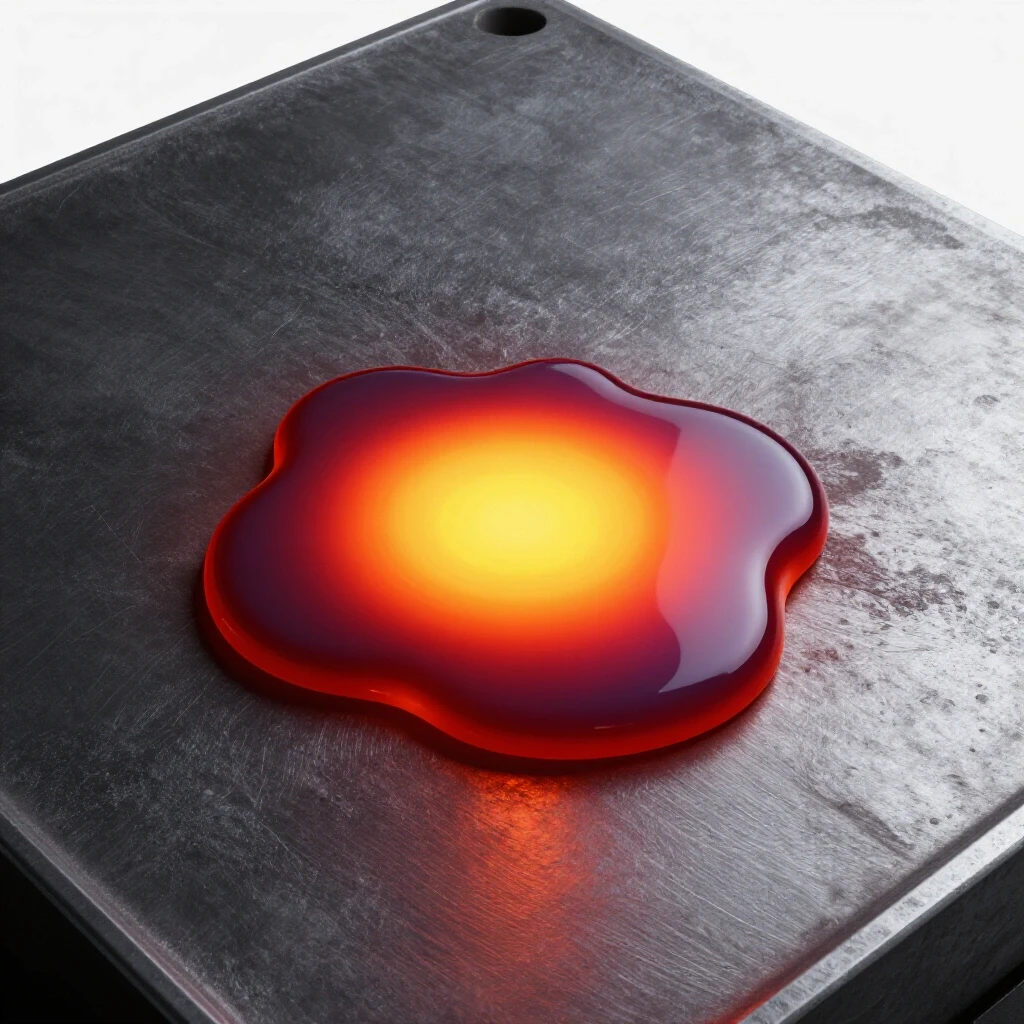
The molten pool is the small area of liquid metal created by the heat of the arc where the base metals melt and fuse together. Monitoring this pool allows a fabricator to see exactly how deep the heat is reaching and how the filler metal is bonding with the workpiece.
When you strike an arc, you are creating a miniature, high-temperature environment. The liquid metal behaves much like water, but with much higher surface tension. If the pool is too cold, it sits on top of the metal like a bead of water on a waxed car. If it is too hot, it becomes watery and difficult to control, eventually falling through the joint.
I tell my students to look for the “tie-in” at the toes of the weld. This is where the liquid metal meets the solid base plate. You want to see the edges of the pool flowing smoothly into the metal, not curling away from it. This visual confirmation is your first sign that you are achieving the fusion needed for a strong joint.
Establishing Body Mechanics for Optimal Visibility
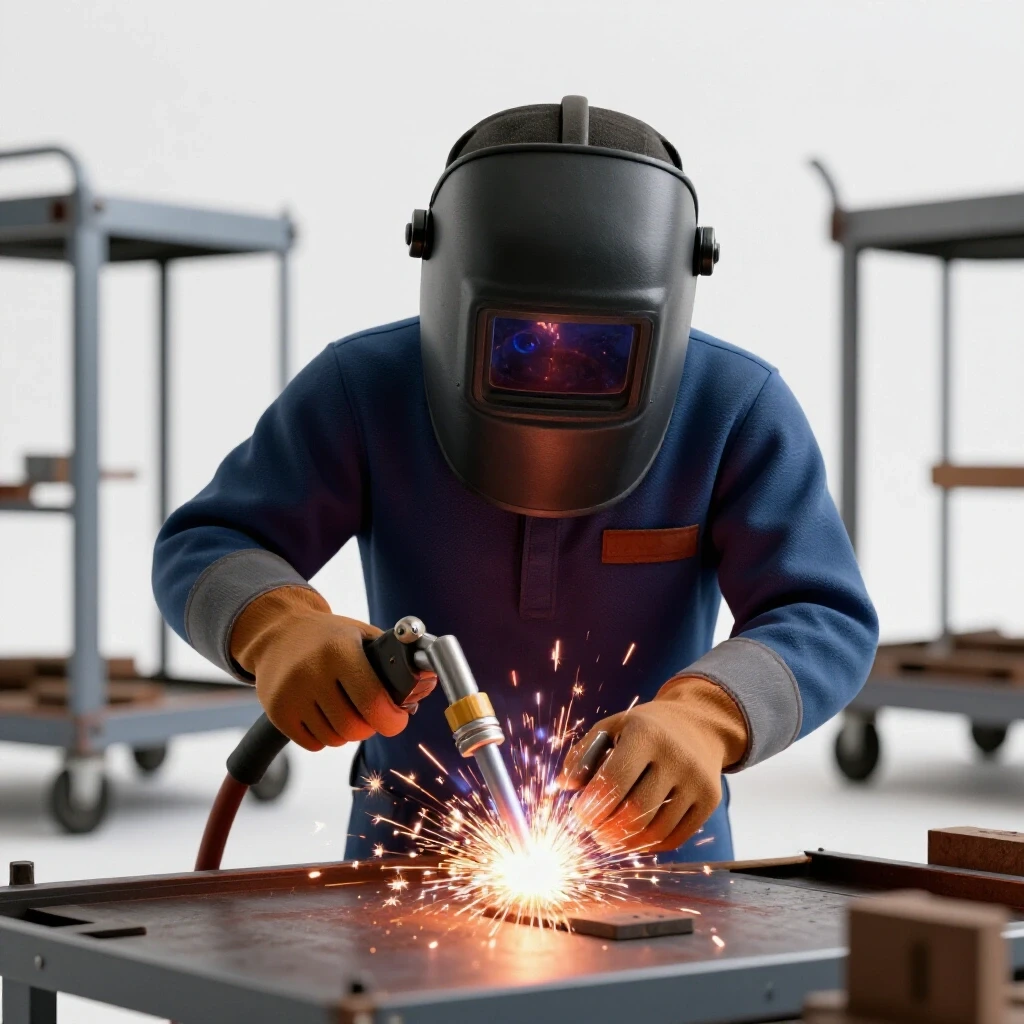
Body mechanics refers to how you position your torso, arms, and head to maintain a steady torch hand while keeping a clear line of sight on the work. Proper positioning prevents fatigue and allows you to watch the leading edge of the molten pool without obstruction.
One of the biggest mistakes I made early on was “shadowing” my own work. If your head is directly over the torch, the nozzle or your hand might block your view of the puddle. You need to find a “sightline” that allows you to see both the arc and the trailing edge of the weld.
I recommend the “three-point stance” for manual welding. This involves having your feet firmly planted, your non-welding hip or shoulder leaning against the workbench, and your elbows tucked or braced. This stability allows you to make micro-adjustments to your torch height and angle. When your body is stable, your eyes can focus entirely on the fluid dynamics of the metal.
Configuring Machine Parameters for Deep Fusion
Machine parameters are the settings on your power source, such as amperage and voltage, that dictate the intensity of the heat. Correct settings ensure the arc has enough energy to melt the base metal deeply rather than just melting the filler wire onto the surface.
To get the most out of your metal welding practice guide, you must understand the relationship between heat and material thickness. A common rule of thumb is to start with one amp for every thousandth of an inch of material thickness. However, this is just a baseline. The real test is how the metal responds to that heat.
If your amperage is too low, the pool will look sluggish and “bumpy.” If it is too high, the arc will feel violent, and the pool will grow uncontrollably. You are looking for a “crisp” arc that creates a pool about twice the width of your electrode or filler wire.
| Material Thickness | Suggested Amperage Range | Electrode/Wire Diameter |
|---|---|---|
| 1/16″ (1.6mm) | 50–75 Amps | 1/16″ |
| 1/8″ (3.2mm) | 90–125 Amps | 3/32″ |
| 3/16″ (4.8mm) | 130–160 Amps | 1/8″ |
| 1/4″ (6.4mm) | 160–200 Amps | 1/8″ |
Interpreting Visual Cues for Penetration and Heat Control
Visual cues are the specific shapes, colors, and movements of the molten pool that tell the fabricator about the quality of the weld. Learning to read these signals in real-time allows you to adjust your speed or angle before a defect occurs.
The most critical cue for deep fusion is the “keyhole.” In a butt joint, a small, circular hole often forms at the leading edge of the pool. This indicates that the arc has melted through the entire thickness of the plates. As you move forward, the liquid metal fills in behind this hole. If the keyhole closes, you have lost your depth of fusion.
Another cue is the “ripple pattern” at the back of the pool. Consistent, closely spaced ripples indicate a steady travel speed. If the ripples are pointed like a “V,” you are likely moving too fast, which can lead to center-line cracking. You want rounded, “C” shaped ripples that show the metal had time to flow and freeze naturally.
Mastering Torch Angles and Travel Speed Consistency
Torch angle and travel speed are the two manual variables that a fabricator controls to manage heat distribution. The angle determines where the arc force is directed, while the speed determines how much heat is soaked into a specific area of the metal.
I use a “drag” angle (tilting the torch 10 to 15 degrees away from the direction of travel) when I need deeper penetration. This pushes the heat into the root of the joint. Conversely, a “push” angle is often used for thinner materials to keep the heat from burning through.
Travel speed is where most beginners struggle. If you move at 12 inches per minute (IPM), you are covering one inch every five seconds. I often have my students use a metronome or a stopwatch to build a sense of rhythm. Consistent speed results in a uniform bead width and a predictable depth of fusion.
| Joint Type | Torch Work Angle | Torch Travel Angle | Travel Speed Goal |
|---|---|---|---|
| Butt Joint | 90 Degrees | 10–15 Degrees Drag | 8–10 IPM |
| Fillet (T-Joint) | 45 Degrees | 10–15 Degrees Drag | 7–9 IPM |
| Lap Joint | 60–70 Degrees | 10–15 Degrees Drag | 9–11 IPM |
| Corner Joint | 90 Degrees | 5–10 Degrees Drag | 10–12 IPM |
Preparing Clean Zones for Predictable Metal Behavior
A clean zone is the area of the base metal that has been stripped of rust, mill scale, and oils before welding. Proper preparation ensures that the arc energy is spent melting the metal rather than fighting through surface contaminants.
In my early years of learning metal fabrication, I tried to weld over mill scale (the dark grey coating on hot-rolled steel). The result was always a “dirty” puddle that popped and hissed. The impurities in the scale act as an insulator, preventing the arc from making a clean connection.
You should clean at least one inch back from the edge of the joint on all sides. Use a grinder or a wire brush until the metal is shiny. This “bright metal” finish allows the molten pool to “wet out” or flow easily into the base material. Without a clean zone, you will struggle to read the puddle because the surface tension will be inconsistent.
Structured Practice Drills for Technique Progression
Practice drills are repetitive exercises designed to isolate specific movements and build muscle memory. Rather than building a complex project immediately, these drills allow you to focus on one variable at a time, such as arc length or travel speed.
Start with “bead-on-plate” exercises. Take a flat piece of 1/8″ steel and run straight lines across it. Your goal is not to join anything yet, but to keep the bead width identical from start to finish. Once you can do this consistently, move to “padding” beads, where you overlap each new run by 50% on top of the previous one.
This progression helps you master torch control before you add the complexity of joint fit-up. I tracked my own progress by measuring the width of my beads every ten inches of weld. If my width varied by more than 1/16″, I knew I needed to work on my hand stability.
- Bead-on-Plate (Level 1): Focus on straight lines and consistent width.
- Overlapping Beads (Level 2): Focus on heat management as the plate gets hotter.
- T-Joint Fillets (Level 3): Focus on directing heat into the corner.
- Butt Joints with Gaps (Level 4): Focus on managing the “keyhole” for full penetration.
Systematic Self-Assessment and Progress Tracking
Self-assessment is the process of objectively evaluating your work against industry standards to identify areas for improvement. Tracking your results in a logbook allows you to see patterns in your errors and recognize when you have overcome a plateau.
After every practice session, I recommend performing a “visual inspection.” Look for undercut (a groove melted into the base metal next to the weld) or overlap (metal that rolled over without fusing). These are clear signs that your torch angle or travel speed was off.
Use a simple logbook to record your settings and observations. Over time, this data becomes a personalized map of your skill development. You will start to see that on days when you felt “shaky,” your travel speed was likely too high. This objective feedback is the fastest way to achieve professional-grade results.
Sample Practice Log Template:
- Date: [Insert Date]
- Material/Thickness: [e.g., 1/8″ Mild Steel]
- Amperage: [e.g., 115 Amps]
- Travel Speed: [e.g., 9 IPM]
- Visual Observation: [e.g., Puddle was too wide, slight undercut on top edge]
- Adjustment for Next Run: [e.g., Lower torch angle to 10 degrees, increase speed slightly]
Managing Heat Input and the Heat-Affected Zone
Heat input is the total amount of energy transferred to the workpiece per unit length of the weld. Controlling this is vital because excessive heat can weaken the metal surrounding the joint, known as the Heat-Affected Zone (HAZ).
The formula for heat input is simple: (Amps x Volts x 60) / Travel Speed. If you move slower, the heat input goes up. If you increase your amperage, the heat input goes up. A large HAZ can lead to warping or “burn-through,” especially on thinner materials.
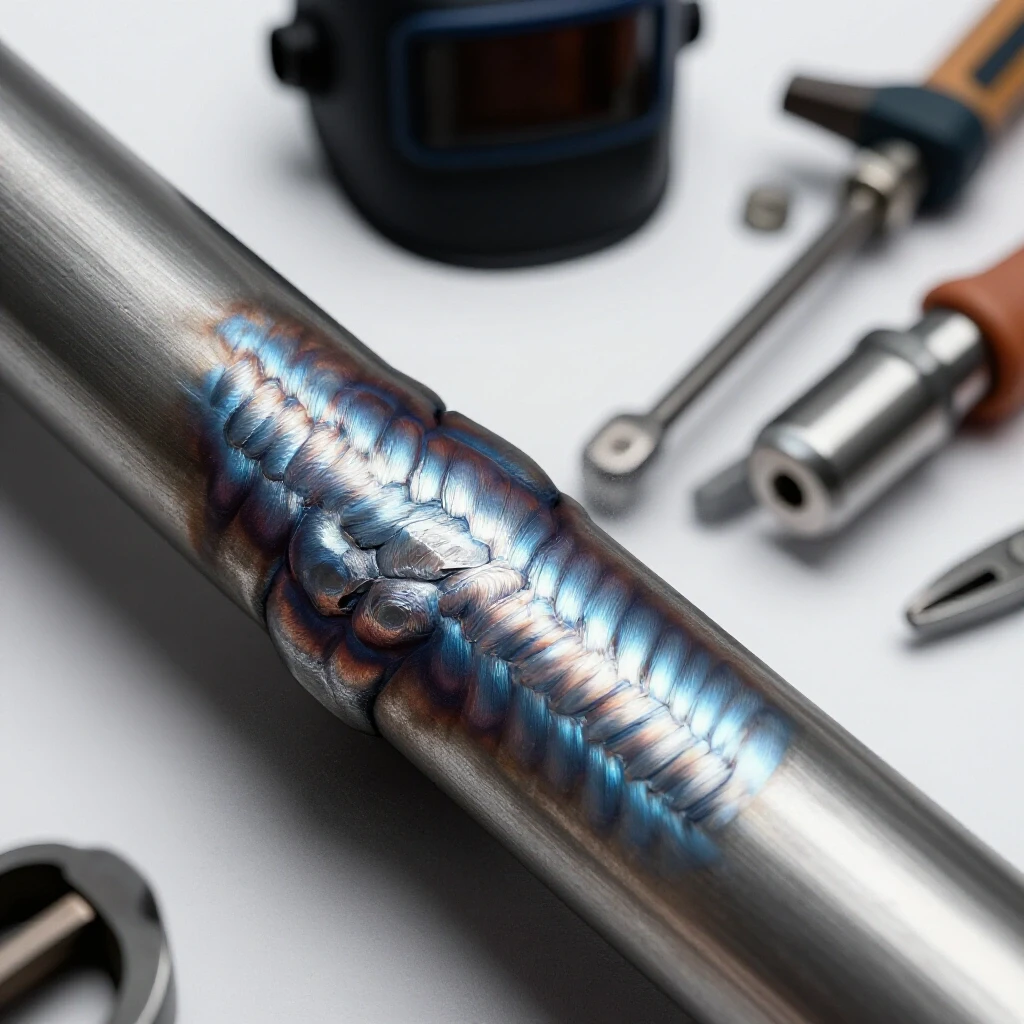
By watching the color of the metal after the weld cools, you can judge your heat input. On steel, a straw or light blue color near the bead is normal. If the metal turns a dull, flaky grey far away from the weld, you have put too much heat into the part. Learning to balance your speed and settings to keep the HAZ small is a hallmark of an advanced fabricator.
Overcoming Common Technique Plateaus
A plateau is a period where your progress seems to stop despite continued practice. These often occur when a fabricator has reached the limit of their current “hand-eye” coordination and needs to refine their physical approach.
If you find that your beads are consistently crooked, the issue is likely your “anchor point.” Ensure your forearm or wrist is resting on something solid. If your penetration is inconsistent, you may be varying your “arc gap”—the distance between the tip of the electrode and the metal.
I tell my students to aim for an arc gap of about 3/32″ to 1/8″. If that gap changes even slightly, the voltage and heat change with it. Practicing “dry runs” where you move the torch across the joint without turning the machine on can help you identify where your arm might snag or lose its range of motion.
Utilizing Modern Tools for Skill Verification
Modern technology provides new ways to analyze your technique that weren’t available when I started. Slow-motion video and digital calculators can provide immediate feedback on your physical movements.
I often suggest that students use their smartphones to record a “macro” video of their weld pool. Watching the footage in slow motion allows you to see exactly when the puddle begins to sag or when the arc gap widens. It is often much easier to see these errors on a screen than through a dark lens in real-time.
There are also digital parameter calculators available as mobile apps. These tools allow you to input your material type and thickness to get a recommended starting point for your settings. While they don’t replace the need to read the puddle, they provide a reliable baseline that reduces the “trial and error” phase of your practice sessions.
Moving Toward Professional Consistency
Achieving professional results is not about a single “perfect” weld; it is about the ability to produce the same high-quality result every time you pick up the torch. This consistency comes from a combination of technical knowledge and disciplined physical habit.
As you progress, stop focusing on the “spark” and start focusing on the “flow.” Watch how the liquid metal interacts with the solid plate. Notice how a small change in your hand angle shifts the entire shape of the pool. When you can predict what the metal will do before it does it, you have moved from a beginner to a skilled fabricator.
Keep your practice logs, stay critical of your work, and remember that every “bad” weld is a data point that helps you understand the process better. The road to mastery is paved with thousands of inches of practice beads, each one teaching you a little more about the language of molten metal.
Frequently Asked Questions
How can I tell if my weld has reached the bottom of the joint? In butt joints, look for the “keyhole” effect. This is a small, rounded opening at the leading edge of the molten pool. If you see this hole staying a consistent size as you move, the arc is melting through the full thickness of the metal. In fillet welds, you must watch the “root” or the very corner of the joint to ensure the liquid metal is flowing into the deepest part of the “V” rather than just bridging across the top.
What does it mean if my weld pool looks “cloudy” or has floating spots? A cloudy puddle is usually a sign of contamination. This often happens if the metal wasn’t cleaned properly or if the gas coverage is insufficient. Those floating spots are impurities or “slag” being pulled out of the metal. If you see this, stop welding and re-clean your “clean zone” with a grinder until the metal is bright and shiny.
Why does my weld pool keep getting wider as I reach the end of the plate? This is caused by “heat soak.” As you weld, the entire piece of metal gets hotter. Because the metal is already pre-heated by the time you reach the end, the same amperage setting will melt more material. To compensate, you should either increase your travel speed toward the end of the run or slightly decrease your arc length to reduce the heat input.
How wide should my molten pool be for a standard 1/8″ plate? For most applications, your weld bead should be about 1.5 to 2 times the width of the electrode or filler wire you are using. On 1/8″ plate using a 3/32″ electrode, you are looking for a pool that is roughly 3/16″ to 1/4″ wide. If it gets much wider than that, you are likely moving too slowly or using too much amperage.
What is the “arc gap,” and how does it affect penetration? The arc gap is the distance between the tip of your welding tool and the surface of the molten pool. A shorter gap (around 1/8″) focuses the heat into a smaller, more intense area, which increases penetration. A longer gap spreads the heat out, making the pool wider and shallower. Keeping this gap consistent is one of the hardest parts of mastering torch control.
Is a “drag” or “push” angle better for beginners? For beginners looking for strong penetration on steel, a “drag” angle is generally better. By tilting the torch 10 to 15 degrees back toward the completed weld, the arc force “digs” into the base metal. A “push” angle is better for very thin metals where you want to avoid burning through, but it can make it harder to see the leading edge of the puddle.
Why does my weld look like it is sitting on top of the metal instead of inside it? This is known as “cold lap” or lack of fusion. It usually happens because the amperage is too low or the travel speed is too fast. The base metal didn’t get hot enough to turn liquid, so the filler metal just froze on the surface. Increase your amperage or slow down your travel speed to allow the pool to “wet out” into the plate.
How do I stop my hand from shaking while I watch the puddle? Stability comes from your body mechanics. Never try to weld “freehand” in the air. Always find a way to brace your hand, wrist, or elbow against the table or a steady rest. Even resting your pinky finger on the workpiece (if it is cool enough) can provide the stability needed for a steady travel speed.
Does the color of the cooled weld tell me anything about penetration? Color is more of an indicator of heat and oxidation than depth of fusion. However, a very dark, grey, or “burnt” looking weld often means you stayed in one spot too long. While this might mean deep penetration, it also means you have likely weakened the metal’s grain structure. You want to see a clean, metallic finish with minimal discoloration.
How often should I check my machine settings during a practice session? You should check your settings every time you change material thickness or joint type. Even if you are staying on the same material, check your settings if you notice the puddle behavior changing. As the machine and the workpieces heat up, you may need to make small adjustments to maintain the same bead consistency.
(This article was written by one of our staff writers, Thomas Langley. Visit our Meet the Team page to learn more about the author and their expertise.)