How to Research and Buy a Used Metalworking Lathe (Tips)
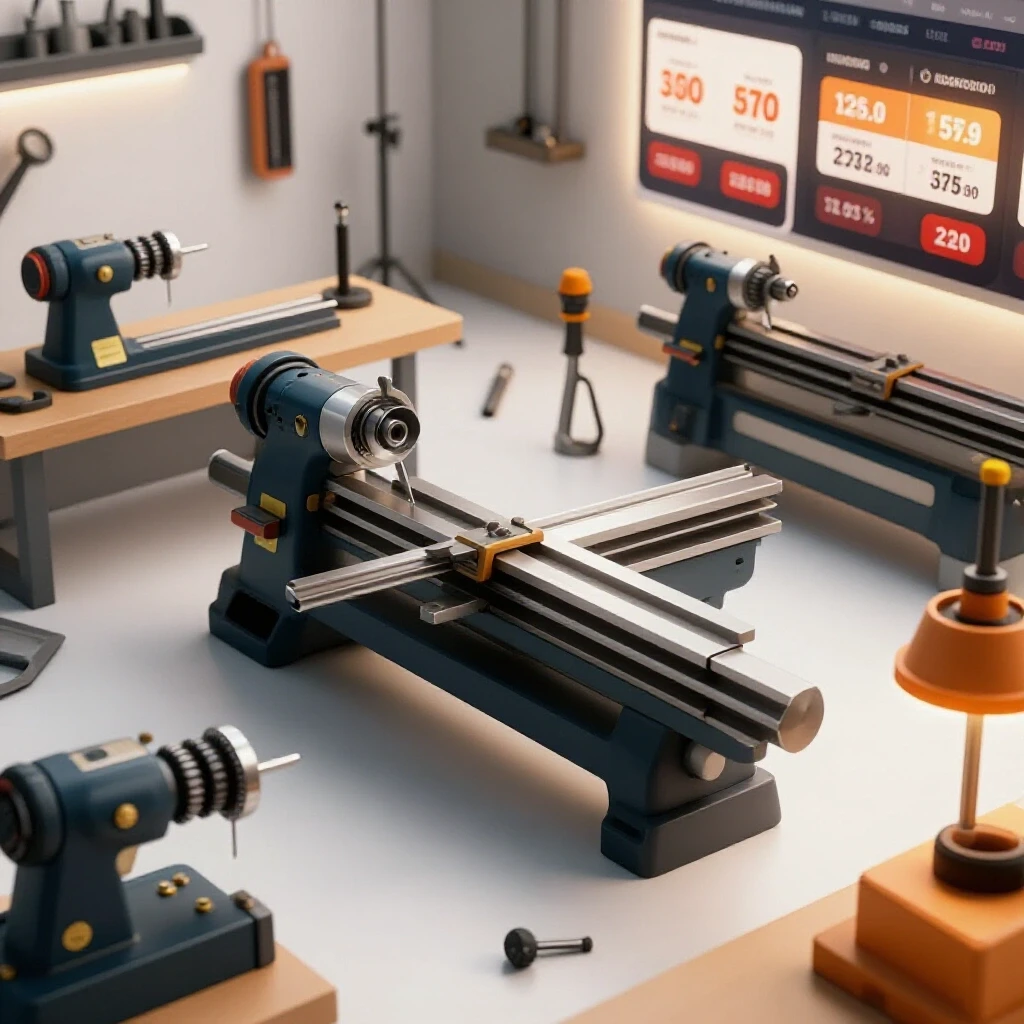
When I stood in my first 400-square-foot garage back in 2013, the empty floor felt more like a liability than an opportunity. I had a limited budget and a massive amount of anxiety about making a mistake that would cost me months of savings. As a former industrial maintenance technician, I knew that a manual turning center is the heart of a fabrication shop, but I also knew that a worn-out machine is just a very heavy boat anchor. Selecting a pre-owned machine requires a methodical approach to ensure you are getting a tool that can actually hold the tolerances your projects demand.
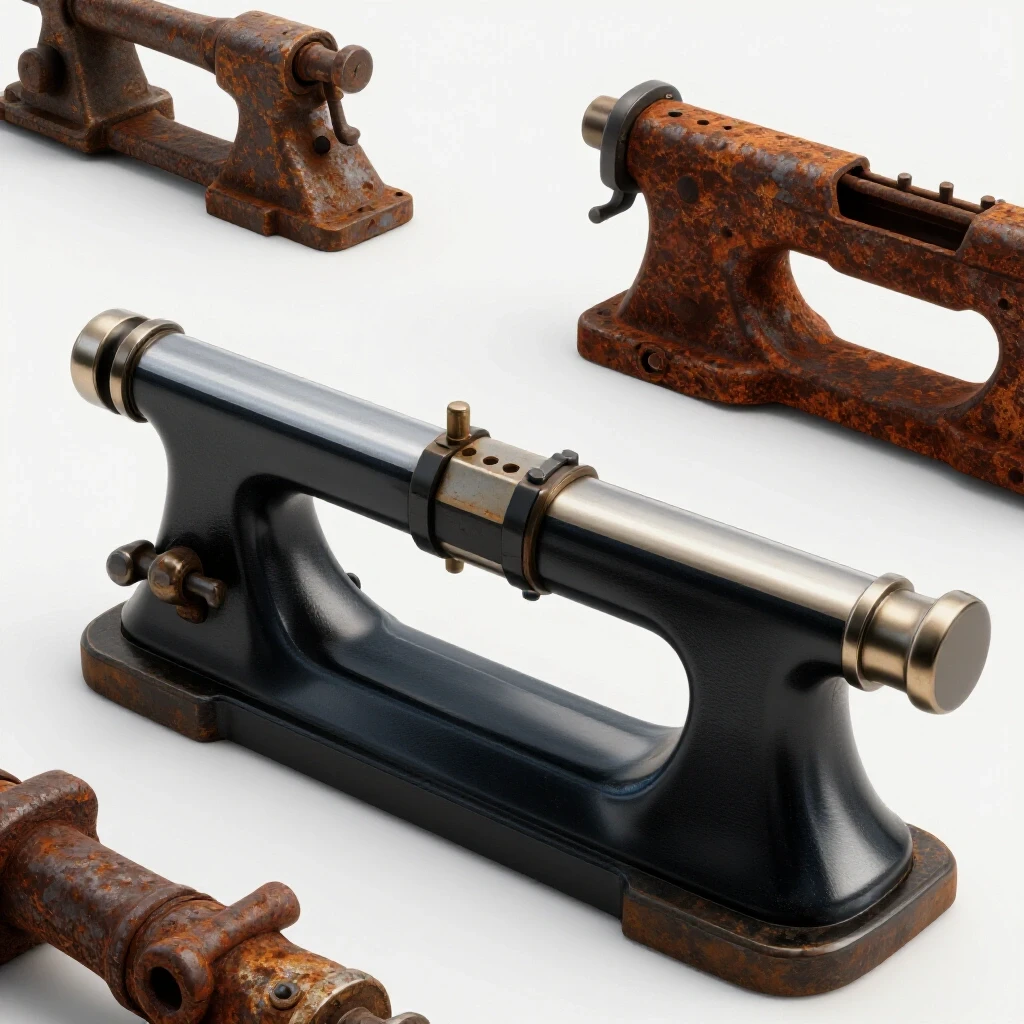
Buying a used machine tool is a different experience than buying a car or a lawnmower. There is no “blue book” value that guarantees quality, and a fresh coat of paint often hides decades of neglect. My goal is to help you navigate the technical hurdles of evaluating these cast-iron workhorses so you can build a capable shop without the fear of buying someone else’s problems. We will focus on the mechanical bones of the machine, the physical space it occupies, and the safety standards required to operate it in a residential setting.
Assessing Shop Capacity for Heavy Machinery
Evaluating the physical footprint and floor requirements of a manual turning center ensures it fits safely within a residential garage or basement environment. This step prevents overcrowding and ensures the operator has enough room to move during an emergency.
Before you even look at a machine, you must measure your available floor space. A common mistake is only measuring the machine itself. You also need to account for the “swing” of the carriage and the projection of the motor or guards. I recommend a minimum of three feet of clear space in front of the machine. This allows you to stand comfortably and move away quickly if a part comes loose or a tool breaks.
Floor thickness is another critical factor. Most residential garage floors are four inches thick. While this is usually enough for a hobby-sized machine, larger industrial models can weigh over 2,000 pounds. This weight is concentrated on four or six small leveling feet. If your floor is thin or cracked, the machine may settle unevenly over time. This causes the bed to twist, which ruins your ability to cut a straight cylinder.
- Operator Zone: 36 inches of unobstructed space in front of the lead screws.
- Maintenance Access: 18 inches behind the machine for cleaning and oiling the motor.
- Material Clearance: Ensure there is a clear path to the left of the headstock for long bars to stick out through the spindle bore.
| Space Category | Minimum Requirement | Reason for Standard |
|---|---|---|
| Operator Clearance | 3 feet | OSHA-adjacent safety for rapid egress |
| Rear Maintenance | 1.5 feet | Access to belt tensioners and oil ports |
| Spindle Left-Side | Equal to bar length | Allows for “pass-through” work on long stock |
| Ceiling Height | 7 feet | Prevents head injuries when using a hoist |
Measuring Wear and Mechanical Integrity
Using precision tools like dial indicators to check for bed wear, spindle runout, and backlash in lead screws is essential before committing to a purchase. These measurements tell the true story of how a machine was treated by its previous owners.
The “ways” are the precision-ground tracks that the carriage slides on. In my maintenance days, I always looked at the area closest to the headstock first. This is where 90% of the work happens. If you can feel a ridge with your fingernail on the inner side of the V-way, the machine has significant wear. This wear means the tool will “drop” as it moves toward the chuck, making it impossible to turn a consistent diameter.
Spindle runout is another deal-breaker. This refers to how much the main rotating shaft wobbles. To test this, you need a dial indicator with a magnetic base. Place the tip of the indicator on the inside of the spindle taper and rotate it by hand. If the needle moves more than a few thousandths of an inch, the bearings may be shot. Replacing spindle bearings is a complex task that most beginners should avoid.
- The Fingernail Test: Run your nail across the bed ways near the headstock to feel for “steps” or ridges.
- Backlash Check: Turn the handwheels and see how far they move before the slide actually starts to travel. More than .015 inches suggests worn nuts or screws.
- Gearbox Noise: Run the machine through all speeds. Listen for high-pitched whining or clunking, which indicates chipped gear teeth.
Determining Necessary Machine Specifications
Identifying the swing over bed and distance between centers required for your specific fabrication projects helps you avoid buying a machine that is too small. Understanding these metrics ensures the tool matches your intended output.
The “swing” is the maximum diameter of a workpiece the machine can rotate. If a machine is listed as a 10×24, the “10” means it can handle a part 10 inches wide. However, you must also check the “swing over cross slide.” This is usually much smaller. If you plan on making brake rotors or large pulleys, the cross slide clearance is the number that actually matters.
The “distance between centers” tells you the maximum length of the part you can fit. For a home shop, a 20-inch to 30-inch capacity is usually the “sweet spot.” It is long enough for most automotive shafts but short enough to fit in a standard garage layout. Remember that as the machine gets longer, the risk of the bed being twisted during transport increases.
- Swing over Bed: The total diameter capacity without the carriage in the way.
- Swing over Cross Slide: The diameter capacity when the tool post is directly under the part.
- Spindle Bore: The diameter of the hole through the middle of the headstock. A larger bore (1 inch or more) is highly desirable for long bar work.
Evaluating Included Tooling and Accessory Compatibility
Reviewing the tailstock tapers, spindle nose types, and tool posts that come with a machine ensures they match standard available replacements. Buying a machine with “orphan” standards can make finding affordable upgrades nearly impossible.
When I started, I didn’t realize that the accessories can cost as much as the machine itself. A “bare” machine is rarely a good deal for a beginner. Look for a machine that includes a 3-jaw chuck for quick centering and a 4-jaw chuck for precision work. If the machine uses a proprietary spindle mount, you will struggle to find new chucks later on.
The tailstock usually uses a Morse Taper (MT) system. MT2 and MT3 are the most common. If the machine uses an obsolete taper, you won’t be able to buy standard drill chucks or live centers from modern suppliers. Always bring a flashlight to inspect the inside of these tapers for scoring or “spun” tool marks, which indicate past abuse.
- Chuck Variety: Does it come with both 3-jaw and 4-jaw options?
- Steady Rest: This is a support for long, thin parts. They are very hard to find separately for older machines.
- Tool Post: A Quick Change Tool Post (QCTP) is a massive upgrade over the old “lantern” style posts.
- Taper Standards: Verify that the tailstock and spindle use standard Morse or Brown & Sharpe tapers.
Transporting and Positioning Heavy Equipment Safely
Planning the logistics of moving a cast-iron machine from a seller’s location to your workshop requires proper rigging and lifting techniques. This phase is where most physical injuries and machine damage occur.
A lathe is “top-heavy.” This means the center of gravity is much higher than you think. If you try to move it with a standard pallet jack without securing it, it can tip over in a second. In my experience, using “machinery skates” or solid steel rollers is the safest way to move a machine across a garage floor. Never lift a lathe by the lead screws or the handles; this will bend them and ruin the machine’s accuracy.
If you are using a trailer, the machine must be bolted to a heavy timber skid. This widens the base and prevents tipping during turns. Use heavy-duty ratcheting straps, but avoid placing them over the precision ways. Use blocks of wood to protect the machine surfaces from the straps.
- Center of Gravity: Always assume the headstock end is twice as heavy as the tailstock end.
- Lifting Points: Use heavy slings under the bed casting, never the rotating shafts.
- Toe Jacks: These specialized jacks allow you to lift the machine just an inch off the ground to slide rollers underneath.
Establishing a Safe Metalworking Environment
Integrating safety gear and proper layout principles ensures your fabrication space meets basic protective standards. Following these guidelines helps prevent common workshop accidents like eye injuries or entanglement.
The American Welding Society (AWS) and OSHA provide clear frameworks for workshop safety that apply even to hobbyists. In a metalworking shop, your primary threats are flying chips and rotating parts. I never power up my machine without wearing ANSI Z87.1 rated safety glasses. Unlike standard glasses, these are tested to withstand high-velocity impacts from metal shards.
Ventilation is another often-overlooked factor. While a manual machine doesn’t produce smoke like a welder, it does produce oil mist if you use cutting fluids. A simple exhaust fan that provides at least 100 CFM (Cubic Feet per Minute) of airflow can keep the air clear. Additionally, ensure your lighting is positioned so it does not create a “stroboscopic effect.” This is when a rotating chuck looks like it is standing still due to the flicker of some cheap LED or fluorescent lights.
- Eye Protection: ANSI Z87.1 impact-rated shields or glasses are mandatory.
- Clothing: No loose sleeves, neckties, or jewelry. Long hair must be tied back to prevent entanglement in the spindle.
- Emergency Stop: Ensure the power switch is easily reachable with your hip or knee if your hands are busy.
- Floor Mats: Use anti-fatigue mats that are resistant to oil and metal chips.
Strategic Budgeting for Tooling and Maintenance
Allocating funds between the machine purchase and the necessary support tools prevents “project stall.” A balanced budget ensures you have the measuring instruments needed to actually use the equipment.
A common rookie mistake is spending 100% of the budget on the machine. I recommend the “60/40 Rule.” Spend 60% of your funds on the machine itself and reserve 40% for the “starter kit.” This kit includes things like high-speed steel (HSS) cutting bits, a set of micrometers, and a quality dial indicator. Without these, the machine is just a heavy decoration.
Maintenance is the final piece of the budget. Used machines often arrive bone-dry. You will need to buy specific “way oil” and “spindle oil.” Never use automotive motor oil or WD-40 on a machine tool. Motor oil contains detergents that can damage the bronze bushings found in older equipment. Way oil is designed to “tack” to the vertical surfaces and stay there.
| Tooling Category | Recommended Budget % | Essential Items |
|---|---|---|
| The Machine | 60% | Lathe, motor, and base |
| Measuring Tools | 15% | Micrometers, Calipers, Dial Indicator |
| Cutting Tools | 10% | HSS blanks, Boring bars, Center drills |
| Safety & Fluids | 10% | Way oil, Safety glasses, Fire extinguisher |
| Work Holding | 5% | Extra chuck jaws, Drill chuck for tailstock |
Initial Testing and Accuracy Verification
Performing a “Two-Collar Test” allows you to verify the alignment of the machine after it has been moved into your shop. This process confirms that the machine is cutting straight and is ready for project work.
Once the machine is leveled and oiled, you need to see if it actually turns straight. Take a thick piece of aluminum or steel bar and extend it about 6 inches from the chuck. Without using the tailstock, take a light cut across two “collars” (one near the chuck and one at the end of the bar). Use a micrometer to measure the diameter of both collars.
If the diameters are different, your machine is “turning a taper.” This is usually caused by the bed being slightly twisted. You can often fix this by adjusting the leveling feet on the cabinet. It is a slow process of trial and error, but it is the difference between a tool that makes “parts” and a tool that makes “scrap.”
- Leveling: Use a precision machinist’s level (not a carpenter’s level) on the bed ways.
- Lubrication: Fill all oil cups until they overflow slightly to ensure no air pockets remain.
- Dry Run: Spin the chuck by hand to ensure nothing is hitting the guards or the bed.
- Test Cut: Use a sharp tool and a slow feed rate to check for surface finish quality.
Frequently Asked Questions
What is the most important thing to check on a used machine?
The condition of the bed ways is the most critical. While motors and belts can be replaced easily, a worn or “swayed” bed requires expensive professional grinding to fix. If the bed is heavily pitted or has deep grooves, the machine will never be accurate regardless of how much you clean it.
How do I know if a machine is too big for my garage?
Check the total weight and the power requirements. Most home shops are limited to 220V single-phase power. If a machine has a 5HP or 7HP motor, it may require an industrial power setup that exceeds a standard residential 100A or 200A service panel. Also, ensure you have a path at least 4 feet wide to get the machine into its final spot.
Should I buy a machine that is missing parts?
Generally, no. Finding specific gears or handles for a machine made 40 years ago can be a nightmare. Unless you have a second identical machine for parts, or you are an expert at fabricating your own components, stick to machines that are 95% complete. Missing chucks are okay; missing internal gearbox parts are a red flag.
What is “backlash” and why does it matter?
Backlash is the “dead space” or play in a lead screw. When you turn a handle, there is a small gap before the tool starts moving. A little bit is normal (around .005 to .010 inches), but excessive backlash makes it very difficult to hit precise measurements because the tool can “float” during a cut.
Is a 3-phase motor a deal-breaker for a home shop?
Not necessarily, but it adds complexity. You cannot plug a 3-phase motor directly into a standard wall outlet. You will need a device called a Phase Converter or a Variable Frequency Drive (VFD) to make it work. For a beginner, finding a machine that already runs on standard 220V single-phase power is much simpler.
How do I test the spindle bearings without taking the machine apart?
Mount a dial indicator on the bed and place the tip on the spindle nose. Use a wooden 2×4 as a lever to gently pry upward on the spindle. You should see almost zero movement (less than .001 inches). If the spindle moves visibly or makes a clunking sound, the bearings are likely worn or improperly adjusted.
Why shouldn’t I use a “lantern” style tool post?
Lantern posts use a single bolt and a curved rocker to set tool height. They are prone to vibrating and shifting under heavy loads. A Quick Change Tool Post (QCTP) allows you to swap tools in seconds while maintaining a perfectly repeatable height, which significantly improves your workflow and safety.
What safety gear is often forgotten by beginners?
A fire extinguisher rated for electrical and oil fires (Class B/C) is essential. Also, a “dead man” foot switch or a clearly labeled emergency stop button is often missing on older machines. Adding one is a high-priority safety upgrade for any residential workshop layout.
How much should I worry about “rust” on a used machine?
Surface rust (a light brown film) is usually fine and can be cleaned with oil and a fine abrasive pad. Pitting (deep black holes in the metal) is a bigger problem. If the precision ways are pitted, they will act like a file and slowly destroy the underside of the carriage as it moves.
Can I move a 1,000-pound machine by myself?
It is highly discouraged. Even with the right equipment, having a second person to act as a “spotter” is vital. If the machine starts to tip, you cannot stop it with your hands. A spotter can watch the rollers and ensure the path is clear while you focus on the movement.
What is a “taper attachment” and do I need one?
A taper attachment is a device on the back of the lathe that allows it to cut cones automatically. While nice to have, most beginners rarely use them. You can cut short tapers by angling the “compound slide,” so do not pass up a good machine just because it lacks a dedicated taper attachment.
How do I verify the spindle speed is accurate?
You can use a cheap digital laser tachometer. Put a small piece of reflective tape on the chuck, start the machine, and point the laser at it. This confirms that the motor and pulleys are delivering the RPMs listed on the machine’s speed chart, which is vital for proper cutting physics.
(This article was written by one of our staff writers, Michael Thompson. Visit our Meet the Team page to learn more about the author and their expertise.)