How to Safely Cut Soft Metals on a Table Saw (DIY Guide)
I have spent the last 14 years examining why metal structures fail. Usually, it is not a massive explosion or a dramatic collapse that tells the story. Instead, it is a hairline crack in a weld or a warped flange that reveals a mistake made hours or days earlier during the preparation phase. My background in mechanical engineering and floor-level fabrication has taught me that the most dangerous moment in a shop is when we treat one material like another. In many garage shops, the table saw is the heart of the operation. While it was designed for wood, it can be a highly effective tool for sectioning thin, non-ferrous metals if you respect the physics of the material.
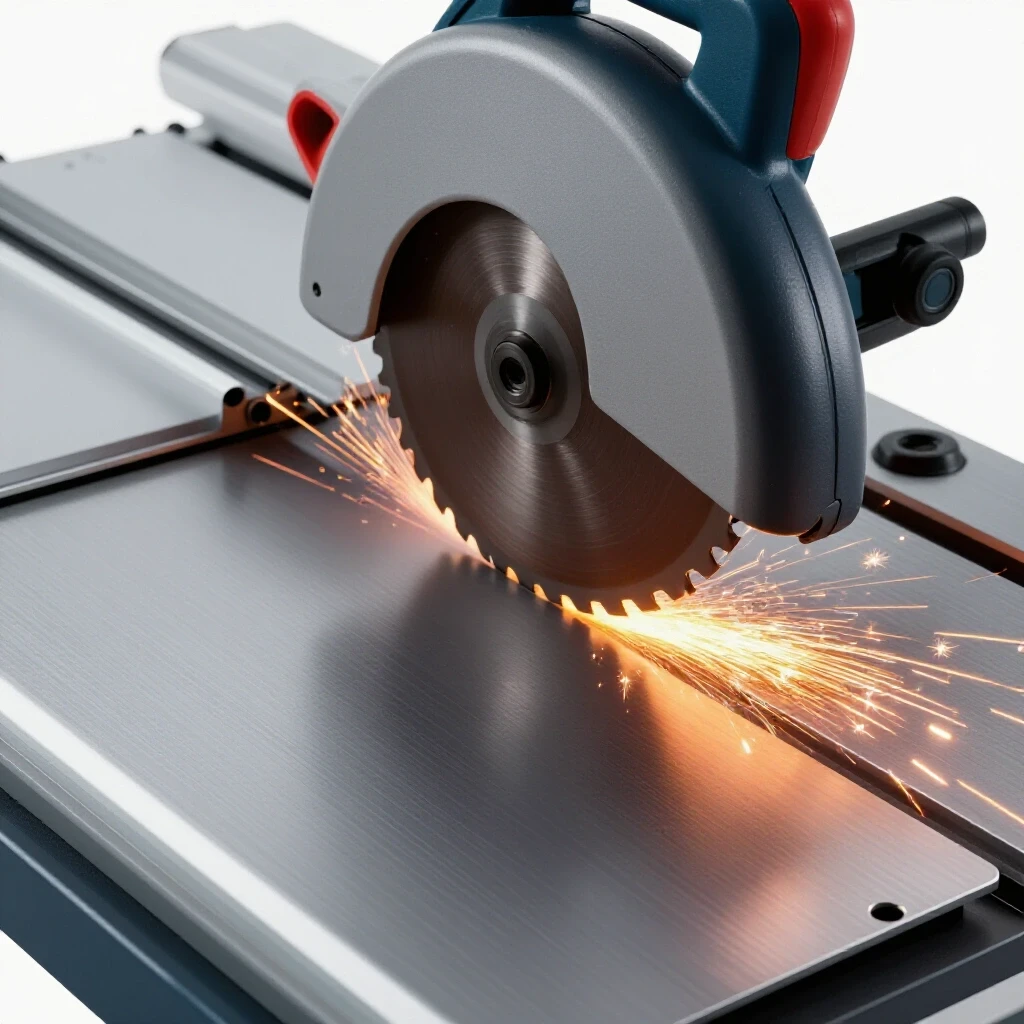
In my early years, I witnessed a technician attempt to cut a 1/4-inch aluminum plate using a standard 24-tooth wood ripping blade. The result was a violent kickback that embedded a metal shard into a nearby workbench. That incident was a data point I never forgot. It highlighted the importance of understanding material stress thresholds and tool geometry. When we adapt woodworking equipment for soft metal processing, we are moving from a material that compresses (wood) to one that resists and shears (metal). This guide focuses on the technical accuracy and safety protocols required to manage those forces effectively.
The Fundamentals of Non-Ferrous Metal Resistance
Non-ferrous metals like aluminum, brass, and copper do not contain iron and possess distinct mechanical properties that dictate how they must be machined. Understanding these properties is the first step in preventing structural failure in your finished project.
Unlike wood, which has fibers that can be crushed, metals have a crystalline structure. When a saw blade hits metal, it must physically shear away a small chip. If the blade cannot remove that chip efficiently, the metal “galls” or smears onto the teeth. This increases friction, raises the temperature of the heat-affected zone (HAZ), and can lead to a catastrophic grab where the workpiece is pulled into the machine.
- Ductility: This is the ability of the metal to deform under tensile stress. Soft metals like copper are highly ductile, meaning they want to “flow” rather than snap.
- Thermal Conductivity: Aluminum dissipates heat quickly, but it also expands significantly when hot. This can cause the kerf (the width of the cut) to close up on the back of the blade, leading to kickback.
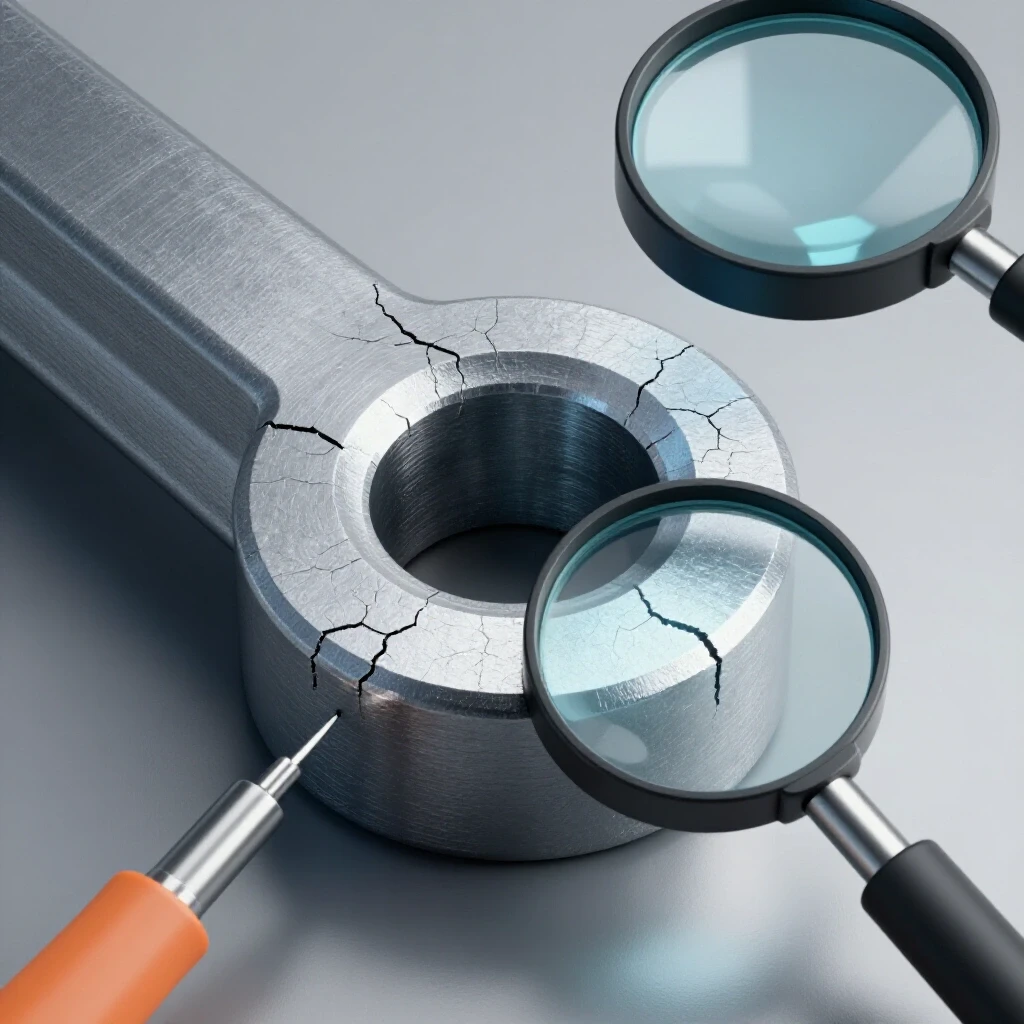
- Yield Strength: This is the stress level at which a metal permanently deforms. For 6061-T6 aluminum, the yield strength is approximately 35,000–40,000 PSI. Exceeding the material’s limits during a cut can lead to internal micro-cracks.
Material Hardness and Cut Characteristics
| Material | Typical Hardness (Brinell) | Thermal Conductivity (W/m-K) | Risk Factor on Table Saw |
|---|---|---|---|
| Aluminum 6061-T6 | 95 | 167 | High thermal expansion; galling risk |
| C360 Brass | 125 | 115 | Brittle chips; high projectile risk |
| C110 Copper | 40–50 | 390 | Extremely gummy; high blade-binding risk |
Selecting Blade Geometry to Prevent Structural Failure
The most critical component in safely processing non-ferrous plate is the blade. You cannot use a standard Alternate Top Bevel (ATB) blade designed for plywood. The sharp, pointed teeth of an ATB blade are too fragile for metal and will likely chip or shatter upon impact.
Instead, I always specify a Triple Chip Grind (TCG) blade. A TCG geometry alternates between a flat “raker” tooth and a trapezoidal “leading” tooth. The trapezoidal tooth makes the initial heavy cut, while the flat tooth cleans out the corners. This distribution of force reduces the stress on each individual carbide tip. For materials under 6 mm (1/4 inch), a high tooth count is mandatory. I recommend a blade with 80 to 100 teeth for a 10-inch saw. This ensures that at least two to three teeth are in contact with the material at all times, preventing the blade from “hooking” the edge of the metal.
- Hook Angle: Look for a blade with a low or even negative hook angle (0 to -5 degrees). A positive hook angle, common in wood blades, tries to “climb” or pull the material into the blade. A negative hook angle pushes the material down against the table, providing a much more stable and predictable feed.
- Carbide Grade: Ensure the blade uses a C4 sub-micron carbide grade. This is harder and more resistant to the abrasive nature of non-ferrous alloys.
- Vibration Dampening: High-quality metal-cutting blades often have laser-cut expansion slots filled with resin. These minimize the “ringing” and vibration that can lead to poor edge quality and structural fatigue in the workpiece.
Zero-Clearance Inserts and Kickback Prevention
In my inspection work, I’ve found that many workshop accidents occur because of a “gap” in the system. On a table saw, that gap is the space between the blade and the throat plate. When cutting thin aluminum or brass, the small offcuts can fall into that gap, get caught by the rising teeth at the back of the blade, and be launched at the operator.
A zero-clearance insert is a custom throat plate that has a slot exactly the width of the blade. This supports the metal right up to the edge of the cut. It prevents thin strips from bending downward and jamming the saw. If you are working in a garage fabrication safety environment, this is a non-negotiable upgrade.
- Material Selection: Use a high-density phenolic or a stiff plywood for your insert. Avoid soft plastics that might melt if a hot chip lands on them.
- Riving Knife Alignment: Never operate the saw without a riving knife. The riving knife must be slightly thinner than the blade’s kerf but thicker than the blade’s body. This prevents the metal from pinching the back of the blade as internal stresses are released during the cut.
- Hold-Down Guards: Use “featherboards” or specialized hold-down rollers. These ensure the metal stays flat against the table. If the metal lifts even a fraction of an inch, the blade can catch the underside and cause a kickback.
Managing Chip Load and Feed Rates
The “chip load” is the thickness of the material removed by each tooth of the saw blade. In mechanical engineering, we calculate this to ensure the tool isn’t being overworked or under-loaded. If you feed too slowly, the blade rubs rather than cuts, generating excessive heat. If you feed too fast, you risk breaking teeth or stalling the motor.
For a standard 3,450 RPM table saw, a conservative feed rate is essential. I prefer a steady, firm pressure. You should hear a consistent “hissing” sound rather than a “screaming” or “grinding” noise. If the motor begins to bog down, you are exceeding the machine’s power limits. Most home shop saws are 1.5 to 2 horsepower; they do not have the torque of industrial cold saws, so you must be patient.
- Consistent Speed: Avoid stopping mid-cut. Stopping allows heat to build up in one spot, which can cause the metal to expand and grip the blade.
- Chip Clearance: Metal chips are hot and sharp. Ensure your dust collection system is disconnected or cleared of wood dust. Hot metal chips mixed with fine wood sawdust are a significant fire hazard.
- Workpiece Support: Always use a miter gauge or a crosscut sled for short pieces. Never “freehand” a metal cut. The lack of friction between metal and a metal table means the workpiece can slide sideways with almost zero warning.
Lubrication and Heat-Affected Zone (HAZ) Control
Heat is the enemy of structural integrity. When you cut metal, the friction generates temperatures that can alter the temper of the alloy. This area is known as the Heat-Affected Zone (HAZ). In 6061-T6 aluminum, excessive heat can drop the material from a T6 (solution heat-treated and aged) temper to something much softer, significantly reducing the structural metal load capacity of your part.
To mitigate this, you must use a lubricant. Since we cannot use flood coolant on a standard table saw, we use solid stick lubricants. These are often wax-based tubes that you apply directly to the blade teeth while the saw is off (or very carefully while spinning, depending on your safety protocol).
- Stick Wax: Apply a generous amount to both sides of the blade before every cut. The wax melts and coats the teeth, preventing the metal from “welding” itself to the carbide.
- Cooling Cycles: If you are making multiple long rips, allow the blade to spin freely for 30 seconds between cuts. This allows centrifugal force to pull air over the teeth, cooling them down.
- Edge Inspection: After the cut, look at the edge. A “clean” cut looks like a milled surface. If you see smeared metal or “burrs” that look like melted wax, your heat levels were too high.
Workshop Safety Checklist and PPE Integration
When I conduct a shop safety audit, I look at the operator before I look at the machine. Processing metal on a table saw creates a different set of hazards than woodworking. The “chips” are actually tiny, razor-sharp needles of hot metal traveling at over 100 miles per hour.
Standard safety glasses are often insufficient. I recommend a full-face shield over impact-rated safety glasses. A single chip bouncing off a cheek and under a pair of glasses is a common injury I’ve documented in failure reports.
- Hearing Protection: Cutting metal on a table saw is significantly louder than cutting wood. Use earplugs or muffs with a Noise Reduction Rating (NRR) of at least 25 dB.
- No Gloves: This is counter-intuitive to many, but never wear gloves when operating a table saw. If a glove finger catches a tooth, it will pull your hand into the blade before you can react.
- Clothing: Wear a heavy cotton apron and long sleeves. Synthetic fabrics like polyester can melt into your skin if hit by a hot metal chip.
- Lung Protection: While aluminum dust isn’t as toxic as lead, inhaling fine metallic particles is a respiratory irritant. Use a P100 rated respirator if you are doing extensive cutting.
PPE and Equipment Ratings
| Equipment | Minimum Requirement | Why It Matters |
|---|---|---|
| Eye Protection | ANSI Z87.1+ Glasses + Face Shield | High-velocity metal shards |
| Hearing Protection | 25 dB NRR | High-frequency resonance during cut |
| Throat Plate | Zero-Clearance (Custom) | Prevents thin-stock jamming |
| Blade Type | TCG (Triple Chip Grind) | Distributes shearing forces |
| Lubricant | Paraffin or specialized wax stick | Prevents galling and HAZ softening |
Diagnosing Quality and Structural Integrity
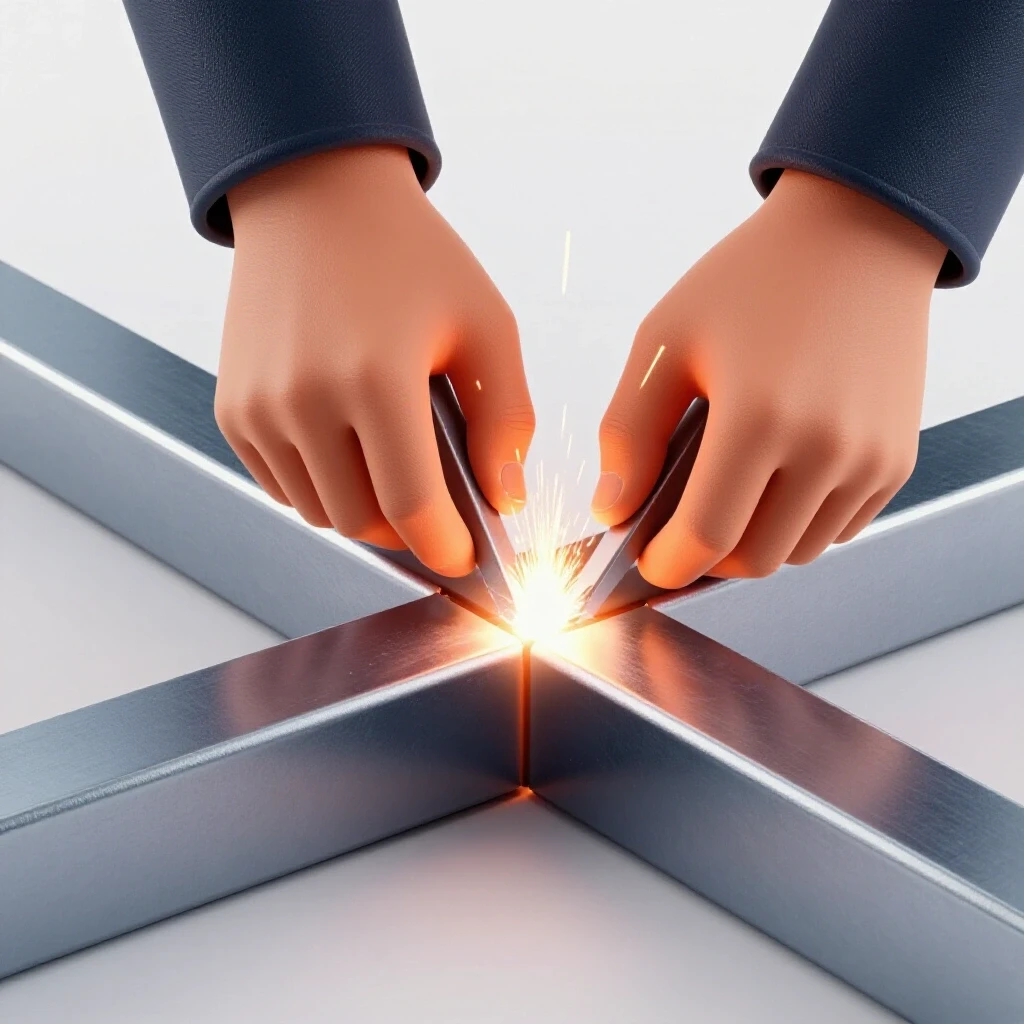
Once the cut is complete, you must inspect the workpiece. A poor cut is more than just an aesthetic issue; it can lead to welding defect troubleshooting later in the project. For example, if the edge is jagged or “smired,” it will trap contaminants. When you go to weld that joint, those contaminants will vaporize, causing shielding gas porosity or internal weld defects.
- Check for Squareness: Use a machinist’s square. If the cut isn’t 90 degrees, your joint fit-up will be poor. A gap in a structural joint forces the weld to bridge a distance it wasn’t designed for, creating a stress riser.
- Edge Deburring: Use a deburring tool or a file to remove the “flash” from the cut. These sharp edges are prime locations for stress cracks to start.
- Surface Contamination: If you used a wax lubricant, you must remove every trace of it before welding or painting. Use a solvent like acetone. Residual wax is a primary cause of weld porosity.
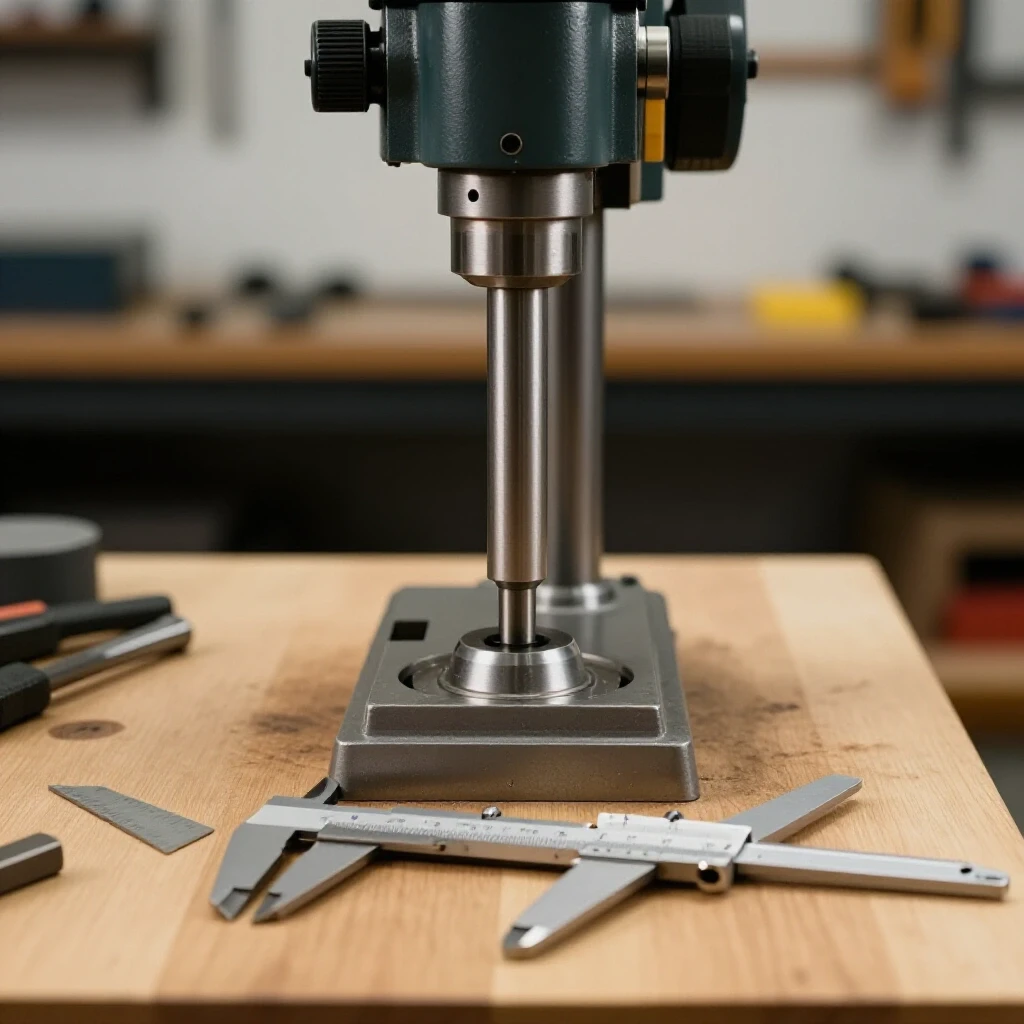
- Dimensional Accuracy: Use calipers to ensure the heat didn’t cause the part to warp. If a 6 mm plate measures 5.8 mm near the cut, you may have removed too much material through friction and melting.
Structural Joint Failure Analysis
In my 14 years of inspecting industrial steel and aluminum frames, I’ve seen that failures rarely happen in the middle of a beam. They happen at the joints. If you are using a table saw to prepare parts for a structural build, the quality of your cut directly impacts the safety factor of the finished structure.
Consider a 2:1 or 4:1 safety margin for your projects. If a bracket is designed to hold 100 pounds, it should be tested to 400 pounds. A clean, square cut on the table saw ensures that the load path travels directly through the material rather than putting unnecessary shear stress on the weld beads.
- Load Shear Paths: Ensure your cuts allow for “full-bearing” joints where the metal faces touch completely.
- Weld Preparation: A table saw cut is often too smooth for some welding processes. You may need to “scuff” the edge with a stainless steel wire brush to break the oxide layer, especially on aluminum.
Actionable Workshop Safety Audit
Before you flip the switch to process any non-ferrous material, walk through this checklist. This is the same logic I use when inspecting a professional fabrication floor.
- Blade Verification: Is it a TCG blade with a negative or low hook angle?
- Machine Integrity: Is the riving knife installed and aligned?
- Clearance: Is the zero-clearance insert seated and flush with the table?
- Lubrication: Is the wax stick within reach for re-application?
- Environment: Is the floor clear of slipping hazards (like metal chips)?
- Fire Safety: Is the dust collector off and the cabinet free of wood dust?
- PPE Check: Face shield on? No gloves? Ears protected?
By treating the table saw as a precision machining tool rather than a woodworking tool, you can achieve professional results safely. The goal is not just to get through the material, but to do so in a way that preserves the structural integrity of the metal and the safety of the operator.
Frequently Asked Questions
Can I use a regular wood blade to cut thin aluminum?
No. Standard wood blades usually have an Alternate Top Bevel (ATB) grind and a high positive hook angle. This geometry is designed to “bite” into wood fibers. When used on metal, it can “grab” the material, leading to violent kickback or shattered carbide teeth. Always use a Triple Chip Grind (TCG) blade designed for non-ferrous metals.
What is the maximum thickness of metal I can cut on a table saw?
For most home workshop table saws (1.5 to 2 HP), you should limit the thickness of non-ferrous metals to 6 mm (1/4 inch). Attempting to cut thicker material increases the risk of stalling the motor, overheating the blade, and creating a significant heat-affected zone that weakens the metal.
Do I need to change the speed of my table saw?
Most table saws run at a fixed speed of around 3,450 to 4,000 RPM. This is actually quite fast for metal cutting (the surface feet per minute is high). Since you cannot easily change the speed, you must compensate by using a high tooth-count blade (80+ teeth) and a very consistent, slow feed rate to manage the chip load.
Is it safe to cut brass and copper on a table saw?
Yes, provided they are thin (under 6 mm) and non-hardened. Brass (like C360) tends to produce very small, needle-like chips that fly everywhere, so a face shield is mandatory. Copper is very gummy and can “climb” the blade, so use extra lubricant and a zero-clearance insert to prevent binding.
Why is my aluminum “smearing” or melting during the cut?
This is called galling. It happens when the friction between the blade and the metal generates enough heat to reach the metal’s plastic state. To fix this, apply more stick wax lubricant, ensure you are using a TCG blade, and check that your riving knife is preventing the kerf from closing on the back of the blade.
How do I prevent the metal from scratching my table saw top?
Aluminum and brass are softer than the cast iron or aluminum top of your saw, but metal chips caught under the workpiece can cause scratches. Ensure the table is clean and apply a coat of paste wax to the table surface to allow the workpiece to glide smoothly without snagging.
Should I use a fence or a miter gauge?
For ripping (long cuts), use the fence, but ensure it is perfectly parallel to the blade. For crosscutting (short cuts), always use a miter gauge or a crosscut sled. Never use the fence and miter gauge at the same time, as this can trap the offcut and cause a kickback.
What should I do if the blade gets stuck in the metal?
Immediately turn off the power. Do not try to pull the metal out while the blade is spinning or coasting. Once the machine has completely stopped, use a wedge to gently open the kerf and free the blade. Inspect the blade for chipped teeth before continuing.
(This article was written by one of our staff writers, James Harlan. Visit our Meet the Team page to learn more about the author and their expertise.)