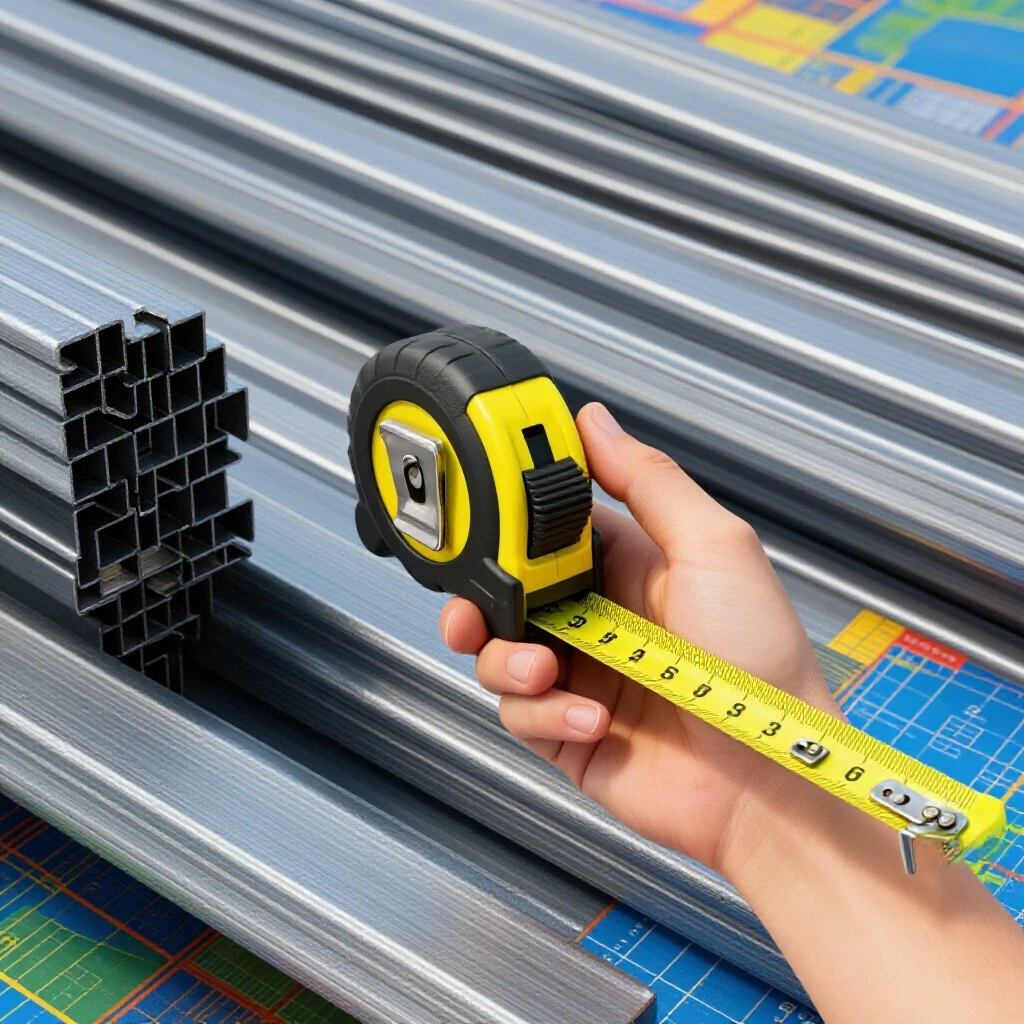
How to Safely Store Heavy Metal Sheets and Tubes (DIY Plan)
In my 14 years of working around heavy fabrication, I have learned that metal is most dangerous when it is just sitting still. I remember a Tuesday morning early in my career when a stack of 4×8-foot, 11-gauge steel sheets leaned just two inches too far. The sound wasn’t a crash; it was a low, vibrating thud that shook the concrete floor. That near-miss taught me that garage fabrication safety begins long before the arc is struck. It starts with how you organize your raw inventory.
When you bring home heavy flat stock or long cylindrical tubes, you are bringing in thousands of pounds of potential energy. If your storage solution fails, the consequences range from ruined material to severe structural damage to your shop. My goal is to help you build your own storage systems that respect the physics of weight and the reality of limited shop space. We will focus on creating stable, accessible, and high-capacity racks using common materials and sound structural logic.
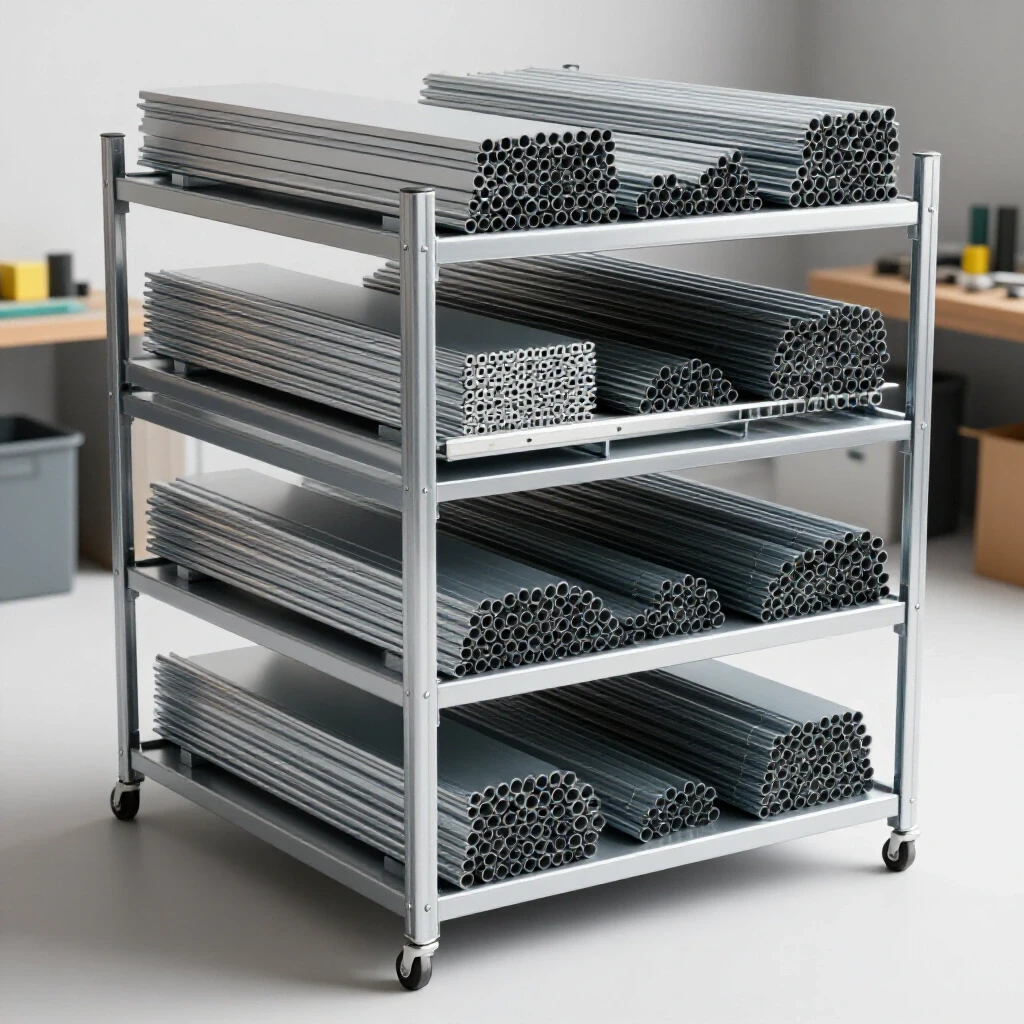
Understanding the Physics of Stationary Metal Loads
Stationary metal loads refer to the constant downward and lateral pressure exerted by heavy materials resting on a support structure. Unlike a moving part, this “dead load” puts a continuous strain on your racks, meaning any weakness in your design will eventually lead to a structural failure through creep or sudden collapse.
In the world of structural metal load capacity, we have to respect the center of gravity. For vertical sheet storage, the goal is to keep the weight leaning slightly back against a solid frame. If the angle is too steep, the sheets are unstable and can tip forward. If the angle is too shallow, the lateral pressure on the back of the rack becomes immense, potentially shearing your fasteners or buckling the support legs. I usually aim for a 5-to-8-degree lean. This provides enough gravity-fed stability without turning the rack into a ramp.
When we talk about long stock like tubing or pipe, we deal with deflection. Deflection is the “sag” that occurs when a long piece of metal is not supported at enough points. Over time, a heavy tube supported only at its ends will take a permanent set, ruining your technical accuracy before you even start cutting. Supporting your inventory every 30 to 48 inches is a good rule of thumb to maintain material straightness.
Material Selection for DIY Storage Racks
Material selection involves choosing the right structural components, such as lumber or steel tubing, to build a rack that can handle the specific yield strengths of your inventory. Using the wrong material can lead to a heat affected zone weakness if you weld your rack poorly or structural rot if you use undersized wood.
I often see fabricators overcomplicate their racks. For most home shops, you have two choices: a heavy timber frame or a welded steel frame. If you choose wood, you must use structural screws, not drywall screws. A 4×4 post has a high compression strength, but its joints are the weak points. If you choose steel, such as 2×2-inch square tubing with a 1/8-inch wall, your welds must be deep and free of porosity to ensure the rack doesn’t unzip under a full load.
Below is a table comparing common materials used for building your own inventory supports.
| Material Type | Typical Yield Strength | Pros | Cons |
|---|---|---|---|
| 4×4 Pressure Treated Timber | 800 – 1,200 PSI (Compression) | Easy to work, dampens vibration | Bulky, joints can loosen over time |
| 2×2 Steel Square Tube (A36) | 36,000 PSI | High strength-to-weight ratio | Requires high-quality welding |
| 1-inch Schedule 40 Pipe | 30,000 PSI | Excellent for cantilever arms | Round surface can make joining difficult |
| 3/4-inch Plywood (Structural) | Varied | Great for gussets and backing | Sensitive to moisture and edge loading |
Designing a Vertical Sheet Rack for Flat Stock
A vertical sheet rack is a floor-mounted structure designed to hold flat plates on their edges to save floor space and allow for easier individual selection. This design focuses on distributing the weight across the floor rather than the walls, which is essential for workshop safety.
When I build these, I start with a base frame made of 2×4-inch steel rectangular tubing or doubled-up 2×6 lumber. The “floor” of the rack should be slightly angled toward the back. I always line the bottom with a sacrificial piece of 3/4-inch plywood. This prevents the metal sheets from sliding on a slick metal or concrete surface and protects the edges of your expensive material.
The back support is the most critical part of this DIY plan. It must be braced to the floor or anchored to wall studs that you have verified can handle the lateral pull. I prefer an “A-frame” style or a “L-frame” with a heavy gusset. A gusset is a triangular plate used to reinforce a corner joint. Without a gusset, the 90-degree angle of your rack acts like a giant lever, trying to snap the joint every time you lean a new sheet against it.
- Keep the total height of the back support at least 60% of the height of your tallest sheet.
- Use a “catcher” bar at the front of the base to prevent sheets from sliding outward.
- Limit each slot to 5-7 sheets to make it easier to flip through them like a book.
- Always check for structural metal load capacity before adding heavy plate (1/4-inch or thicker).
Building a Cantilever Rack for Tubes and Bars
A cantilever rack uses a central vertical column with horizontal arms extending outward to hold long items like square tubing, angle iron, and pipe. This design allows for unobstructed side loading, which is a major advantage when you are handling 20-foot lengths of steel in a cramped garage.
The primary risk here is the “moment arm” effect. The further out the weight sits on the arm, the more force it exerts on the weld or bolt at the base of that arm. For a DIY build, I recommend a safety factor of 4:1. This means if you expect to store 100 pounds on an arm, design it to hold 400. This accounts for the “shock load” that happens when you accidentally drop a piece of tubing onto the rack instead of placing it gently.
To prevent welding defect troubleshooting later, ensure your arm-to-column joints are welded on all four sides. If you are bolting the arms, use Grade 5 or Grade 8 bolts. Standard hardware store bolts (Grade 2) are too brittle and can shear under the constant tension of a heavy metal load. I also suggest adding a small “stop” at the end of each arm—a simple 1-inch upright tab—to prevent round tubes from rolling off the edge and causing a shop floor catastrophe.
Anchoring and Stability Protocols
Anchoring is the process of physically securing your storage racks to the shop floor or wall to prevent tipping or shifting. In garage fabrication safety, an unanchored rack is a liability that can be knocked over by a simple bump from a vehicle or a heavy workpiece.
If your rack is taller than it is wide, it needs to be anchored. For concrete floors, I use wedge anchors. You drill a hole, hammer the anchor in, and tighten the nut. This expands the base of the bolt against the concrete. For wall anchoring, you must find the center of the studs. Do not trust drywall anchors or simple wood screws to hold the lateral weight of a leaning steel plate. Use 3/8-inch lag bolts that penetrate at least 2.5 inches into the structural wood.
- Always anchor at the highest possible point for maximum leverage against tipping.
- Use a level to ensure the rack is plumb; a rack that starts out leaning the wrong way is already failing.
- Check your anchors every six months. Vibration from grinders and saws can slowly loosen fasteners over time.
- If you have a floating slab floor, be careful not to drill through any post-tension cables.
Welding Integrity for Storage Structures
When building your own racks, the quality of your welds determines the structural integrity of the entire system. A common mistake is a “cold” weld, where the metal looks joined on the surface but lacks penetration into the base material, leading to a hidden structural weakness.
I always tell people to watch out for the heat affected zone (HAZ). This is the area of metal right next to the weld that was heated but not melted. It can become brittle if cooled too quickly. For a storage rack, you want a smooth, consistent bead with good “wet-in” at the edges. If you see undercut—a groove melted into the base metal next to the weld—your joint is significantly weakened. This is where a welding defect troubleshooting mindset is vital.
| Weld Defect | Cause | Consequence in Storage | Solution |
|---|---|---|---|
| Porosity | Poor gas flow or dirty metal | Weak, “Swiss cheese” internal structure | Clean metal; set gas flow to 15-20 CFH |
| Lack of Fusion | Low heat or fast travel speed | The arm may snap off under load | Increase amperage; slow down |
| Undercut | Excessive heat or wrong angle | Thinning of the structural wall | Adjust torch angle; lower heat slightly |
| Overlap | Slow travel speed; “cold” weld | No structural bond at the root | Increase travel speed and heat |
To ensure your DIY rack is safe, I recommend a simple “visual inspection plus” method. After welding, clean the joint with a wire brush. Look for cracks or pinholes. Then, hit the joint with a heavy sledgehammer (wear eye protection). If the weld is going to fail, I’d rather it fail while the rack is empty than when it’s holding 500 pounds of angle iron.
Workshop Safety Checklist for Material Handling
Safely moving heavy metal from the truck to the rack is just as important as the rack itself. Material handling involves using proper body mechanics and mechanical aids to prevent back injuries and crushed toes.
I never move a full 4×8 sheet of steel alone. Even a 16-gauge sheet is floppy and difficult to control. For a home shop, a simple “sheet dolly” or a pair of heavy-duty locking pliers with a handle can give you the grip you need. If you are handling tubes, always lift with your legs and keep the weight close to your center of gravity.
- Wear the right PPE: Use heavy leather gloves to prevent cuts from burrs and steel-toed boots to protect against drops.
- Clear the path: Ensure your floor is free of cords and scraps before you pick up a heavy load.
- Check the weight: A single 1/4-inch 4×8 sheet of steel weighs about 320 pounds. Know your limits.
- Use a spotter: If you are maneuvering long tubes, have someone watch the “swing” end so you don’t hit your welder or your car.
- Secure the load: If you have to leave a sheet leaning against a wall temporarily, use a strap to ensure it cannot slide out.
Maintaining Your Metal Inventory
Once your rack is built and loaded, the job isn’t done. You need to manage the inventory to prevent the rack from becoming a “junk pile” that hides safety hazards. I suggest a “first-in, first-out” approach, but more importantly, keep your heaviest stock at the bottom.
Storing heavy 1/2-inch plate at shoulder height is a recipe for a disaster. Keep the high-mass items as close to the floor as possible. This lowers the overall center of gravity for the entire rack, making it much harder to tip. Use the upper shelves of your cantilever rack for lightweight items like aluminum trim or thin-walled conduit.
Interestingly, how you organize your offcuts matters too. I usually build a small “bin” at the end of my sheet rack for pieces smaller than 12×12 inches. Keeping these off the main rack prevents them from falling behind the larger sheets, which usually leads to you reaching into a dark gap—a great way to get a deep “paper cut” from a piece of stainless steel.
Diagnostic Inspection of Your Storage System
Every few months, I perform a structural audit of my shop. I look at the joints of my racks for any signs of stress. This is part of being a risk-averse fabricator. You are looking for “telltale” signs of trouble before they become failures.
Look for chipped paint around a weld; this often indicates that the metal underneath is flexing or stretching. Check for “bowing” in horizontal arms. If an arm has a permanent curve, it is overloaded and needs to be reinforced or the load reduced. Also, look at the floor around your anchors. If you see cracks in the concrete radiating from the anchor bolt, the rack is putting too much lateral stress on the floor.
By treating your storage racks as a structural project rather than just “furniture,” you apply the same mechanical engineering principles you use for your main builds. This consistency is what keeps a shop safe for decades.
FAQ: Safely Organizing Heavy Metal Inventory
How much weight can a DIY wooden rack really hold? A well-built rack using 4×4 posts and structural lag bolts can easily hold 1,000 to 2,000 pounds if the weight is distributed properly. The key is ensuring the load is transferred directly down the vertical grain of the wood to the floor, rather than relying on the shear strength of the screws.
What is the best angle for leaning metal sheets? I recommend an angle between 5 and 8 degrees. This is enough to keep the sheets from tipping forward while minimizing the “wedging” force that tries to push the bottom of the rack away from the wall.
Can I use casters to make my metal rack mobile? You can, but you must use heavy-duty steel or phenolic casters rated for the total weight. For a rack holding 2,000 pounds, you need four casters each rated for at least 700 pounds to provide a safety margin. Always use locking casters and only move the rack on perfectly flat, clean concrete.
How do I prevent my long tubes from sagging on the rack? Ensure your support arms are spaced no more than 3 to 4 feet apart. For very thin-walled tubing, you may need even closer spacing. If the material is already bowed, store it with the “crown” (the high point of the curve) facing up so gravity can help straighten it over time.
Should I weld or bolt my storage rack? Welding provides a more rigid structure and is often cheaper if you already have the equipment. Bolting is better if you ever need to disassemble or adjust the rack. If bolting, always use hardened washers and Grade 5 or Grade 8 fasteners.
How do I know if I have a welding defect in my rack? Look for visual cues like cracks, holes (porosity), or a bead that sits on top of the metal without melting in. If the weld looks like a “stack of cold dimes” that haven’t blended into the base metal, it is likely a cold weld and should be ground out and redone.
Is it safe to store metal sheets horizontally? Yes, but it is very difficult to get the bottom sheet out. Horizontal storage is great for very heavy plates that are moved with a forklift or hoist, but for a manual shop, vertical storage is much more practical and safer for your back.
What is the most common mistake in DIY rack builds? Underestimating the total weight. People often build a rack for “a few pieces of steel” and then keep adding to it over years. Always design your rack for the maximum capacity it can physically hold, not just what you have today.
How do I anchor a rack to a wall with metal studs? Metal studs in most garages are not structural enough to hold the lateral load of a heavy metal rack. In this case, you should build a free-standing “A-frame” rack that doesn’t rely on the wall for support, or add a wood header across several studs to distribute the load.
What PPE should I use when loading the rack? Always wear heavy leather gloves and steel-toed boots. If you are cutting material to fit the rack, wear safety glasses and hearing protection. When moving large sheets, a long-sleeve shirt can protect your arms from the sharp, oily edges of mill-scale steel.
How do I calculate the weight of my steel inventory? A simple rule for steel is that it weighs approximately 490 pounds per cubic foot. For a 1/4-inch sheet, multiply the square footage by 10.2. A 4×8 sheet is 32 square feet, so 32 x 10.2 = 326.4 pounds.
What is the “safety factor” and why does it matter? The safety factor is the ratio of the structure’s breaking strength to its intended load. A 4:1 safety factor means the rack is built to be four times stronger than the heaviest load you plan to put on it. This protects you against material flaws, poor welds, and accidental impacts.
(This article was written by one of our staff writers, James Harlan. Visit our Meet the Team page to learn more about the author and their expertise.)