How to Set Up a Metal Shop in a One-Car Garage (Layout)
When I first moved my tools into a 12-by-20-foot space back in 2013, I realized very quickly that a small fabrication area is an exercise in managing constraints. You aren’t just placing tools; you are choreographing a dance between sparks, heavy steel, and your own physical safety. In my years as an industrial maintenance technician, I saw how poorly planned layouts led to accidents and wasted motion. Bringing that mindset home meant every square inch of my single-bay floor plan had to earn its keep.
The anxiety of staring at an empty concrete floor is real. You worry about whether you can fit a welder, a saw, and a workbench without tripping over cords or, worse, setting a fire. My approach has always been to treat the shop like a machine. If the parts don’t align, the whole system fails. By focusing on workflow zones and safety clearances, you can turn a cramped residential bay into a professional-grade fabrication hub.
Establishing the Primary Fabrication Zones
Defining specific areas for different types of work prevents cross-contamination between dirty processes like grinding and clean processes like final assembly. In a 240-square-foot environment, these zones must be clearly marked to ensure safety and efficiency.
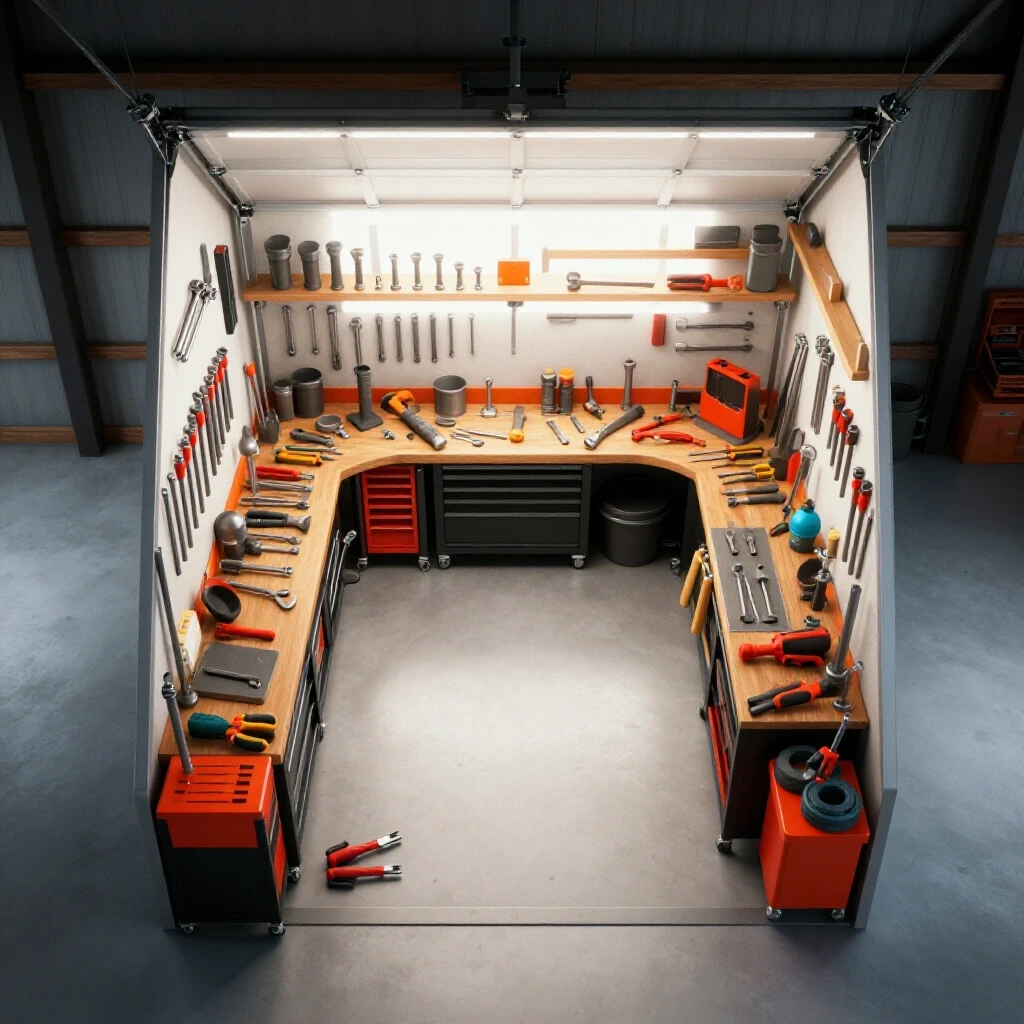
In a small shop, the “Hot Zone” is where welding and cutting happen. This area needs fire-resistant surfaces and the best ventilation. The “Cold Zone” or “Clean Zone” is for precision measurement, marking, and layout. Keeping these separate is not just about organization; it is about protecting your precision tools from abrasive dust and preventing fires. I have found that a linear or “U-shaped” perimeter layout works best for these dimensions, keeping the center floor clear for maneuvering long pieces of stock.
Mapping the Workflow for Maximum Efficiency
A logical workflow follows the path of the material, starting from the point where raw steel enters the garage and ending where the finished project exits. By arranging tools in the order they are used, you minimize the number of times you have to move heavy material.
I recommend placing your material rack near the garage door. This allows you to unload steel directly from a vehicle without carrying it across the entire shop. From there, the material should move to the cutting station, then to the grinding area, and finally to the welding table. This “assembly line” approach prevents the chaos of shuffling projects back and forth, which is a major cause of fatigue and mistakes in a confined space.
| Station Type | Primary Activity | Required Floor Space | Safety Requirement |
|---|---|---|---|
| Material Entry | Unloading/Storage | 2′ x 10′ (Vertical) | Clear path to door |
| Cutting Zone | Sawing/Shearing | 3′ x 5′ | 5′ clearance for long stock |
| Prep/Grinding | Cleaning/Deburring | 3′ x 3′ | Spark shielding/Dust collection |
| Hot Work | Welding/Tacking | 4′ x 6′ | Non-flammable floor/curtains |
| Assembly | Fit-up/Measurement | 3′ x 5′ | Level surface/High lighting |
Assessing Electrical Capacity and Load Management
Before a single tool is plugged in, you must understand the limitations of a standard residential electrical system to avoid tripping breakers or damaging sensitive inverter electronics. Most single-bay garages share a circuit with other parts of the house, which is a recipe for frustration.
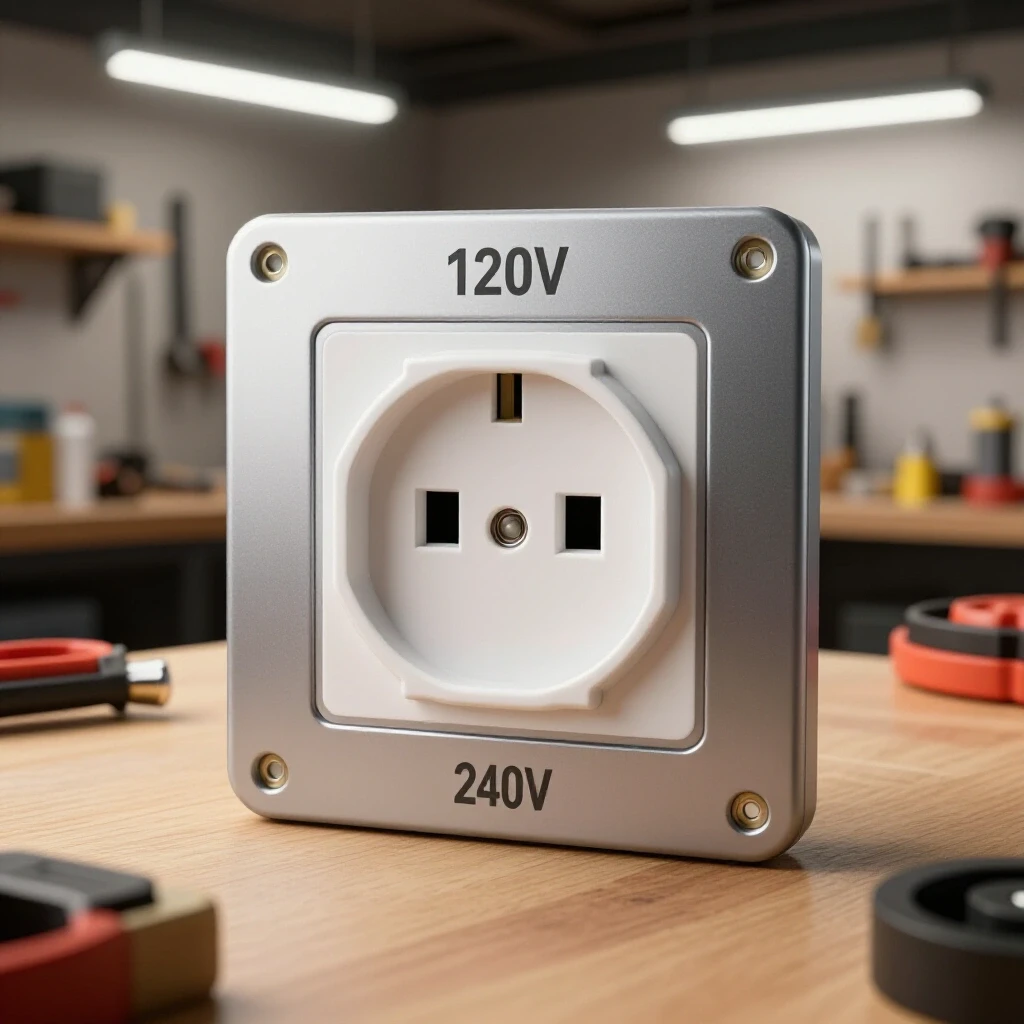
A beginner welder power requirement often starts at 20 amps for a 120V machine, but many home outlets are only rated for 15 amps. I learned this the hard way when I tried to run a small compressor and a grinder at the same time, resulting in a dark shop and a lost afternoon. You need to map your breakers and, if possible, have a dedicated 240V circuit installed. This is the single most important upgrade for a functional fabrication space, as it allows for more stable welding arcs and higher duty cycles.
Creating a Workshop Electrical Setup Checklist
A systematic approach to power ensures that you never overload your circuits while working on a critical weld. It also protects your equipment from voltage drops that can lead to motor burnout.
- Identify the total amperage available on your garage sub-panel or main breaker.
- Label every outlet with its corresponding circuit number.
- Ensure all “Hot Zone” outlets are GFCI protected to prevent shocks in damp conditions.
- Use high-quality, 12-gauge extension cords for any portable tools to minimize resistance.
- Install overhead lighting on a separate circuit from your power tools so you aren’t left in the dark if a breaker trips.
Strategic Ventilation for Small-Space Safety
Metalworking creates a cocktail of hazardous fumes, ozone, and fine particulate matter that can quickly reach dangerous levels in a 12-by-20-foot room. Proper airflow is not an optional luxury; it is a fundamental requirement for any indoor fabrication area.
The American Welding Society (AWS) emphasizes that the best way to handle fumes is at the source. In a small garage workshop ventilation setup, this means using a combination of local exhaust (like a fume extractor) and general dilution ventilation (like a high-CFM floor fan). I aim for a minimum of 2,000 to 3,000 Cubic Feet per Minute (CFM) of air movement when welding or grinding. This ensures that the air in your shop is completely exchanged every few minutes.
Optimizing Airflow Paths and Fume Extraction
The goal of ventilation is to pull clean air from behind the operator and push contaminated air away from the breathing zone and out of the building. Positioning is everything when you are working in a single-bay footprint.
- Place your welding table near the garage door or a large window.
- Set up a “push-pull” system: a fan in a window pulling air in, and an exhaust fan near the work area pushing air out.
- Use a portable welding screen to contain sparks, but ensure it doesn’t block the path of your airflow.
- Check your filters regularly; a clogged dust collector is just a noisy paperweight that offers no protection.
Selecting and Positioning Foundational Tools
In a starter metal workshop layout, the temptation is to buy every tool at once, but space constraints dictate a more measured approach. Every piece of equipment must be vetted for its footprint and its versatility.
I prioritize “multi-process” tools where possible. For example, a rolling cart that holds both a welder and a plasma cutter saves significant floor space. When choosing budget metalworking tools, look for equipment that can be tucked under a workbench when not in use. My first real shop utilized a “nesting” system where the chop saw stand slid underneath the main welding table, freeing up nearly 10 square feet of floor space for assembly.
| Tool Class | Footprint (Sq Ft) | Power Draw (Typical) | Critical Clearance |
|---|---|---|---|
| Miter/Chop Saw | 4 | 15A | 8′ on both sides |
| Angle Grinder | 1 | 5A – 10A | 3′ spark radius |
| Welding Machine | 2 | 20A – 50A | 2′ for cooling fans |
| Drill Press | 3 | 8A | 2′ for handle rotation |
| Bench Vise | 1 | N/A | 360-degree access |
Why Quality Over Quantity Matters for Safety
It is a common mistake to fill a shop with low-grade tools to save money, but in metalworking, a tool failure can be catastrophic. I have seen cheap grinding wheels shatter because they weren’t rated for the RPM of the grinder.
When you are tracking your startup costs, allocate at least 30% of your resources to high-quality safety gear and measuring tools. An ANSI Z87.1+ rated face shield and a reliable auto-darkening welding helmet are more important than a fancy bead roller. Reliable tools provide predictable results, which is essential when you are learning the nuances of metal behavior. If a tool feels flimsy or vibrates excessively, it has no place in a confined garage where your exit paths are limited.
Building a Mobile and Modular Infrastructure
The secret to a functional 12×20 space is mobility. If every heavy tool is bolted to the floor, you will eventually find yourself trapped by a project that is too large to turn around.
I put almost everything on heavy-duty locking casters. This allows me to “reconfigure” the shop in minutes. If I am working on a long gate, I can push the workbench against the wall and use the center of the floor. If I am doing precision bench work, I can pull the table into the center under the best lighting. Use casters rated for at least twice the weight of the tool to ensure they don’t flat-spot or become difficult to roll over small bits of metal debris.
Maximizing Vertical Storage and Wall Space
When you run out of floor space, look up. The walls of your garage are underutilized real estate that can hold everything from hand tools to heavy steel remnants.
- Install a French cleat system or heavy-duty pegboard for frequently used tools like squares, hammers, and clamps.
- Use vertical “toast racks” for storing metal stock; storing steel flat on the floor is a tripping hazard and wastes valuable square footage.
- Mount your air compressor on a sturdy wall shelf to keep the floor clear and reduce noise vibration.
- Use magnetic strips for drill bits and small wrenches to keep them within reach but off the work surface.
Final Layout Execution and Safety Testing
Once you have a plan, it is time to physically mark the floor and test the flow. I always recommend using painter’s tape to outline the footprint of your planned benches and tools before you move them in.
Walk through a simulated project. Pretend you are bringing in a 10-foot piece of square tubing. Can you get it to the saw? Can you swing it around to the welding table without hitting the water heater or the laundry machine? This “dry run” reveals bottlenecks that aren’t obvious on a 2D drawing. Once the tools are in place, perform a “spark test” to see where debris lands and ensure it isn’t reaching flammable materials or delicate electronics.
Implementing a Shop Safety Log and Maintenance Schedule
Keeping a record of your shop’s performance is a habit I brought from industrial maintenance. It helps you stay ahead of equipment failure and ensures you are following safety protocols.
- Daily: Clear the floor of all metal shavings and offcuts to prevent slips and fires.
- Weekly: Check all electrical cords for nicks or burns and blow out dust from the welder’s cooling vents.
- Monthly: Inspect grinding wheels for cracks and verify that your fire extinguisher is still in the green zone.
- Quarterly: Re-evaluate your layout. If you find yourself constantly moving a specific tool, it might need a more permanent home.
Frequently Asked Questions
Can I safely weld on a wooden workbench in a garage?
It is not recommended. For a starter metal workshop layout, you should at least cover a wooden top with a sheet of 1/8-inch steel or, preferably, build a dedicated metal welding table. Sparks and slag can easily smolder in wood grain or cracks, leading to a fire hours after you have left the shop. If you must use wood, keep a fire extinguisher within arm’s reach and stay in the shop for at least 30 minutes after your last weld.
How much space do I really need around my welding table?
In a 12-by-20-foot space, you should aim for at least 3 feet of clearance on three sides of your table. This allows you to move around your workpiece and maintain a comfortable body position, which is vital for high-quality welds. If space is tight, a mobile table that can be rolled to the center of the garage during use is the best solution.
What is the best way to handle metal dust in a small shop?
Abrasive dust from grinding is one of the biggest challenges in a single-bay setup. Use a dedicated shop vac with a HEPA filter attached directly to your tools when possible. For general room cleaning, never use a broom, which just kicks the dust into the air. Instead, use a vacuum or a wet-mop method to keep the fine particles from settling on everything in your garage.
Do I need a special permit to set up a fabrication area at home?
This varies by location, but generally, you must comply with local fire codes and homeowners’ association (HOA) rules. Most residential codes allow for hobbyist activities, but they may have restrictions on noise levels, visible smoke, or the storage of compressed gas cylinders like oxygen and acetylene. Always check your local ordinances regarding “home occupations” or “hobby shops” to ensure you are compliant.
How can I stop my tools from rusting in a garage environment?
Garages are prone to humidity and temperature swings. To protect your investment, keep a light coat of paste wax or specialized machine oil on all bare metal surfaces, like your table saw top or vise. Using a dehumidifier in the winter and ensuring proper insulation can also significantly reduce the moisture that leads to surface rust on your budget metalworking tools.
Is a 15-amp circuit enough for a beginner welder?
While some small 120V welders are marketed as 15-amp compatible, they often trip breakers when you try to weld thicker material. For a reliable experience, a dedicated 20-amp circuit is the bare minimum. If you plan on doing significant fabrication, installing a 50-amp 240V outlet will allow you to run more powerful machines and achieve better penetration on your welds.
How do I store gas cylinders safely in a confined space?
Compressed gas cylinders must always be stored upright and secured with a chain or strap to a wall or a heavy cart. Never store them near your “Hot Zone” where sparks could hit the valves. In a one-car garage, I recommend a small rolling welding cart that keeps the cylinder tucked securely behind the welder, away from high-traffic areas.
What is the most common layout mistake for beginners?
The most common error is placing the workbench against a wall in a way that prevents working on large items. Beginners often treat a welding table like a desk, but in fabrication, you need to access all sides of the project. Always prioritize a layout that allows your main work surface to be accessible from at least three sides, even if that means putting it on wheels.
(This article was written by one of our staff writers, Michael Thompson. Visit our Meet the Team page to learn more about the author and their expertise.)