How to Stress Relieve Welded Steel Parts at Home (DIY Fix)
I remember the first time I realized that steel has a memory. I was building a heavy-duty engine stand in my garage, confident in my deep-penetration welds. Hours after I finished, a sharp “crack” echoed through the shop. A structural joint had pulled itself apart as it cooled. That failure taught me that welding isn’t just about sticking two pieces of metal together; it is about managing the invisible forces we trap inside the material.
After 14 years in mechanical engineering and shop floor fabrication, I have seen these internal tensions ruin everything from small brackets to industrial frames. When we weld, the metal expands and contracts unevenly. This creates internal pulling forces, known as residual stresses, that can lead to warping or sudden cracking. For the home fabricator, learning to relax these tensions is the difference between a project that lasts a decade and one that fails under its first real load.
The Physics of Internal Tension in Welded Joints
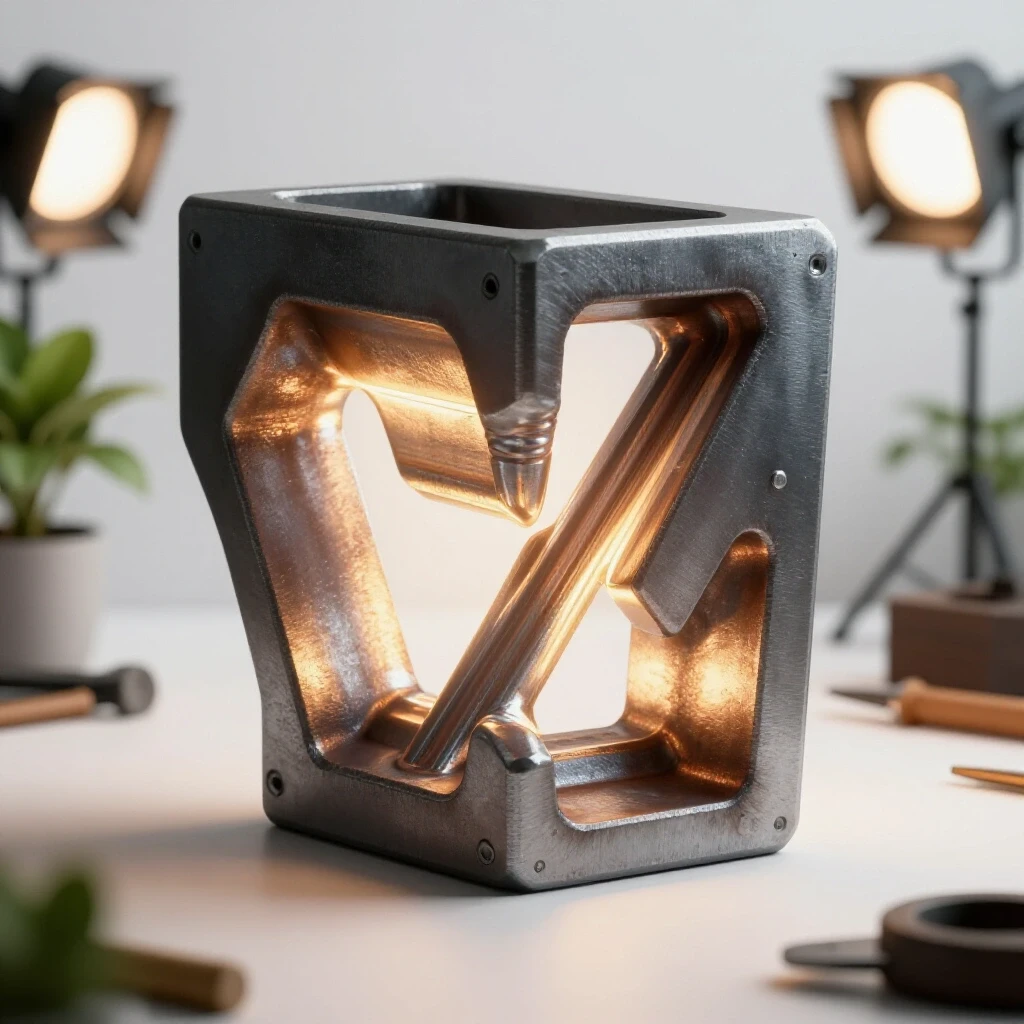
Internal tension refers to the trapped energy within a metal structure caused by uneven heating and cooling cycles during the welding process. As the weld pool solidifies and shrinks, it pulls on the surrounding cool metal, creating a tug-of-war at the molecular level that can weaken the overall structure.
When you strike an arc, the temperature at the joint jumps to several thousand degrees. The surrounding metal, known as the Heat-Affected Zone (HAZ), gets hot enough to change its internal structure but does not melt. As the weld cools, it wants to shrink. Because it is attached to the rest of the cold frame, it cannot move freely.
This restriction creates tensile strength issues where the metal is literally trying to tear itself apart from the inside. If these forces are higher than the yield strength of the material, the part will warp. If the forces are high enough, the weld or the HAZ will develop micro-cracks. Understanding this “shrinkage force” is the first step toward building safer, more predictable projects in a small workshop.
Planning Your Build to Minimize Material Distortion
Material distortion is the physical warping or twisting of a metal part caused by the thermal expansion and contraction of welding. Proper planning involves selecting the right material thickness and using specific joint designs that distribute heat more evenly to prevent the part from pulling out of alignment.
For most home projects, we work with mild steel, such as ASTM A36. This material is forgiving, but it still has a limit. I always recommend a structural metal load capacity analysis before you start. Ask yourself: where will the weight go? If you are building a trailer or a lifting jig, you need a safety margin of at least 3:1. This means the joint should be three times stronger than the maximum load it will ever carry.
One way to reduce internal pulling is to use “stitch welding” instead of long, continuous beads. Long beads dump massive amounts of heat into the steel, which leads to more shrinkage. By breaking the weld into shorter segments and allowing the metal to cool slightly between passes, you keep the heat affected zone weakness to a minimum.
| Material Feature | Impact on Internal Stress | Recommended Prevention |
|---|---|---|
| High Carbon Content | Increases brittleness in the HAZ | Use low-carbon mild steel for DIY builds |
| Long Continuous Welds | Maximizes thermal shrinkage | Use intermittent (stitch) welding patterns |
| Tight Joint Fit-up | Increases pulling force | Leave a 1/16-inch root gap for expansion |
| Thin Gauge Material | Warps easily under low heat | Use heat sinks (copper blocks) behind the weld |
Essential Workshop Safety and PPE for Thermal Work
Workshop safety protocols are the standardized procedures and protective gear used to prevent injury from heat, fumes, and radiation during fabrication. For home shops, this includes maintaining proper ventilation, using correct filter shades, and ensuring the workspace is clear of flammable materials before applying heat.
Before you even think about relaxing the stress in a part, your garage fabrication safety must be top-tier. I have seen small fires start from a single stray spark that smoldered in a pile of sawdust for an hour. Always have a fire extinguisher rated for Class ABC fires within arm’s reach.
Your personal protective equipment (PPE) is your last line of defense. When welding or using a torch for heat treatment, a Shade 10-13 filter is mandatory to protect your eyes from flash burn. Additionally, check your welding gas flow rate; for most MIG setups, 15–20 CFH (cubic feet per hour) is the sweet spot. Too little gas causes shielding gas porosity, which leaves tiny bubbles in the weld that act like “perforations” on a piece of paper, making the joint snap easily under stress.
- Workshop Safety Checklist:
- Verify ventilation is moving air away from your face.
- Clear all flammable liquids (gasoline, thinners) from the area.
- Wear leather gloves and a flame-resistant apron.
- Check all gas hoses for leaks using soapy water.
Low-Temperature Thermal Relief Techniques for the Home Shop
Thermal relief is the process of heating a welded part to a specific temperature to allow the atoms to rearrange and “relax” the internal pulling forces. In a DIY setting, this is done using controlled heat sources like torches or ovens to reach temperatures that soften the metal’s tension without changing its shape.
You do not need an industrial furnace to help a part relax. For small components, a standard kitchen oven can work, provided you aren’t cooking dinner in it later. Heating a part to 400°F to 500°F and holding it there for one hour per inch of thickness can significantly reduce residual tension.
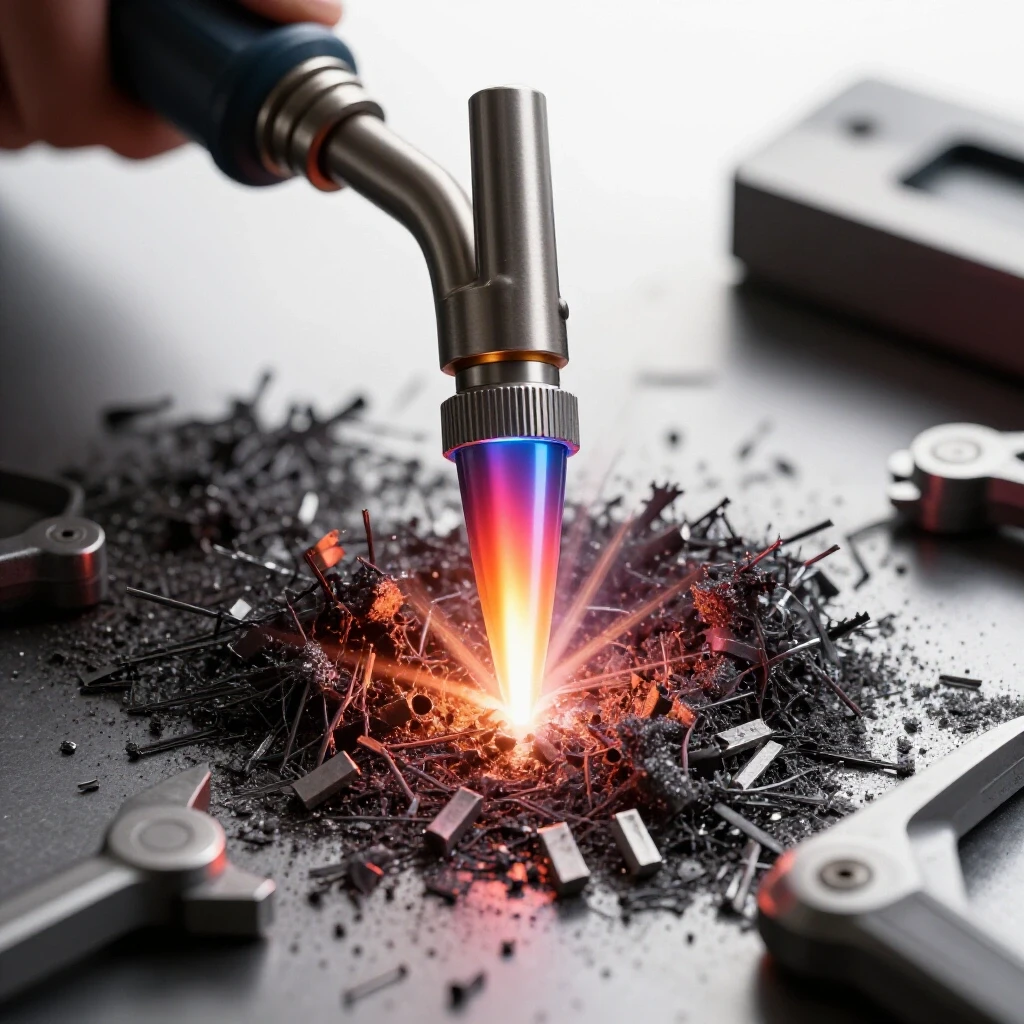
For larger frames, I use an oxy-acetylene or propane torch with a “rosebud” heating tip. The goal is not to get the metal red-hot. If it turns bright red, you are likely changing the grain structure too much. Instead, use Tempilstiks or an infrared thermometer to monitor the temperature.
- Uniform Heating: Move the torch constantly in a circular motion.
- Target Temperature: Aim for approximately 450°F for mild steel.
- Slow Cooling: This is the most critical step. Once heated, wrap the part in a welding blanket or bury it in a bucket of dry sand.
- Avoid Drafts: A cold breeze hitting a hot weld can cause “quenching,” which makes the steel brittle and prone to cracking.
Mechanical Stress Reduction Through Peening
Mechanical stress reduction, or peening, is a technique where the surface of a weld is struck with a hammer or tool to physically stretch the metal. This counteracts the shrinkage that occurred during cooling, effectively “pushing back” against the internal forces that want to pull the joint apart.
If you don’t have a way to heat the part safely, peening is a reliable alternative. When a weld cools, it is in a state of “tension” (pulling in). By hitting the weld bead with the rounded end of a ball-peen hammer or a pneumatic needle scaler, you create small indentations. These indentations spread the metal out, putting the surface into “compression.”
I often use this technique on heavy plate welds. You should peen the weld while it is still warm to the touch but not glowing. Be careful not to overdo it; too much hammering can work-harden the metal, making it brittle. Think of it as “massaging” the weld rather than trying to flatten it.
Identifying and Troubleshooting Common Weld Defects
Welding defect troubleshooting is the systematic process of inspecting a joint for flaws like cracks, holes, or poor fusion that could lead to structural failure. Identifying these issues early allows a fabricator to grind out the bad section and reweld it before the internal stresses cause a catastrophic break.
Even the best stress-relief plan won’t save a bad weld. You must be able to spot welding gas flow rate issues or improper travel speeds. One of the most dangerous defects is “lack of fusion,” where the weld sits on top of the metal like a bead of glue rather than melting into it.
I use a simple “Visual Inspection” checklist for every project. If I see any of these signs, I grind the weld out and start over. It is much cheaper to waste a bit of wire and gas than to have a structural failure later.
| Defect Name | What it Looks Like | Why it Happens | Structural Risk |
|---|---|---|---|
| Porosity | Tiny holes (like Swiss cheese) | Low gas flow or wind | High; creates easy snap points |
| Undercut | A groove at the edge of the weld | Too much heat or wrong angle | High; thins the base metal |
| Overlap | Weld “rolls over” the edge | Travel speed too slow | Medium; hides poor fusion |
| Longitudinal Crack | A line down the center | High residual stress/fast cooling | Critical; immediate failure risk |
Diagnostic Inspection and Load Testing Your Project
Diagnostic inspection involves using tools and tests to verify that a welded structure is sound and free of hidden cracks. This can range from simple visual checks to using dye penetrant kits that reveal microscopic surface flaws that the naked eye might miss.
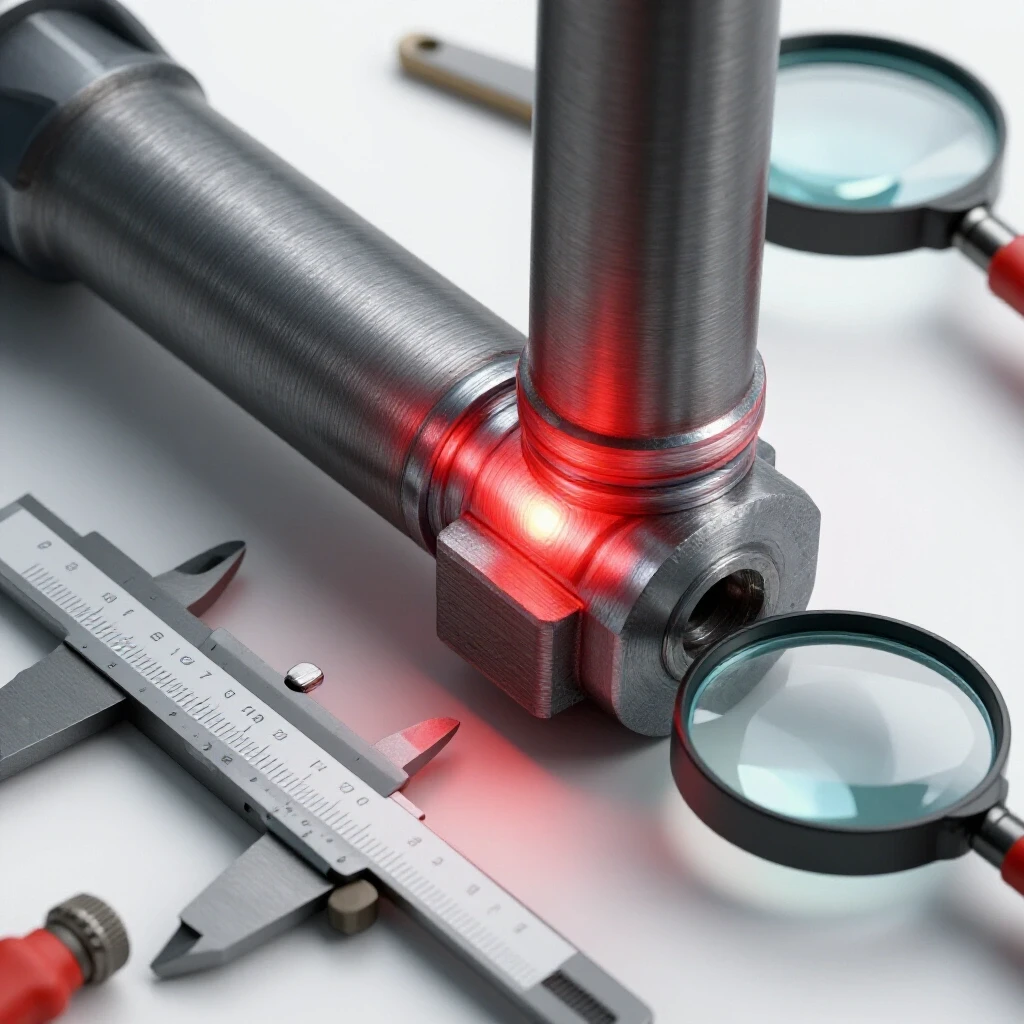
Once you have completed your stress-relieving steps, you need to verify the integrity of the build. I recommend a “Dye Penetrant Test” for critical joints. You spray a red dye on the weld, wipe it off, and then apply a white developer. If there is a tiny crack, the red dye will “bleed” through the white powder. It is a professional-grade tool that is very affordable for home use.
Finally, perform a controlled load test. If you built a shop crane rated for 1,000 lbs, test it with 500 lbs first. Watch the joints for any sign of “flaking” paint or popping noises. This is where your structural metal load capacity calculations meet reality. If the part deflects (bends) and stays bent, you have exceeded the yield strength, and the design needs reinforcement.
Actionable Framework for a Successful Build
To ensure your projects are safe and stable, follow this structured approach every time you light the torch. This framework helps you stay organized and reduces the anxiety of “will it hold?”
- Pre-Heat Thick Sections: If welding material thicker than 1/4 inch, use a torch to take the “chill” off the metal (aim for 150°F).
- Tack and Check: Use small tack welds to hold the structure. Check for squareness before final welding.
- Manage Heat Input: Don’t weld everything at once. Move from one corner to the opposite corner to balance the pulling forces.
- Apply Stress Relief: Use the thermal (torch) or mechanical (peening) methods described above.
- Final Inspection: Use a magnifying glass or dye kit to check for cooling cracks in the HAZ.
By treating every project with this level of rigor, you move from being a “hobbyist who glues metal” to a fabricator who understands the soul of the material. Respect the heat, account for the shrinkage, and always prioritize safety over speed.
Frequently Asked Questions
Can I use a propane torch to relieve stress in large steel beams? A small propane torch usually lacks the BTUs to heat a large beam uniformly. For heavy sections, you would need an oxy-acetylene torch with a rosebud tip to ensure the heat penetrates the full thickness of the metal.
How do I know if I have too much internal stress in my project? The most common sign is “spring-back.” If you unclamped your project from the table and it twisted or jumped out of alignment, that is a clear indicator of high residual stress.
Is it safe to use a kitchen oven for small parts? Yes, but only for mild steel and only if the part is clean of oils and paints. Oils will smoke and create toxic fumes. Always ensure the oven is calibrated and do not use it for food until it has been thoroughly cleaned.
What is the best temperature for relaxing mild steel welds at home? Staying between 400°F and 600°F is ideal. This is high enough to allow the molecular structure to relax but low enough that you won’t accidentally soften the steel to the point of losing its structural shape.
Does peening a weld actually work as well as heat? Peening is excellent for surface stresses and preventing cracks during cooling. However, it does not penetrate as deeply as thermal methods. For critical load-bearing parts, a combination of both is often best.
Why did my weld crack even after I heated it? Cracking usually happens because the cooling was too fast. If you heat a part and then set it on a cold concrete floor, the “heat sink” effect of the concrete pulls the heat out too quickly, causing a brittle fracture.
How much gas flow is too much for a MIG welder? If you go above 25-30 CFH, the gas can actually become turbulent. This pulls outside air into the weld pool, causing the very porosity you are trying to prevent. Stick to 15-20 CFH for most indoor garage work.
What is the Heat-Affected Zone (HAZ) exactly? The HAZ is the area of base metal that didn’t melt but was heated enough to change its properties. It is often the weakest part of a fabrication because it can become more brittle than the weld or the original steel.
Can I stress relieve aluminum the same way as steel? No. Aluminum has a much lower melting point and its structural properties are highly dependent on specific heat treatments (like T6). Heating aluminum without precise industrial controls can permanently ruin its strength.
Should I stress relieve every project I build? Not necessarily. Small, non-structural items like art pieces or simple brackets don’t usually require it. Save these techniques for items that will carry weight, vibrate (like engine mounts), or need to stay perfectly flat.
(This article was written by one of our staff writers, James Harlan. Visit our Meet the Team page to learn more about the author and their expertise.)