How to Test the Durability of Budget Power Tools (Tutorial)
I have spent the better part of two decades tearing down machines, rebuilding gearboxes, and diagnosing why a tool that looked great in a catalog failed after three months of shop use. In my 17 years as a maintenance specialist and fabricator, I have learned that a shiny coat of paint often hides a multitude of mechanical sins. When you are looking at entry-level metalworking equipment, you cannot rely on the brand name or the marketing stickers. You have to look at the physical construction, the quality of the castings, and the precision of the rotating assemblies.
Budget tools are a reality for many small shops and hobbyists. They offer a way to get started without a massive initial investment, but they require a critical eye to ensure they will actually perform. I don’t care about the “pro” labels or the colorful plastic housings. I care about the thickness of the metal, the grade of the bearings, and whether the tool can maintain its alignment under a moderate load. This guide is about moving past the hype and using objective tests to see if a tool is built to last or built to be replaced.
Evaluating the Foundation: Assessing Frame Rigidity and Material Quality
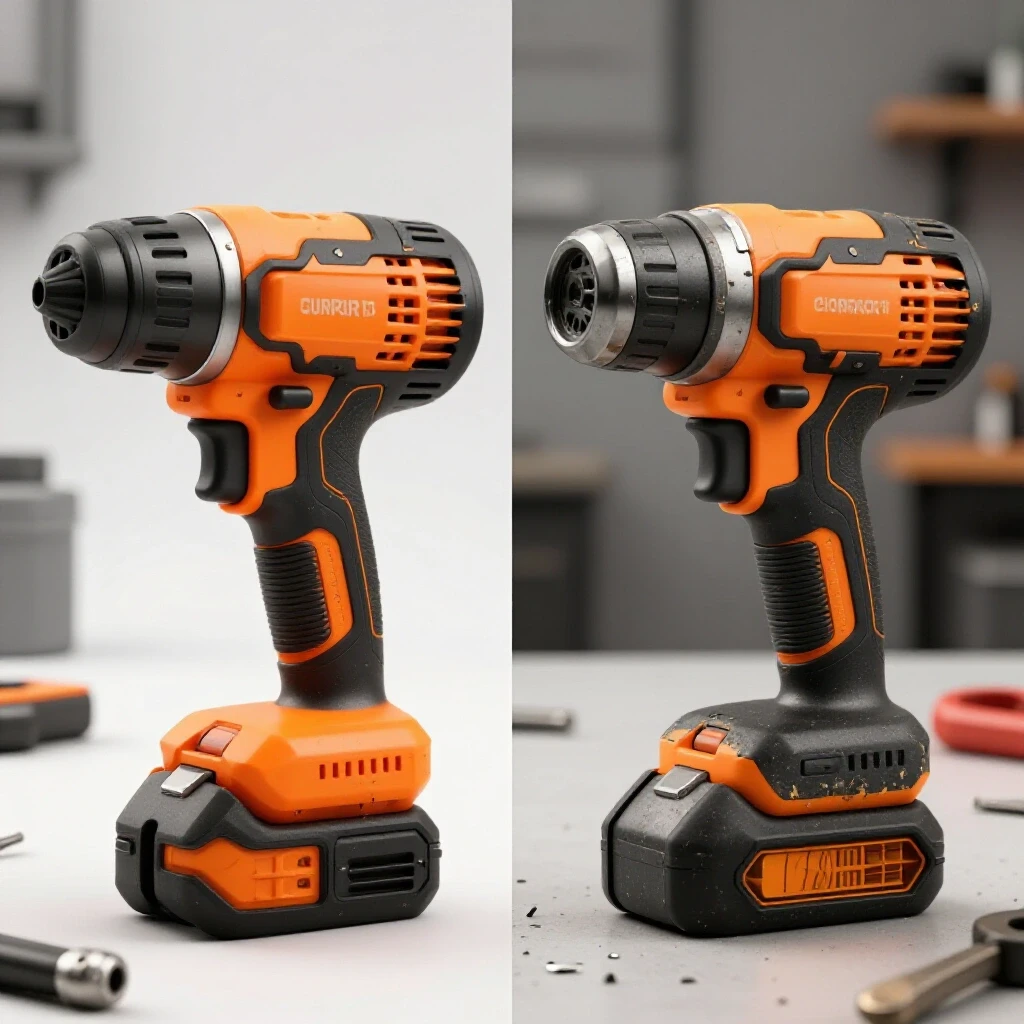
This phase involves checking the structural backbone of a tool to see how it handles vibration and stress during metalworking tasks. A tool with a weak frame will flex under pressure, leading to poor accuracy and premature wear on moving parts.
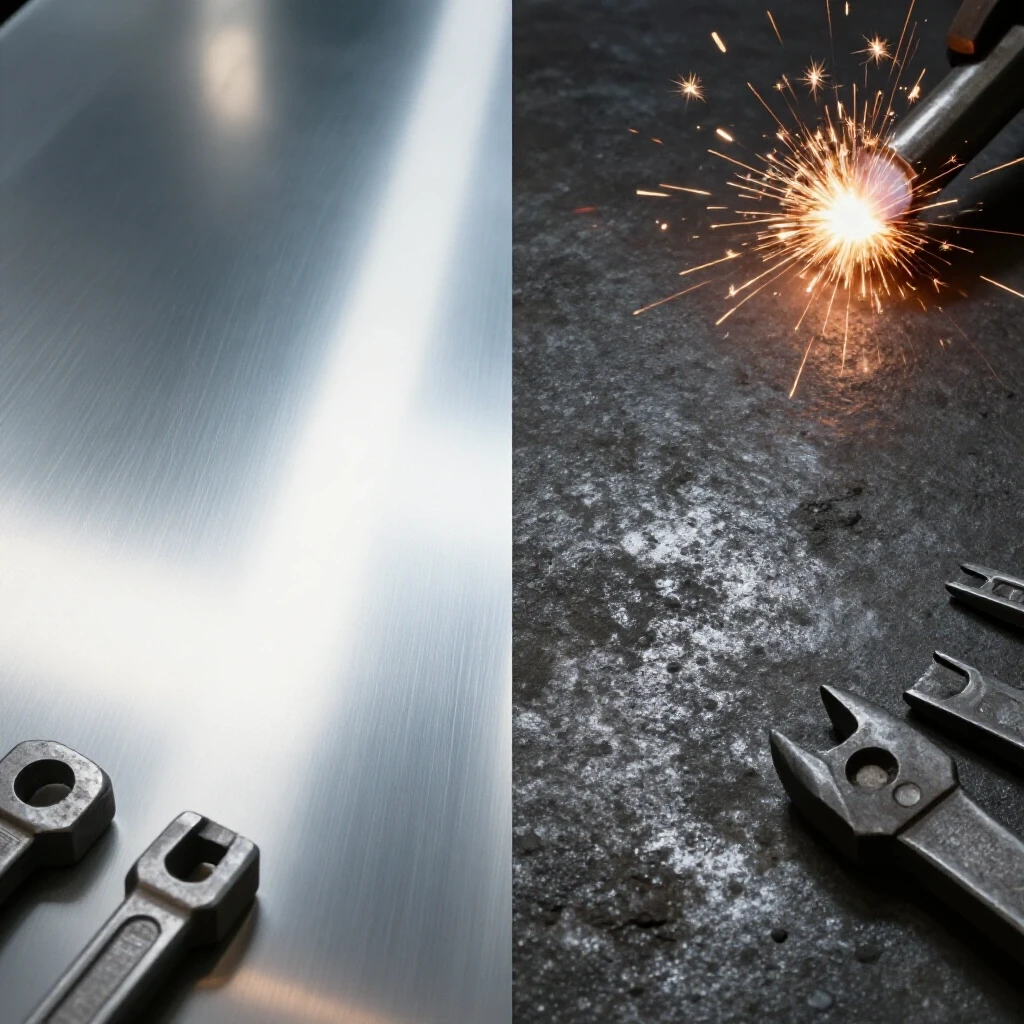
When I first walk up to a new drill press or a small metal lathe, the first thing I do is check the weight and the material of the main body. For metalworking, mass is your friend. It absorbs the vibrations created by a spinning drill bit or a cutting tool. I often perform a simple “resonance test” by tapping the main casting with a small hammer. A high-pitched “ping” usually indicates thin, stamped steel or low-grade aluminum, which won’t dampen vibrations well. A dull “thud” suggests a heavier cast iron, which is exactly what you want for stability.
In my experience, many budget tools save money by using thinner wall sections in their castings. You can test for this by applying firm pressure to the head of a drill press or the bed of a small lathe. If you can see the frame deflect even slightly with hand pressure, it will certainly move when you are trying to push a half-inch bit through mild steel. This flex is the enemy of durability because it puts uneven loads on the bearings and shafts.
- Cast Iron (Grade G25 or G30): Excellent vibration dampening and high rigidity.
- Stamped Steel: Common in very cheap tools; prone to flexing and “ringing” during use.
- Die-Cast Aluminum: Lightweight and decent for small tools, but lacks the mass needed for heavy metalwork.
| Material Type | Vibration Dampening | Structural Rigidity | Suitability for Metalwork |
|---|---|---|---|
| Grey Cast Iron | High | High | Excellent |
| Ductile Iron | Medium | Very High | Good |
| Stamped Steel | Low | Low | Poor |
| Cast Aluminum | Medium | Medium | Fair |
Testing the Spin: Measuring Spindle Runout and Bearing Play
This test determines if the rotating parts of a tool move in a perfect circle or if they wobble under pressure, which is critical for accuracy. Even a small amount of “runout” can cause drill bits to break or surface finishes to look like a washboard.
Total Indicated Runout (TIR) is a measurement I take on every new rotating tool. To do this, you need a dial indicator with a magnetic base. Place the indicator tip against the inside of the spindle taper or on the smooth part of a tool holder. Rotate the spindle slowly by hand and watch the needle. For a budget drill press, I look for a TIR of less than 0.005 inches. If it is higher than that, the tool will struggle to create round holes and will vibrate excessively.
Beyond just the wobble, you need to check for “play” or “slop” in the bearings. I do this by grabbing the spindle and trying to move it side-to-side (radial play) and up-and-down (axial play). In a well-built tool, you shouldn’t feel any movement. If you feel a “click” or see the needle on your dial indicator jump when you pull on the spindle, the bearings are either poor quality or not properly preloaded. This movement will only get worse as the tool breaks in, leading to a loud, vibrating machine that can’t hold a tolerance.
- Clean the spindle surface thoroughly to remove any shipping grease or debris.
- Mount the dial indicator on a solid part of the machine frame, not a moving table.
- Place the tip of the indicator against the spindle.
- Zero the dial and rotate the spindle 360 degrees by hand.
- Record the maximum deviation shown on the dial.
Slide and Carriage Tolerances: Checking for Slop in Moving Parts
This process examines how well the moving components of a machine fit together and if they shift unexpectedly during a cut. Loose slides lead to “chatter,” which is a rapid vibration that ruins both the tool bit and the workpiece.
On tools like milling machines or lathes, the slides (or “ways”) are where the precision happens. I always check the “gib” adjustments first. Gibs are small strips of metal that can be tightened to take up the space between moving parts. In many budget tools, these are often left loose from the factory. I tighten them until the slide becomes difficult to move, then back them off just enough for smooth operation. If the slide still feels “gritty” or has “tight spots” followed by “loose spots,” it means the surfaces weren’t ground flat.
Another critical area is “backlash” in the lead screws. This is the amount you can turn the handwheel before the slide actually starts moving. While some backlash is normal in manual machines, excessive play (more than 0.010 inches on a budget machine) makes it very hard to hit your marks. I test this by turning the handwheel one way, setting a mark, and then seeing how far I have to turn it back before the part moves. High backlash often points to cheap, soft nuts or poorly machined threads that will wear out quickly under load.
- Surface Finish: Look for smooth, ground surfaces rather than rough, “as-cast” textures on the ways.
- Gib Design: Look for multiple adjustment screws rather than just one or two.
- Way Wipers: Check if the tool has felt or rubber seals to keep metal chips out of the sliding surfaces.
Real-World Performance: Testing Under Load with Mild Steel
This step involves putting the tool to work on actual metal to see if the motor slows down, the frame flexes, or the heat builds up too quickly. A tool might sound great running empty but fail once it hits a piece of 1/4-inch steel plate.
When I test a budget grinder or drill, I don’t just look at the horsepower (HP) rating on the box. Those numbers are often “peak” ratings that the motor can only hit for a split second. I prefer to look at the amperage (Amps) and then see how it performs under a sustained cut. I take a piece of mild steel and perform a series of standard cuts. If the motor’s RPM drops significantly or if the tool starts to emit a “sweet” electrical smell, the motor is being overtaxed.
I also pay close attention to the “harmonics” or the sound of the machine. A healthy tool has a consistent, mechanical hum. If I hear high-pitched squealing, it usually means the bearings are dry or of low quality. If I hear a rhythmic “thumping,” there might be a flat spot on a belt or a chipped gear inside the housing. I use an infrared thermometer to check the temperature of the motor and the bearing housings after ten minutes of work. If the temperature rises above 140 degrees Fahrenheit (60 degrees Celsius), the tool likely has internal friction issues or an undersized cooling fan.
- Motor Heat: Should remain touchable (warm, not hot) after moderate use.
- Speed Consistency: The tool should maintain at least 80% of its no-load speed during a reasonable cut.
- Vibration Levels: Use a “nickel test”—balance a coin on the machine frame while it’s running; it shouldn’t fall over immediately.
Mechanical Drive Systems: Inspecting Belts, Gears, and Pulleys
This evaluation looks at the parts that transfer power from the motor to the work surface to check for wear, alignment, and material quality. The drive system is often where budget tools make the most compromises to save money.
I always open the side panels or gear covers to see what is actually turning the spindle. In many budget tools, you will find plastic gears. While modern polymers can be strong, they don’t handle the heat or the shock loads of metalworking as well as steel or brass. If I see plastic gears, I know I have to be much more careful with my feed rates. I also check the alignment of the pulleys. If the belt is riding at an angle, it will fray and snap prematurely, and it also wastes motor power through friction.
Tensioning systems are another giveaway of a tool’s durability. I look for robust, screw-driven tensioners rather than simple “slide and bolt” setups. A belt that is too loose will slip and glaze over, while a belt that is too tight will pull the motor shaft out of alignment and ruin the bearings. I check the belt for “cogging” or “glazing” after the first few hours of use. If the belt looks shiny on the sides, it is slipping, which means the pulley design or the belt material is substandard.
- Check gear material: Steel is best, followed by brass, then reinforced plastic.
- Inspect belt type: Multi-ribbed “V” belts generally grip better and run cooler than flat belts.
- Verify pulley alignment: Use a straightedge across the faces of the pulleys to ensure they are on the same plane.
- Listen for gear noise: Excessive “whining” often means the gear teeth are not meshing at the correct depth.
Creating a Maintenance and Longevity Checklist
This section provides a systematic way to track how a budget tool wears over time and how to identify early warning signs of failure. Budget tools require more frequent “check-ups” than industrial machines to keep them running accurately.
Because budget tools often have looser tolerances, they tend to vibrate themselves apart over time. I keep a log for every machine in my shop. Every 20 hours of use, I go through and check the tightness of every external bolt. You would be surprised how many “broken” tools I’ve fixed just by tightening a set screw that had vibrated loose in a pulley or a handle.
Lubrication is the most important factor in extending the life of an affordable tool. Many budget machines come with “shipping grease,” which is a thick, sticky substance designed to prevent rust during sea transit, not to lubricate moving parts. I always clean this off and replace it with a high-quality machine oil or lithium grease. I also check for “swarf” (metal chips) that may have migrated into the grease. If the tool doesn’t have good seals, you have to clean and re-lubricate it much more often to prevent the chips from grinding away at the metal surfaces.
- Weekly: Wipe down all bare metal surfaces with a light coat of oil to prevent rust.
- Monthly: Check belt tension and look for signs of fraying or cracking.
- Quarterly: Re-check spindle runout to see if the bearings are wearing or if the spindle has bent.
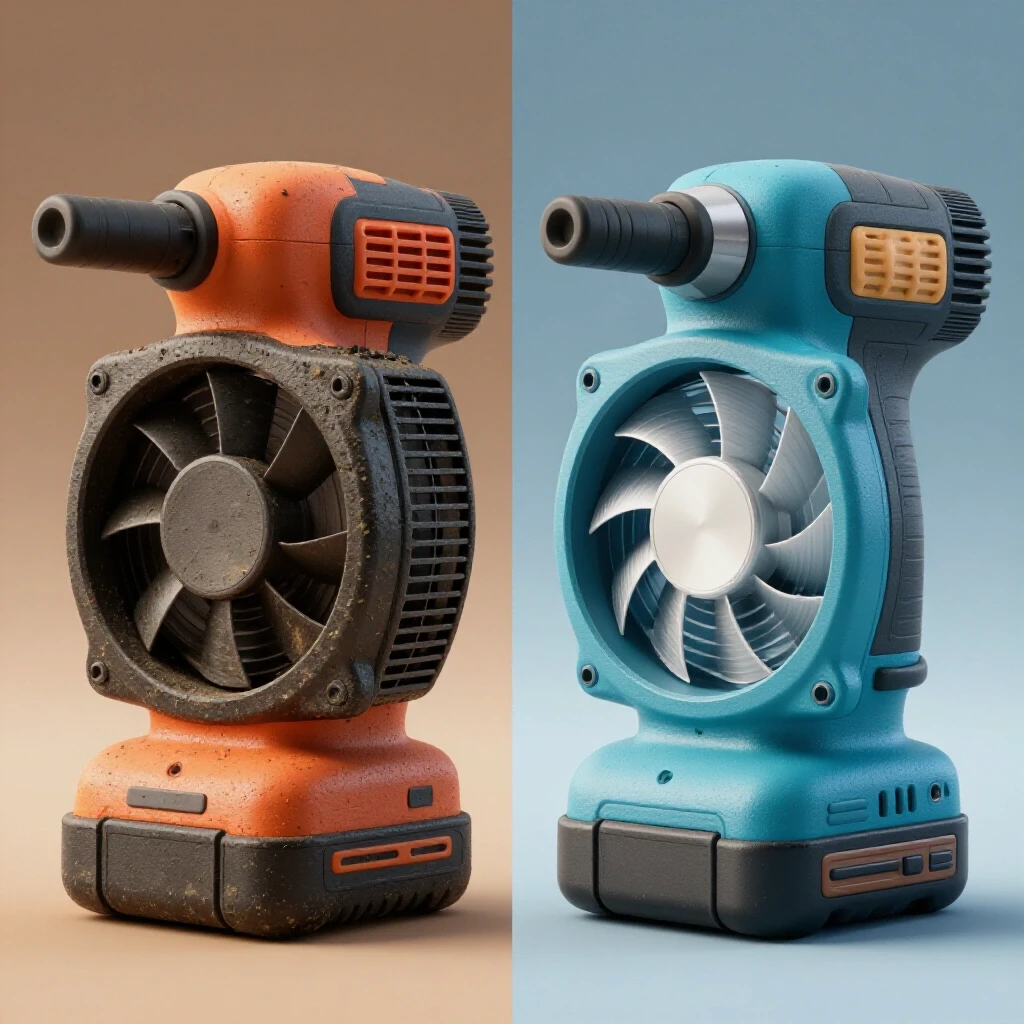
- Annually: Open the motor housing and blow out any accumulated metal dust with compressed air.
Comparative Tool Assessment Matrix
| Component | Budget “Red Flag” | Acceptable Standard | Better Design Feature |
|---|---|---|---|
| Spindle Runout | Over 0.010″ | 0.003″ to 0.005″ | Under 0.001″ |
| Gears | Thin Nylon/Plastic | Sintered Metal | Hardened Steel |
| Base/Frame | Thin Stamped Steel | Cast Aluminum | Heavy Grey Cast Iron |
| Bearings | Unshielded/Loose | Sealed Ball Bearings | Tapered Roller Bearings |
| Slides/Ways | Rough “As-Cast” | Ground Steel | Hardened and Scraped |
Summary of Inspection Benchmarks
In my years of maintenance, I have found that you can make a budget tool perform remarkably well if you know its limits and keep it dialed in. The goal isn’t to find a “perfect” machine at a low price—that doesn’t exist. The goal is to find a machine with a solid foundation (good castings and a straight spindle) that you can maintain and adjust.
If the frame is rigid and the spindle is true, most other issues like loose bolts or poor lubrication can be fixed by the owner. However, if the main casting is warped or the spindle hole is bored off-center, no amount of tweaking will ever make that tool durable or accurate. Focus your testing on the parts you cannot easily change.
- Always prioritize the quality of the “bones” (the frame and spindle) over accessories or digital readouts.
- Use a dial indicator to get objective data rather than relying on how the tool “looks.”
- Listen to the machine; your ears will often catch a bearing failure before your eyes do.
- Clean and re-lubricate immediately after purchase to remove abrasive shipping compounds.
Frequently Asked Questions
What is the most common failure point on budget metalworking tools? In my experience, the bearings are usually the first thing to go. Manufacturers often use low-grade, unshielded bearings to save costs. These bearings allow metal dust to enter the races, which quickly grinds down the balls and leads to excessive wobble and heat. Replacing these with mid-grade sealed bearings is often the best “first upgrade” you can perform.
How much spindle runout is “too much” for a hobbyist? For general fabrication like drilling holes in brackets or rough turning on a lathe, a runout of 0.005 inches is usually acceptable. However, if you are trying to do precision work where parts need to fit together tightly, you really want to stay under 0.002 inches. Anything over 0.010 inches will cause noticeable vibration and will likely break small drill bits.
Does a heavier tool always mean it is better? Generally, yes, especially in metalworking. Mass provides dampening. A 100-pound drill press will almost always outperform a 50-pound drill press of the same capacity because it will vibrate less. However, make sure that weight is in the structural components like the base and column, not just a heavy plastic motor cover.
Why should I care about “cast iron dampening”? When a cutting tool hits metal, it creates a frequency. If the machine frame is made of thin steel, it can act like a tuning fork and amplify that frequency, leading to “chatter.” Cast iron has a unique internal structure that absorbs these vibrations, resulting in a smoother cut and a much longer life for your cutting bits.
Can I fix a spindle that has too much runout? It depends on the cause. If the runout is caused by poor bearings, you can replace them. If the runout is caused by a spindle that was machined incorrectly at the factory, it is very difficult to fix without a professional machine shop. This is why testing runout immediately after purchase is so important.
What is the “nickel test” and is it accurate? It is a simple way to check for excessive vibration. You balance a nickel on its edge on a flat part of the machine while it is running. If the nickel stays standing, the machine is well-balanced. If it falls over instantly, you have a vibration issue—likely a bent shaft, an unbalanced motor, or a bad belt. It’s not a scientific measurement, but it’s a great “quick check.”
Are plastic gears always a deal-breaker? Not necessarily for light-duty work, but they are a major durability concern for metalworking. Metal creates heat and high torque loads. Plastic gears can strip their teeth if the tool “catches” or jams. If your tool has plastic gears, you must be very disciplined with your feed rates and never force the tool.
How do I know if my motor is “bogging down” too much? Listen to the pitch of the motor. A slight drop in pitch is normal when you start a cut. If the pitch drops significantly (a “groaning” sound) or if you can see the spindle slowing down visibly, you are pushing the tool too hard. This generates heat in the motor windings, which will eventually melt the insulation and short out the motor.
What is “backlash” and why does it matter for durability? Backlash is the “dead space” when you turn a handwheel before the part moves. While it affects accuracy, excessive backlash also affects durability because it allows the table or carriage to “jump” or “climb” during a cut. This sudden movement can snap tools and put shock loads on the drive system.
Is “shipping grease” dangerous to leave on the tool? It’s not dangerous in terms of safety, but it is bad for the tool. Shipping grease is designed to be sticky so it doesn’t run off during transport. This stickiness attracts metal chips and dust, turning the grease into an abrasive paste that will wear out your slides and gears much faster than proper machine oil.
(This article was written by one of our staff writers, Steven Brooks. Visit our Meet the Team page to learn more about the author and their expertise.)