How to Troubleshoot CNC Step Motor Failures Safely (DIY Fix)
When a CNC machine stops moving in the middle of a paid job, the silence in the shop is deafening. For a side-hustle metalworker, that silence represents more than just a mechanical glitch; it is the sound of a shrinking profit margin and a looming deadline. I remember a specific Tuesday three years ago when my primary mill threw a fit during a batch of custom aluminum brackets. I had priced that job at a tight $450, assuming four hours of run time. When the X-axis motor began stuttering, my hourly shop rate effectively plummeted to zero while my overhead costs—rent, electricity, and insurance—continued to tick away.
Managing a small fabrication business requires a shift in mindset from a hobbyist to a production manager. You are no longer just fixing a tool; you are performing an emergency intervention on a revenue-generating asset. Troubleshooting these motion issues safely and efficiently is a critical skill for maintaining consistent profitability. If you can identify a loose wiring harness or a bound lead screw yourself, you avoid the $150-per-hour service call and the week-long wait for a technician. However, you must approach these repairs with a calculator in one hand and a multimeter in the other to ensure the fix makes financial sense.
The Financial Reality of Equipment Failure and Shop Rates
A shop rate is the total amount of money your business must earn per hour to cover all expenses and provide a profit. This includes “hidden” costs like shop insurance, software subscriptions, and the gradual wearing out of your tools. When a motion system fails, your shop rate doesn’t just stop; it becomes a debt you owe to your own business until the machine is back in production.
Calculating the Hourly Burden of an Idle Machine
The hourly burden is the fixed cost of your shop that exists whether you are cutting metal or not. To find this, add up your monthly rent, utilities, insurance, and equipment loan payments, then divide by the number of hours you intend to work. If your fixed costs are $800 a month and you work 40 hours on your side-hustle, your burden is $20 per hour. When your CNC is down, you are losing $20 every hour in overhead alone, plus the $60 to $100 per hour you should be earning in labor.
Factoring Depreciation into Your Repair Decisions
Machine depreciation is the process of allocating the cost of your CNC over its useful life. If you bought a $5,000 machine and expect it to last five years, it “costs” you $1,000 a year, or about $0.50 per operating hour. When a motor fails, you must decide if the repair extends the life of the machine enough to justify the cost. Using a metal business ROI calculator helps you see if spending $100 on a new motor is better than spending five hours of your $85/hour labor time trying to save an old one.
Visual and Mechanical Inspections of the Motion System
Before touching any electrical components, you must verify that the failure isn’t caused by physical resistance. In my experience, nearly 40% of perceived motor failures are actually mechanical binds caused by chips, lack of lubrication, or misaligned rails. These are the most cost-effective issues to solve because they usually only require cleaning and adjustment rather than new parts.
Identifying Binding and Friction Costs
Mechanical binding occurs when the physical path of the machine is blocked or restricted, forcing the motor to work harder than its rated torque. This extra strain increases heat and can lead to premature failure of the motor drivers. From a fabrication job costing perspective, a machine that is struggling with friction uses more electricity and wears out consumables like lead screw nuts faster. Always check for smooth movement by manually turning the lead screws while the power is off to feel for “tight spots” that indicate misalignment.
The Impact of Shop Cleanliness on Component Longevity
Dust and metal chips are the enemies of electronics and precision bearings. In a small shop, grinding dust can settle on lubricated rails, creating an abrasive paste that increases the load on your stepper motors. I’ve seen $200 motors burn out because a $5 bag of floor sweep wasn’t used after a grinding session. Keeping your motion components clean is a form of preventative maintenance that directly protects your equipment investments and keeps your machine depreciation cycles on track.
| Component | Inspection Frequency | Financial Impact of Neglect |
|---|---|---|
| Lead Screws | Weekly | High: Increases motor strain and nut wear |
| Linear Rails | Daily | Medium: Causes pitting and loss of precision |
| Wiring Harnesses | Monthly | Low: Prevents intermittent signal loss |
| Couplers | Quarterly | High: Can lead to total loss of axis control |
Safe Electrical Testing for Low-Voltage Stepper Systems
When the mechanics are clear but the motor still fails to move correctly, you must transition to electrical testing. For the hobby-grade and small-shop CNC units we use, this typically involves DC voltages between 12V and 48V. Working within this range is relatively safe for a DIYer, provided you follow basic protocols and never open the motor casing or touch live circuits unnecessarily.
Using a Multimeter for Continuity and Voltage Checks
A multimeter is the most important tool in your side-hustle metalworking kit for diagnosing electrical faults. Continuity testing allows you to verify that the copper path inside your wires is intact from the controller to the motor. Over time, the constant flexing of cables in a cable carrier (drag chain) can cause internal wire breaks. If you find a break, replacing a $15 cable is a much better ROI than replacing a $60 motor that was never actually broken.
Verifying Power Supply Stability Under Load
Your CNC power supply must provide a consistent voltage to the stepper drivers to maintain torque. I once spent three hours troubleshooting a “bad motor” only to realize the power supply voltage was sagging from 36V to 18V whenever the spindle kicked on. Check your voltage at the driver input while the machine is attempting to move. If the voltage drops significantly, your power supply is failing or undersized for the job, which can lead to inaccurate job bids because of ruined workpieces and lost time.
Diagnosing Stepper Driver and Connection Issues
The stepper driver is the middleman between your computer and the motor, and it is often the component that fails first. Drivers generate significant heat and are sensitive to loose connections. In small metal shop pricing, we often forget to account for the “spare parts tax”—the cost of keeping common failure points like drivers on the shelf to minimize downtime.
- Check for loose terminal blocks: Vibrations from the machine can loosen the screws holding your wires.
- Inspect for burnt smells or discolored components: This indicates a driver that has overheated.
- Swap drivers between axes: If the problem moves from the X-axis to the Y-axis after swapping drivers, you know the motor is fine and the driver is the culprit.
- Verify dip switch settings: Ensure the current limits on the driver match the specifications of your motor to prevent overheating.
ROI Analysis: To Repair or Replace a Stepper Motor?
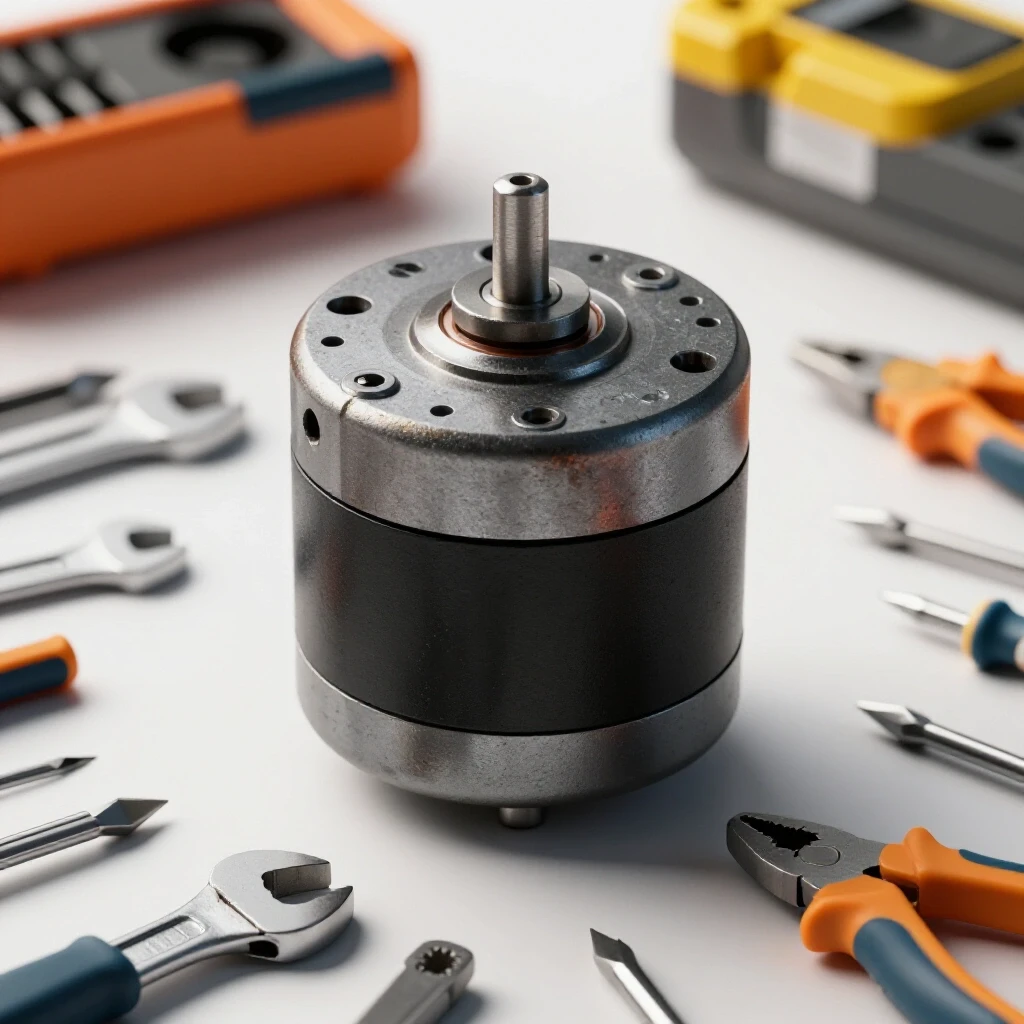
One of the hardest lessons I learned in 16 years of fabrication was when to stop “fixing” and start “replacing.” As a small business owner, your time is your most valuable consumable. If you spend six hours troubleshooting a NEMA 23 stepper motor that costs $45 to replace, you have effectively paid yourself $7.50 an hour. That is a losing strategy for anyone trying to build a profitable side business.
Factoring Labor Time into DIY Repair Decisions
When calculating the cost of a repair, use your full shop rate, not just the cost of the part. If your shop rate is $85/hour and a repair takes three hours, that repair cost you $255. If a new, higher-quality motor costs $120, the replacement is actually the cheaper option. This logic is the foundation of smart small shop management. We often get caught in the “DIY trap” where we think we are saving money, but we are actually stealing time from higher-value fabrication tasks.
The Benefits of Standardizing Your Motion Components
If you run multiple machines, try to use the same models of motors and drivers across your shop. This allows you to keep a single set of spares that fits everything. Standardizing reduces your inventory costs and simplifies your troubleshooting process. When a motor fails, you can swap it in minutes, get the job finished, and analyze the failed part later during non-billable hours. This approach keeps your fabrication job costing accurate and your customers happy with on-time deliveries.
Preventing Future Failures Through Better Budgeting
The best way to handle a motor failure is to prevent it or have the funds ready to fix it instantly. This requires a disciplined approach to tracking your expenses and setting aside money for maintenance. I recommend adding a “maintenance burden” to every quote you send out.
- Track every minute of downtime: Use a simple spreadsheet to record when a machine goes down and why.
- Allocate a percentage of every job to a “tool fund”: Taking 5% of every invoice and putting it in a separate account ensures you have the cash for repairs.
- Monitor energy usage: A motor that is beginning to fail will often draw more current, which can show up on your monthly energy bill if you track it closely.
- Use digital estimation tools: Modern software can help you factor in the wear and tear on your machine based on the complexity of the toolpaths.
Essential Tools for CNC Motion Troubleshooting
To maintain your shop’s efficiency, you should have a dedicated kit for diagnosing motion issues. This prevents you from hunting for tools while a customer’s job is sitting idle on the table.
- Digital Multimeter: Look for one with a continuity “beep” function for easy wire testing.
- Hex Key Set: For tightening couplers and checking rail alignments.
- Non-Contact Infrared Thermometer: To check if one motor is running significantly hotter than the others.
- Spare Stepper Driver: Having at least one spare for each type of machine in your shop.
- Contact Cleaner Spray: For cleaning oxidized connectors and terminal blocks.
- Precision Level: To ensure your machine frame hasn’t twisted, which can cause binding.
Conclusion: Mastering the Economics of the Fix
Troubleshooting your own equipment is a double-edged sword. Done correctly, it keeps your overhead low and your profit margins healthy. Done poorly, it becomes a time-sink that prevents you from actually making parts. By focusing on the 12-48V electrical basics and the mechanical integrity of your machine, you can handle most common failures safely. Always remember to weigh the cost of your time against the cost of new components. In the world of side-hustle metalworking, being a “pro” means knowing when to pick up the wrench and when to open the wallet. Your goal is a shop that runs predictably, prices accurately, and returns a consistent profit on every spark and chip.
FAQ: Managing CNC Motion Failures and Shop Costs
How do I know if my stepper motor is actually dead? Most stepper motors are very durable. If the motor is disconnected from the machine and the shaft is difficult to turn by hand, or if it feels “notchy” even when the wires aren’t touching, it may have internal damage. However, always check for continuity between the wire pairs first. If you have continuity and the motor turns smoothly when unplugged, the problem is likely in the driver or the wiring.
Is it safe to test my CNC electronics while the power is on? For hobby-grade systems (12-48V DC), it is safe to measure voltage at the power supply or driver terminals with a multimeter. However, you should never plug or unplug a stepper motor while the power is on. This can create a back-EMF spike that instantly destroys your stepper driver. Always power down and wait a few seconds before changing any connections.
What is a realistic shop rate for a part-time fabrication business? Most side-hustle shops range between $65 and $120 per hour. This depends on your local market, your specialized skills, and your overhead. If you are working out of a home garage with low rent, you can be on the lower end, but don’t forget to pay yourself for the time spent on administrative tasks and maintenance.
How much should I mark up my materials and replacement parts? A standard material markup is 20% to 50%. For replacement parts used in a repair, I typically add 15% to 20% to cover the time spent sourcing the part and the shipping costs. This ensures that the “hidden” costs of procurement don’t eat into your labor profits.
Why does my motor lose steps during a long job? Lost steps are usually caused by either mechanical binding or a driver that is overheating. Check if your motor or driver is too hot to touch. If it is, you may need to reduce the current setting on the driver or add better cooling fans. Also, ensure your acceleration settings in your software aren’t too aggressive for the torque of your motors.
Should I upgrade to larger motors if one fails? Only if your current motors were consistently underpowered for your work. Upgrading often requires new drivers and sometimes a larger power supply. Calculate the total cost of the upgrade (parts plus installation time) and see if it will actually allow you to cut faster or more accurately. If not, the ROI for the upgrade might be negative.
How do I track consumable usage on a CNC? Keep a logbook near the machine. Record the number of hours on each end mill or plasma nozzle. Over time, you will see a pattern. Divide the cost of the consumable by its average life in hours to get a “consumable burden” that you add to every job estimate.
What is the most common cause of “ghost” electrical issues? Loose or poor-quality grounds are the primary cause of intermittent CNC issues. Ensure your machine frame, power supply, and controller are all properly grounded to a single point. This prevents electrical noise from interfering with the low-voltage signals sent to your stepper motors.
How can I reduce the cost of machine downtime? The best way is to have a “First Aid Kit” for your machine. This includes a spare motor, a spare driver, and the specific tools needed to change them. If you can swap a part in 20 minutes instead of waiting three days for shipping, you’ve saved hundreds of dollars in potential revenue.
How do I factor machine maintenance into my pricing? Add a small “Equipment Replacement and Maintenance” fee to your hourly rate. If you expect to spend $500 a year on parts and 20 hours on maintenance, and you work 500 hours a year, add $2.00 to your hourly shop rate to cover these costs. This ensures the business pays for its own upkeep.
(This article was written by one of our staff writers, Michael Hargrove. Visit our Meet the Team page to learn more about the author and their expertise.)