How to Weld a Rigid Stand for Utility Sink Basins (DIY Plan)
The smell of sulfur and old gear oil is a permanent fixture in my workshop. Over the last 18 years, I have pulled dozens of machines from the brink of the scrap heap. I have felt the frustration of a snapped stud in a 1930s headstock and the quiet satisfaction of a freshly scraped ways-bed showing 20 points per inch. When you spend your life rescuing heavy, cast-iron equipment, you realize that every tool needs a foundation as stubborn as the iron it supports.
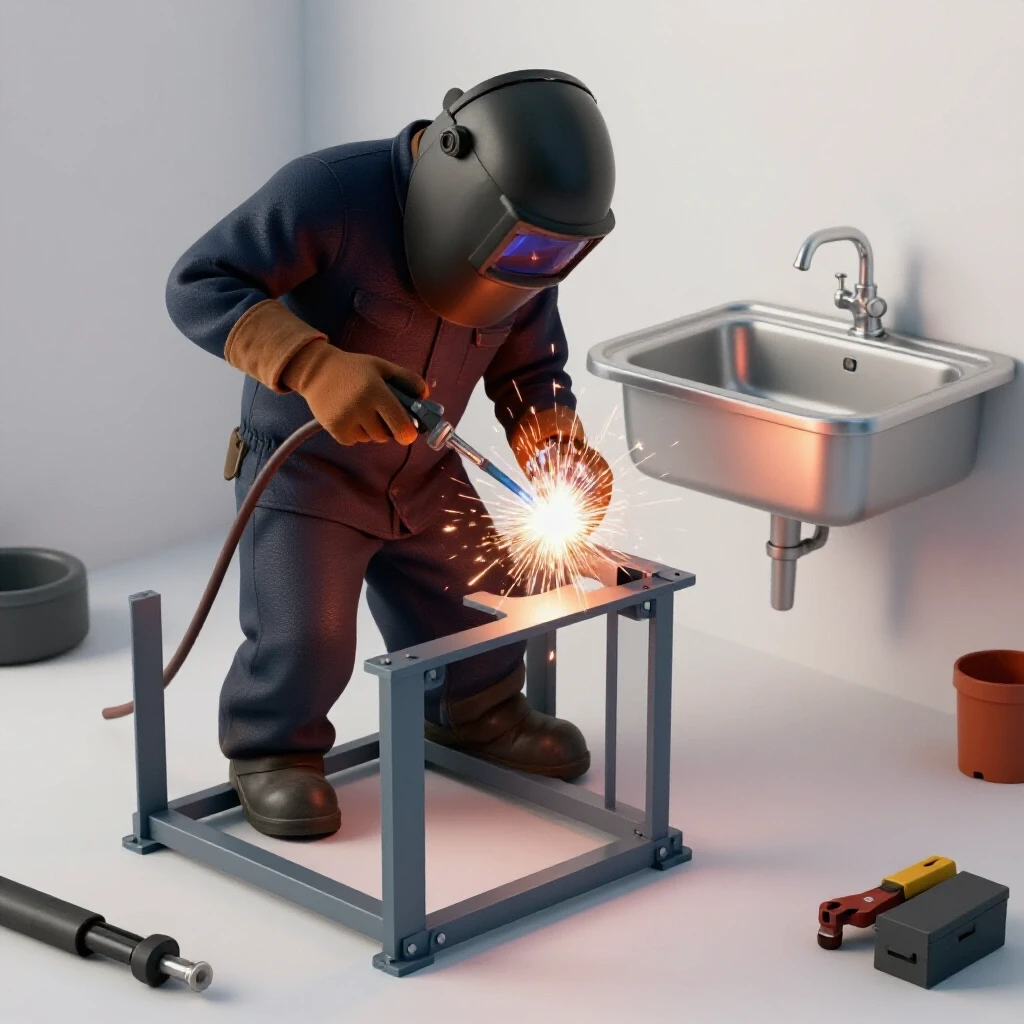
A utility sink in a restoration shop is not just for washing hands. it is a workstation for degreasing heavy gears, soaking seized pulleys in penetrant, and scrubbing decades of grime off machine castings. A standard, flimsy plastic tub on spindly legs will buckle the moment you drop a cast-iron apron into it. To support the weight of industrial-grade cleaning and heavy parts, you must apply the same engineering principles used in vintage machinery restoration to the fabrication of a custom steel support frame.
Assessing the Structural Load of Industrial Basins
This phase involves calculating the total weight the support frame must carry, including the basin, the water, and the heaviest machine components you intend to clean. It requires looking at the static load and the dynamic forces applied when moving heavy metal parts within the basin.
In my experience, a vintage cast-iron basin can weigh upwards of 150 pounds on its own. When you add 20 gallons of water (roughly 160 pounds) and a 100-pound lathe tailstock, you are asking a stand to hold over 400 pounds. Most retail stands are rated for less than half of that. When I evaluate a machine rescue, I look at the base first. The same applies here. You need to design for a safety factor of at least 3:1 to ensure the frame does not flex or vibrate during use.
| Component Type | Estimated Weight (lbs) | Impact on Design |
|---|---|---|
| Cast Iron Basin | 120 – 180 | Requires thick-wall tubing |
| Full Water Capacity | 150 – 200 | Influences leg bracing height |
| Heavy Machine Parts | 50 – 150 | Demands rigid gussets |
| Total Design Load | 320 – 530 | Requires 3/16″ or 1/4″ steel |
Selecting Steel Profiles for Maximum Rigidity
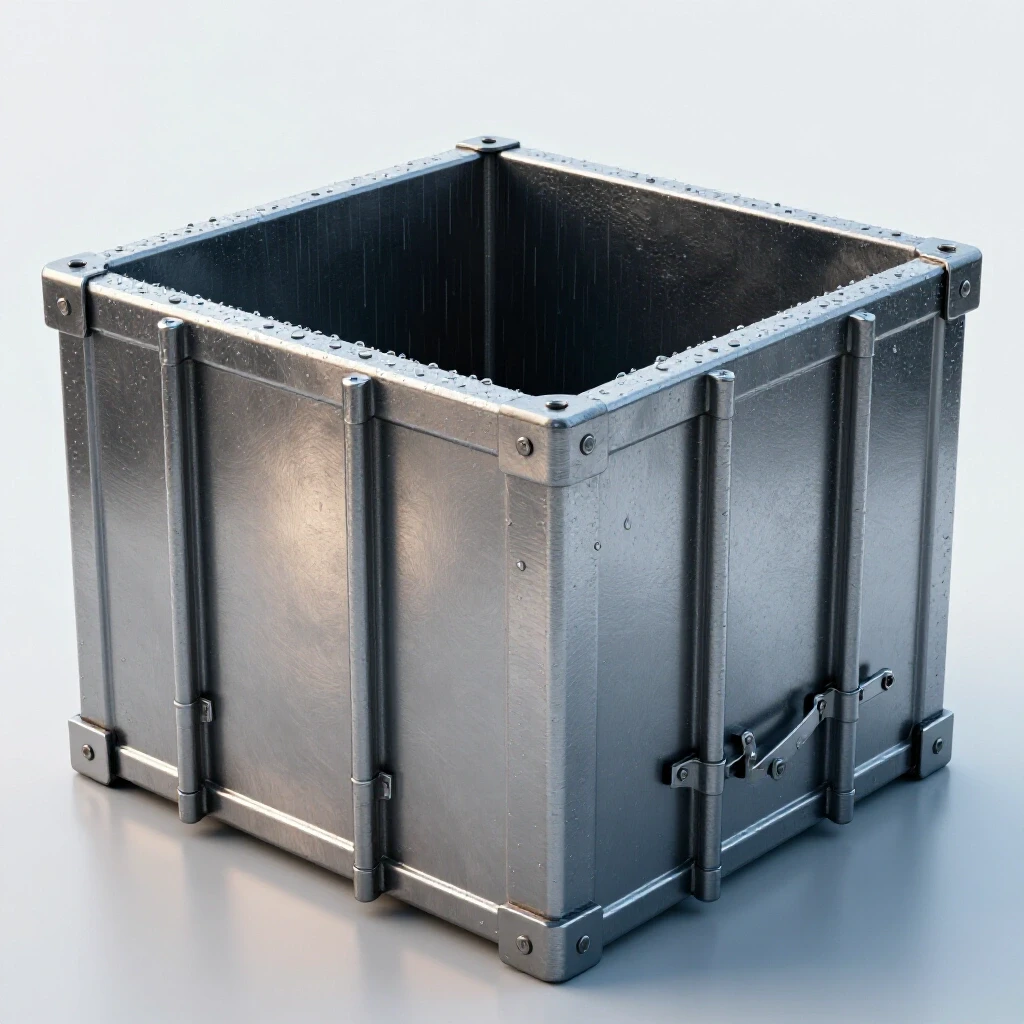
Material selection is the process of choosing the correct steel shape and wall thickness to prevent deflection under heavy loads. For workshop infrastructure, square or rectangular structural tubing is preferred over angle iron because it offers superior torsional rigidity and resists twisting when the shop floor is uneven.
I prefer using 2-inch square tubing with a 1/8-inch or 3/16-inch wall thickness for the main legs. While 1/8-inch is often sufficient for hobbyist benches, the “machine restorer” mindset dictates over-engineering. If you are cleaning a heavy gear-head, you don’t want the stand to shimmy. Rectangular tubing (2×3 inch) can be used for the top perimeter to provide a wider mounting surface for the basin’s rim.
- Square Tubing: Best for vertical legs as it resists buckling from all sides equally.
- Rectangular Tubing: Excellent for horizontal spans where vertical deflection is the primary concern.
- Wall Thickness: Stick to 11-gauge (approx. 0.120″) for general use or 7-gauge (0.187″) for extreme heavy-duty builds.
- Steel Grade: A36 hot-rolled steel is the standard; it is easy to weld and cost-effective for shop fixtures.
Precision Measurement and Disassembly Logic
This step involves mapping out the dimensions of the basin and translating them into a cut list for the steel frame. It mirrors the process of machine disassembly tips where every part is measured and recorded before any metal is cut or moved to ensure the final assembly aligns perfectly.
When I disassemble a complex drill press, I use a micrometer to check shaft diameters. For a sink stand, I use a machinist’s square and a reliable tape measure. You must measure the basin at the underside of the flange, not the top. Many vintage castings have a slight taper or “draft” from the molding process. If you build the frame to the top dimensions, the basin might not sit flush, leading to uneven weight distribution and potential cracking of the old cast iron.
Preparing the Metal for High-Strength Welds
Joint preparation is the mechanical cleaning and beveling of steel edges to ensure the weld bead penetrates deep into the base metal. In restoring classic cast iron, we often have to grind out cracks before welding; similarly, new steel must be stripped of mill scale to prevent weld contamination and porosity.
Mill scale is that dark, flaky layer on hot-rolled steel. If you weld over it, the arc will be unstable, and the joint will be weak. I use a flap disc on an angle grinder to take the steel down to a bright, shiny finish at least one inch back from every joint. For 3/16-inch material, I also ground a 45-degree bevel on the ends of the tubing. This creates a “V” groove that allows the weld to penetrate the full thickness of the wall, ensuring the stand can handle the vibration of a wire wheel or a heavy scrubbing session.
Managing Heat Distortion During Fabrication
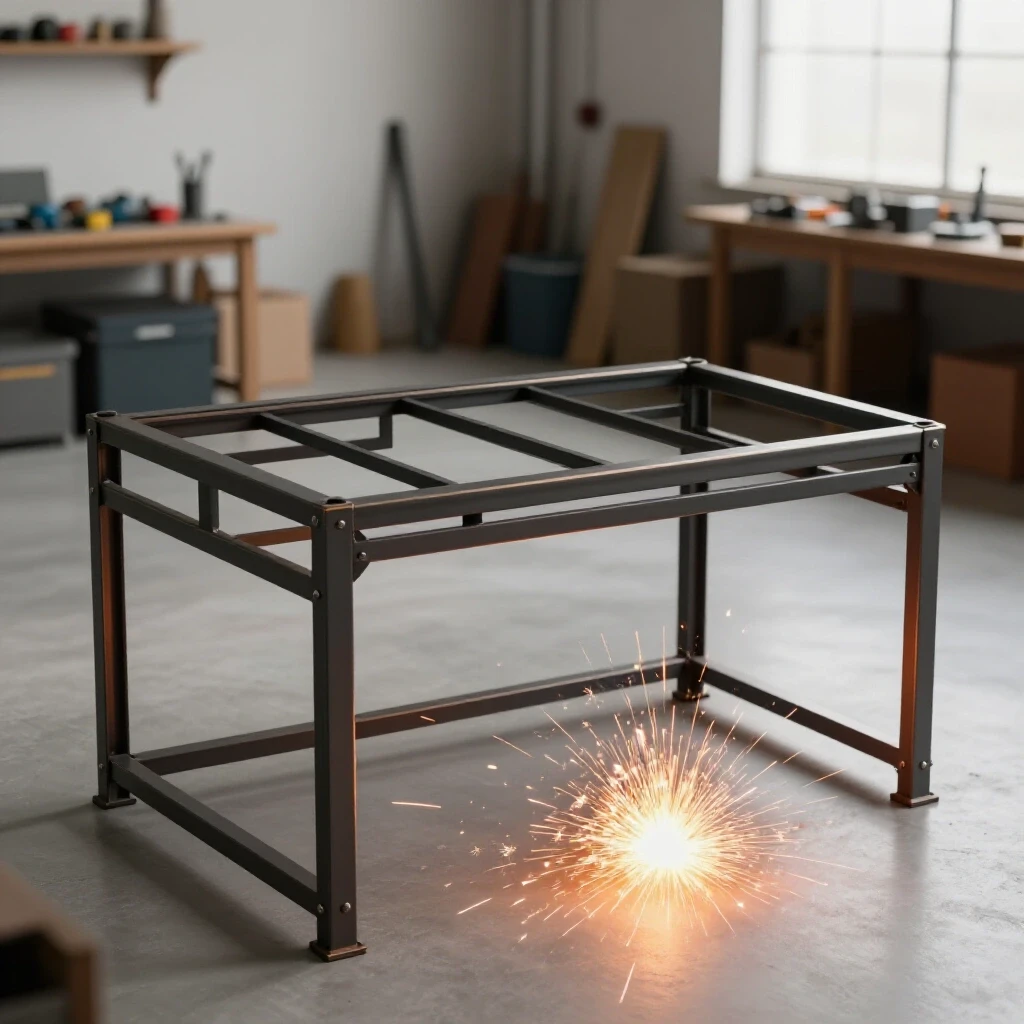
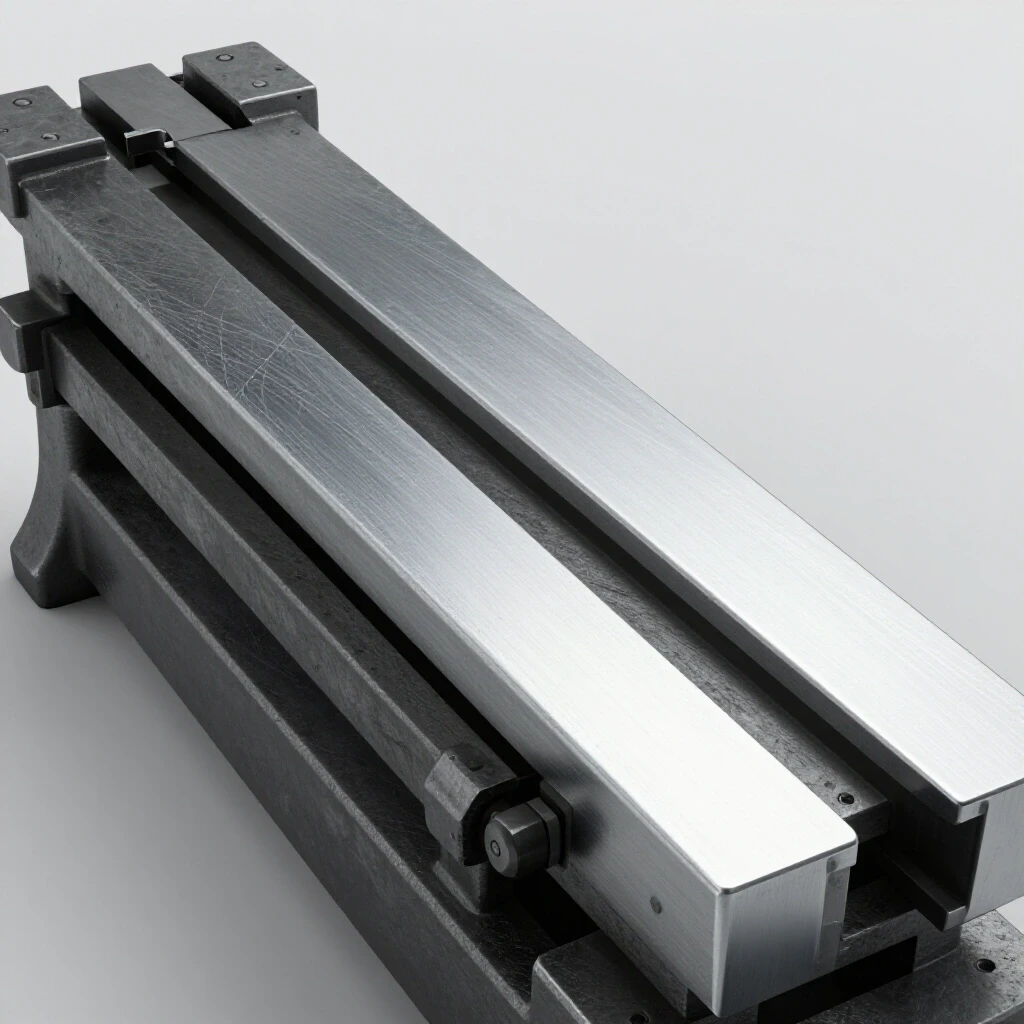
Heat distortion is the physical warping of steel caused by the localized expansion and contraction during the welding process. Managing this requires a strategic sequence of tack welds and alternating weld paths to keep the frame square and the legs plumb within machine-shop tolerances.
If you weld one side of a joint completely before moving to the next, the cooling metal will pull the leg out of alignment. I have seen guys lose 1/4 inch of squareness over a 30-inch span because they rushed the process. I use a “stitch” technique. First, I place small tack welds at all four corners of the frame. Then, I check the diagonals with a tape measure. If the diagonals are within 1/16 of an inch, the frame is square. Only then do I lay the final beads, jumping from one corner of the stand to the opposite corner to distribute the heat evenly.
Achieving Machine-Level Stability on Uneven Floors
Leveling and anchoring involve the final adjustments made to the stand to ensure it sits perfectly flat and does not rock. This is critical for machine tool rescues because an unlevel base can introduce “twist” into a machine bed, ruining the precision of your work.
Even a perfectly welded stand will rock if your shop floor is uneven. I weld heavy-duty 5/8-inch nuts into the bottom of the legs and use Grade 8 bolts as adjustable leveling feet. This allows me to use a precision spirit level—the same one I use for classic tool alignment—to get the basin perfectly horizontal. A level basin ensures that water drains correctly and that heavy parts don’t slide toward one corner, which could shift the center of gravity and cause a safety hazard.
- Leveling Bolts: Use fine-thread bolts for more precise adjustment.
- Locking Nuts: Always use a second nut to “jam” the setting once the stand is level.
- Floor Anchors: If you plan on using a parts-washing pump, consider anchoring the stand to the floor to dampen vibration.
- Contact Points: Ensure the feet have a large enough surface area to avoid cracking the concrete under the weight of a fully loaded basin.
Removing Machinery Rust and Protecting the New Frame
Surface protection involves applying a durable finish to the welded steel to prevent the high-moisture environment of a utility sink from causing rapid oxidation. Since we often use aggressive chemicals like phosphoric acid or electrolysis for removing machinery rust, the stand itself must be chemically resistant.
In my shop, I treat the finished stand like a machine casting. After welding, I wipe the entire frame down with acetone to remove oils. I then apply a high-zinc primer, followed by an industrial-grade epoxy or urethane topcoat. This is far superior to standard spray paint. If you are restoring a vintage basin alongside the stand, you might use an electrolysis bath (12V DC setup) to strip the old iron, but for the new steel stand, a mechanical cleaning and a high-quality coating are the best defenses against the “flash rust” that plagues every restoration project.
| Method | Pros | Cons | Best For |
|---|---|---|---|
| Wire Wheel | Fast, inexpensive | Leaves surface profile | Pre-weld cleaning |
| Electrolysis | Reaches deep pits | Requires large tank | Intricate vintage castings |
| Evapo-Rust | Non-toxic, safe | Slow on heavy scale | Precision threaded parts |
| Flap Disc | Smooth finish | Removes base metal | Post-weld smoothing |
Final Alignment and Safety Checks
The final phase is the verification of the assembly’s integrity and the safe installation of the basin onto the new support. This mirrors the final stages of a machine rebuild, where you check backlash tolerances and ensure all safety guards are in place before the first “power up.”
Before I set a 150-pound cast iron basin onto a new stand, I perform a “bounce test” by applying my own body weight to the frame. I look for any signs of weld cracking or frame deflection. I also ensure the top perimeter of the stand is flat within 0.010 inches using a straightedge. If the frame is twisted, it can put uneven pressure on the basin’s rim, which might lead to a catastrophic failure of the brittle cast iron. I often use a thin strip of rubber gasket material between the steel frame and the basin to act as a cushion and take up any minor irregularities in the casting.
- Verify all welds are full-penetration and free of pinholes.
- Check that the leveling feet are fully engaged and locked.
- Clean the basin’s mounting flange of any old putty or rust.
- Lower the basin slowly using a shop crane or a second set of hands.
- Double-check the level of the basin rim in both directions.
Case Study: Rescuing a 1940s Shop Basin
A few years ago, I found a massive double-basin cast iron sink in a collapsed foundry. It was covered in a thick layer of grease and “shop-fossilized” dust. The original cast-iron legs were missing, likely sold for scrap decades ago. I had to build a stand that could handle not just the sink, but the 200-pound engine blocks I planned to clean in it.
I used 2x2x3/16-inch tubing for the legs and 2x3x3/16-inch for the top rail. During the welding process, I noticed the heat was pulling the front right leg inward. I had to stop, let it cool, and use a heavy-duty clamp to “pre-stress” the leg in the opposite direction before finishing the weld. This is a common challenge in machinery hand scraping and fabrication—metal moves when it gets hot. By applying the same patience I use when waiting for an electrolysis bath to finish, I ended up with a stand that was square within 1/32 of an inch across the entire 4-foot span.
Sustaining the Setup: Maintenance and Lubrication
Even a welded stand needs maintenance, especially in a wet shop environment. Just as you would regularly check the oil levels in babbitt bearings or the grease in a gear-head, you should inspect your shop fixtures for signs of trouble.
Every six months, I crawl under my utility stand with a flashlight. I look for “bleeding” rust at the weld joints, which indicates a crack in the paint or the weld itself. I also check the leveling feet. In a shop with heavy machinery, the floor can actually settle or shift slightly over time. A quick turn of a wrench keeps the sink from rocking and ensures that my cleaning station remains as precise and reliable as the lathes and mills it helps me restore.
- Inspect Welds: Look for spider-web cracks in the paint.
- Lubricate Feet: Apply a dab of anti-seize to the leveling bolt threads.
- Check Coating: Touch up any chips immediately to prevent deep pitting.
- Monitor Load: If you notice the basin “settling,” re-check the frame squareness.
Frequently Asked Questions
Why should I weld a stand instead of just bolting one together? Bolted joints can loosen over time, especially when subjected to the vibrations of a workshop or the weight of heavy metal parts being moved around. Welding creates a monolithic structure that provides the rigidity needed for heavy-duty restoration work. It eliminates the “racking” or swaying that occurs with bolted frames.
Is MIG or TIG better for this kind of shop project? MIG (Metal Inert Gas) is generally faster and easier for thick structural steel. It provides excellent penetration on 3/16-inch tubing. TIG (Tungsten Inert Gas) offers more control and cleaner welds but is much slower. For a shop stand, MIG is the practical choice for most restorers.
How do I handle the weight of a cast-iron basin safely? Never lift a large cast-iron basin alone. These pieces are notoriously brittle; if you drop one corner on a concrete floor, it will likely crack. Use a shop crane (engine hoist) with soft slings to position the basin onto your newly welded stand.
Can I use thinner 16-gauge tubing to save money? I strongly advise against it. 16-gauge (approx. 1/16″) is too thin for heavy workshop use. It is difficult to weld without burning through, and it lacks the mass to dampen vibrations. Stick to at least 11-gauge (1/8″) for a reliable, long-term fixture.
What if my welds aren’t “pretty”? In machinery restoration, structural integrity always beats aesthetics. As long as you have good penetration (the weld has fused deeply into both pieces of steel) and no porosity (holes), the stand will be safe. You can always use a grinder to smooth out the beads before painting.
How do I prevent the stand from rusting from the inside out? This is a common concern with hollow tubing. You can drill small “weep holes” at the bottom of the legs to let moisture escape, or better yet, weld the end caps completely shut to create an airtight seal. Coating the interior with a light fog of oil or a cavity wax is another professional-grade option.
Do I need to use gussets on the corners? If your stand is tall (over 30 inches) or if you are supporting extreme weights, triangular gussets in the corners are a great idea. They significantly increase the frame’s resistance to side-loading and twisting. I typically use 1/4-inch plate steel for gussets.
How do I ensure the stand is perfectly square? The “3-4-5” rule or measuring diagonals is the most reliable method. If the distance from the front-left corner to the back-right corner is exactly the same as the distance from the front-right to the back-left, your frame is square. Check this after tack welding and again after final welding.
Can I add casters to the stand? You can, but be careful. Most casters have a much lower weight rating than a solid steel leg. If you use casters, ensure they are heavy-duty industrial versions with locks, and realize that you will lose some of the “machine-like” stability of a fixed stand.
What is the best way to clean the steel before welding? A 60-grit flap disc on a 4.5-inch angle grinder is the most efficient tool. It removes mill scale quickly without gouging the steel too deeply. For tight corners, a wire brush on a drill can work, but it won’t remove the scale as effectively as an abrasive disc.
(This article was written by one of our staff writers, Richard Beaumont. Visit our Meet the Team page to learn more about the author and their expertise.)