How to Weld a Strong Recovery Winch Mount on Trailer (Fix)
I have spent the last 18 years in the company of ghosts. These ghosts take the form of 1940s South Bend lathes, 1920s Buffalo Forge drill presses, and massive cast-iron bandsaws that have been forgotten in damp barns. Restoring these machines is more than a hobby; it is a commitment to preserving mechanical history. However, the first challenge of any rescue is the physical move. You cannot simply lift a 3,000-pound piece of cast iron without a plan. If your transport trailer is not equipped with a structural winch attachment point that can handle the sheer tension of a dead-weight pull, you risk damaging the machine or, worse, causing a serious accident.
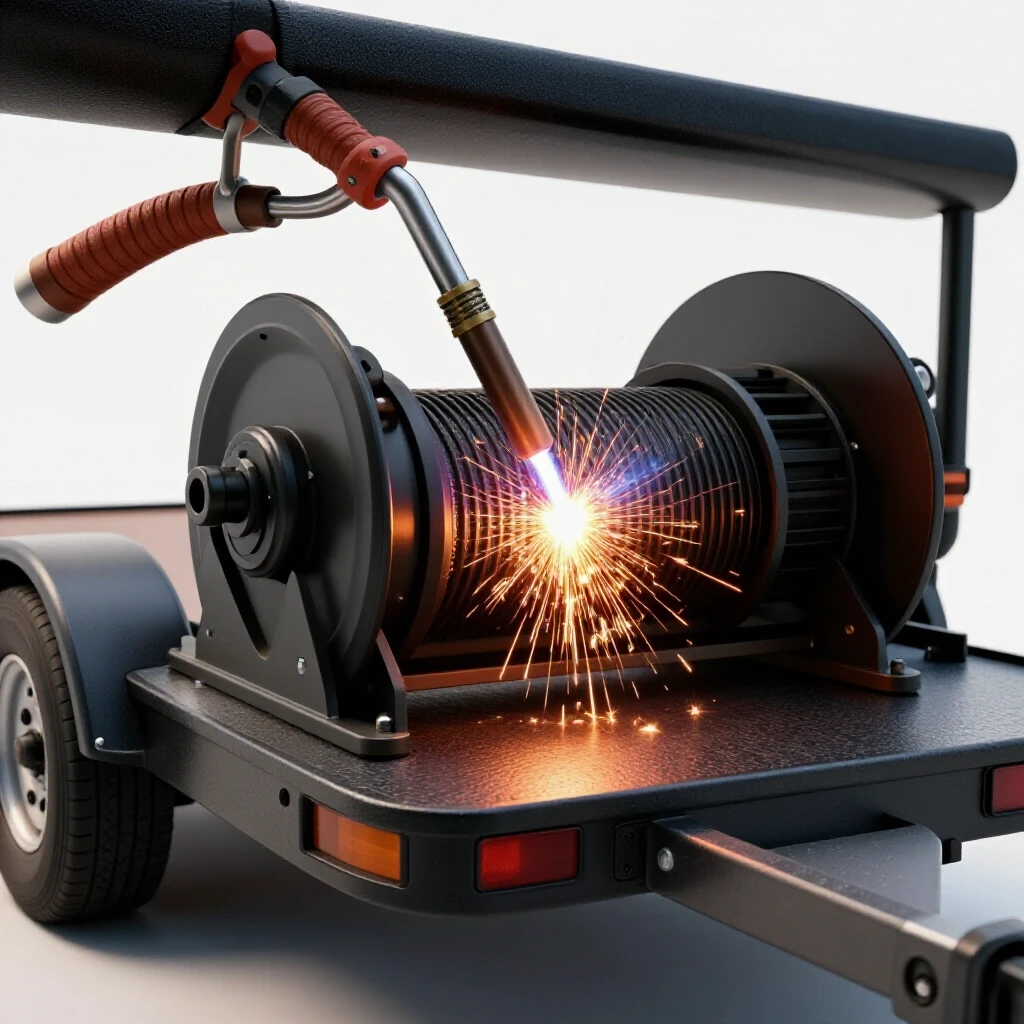
The reality of machinery restoration starts long before you pick up a scraper or an electrolysis lead. It begins on the trailer deck. A weak or poorly designed winch base will fail at the worst possible moment—usually when a seized machine tool is halfway up the ramps. I have seen factory-welded mounts tear like paper because they were designed for light utility work, not for the recovery of heavy, dead-loaded workshop equipment. Building a robust, permanent solution for securing a winch to your trailer frame is a fundamental skill for any restorer who values safety and precision.
Assessing the Foundation for Heavy Recovery Loads
Evaluating the structural integrity of your trailer frame is the first step before any metal is joined. You must ensure the area where you intend to place the recovery tool can handle the concentrated forces of a heavy pull without twisting or buckling.
Most utility trailers use C-channel or rectangular tubing for the tongue and frame. Before you begin fabricating a base, you must inspect these members for “thinning” caused by internal rust. On older trailers, what looks like solid steel can often be a shell of scale. I always use a ball-peen hammer to tap the frame; a sharp “ring” indicates healthy metal, while a dull “thud” suggests heavy internal corrosion. If the frame is compromised, no amount of welding will make the recovery point safe. You are looking for a mounting location that ties directly into the main longitudinal members of the trailer tongue, as this provides the most direct path for the tension forces to travel.
Selecting the Right Steel for Load-Bearing Brackets
Choosing the correct material is vital for ensuring the winch stays attached to the trailer during a high-stress pull. For most heavy machinery recovery needs, mild steel is the preferred choice due to its predictability and ease of welding.
- ASTM A36 Structural Steel: This is the standard for most fabrication. It is a low-carbon steel that offers good strength and excellent weldability.
- Plate Thickness: For a winch rated between 8,000 and 12,000 pounds, I never use anything thinner than 1/4 inch for the base plate. If I am moving massive industrial lathes, I step up to 3/8 inch or 1/2 inch plate.
- Angle and Channel: Using 3-inch or 4-inch C-channel to bridge the trailer tongue provides a much stiffer platform than a flat plate alone.
| Material Type | Recommended Thickness | Application |
|---|---|---|
| ASTM A36 Flat Plate | 3/8 inch | Main winch mounting surface |
| A36 C-Channel | 4 inch | Cross-member reinforcement |
| A36 Angle Iron | 3″ x 3″ x 1/4″ | Side gussets and bracing |
| Grade 8 Bolts | 3/8″ or 1/2″ | Securing the winch to the fabricated mount |
Joint Preparation and Fit-Up for High-Tension Fabrications
Proper joint preparation is the difference between a weld that sits on the surface and one that becomes part of the metal. For heavy-duty recovery points, you must achieve full penetration to ensure the joint does not fail under the sudden snap-loads of a machine recovery.
Before the first arc is struck, every surface must be cleaned to shiny metal. I use a flap disc on an angle grinder to remove all mill scale, rust, and paint. If you leave these contaminants in the weld zone, you will introduce porosity—tiny gas bubbles that act like Swiss cheese inside your weld. For plates thicker than 1/4 inch, I always grind a 45-degree bevel on the edges of the parts being joined. This creates a “V” shape that allows the welding bead to reach all the way to the root of the joint.
Strategic Weld Sequencing to Prevent Frame Distortion
Welding introduces a massive amount of heat, which causes metal to expand and contract. If you weld one side of a winch mount completely before starting the other, the heat will pull the trailer frame out of alignment, potentially causing the trailer to “track” crookedly down the road.
I use a technique called “tack and skip.” First, I place small, strong tack welds at every corner of the assembly to hold everything in place. Then, I weld in short sections—about two inches at a time—moving from one side of the mount to the opposite side. This spreads the heat evenly across the frame. By allowing the metal to cool slightly between passes, you minimize the internal stresses that lead to warping. It is a slow process, but when you are dealing with the structural integrity of a transport rig, patience is your best tool.
Reinforcement Techniques for High-Stress Recovery Points
A flat plate welded to a frame is rarely enough to handle the leverage of a winch. You must incorporate gussets and “fish plates” to distribute the pulling force over a larger area of the trailer frame.
- Gusseting: These are triangular pieces of steel welded into the corners of the mount. They prevent the base plate from bending upward under the vertical component of the winch’s pull.
- Fish Plates: These are diamond-shaped or oval plates welded over the side of the trailer frame where the winch mount attaches. They prevent the frame walls from “oil-canning” or collapsing under tension.
- Wrap-Around Welds: When welding a cross-member to the frame, I avoid ending the weld exactly at the corner. Instead, I “wrap” the bead around the corner by about half an inch. This prevents a stress riser from forming at the edge, which is where most structural cracks begin.
Managing Heat-Affected Zones in Trailer Steel
The Heat-Affected Zone (HAZ) is the area of the base metal that did not melt but had its microstructure changed by the heat of the weld. In this zone, the steel can become brittle if cooled too quickly.
When fabricating a recovery point, I never quench the welds with water to cool them down. This “shocking” of the metal can create micro-cracks in the HAZ. I let the assembly air-cool until I can touch it with a gloved hand. For the heavy-duty pulls required to drag a 1930s milling machine onto a trailer, the ductility of the weld is just as important as its hardness. You want the metal to have a slight amount of “give” rather than snapping like glass under a shock load.
Why Structural Integrity Matters for Machine Rescues
When you are winching a piece of vintage machinery, you are often fighting more than just gravity. You are fighting seized bearings, flat spots on old casters, and the sheer inertia of cast iron.
I remember rescuing a 1920s American Tool Works lathe. The machine had been sitting so long the leveling feet had sunk into the concrete. The initial pull to break it loose required a massive amount of force. Had my winch mount been a simple “bolt-on” affair from a big-box store, the bolts would have likely sheared or the mounting plate would have buckled. Because the mount was integrated into the trailer frame with 3/8-inch gussets and deep-penetration V-groove welds, the recovery was controlled and safe. The winch worked hard, but the trailer stayed true.
Common Fabrication Pitfalls in Recovery Mounts
Even experienced welders can make mistakes when building for high-tension applications. Avoiding these common errors will ensure your machinery rescues go smoothly.
- Undersized Welds: A single-pass weld on 1/2-inch plate is rarely enough. Use multiple passes (a root pass followed by filler passes) to build the necessary throat thickness.
- Welding Over Rust: It is tempting to weld over a bit of surface scale, but this leads to “cold lap,” where the weld metal doesn’t actually fuse to the base metal.
- Square Corners on Reinforcements: When adding plates to a frame, always round the corners. Square corners create “stress points” where the frame is likely to crack over time due to road vibration.
- Ignoring the Underside: Many people weld the top of the winch plate but forget to secure the bottom of the cross-member. A recovery mount must be tied in 360 degrees to be truly structural.
Benchmarks for a Successful Structural Build
How do you know if your fabrication is ready for a 2-ton load? You look for specific visual and physical indicators during and after the build.
- Weld Profile: The beads should be slightly convex (bulging outward) with a smooth transition into the base metal. If the weld looks “pushed” or has deep undercuts at the edges, it lacks strength.
- Penetration Evidence: If you are welding 1/4-inch plate and you see a slight discoloration or “heat tint” on the opposite side, it is a good sign that your heat reached through the material.
- Alignment Check: After the metal has cooled, use a machinist’s square to check the mount. If it has pulled out of square by more than 1/16 of an inch, your sequencing was too fast.
| Weld Metric | Target Value | Why it Matters |
|---|---|---|
| Bevel Angle | 45 Degrees | Ensures deep root penetration |
| Root Gap | 1/16 to 1/8 inch | Allows weld metal to flow through the joint |
| Bead Width | 2x to 3x Rod Diameter | Provides sufficient surface area for the bond |
| Cooling Rate | Ambient Air | Prevents brittleness in the heat-affected zone |
Tools and Resources for the Structural Fabricator
Building a recovery system requires a specific set of tools that go beyond basic wrenching. If you are serious about machinery restoration, these items should be in your shop.
- 220V Welder: While 110V units are fine for sheet metal, you need the amperage of a 220V MIG or Stick welder for 1/4-inch and thicker structural steel.
- Angle Grinder with Multiple Discs: You will need grinding wheels for prep, flap discs for finishing, and cut-off wheels for shaping your gussets.
- C-Clamps and Magnets: Keeping the parts perfectly aligned during the tack-welding phase is critical.
- Level and Square: Even for a trailer, precision matters. A winch that is mounted “crooked” will cause the cable to bunch up on one side of the drum.
Technical FAQs for Winch Mount Fabrication
What is the best welding process for a trailer winch mount? For structural work on a trailer, I prefer Stick (SMAW) welding with E7018 electrodes or MIG (GMAW) with a solid wire and shielding gas. Stick welding is particularly good for outdoor work or on older trailers where the metal might not be perfectly clean, as it is more “forgiving” of minor contaminants.
Can I just weld a hitch receiver to the trailer and use a slide-in winch mount? While convenient, hitch receivers introduce “slop” into the system. For heavy machinery recovery, a permanent, welded-down mount is much stiffer and safer. If you do use a receiver, ensure the receiver tube is welded into a structural cross-member, not just the front rail of the trailer.
How do I prevent the winch plate from “bowing” when I weld it? Pre-setting the plate is a common trick. You can slightly bend the plate in the opposite direction of the expected weld pull before you start. As the weld cools and “shrinks,” it pulls the plate back to flat. Alternatively, clamping the plate to a heavy piece of I-beam during welding can keep it straight.
Should I weld all the way around the winch mounting plate? Yes, but with caution. You want a continuous seal to prevent water from getting trapped between the plate and the frame, which causes “rust jack.” However, avoid vertical welds on the side of a trailer frame if possible; horizontal welds along the top and bottom of the frame rails are generally safer for the frame’s structural integrity.
How thick should the gussets be? I generally match the thickness of the gussets to the thickness of the base plate. If you are using a 3/8-inch base plate, use 3/8-inch gussets. This ensures that the strength is uniform throughout the assembly.
Is it safe to weld on a galvanized trailer? Welding on galvanized steel is dangerous because it releases toxic zinc fumes. You must grind off all the galvanizing in the weld area (and an inch beyond) until you hit bare steel. Always wear a respirator designed for welding fumes if you are working on a galvanized frame.
How do I know if I have “undercut” my welds? Undercutting looks like a small groove or “trench” melted into the base metal right at the edge of the weld bead. It is caused by too much heat or an improper torch angle. Undercuts are dangerous because they act as a “perforation” where the metal can snap under load. If you see an undercut, you should fill it with a small, low-heat weld pass.
What grade of bolts should I use to mount the winch to my new plate? Always use Grade 8 hardware. You can identify these by the six radial lines on the head of the bolt. Never use “hardware store” Grade 2 or Grade 5 bolts for a recovery winch; they do not have the shear strength required for heavy pulls.
Do I need to reinforce the underside of the trailer deck? If your winch mount is only welded to a thin metal deck, it will rip out. The mount must be welded directly to the trailer’s structural frame members (the tongue or the main rails). If the frame is too far apart, you must weld in a new cross-member of C-channel or heavy tubing to bridge the gap.
How long should I wait before using the winch? Once the metal has air-cooled to the point where you can touch it, the weld has reached its full structural strength. There is no “cure time” for a weld like there is for concrete or epoxy. However, I always do a “test pull” with a light load to observe the mount for any signs of flexing before attempting a heavy machine rescue.
Next Steps for Your Recovery Build
Once your structural mount is secure, your focus shifts to the mechanics of the rescue itself. A strong mount is only one part of the equation; the next step is ensuring your winch is properly aligned with your trailer ramps.
I always recommend doing a dry run. Pull a light, non-seized object up the ramps to see how the cable tracks onto the drum. If the cable bunches on one side, you may need to adjust the fairlead or the winch’s position. In the world of machinery restoration, we often spend 90% of our time in preparation and only 10% in execution. A well-fabricated winch mount is the ultimate preparation. It gives you the confidence to back your trailer up to a rusted, 100-year-old lathe and know that you have the structural integrity to bring it home safely. Your journey into the heart of that machine—the disassembly, the rust removal, and the precision alignment—can only begin once the machine is safely in your shop.
(This article was written by one of our staff writers, Richard Beaumont. Visit our Meet the Team page to learn more about the author and their expertise.)