How to Weld a Weatherproof Steel Generator Shed Frame (Fix)
Standing in a cold workshop over a rusted 1940s Fairbanks-Morse generator, I realized that the machine’s greatest enemy wasn’t the hours of operation, but the decades of exposure. Restoring vintage metalworking equipment often leads us to a secondary challenge: creating a permanent, climate-controlled environment for the tools we have spent months reviving. When I build a structural housing for heavy machinery, I approach the welding and fabrication with the same precision I use when scraping a lathe bed. A frame that is out of square by even an eighth of an inch will cause doors to bind and water to pool, eventually inviting the very corrosion we work so hard to eliminate.
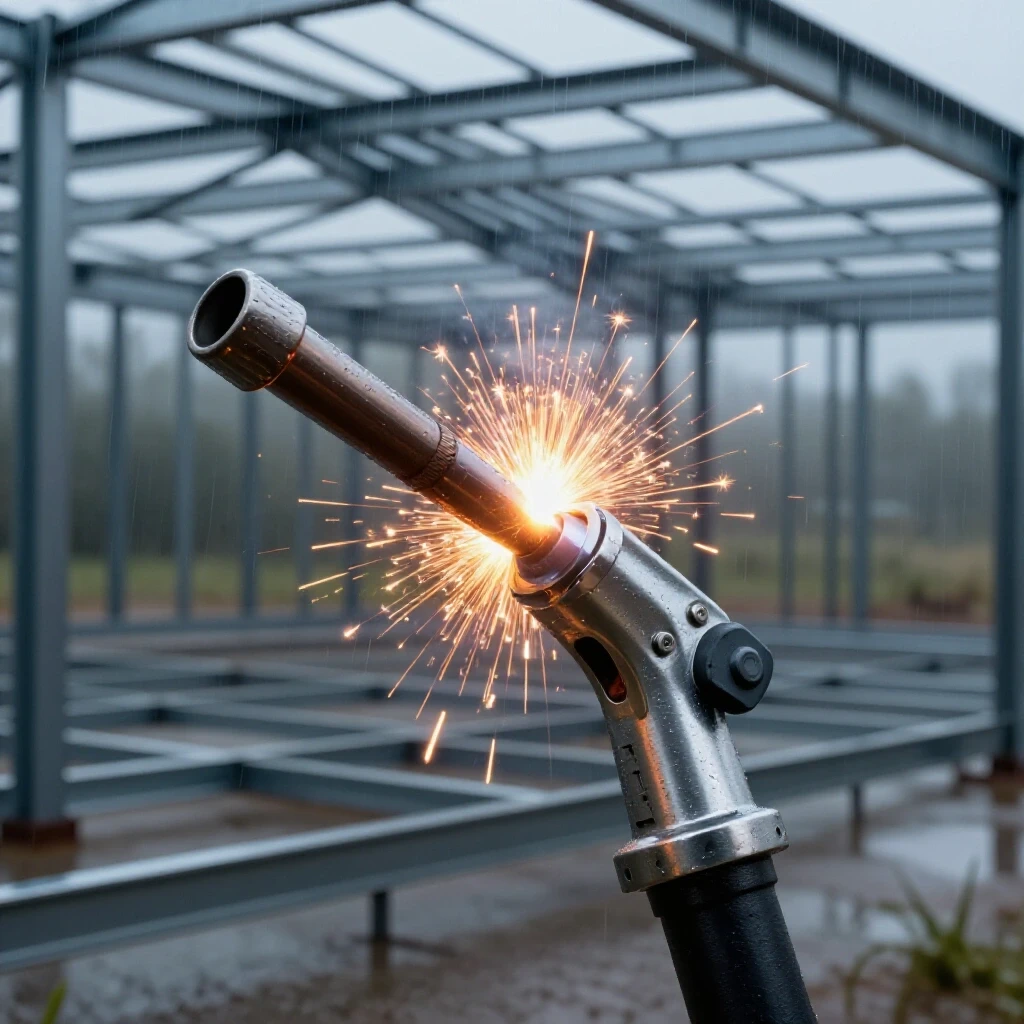
Strategic Material Selection for Structural Rigidity
Choosing the right steel for a protective enclosure involves balancing weight, weldability, and structural strength. For most medium-sized machinery housings, 1-inch to 2-inch square tubing or angle iron provides the necessary stiffness to support heavy panels without sagging.
I generally prefer 11-gauge or 14-gauge wall thickness for square tubing. 11-gauge is roughly 1/8 inch thick, which is thick enough to handle deep weld penetration without the risk of blowing through the metal. Angle iron is often easier to source and cheaper, but square tubing offers superior torsional rigidity—it resists twisting much better than open-sided steel. When you are building a frame to protect a high-value restoration, preventing frame twist is essential for maintaining the alignment of the entire structure.
| Material Type | Wall Thickness | Best Use Case | Weldability Rating |
|---|---|---|---|
| 1-inch Square Tubing | 14-gauge (0.075″) | Light lids and doors | Moderate |
| 1.5-inch Square Tubing | 11-gauge (0.120″) | Main structural uprights | Excellent |
| 2-inch Angle Iron | 3/16-inch | Base frames and floor mounts | Excellent |
| 1-inch Angle Iron | 1/8-inch | Bracing and flange support | Good |
- 11-gauge steel allows for a 1/8-inch fillet weld, which matches the material thickness for maximum strength.
- Square tubing provides four flat surfaces for mounting hinges or overlapping weather flanges.
- Hot-rolled steel is common, but it requires thorough grinding to remove mill scale before welding.
Precision Notching and Fit-Up for High-Strength Bonds
Tube notching is the process of shaping the end of a piece of metal so it fits perfectly against the profile of another piece. In machinery restoration, we call this a “coped joint,” and it is the secret to a frame that can withstand vibration and environmental stress.
If you leave large gaps in your frame joints, the weld must bridge that gap, which introduces unnecessary heat and increases the risk of the frame pulling out of square. I use a dedicated hole saw notcher or a flap disc on an angle grinder to create a “fish mouth” profile on the ends of my tubing. A tight fit-up—where you cannot see light through the joint—ensures that the weld puddle fuses both pieces of metal into a single, monolithic structure. This is especially important for weather-tight seals, as gaps in the fit-up often lead to pinholes in the final bead.
Why Tight Tolerances Matter in Fabrication
In the same way we aim for 0.001-inch clearance in a babbitt bearing, we should aim for less than 1/32-inch gaps in our weld joints. Tight joints require less filler metal and produce less internal stress. When the metal cools, it shrinks; the more weld metal you put into a gap, the more the frame will pull and warp.
Utilizing Squaring Jigs to Maintain Machine-Shop Tolerances
A squaring jig is a fixed tool or temporary setup used to hold steel components at exactly 90 degrees during the welding process. Without these jigs, the intense heat of the welding arc will cause the steel to contract, pulling the frame into a trapezoid shape.
I often build my jigs using heavy C-clamps and thick scrap plate or by tack-welding “stiffeners” across the corners of the frame. For a large machinery shed frame, I use the 3-4-5 rule to verify squareness: measure 3 feet on one side, 4 feet on the perpendicular side, and the diagonal must be exactly 5 feet. If your frame is even slightly “racked,” the overlapping flanges you install later for weatherproofing will never seat correctly, leaving gaps for moisture to enter.
- Place your main rails on a flat welding table or a leveled shop floor.
- Clamp the corners into heavy-duty 90-degree welding magnets or dedicated corner clamps.
- Check the diagonals of the entire rectangle; they must be identical within 1/16 of an inch.
- Apply small tack welds at each corner before committing to a full bead.
- Re-measure the diagonals after tacking to ensure the heat didn’t pull the metal.
Advanced Welding Sequences to Minimize Thermal Distortion
A welding sequence is the specific order in which you apply beads to a structure to balance the heat input. If you weld one entire corner from start to finish, that corner will shrink and pull the rest of the frame toward it, a phenomenon known as thermal pull.
I use a “stitch welding” or “back-stepping” technique. Instead of one long continuous bead, I place small 1-inch welds on opposite sides of the frame. For example, if I weld the top-left corner, my next weld will be the bottom-right corner. This allows the heat to dissipate evenly across the structure. For restorers used to the precision of a surface grinder, seeing a frame warp can be frustrating, but managing the heat path is the only way to keep the steel straight.
Choosing Between MIG and TIG for Frame Fabrication
MIG (Metal Inert Gas) welding is generally faster and better for filling small gaps in structural steel. It is my go-to for building heavy equipment frames. TIG (Tungsten Inert Gas) welding offers much more control and produces cleaner, more aesthetic welds, but it is slower and requires much cleaner metal. If you are building a frame out of 11-gauge tubing, MIG with a 75/25 Argon-CO2 mix will provide the best balance of penetration and speed.
Engineering Water-Tight Joints with Continuous Fillet Passes
A fillet weld joins two pieces of metal at an angle, usually 90 degrees, forming a triangular bead. To ensure a frame is truly weatherproof, these welds must be continuous and free of “craters” or “cold starts” where water can seep through.
When welding the corners of a protective enclosure, I make sure to wrap the weld around the corners. This means I don’t stop the bead at the edge of the tube; I continue the puddle around the radius to the next flat side. This “wrapping” technique eliminates the tiny pinholes that often form at the start and stop points of a weld. A water-tight joint isn’t just about strength; it’s about preventing the “capillary action” that draws moisture into the interior of the frame where it can rust your restored machinery from the inside out.
- Fillet Leg Length: The width of the weld bead should be equal to the thickness of the metal (e.g., a 1/8″ bead for 1/8″ steel).
- Root Penetration: Ensure the arc is directed into the very corner of the joint to fuse the base of both pieces.
- Travel Speed: Move at a consistent pace to avoid “humping” the weld, which creates areas where water can pond.
Fabricating Overlapping Flanges for Environmental Protection
An overlapping flange is a strip of metal that extends past the joint of a door or panel to redirect water away from the interior. This is the most critical “fix” for making a steel frame weatherproof without relying on rubber seals that eventually dry rot.
I typically weld 1-inch flat bar or small angle iron to the outside of the main frame. When the door or cover of the enclosure closes, it sits behind this flange. This creates a “labyrinth seal” where water would have to travel upward against gravity to enter the shed. When welding these flanges, I use short stitch welds on the inside to prevent the thin flat bar from warping. This keeps the exterior face smooth and professional, matching the quality of the vintage tools housed within.
| Feature | Purpose | Implementation Tip |
|---|---|---|
| Overlapping Flange | Redirects rain runoff | Weld to the top and sides of the door opening. |
| Continuous Root Pass | Seals the joint completely | Wrap welds around all four sides of a tube joint. |
| Drip Edge | Prevents water from “creeping” | Angle the bottom flange outward by 5 degrees. |
| Ground Welds | Prevents snagging and pooling | Use a 60-grit flap disc to smooth exterior corner welds. |
Post-Weld Inspection and Surface Refinement
Once the frame is welded, the work isn’t finished until the surfaces are refined. This involves more than just making the welds look pretty; it’s about removing slag, spatter, and sharp edges that could trap moisture or cause injury during machine maintenance.
I use a 4.5-inch angle grinder with a zirconia flap disc to smooth out the corner welds. My goal is to make the joint look like a single piece of cast iron, similar to the frames of the 19th-century drill presses I restore. After grinding, I perform a “light test” or a “dye penetrant test” on critical joints. By shining a bright light on one side of the weld in a dark room, you can often spot tiny pinholes that would allow water to enter. If a hole is found, I grind it out and re-weld it immediately.
- Remove Spatter: Use a chipping hammer or scraper to remove the small balls of metal that fly off during MIG welding.
- Degrease: Use acetone or a dedicated wax and grease remover to clean the steel of any welding soot.
- Check for Square: One final check of the diagonals ensures that the welding heat didn’t pull the frame out of alignment during the final passes.
- Deburr: Every edge of the square tubing should be slightly rounded to prevent “edge failure” where the metal is too sharp for protective coatings to adhere.
Frequently Asked Questions
How do I prevent my frame from warping during welding?
The best way to prevent warping is to use a specific welding sequence. Never weld one joint completely before moving to the next. Use small tack welds at every corner first, then move around the frame in a “criss-cross” pattern, applying short beads. This keeps the heat input localized and balanced across the structure.
What is the best welding process for a weatherproof frame?
MIG welding is typically the best choice for this project. It is efficient, handles the 11-gauge to 14-gauge steel used in frames very well, and provides excellent penetration for water-tight joints. TIG is an option if you want maximum aesthetic control, but it requires significantly more time and surface preparation.
How thick should the steel be for a generator enclosure frame?
I recommend using at least 14-gauge (0.075″) for light frames and 11-gauge (0.120″) for larger, more structural frames. Anything thinner than 16-gauge is difficult to weld without warping or blow-through, and anything thicker than 3/16-inch adds unnecessary weight without providing much more protection for the machine.
Do I need to grind the welds flat?
Grinding welds flat is mostly an aesthetic choice, but it does serve a functional purpose in weatherproofing. A smooth, ground weld prevents water from pooling in the “valleys” of a weld bead. However, be careful not to grind away too much material, as this can weaken the structural integrity of the joint.
How do I ensure the door of the shed fits perfectly in the frame?
Build the door and the frame as one single unit if possible. Weld the entire rectangle, then weld your hinges in place, and then cut the door out of the frame. This ensures that the door and the frame share the exact same dimensions and any slight warpage is shared by both pieces, ensuring a perfect fit.
What is a “fish mouth” notch?
A fish mouth notch is a semi-circular cut made in the end of a tube so it can fit flush against the side of another tube. This is essential for creating a strong joint with a large surface area for the weld. You can make these using a hole saw, a specialized tube notcher, or carefully with an angle grinder.
Why should I wrap my welds around the corners?
Stopping a weld exactly at a corner often leaves a tiny crater or pinhole because the arc is extinguished right at the edge. By “wrapping” the weld—continuing the bead around the corner by about half an inch—you ensure the corner is fully sealed and structurally sound.
How do I check if my frame is square if I don’t have a large table?
Use the diagonal measurement method. Measure from the top-left corner to the bottom-right corner, then from the top-right to the bottom-left. If the two measurements are identical, your frame is perfectly square. Even a 1/8-inch difference can cause doors to bind.
What is the 3-4-5 rule in welding?
The 3-4-5 rule is a geometric method to ensure a 90-degree angle. If you mark 3 inches on one rail and 4 inches on the other, the distance between those two marks (the hypotenuse) should be exactly 5 inches. This can be scaled up to 3 feet, 4 feet, and 5 feet for larger frames.
How do I weld thin 14-gauge tubing without burning through?
Use a “push” technique with your MIG torch and keep a tight arc gap. If you find the metal is getting too hot, stop and let it cool, or use a series of overlapping spot welds (stitch welding) to build the bead without sustained high heat in one area.
Can I use angle iron instead of square tubing?
Yes, angle iron is excellent for the base of the frame where it might sit on a floor. However, for the uprights and the roof section, square tubing is preferred because it is much stronger in tension and torsion, which prevents the shed from “leaning” over time.
How do I handle mill scale on new steel?
Mill scale is the dark, flaky layer on hot-rolled steel. It is an insulator and will cause a poor, “crackly” weld. Always grind the mill scale down to shiny, bare silver metal at least one inch back from any area you plan to weld. This ensures deep penetration and a clean, strong bead.
(This article was written by one of our staff writers, Richard Beaumont. Visit our Meet the Team page to learn more about the author and their expertise.)