How to Weld Aluminum With a Budget TIG Welder (Easy Guide)
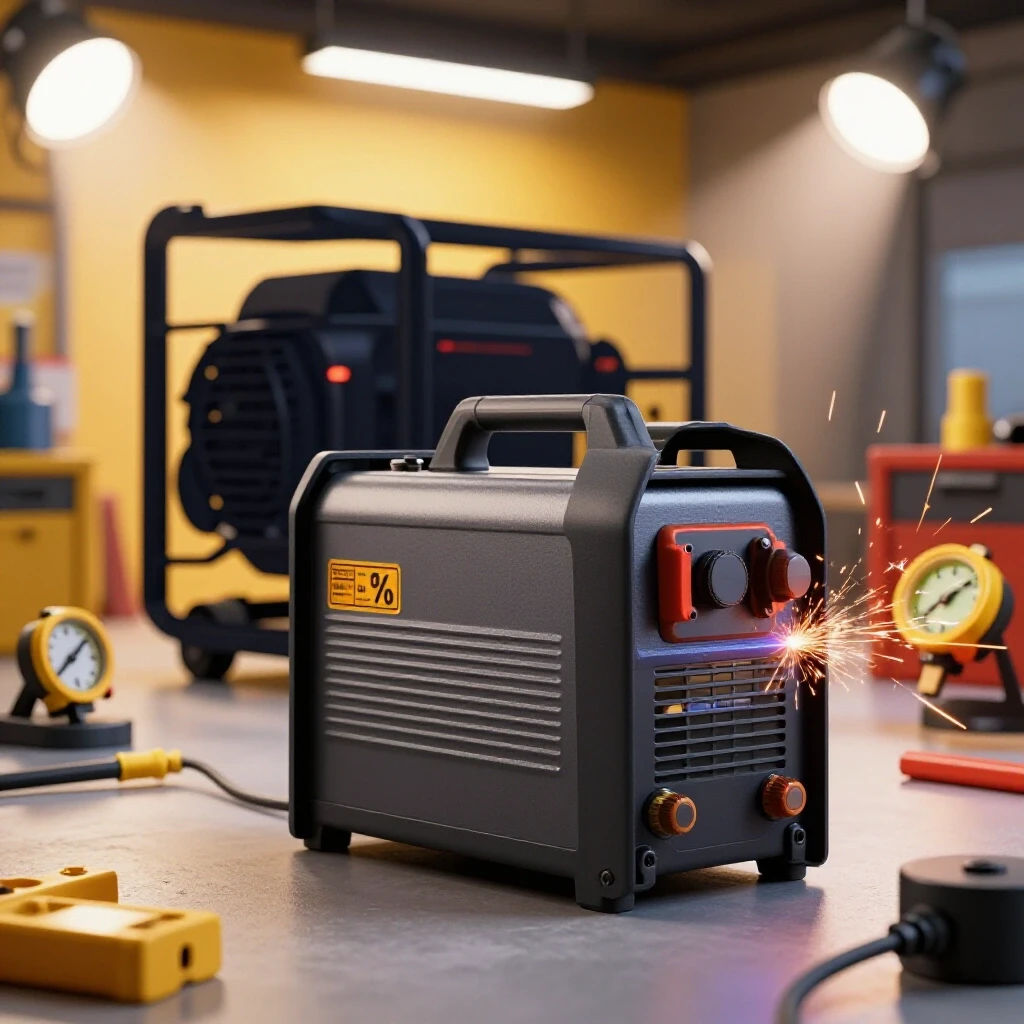
I have spent over 15 years in small-scale manufacturing, and if there is one thing I have learned, it is that spec sheets often lie. I remember sitting in my shop three years ago, staring at a dead inverter board from a “pro-sumer” machine that had barely cleared its 12-month warranty. It was rated for 200 amps, but the undersized capacitors told a different story of planned obsolescence. Since then, I have kept a meticulous log of every hour my tools run and every dollar spent on repairs. For those of us looking to join non-ferrous metals without spending five figures, the market is a minefield of over-hyped marketing and under-built hardware.
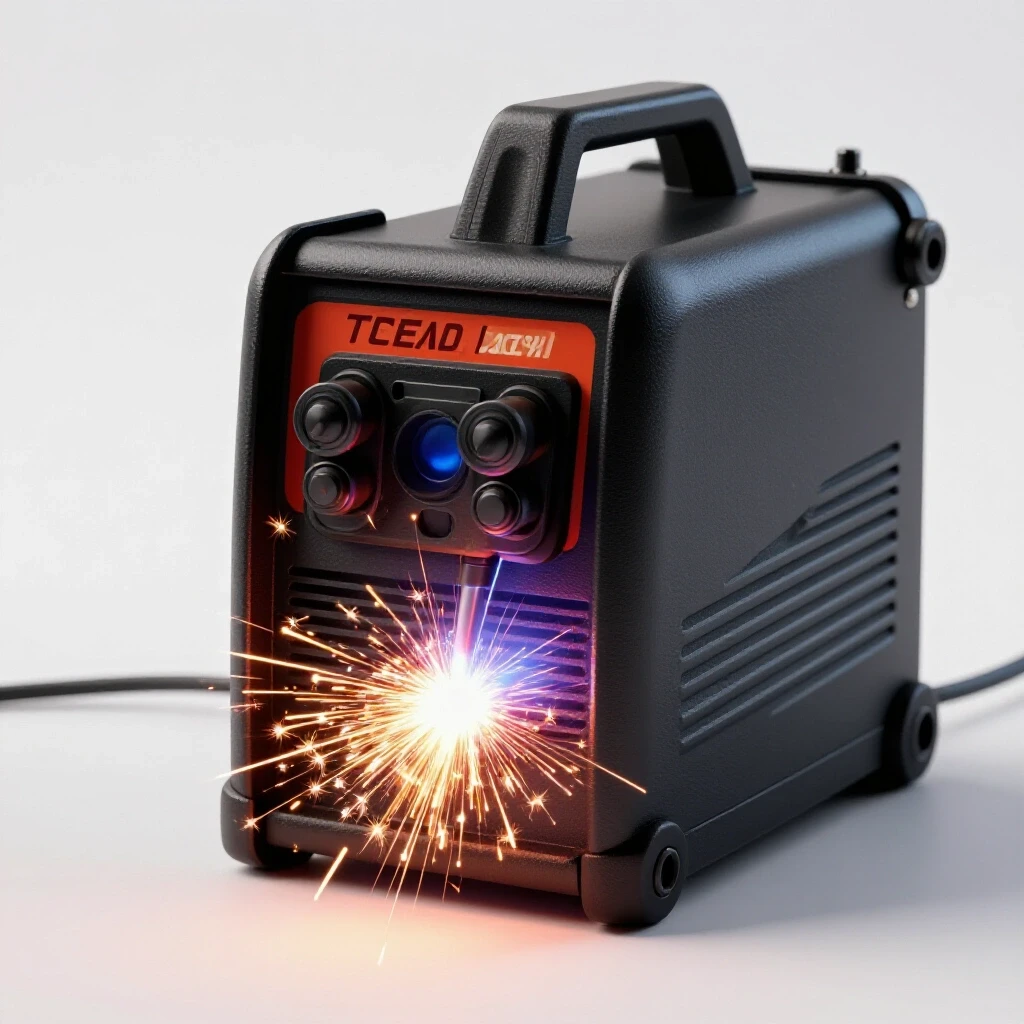
When you are looking to start working with light-gauge aluminum in your home shop, you need more than a glossy brochure. You need to understand how these entry-level machines actually handle the thermal stress of alternating current. My goal is to help you cut through the noise by using the same performance metrics I use to manage my own equipment inventory. We are going to look at the real-world durability of affordable TIG setups, focusing on how to get clean results on 1mm to 3mm material without melting your torch or your budget.
Decoding Technical Specifications for Entry-Level AC TIG Machines
Technical specifications serve as the blueprint for a tool’s capabilities, moving beyond the marketing fluff to reveal the machine’s true limits. Understanding these numbers allows you to predict how a welder will perform under load and whether it can handle the specific cleaning action required for aluminum oxides.
When you look at a welder buying guide, the first thing to check for is AC (Alternating Current) capability. You cannot weld aluminum with a DC-only machine. Aluminum develops a tough oxide layer that melts at a much higher temperature than the base metal. AC welding provides a “cleaning” cycle that strips this oxide away. In my logs, I have noted that machines with adjustable AC Frequency (measured in Hertz) offer significantly better arc stability on thin sheets. A budget machine that locks you into a fixed 60Hz frequency will work, but it creates a wider, less focused arc that makes detail work on 1.5mm tubing much harder.
High-frequency (HF) start is another non-negotiable feature for me. Some low-cost units use “lift start,” where you touch the tungsten to the work. This almost always leads to tungsten contamination when working with aluminum. HF start allows the arc to jump the gap, keeping your electrode clean and your weld pool free of inclusions. I have found that spending an extra $100 for a machine with a reliable HF start circuit pays for itself in saved tungsten and grinding time within the first six months.
Evaluating Input Power and Shop Circuit Requirements
Input power requirements dictate where and how long you can operate your equipment before tripping breakers or overheating your shop’s wiring. This section breaks down the difference between 120V and 240V operations and why dedicated circuits are essential for maintaining a stable arc during long fabrication sessions.
Most budget-friendly inverters are “dual voltage,” meaning they run on 120V or 240V. While the 120V option is convenient, it is often a trap for aluminum work. Aluminum acts like a giant heat sink; it sucks energy away from the weld zone faster than steel. On a standard 20-amp, 120V household circuit, you will likely max out the machine at 80 or 90 amps. In my experience, this is barely enough to puddle 2mm aluminum, and you will hit the thermal overload in minutes.
If you are serious about garage machinery maintenance and performance, you need a dedicated 240V circuit, preferably with a 50-amp breaker. This allows the inverter to pull the necessary current without starving the arc. Stable input voltage leads to a stable output arc. I have tracked several instances where “arc flutter” was actually caused by voltage drops in an undersized extension cord rather than a fault in the machine itself.
| Input Voltage | Max Output (Typical) | Recommended Breaker | Best Use Case |
|---|---|---|---|
| 120V | 90A – 110A | 20A | Sheet metal, very thin repairs |
| 240V | 160A – 200A | 50A | 3mm plate, structural brackets |
Analyzing Duty Cycle and Thermal Management Realities
The duty cycle is a standardized metric representing the number of minutes out of a ten-minute period a machine can operate at a specific amperage before needing to cool down. It is a critical indicator of internal component quality and the efficiency of the cooling system.
Manufacturers often hide low duty cycles by quoting them at lower amperages. For example, a machine might claim a “60% duty cycle,” but if you read the fine print, that is only at 100 amps. When you crank it up to 150 amps to weld a 3mm aluminum lap joint, that duty cycle might drop to 20%. In my shop logs, I have seen that budget machines tend to have “optimistic” ratings. I always subtract 10% from the manufacturer’s claim to be safe.
Overheating is the number one killer of budget inverters. Modern machines use IGBT (Insulated-Gate Bipolar Transistor) technology, which is efficient but sensitive to heat. If you consistently push a machine to its thermal limit, you are degrading the solder joints and capacitors inside. I recommend looking for machines with “fan-on-demand” systems, which only run the cooling fans when needed. This prevents the machine from sucking in metallic dust when it is just idling, which is a major factor in long-term power tool reliability ratings.
Selecting Consumables and Filler Rods for Aluminum
Consumables are the parts of your welding setup that wear out over time, such as tungsten electrodes, gas lenses, and filler metal. Choosing the right materials for aluminum ensures a stable arc and a strong bond, directly impacting the quality of your final fabrication.
For aluminum, you generally have two main filler rod choices: 4043 and 5356. In my 12 years of testing, 4043 is the go-to for most DIY projects. It flows better and is less prone to cracking as the weld cools. However, 5356 is stiffer and better if you plan to anodize the part later. I keep a log of my filler rod consumption; for 1.5mm to 3mm work, a 1.6mm or 2.4mm diameter rod is standard.
Tungsten selection has changed over the years. We used to use pure tungsten (green tip) for AC, but modern inverters perform much better with 2% Lanthanated (blue tip) or E3 (purple tip). These hold a point better, which gives you a more focused arc. I have found that a 2.4mm Lanthanated tungsten is the “workhorse” size for almost any budget AC TIG setup. It handles the heat of 150 amps without melting into a giant ball, which is a common issue with older transformer-style machines.
Preparing the Surface for Successful Oxide Removal
Aluminum requires a much higher level of cleanliness than mild steel because any surface contamination will be pulled into the weld pool, causing porosity and structural failure. Proper preparation involves mechanical cleaning and chemical degreasing to ensure the base metal is ready for the arc.
You cannot just wipe aluminum with a rag and start welding. The oxide layer is your enemy. I use a dedicated stainless steel wire brush that never touches steel. If you use a brush that has cleaned rusty steel, you will embed iron particles into your aluminum, leading to “black soot” in your weld. I have documented several project failures where I skipped the acetone wipe-down, only to have the arc wander and the puddle bubble up with impurities.
- Step 1: Degrease with acetone or brake cleaner (non-chlorinated only).
- Step 2: Scrub with a dedicated stainless steel brush until the surface looks dull.
- Step 3: Wipe again with a clean microfiber cloth and acetone.
- Step 4: Clean your filler rod; they often have oils from the manufacturing process.
Establishing an Effective Maintenance Schedule for Shop Longevity
A preventative maintenance schedule is a systematic approach to inspecting and cleaning your tools to prevent unexpected breakdowns. By tracking usage hours and performing routine checks, you can extend the lifespan of your equipment and avoid costly mid-project failures.
I treat my welding machine like any other piece of precision machinery. Every 50 hours of arc time, or at least once every six months, I pull the cover off the machine and use compressed air to blow out the dust. Do not use high-pressure air directly on the circuit boards; a gentle dusting is all you need. Dust buildup acts as an insulator, trapping heat and eventually causing a short circuit.
I also keep a log of my gas usage. A common point of failure is a slow leak in the argon hose. If your gas coverage is poor, you will see “peppery” black spots in your aluminum welds. I check my connections with soapy water every time I swap a tank. This simple habit has saved me hundreds of dollars in wasted shielding gas over the years.
- Monthly: Inspect power cables for nicks or heat damage.
- Quarterly: Check gas regulator and hoses for leaks.
- Bi-Annually: Blow out internal dust from the inverter housing.
- Annually: Verify all ground clamp connections are tight and free of corrosion.
Navigating Warranties and Part Availability
A warranty is a manufacturer’s promise of quality, but its real value lies in the ease of the repair process and the availability of replacement parts. For budget tools, understanding the warranty terms can be the difference between a quick fix and a total loss.
When buying a budget machine, the warranty is often the only thing standing between a working tool and a “boat anchor.” I prefer brands that have a domestic service center. If you have to ship a 40-pound welder back to an overseas factory, the shipping cost might be half the price of the machine. I always check the manufacturer’s website for a “parts” section. If they don’t sell replacement torches, foot pedals, or internal boards, you are buying a disposable tool.
In my maintenance journals, I keep a digital folder with every manual and a PDF of the original receipt. I also note the serial number and the date of purchase. If a machine fails at month 11 of a 12-month warranty, you need that documentation ready to go. I have successfully negotiated two warranty replacements by providing my maintenance logs, proving the machine was not abused or run beyond its rated duty cycle.
Setting the Inverter Controls for Aluminum Joints
Modern budget inverters often feature digital controls that allow you to fine-tune the welding arc to suit different material thicknesses. Mastering these settings is essential for controlling the heat input and achieving the characteristic “stacked dimes” look in your aluminum welds.
The two most important settings on your AC TIG machine are AC Balance and AC Frequency. AC Balance controls how much of the cycle is spent “cleaning” the oxide versus “penetrating” the metal. I usually set this to about 30% cleaning (or 70% penetration). If you have too much cleaning, your tungsten will overheat and ball up. If you have too little, the puddle will look “scummy” and gray.
AC Frequency is measured in Hertz (Hz). Most budget machines default to 60Hz, but if yours is adjustable, try 100Hz to 120Hz for thin material. A higher frequency narrows the arc, making it easier to point the heat exactly where you want it. This prevents the edges of a thin 1.5mm lap joint from melting away before you can add filler rod. I have found that higher frequencies also produce a much more pleasant, high-pitched hum compared to the aggressive growl of lower frequencies.
Common Pitfalls and Troubleshooting for New Fabricators
Even with the best equipment, welding aluminum presents unique challenges that can frustrate even experienced steel welders. Identifying common mistakes early on allows you to adjust your technique and settings before they become ingrained habits.
One of the biggest mistakes I see is “heat soaking.” Because aluminum conducts heat so well, the entire part gets hot as you weld. By the time you get to the end of a seam, the metal is so hot that the puddle becomes uncontrollable. I deal with this by using a foot pedal. A foot pedal is the throttle for your welder; it allows you to start with high amperage to get the puddle moving, then back off as the part heats up.
Another issue is “tungsten dipping.” If you touch your tungsten to the aluminum puddle, you must stop immediately, grind the tungsten back to clean metal, and restart. If you try to keep welding with a contaminated tip, the arc will wander, and you will introduce tungsten inclusions into the weld. My logs show that in my first year of aluminum work, I spent nearly 20% of my time at the grinder. It gets better with practice, but patience is a requirement for this material.
Conclusion and Next Steps for Your Shop
Building a capable shop on a budget is about making strategic compromises. You don’t need the most expensive machine on the market to produce high-quality aluminum welds, but you do need to understand the physics of the process and the limitations of your hardware. By focusing on AC capability, high-frequency starts, and proper power delivery, you can avoid the “cheap tool” trap that leads to mid-project breakdowns.
Start by auditing your shop’s electrical capacity and investing in a dedicated circuit if necessary. Once you have a machine, begin with 3mm scrap pieces to get a feel for the AC balance and frequency settings. Keep a simple log of what works and what doesn’t. Over time, these notes will become your most valuable tool, helping you move from basic repairs to complex fabrication with confidence.
FAQ: Common Questions on Budget Aluminum TIG Setups
Can I weld aluminum with a DC TIG welder if I use a different gas? No. While some industrial processes use DC with helium for very thick aluminum, it is not practical for budget setups. The AC cycle is necessary for the “cleaning action” that removes the oxide layer. Without it, the aluminum will simply melt into a glob of gray slag rather than forming a clean puddle.
What is the maximum thickness I can weld on a 200-amp budget machine? In a single pass, most 200-amp inverters can handle up to 5mm or 6mm aluminum, provided you are on a 240V circuit. However, for most home shop projects involving 1mm to 3mm material, you will rarely need to go above 150 amps. Always check your duty cycle before attempting long beads on thicker plate.
Why does my aluminum weld have black soot around the edges? This is usually a sign of contamination. It could be caused by improper cleaning (oil or oxides left on the metal), a contaminated tungsten, or poor gas coverage. Check your argon flow rate; for most TIG work, 15 to 20 cubic feet per hour (CFH) is the sweet spot. Also, ensure you are using a dedicated stainless steel brush.
Is a water-cooled torch necessary for a budget shop? For 1mm to 3mm material, a standard air-cooled torch (usually a WP-17 or WP-26) is perfectly fine. Water-cooled torches are great for high-amperage, high-duty-cycle work, but they add significant cost and complexity. If your torch handle gets too hot to hold, it is a sign you are exceeding the machine’s duty cycle or need to take a break.
Do I really need a foot pedal for aluminum? While you can weld aluminum using a “trigger” or “lift arc” method, a foot pedal is highly recommended. Aluminum’s thermal conductivity means you need more heat to start the weld and less heat to finish it. A pedal gives you the real-time control needed to prevent the end of your weld from melting away.
What gas should I use for aluminum TIG? 100% Pure Argon is the standard for almost all TIG welding. Some people use Argon/Helium mixes for thicker material to increase heat input, but for a budget setup and standard thicknesses (1-3mm), pure Argon is the most cost-effective and reliable choice.
How often should I sharpen my tungsten? You should sharpen it any time it becomes contaminated by touching the puddle or the filler rod. Even if you don’t touch the puddle, the AC arc will slowly “ball” the end of the tungsten. For the best arc control on thin aluminum, keep a sharp point with a very small flat land at the tip.
Can I use a regular grinder for my tungsten? Yes, but you should have a dedicated stone or diamond wheel just for tungsten. If you use the same wheel you use for grinding rusty steel or aluminum, you will transfer those contaminants to your tungsten, which will then end up in your weld pool. A small, inexpensive diamond wheel on a rotary tool is a popular budget choice.
(This article was written by one of our staff writers, David Reynolds. Visit our Meet the Team page to learn more about the author and their expertise.)