How to Weld Auto Body Rust Repair Patches Safely (Guide)
When I first started working with automotive sheet metal twelve years ago, my biggest frustration was the “blow-through.” I would set my machine, pull the trigger, and instead of a neat bead, I’d watch a hole melt right through the fender. It took years of tracking my settings, filming my hand movements, and studying vocational manuals to realize that repairing thin steel isn’t about strength; it is about heat management and muscle memory.
Learning metal fabrication on a car body requires a different mindset than structural welding. You are working with material often less than 1/16 of an inch thick. This guide focuses on the physical drills and technical parameters you need to develop a steady hand and consistent results. We will move away from guesswork and toward a data-driven practice routine that builds your skills through repetition and objective measurement.
Mastering Body Mechanics for Thin Metal Control
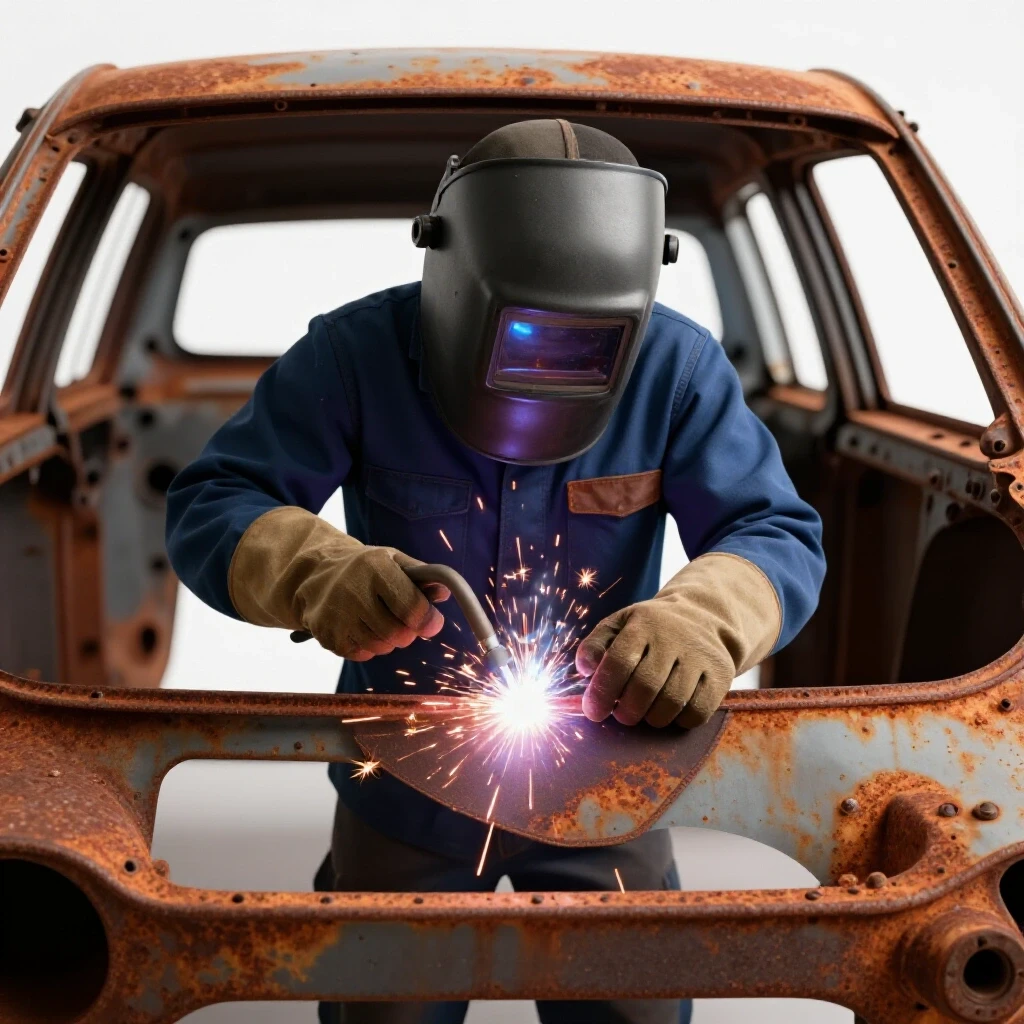
Body mechanics refers to how you position your torso, arms, and hands to maintain a stable welding platform. Proper ergonomics reduce muscle fatigue and tremors, which are the primary causes of inconsistent weld beads and accidental burn-through on delicate automotive panels.
When you are working on a vertical door panel or a low rocker section, your body is often in an awkward position. To combat this, I teach the “three-point contact” rule. Always ensure your torch hand is supported by your other hand, and your bracing hand is leaned against the workpiece or a steady rest. This creates a tripod effect that stabilizes your torch.
In my early practice logs, I noted that my travel speed would fluctuate because my elbow was “floating” in mid-air. Once I started tucking my elbow against my ribs or using a wooden block as a wrist rest, my bead consistency improved by 40 percent. Practice moving your torch across a 6-inch line without pulling the trigger. Do this twenty times before you even turn on the machine. This builds the “track” in your brain for the physical motion required.
| Physical Element | Recommended Position | Impact on Weld Quality |
|---|---|---|
| Wrist Angle | Neutral/Locked | Prevents erratic arc length changes |
| Elbow Position | Tucked or Braced | Stabilizes travel speed and reduces jitter |
| Stance | Feet shoulder-width apart | Lowers center of gravity for smoother movement |
| Torch Grip | Light “pencil” hold | Improves fine motor control in tight corners |
Setting Baseline Parameters for Sheet Metal
Machine parameters are the specific voltage and wire feed speed settings used to create a stable arc. For automotive repair, these settings must be precise because the margin for error on thin-gauge steel is extremely narrow, often requiring lower heat input than standard projects.
Before you touch the car, you must establish a baseline on scrap metal of the exact same gauge. Most modern car bodies use 20-gauge or 22-gauge steel. I recommend using 0.023-inch (0.6mm) wire for these repairs. The smaller wire diameter requires less heat to melt, which helps prevent the surrounding panel from warping.
Start by mapping your machine. Create a chart in your shop notebook. Set your voltage to the manufacturer’s suggestion for 20-gauge steel, then run five-inch beads while adjusting the wire feed speed in increments of 10 inches per minute (IPM). You are looking for a “frying bacon” sound and a bead that sits relatively flat on the metal. If the bead is tall and ropey, you need more heat or less wire. If it sinks or blows through, you have too much heat.
- Wire Diameter: 0.023″ (ER70S-6)
- Shielding Gas: 75% Argon / 25% CO2 (C25)
- Gas Flow Rate: 15–20 Cubic Feet per Hour (CFH)
- Voltage Range: Typically 15–17V for 20-gauge (refer to your specific machine)
- Wire Feed Speed: Start around 180–200 IPM and adjust based on the puddle
Preparing Clean Zones and Fit-Up
A clean zone is the area around a joint that has been stripped of all paint, rust, primer, and oils. In automotive work, cleanliness is the most important factor in preventing weld porosity and ensuring the patch bonds correctly to the original metal.
I cannot emphasize this enough: if you see even a speck of rust near your weld path, the arc will spit and pop. This leads to a weak, ugly joint. Use a poly-abrasive disc or a clean flap disc to strip the metal back at least one inch from the edge of the repair area. This “one-inch rule” ensures that the heat from the weld doesn’t pull contaminants into the molten puddle.
Fit-up is equally critical. For a butt weld (where the edges meet flush), aim for a gap the thickness of a welding wire (about 0.030″). If the gap is too wide, you will blow through the edge. If it is too tight, the metal will expand during welding and the panels will overlap or warp. Use magnetic welding squares or specialized “intergrip” clamps to hold the patch perfectly level with the surrounding panel.
Developing Torch Control and Travel Speed
Torch control involves maintaining a consistent distance between the contact tip and the metal, known as electrode stick-out, while moving at a steady pace. Mastering this physical skill prevents the arc from becoming unstable and keeps the heat input localized.
In my trade school practice drills, I had students focus on a 10-degree drag angle. This means the top of the torch is tilted slightly away from the direction of travel. For sheet metal, a “push” angle can also work as it spreads the heat more broadly, reducing the risk of burning through. However, the key is consistency.
Track your travel speed using a stopwatch and a marked 6-inch line on scrap steel. For thin automotive panels, you aren’t running long beads. Instead, you are doing “stitch” welds. However, the speed of each individual stitch should remain consistent. Aim for a travel speed of approximately 8 to 12 inches per minute during the brief moments the arc is active.
- Arc Gap: Maintain a 1/8″ to 3/16″ distance from the tip to the metal.
- Angle: Hold the torch at a 90-degree angle to the joint, with a 5-15 degree tilt in the direction of travel.
- Visual Cue: Watch the leading edge of the puddle, not the bright light of the arc.
- Practice Drill: Run “dry runs” with the power off to ensure your hand doesn’t snag on a clamp or a panel edge.
The Stitch Welding Technique for Heat Management
The stitch welding technique involves placing small, individual spot welds at different locations along a joint to minimize total heat buildup. This method is the standard for repairing car panels because it prevents the metal from warping out of shape.
When you weld a long seam on a car, the heat causes the steel to expand. If you weld in a straight line, that expansion has nowhere to go, resulting in a wavy panel. To avoid this, use a “skip” pattern. Place one tack weld, then move three inches away and place another. Continue this until you have tacks every few inches, then return to the start and place a new tack next to the old one.
Wait until the previous weld is cool enough to touch with a gloved hand before adding another one next to it. This requires patience, but it is the only way to achieve a professional-grade result. I often use a compressed air nozzle to gently cool the tacks between hits, which speeds up the process while keeping the panel flat.
| Step | Action | Purpose |
|---|---|---|
| 1 | Initial Tacking | Secures the patch at four corners to check alignment |
| 2 | Interval Tacking | Places tacks every 2 inches to distribute heat |
| 3 | Cooling Phase | Allows the metal to contract naturally |
| 4 | Filling the Gaps | Slowly fills the spaces between tacks with 1/2″ stitches |
Tracking Technique Progression and Metrics
A welding technique progression is a structured way of moving from basic exercises to complex repairs. By documenting your results, you can identify exactly where your hand-eye coordination is failing and make specific adjustments to your posture or settings.
I recommend keeping a practice log. Every time you spend an hour in the shop, record the material thickness, the wire speed, and a photo of your best and worst beads. Use a scale of 1 to 5 to rate your bead consistency. Are the “pennies” spaced evenly? Is the penetration consistent on the backside of the metal?
- Week 1-2: Focus on bead-on-plate drills. Learn to maintain a consistent arc length on flat scrap steel.
- Week 3-4: Practice butt-joint fit-up. Focus on achieving 100% penetration without blowing holes.
- Week 5-6: Move to vertical and overhead positions. These are common when working on rocker panels or floor pans.
- Week 7+: Perform a simulated patch repair on a scrap body panel from a junkyard.
Safety Protocols for Automotive Metalwork
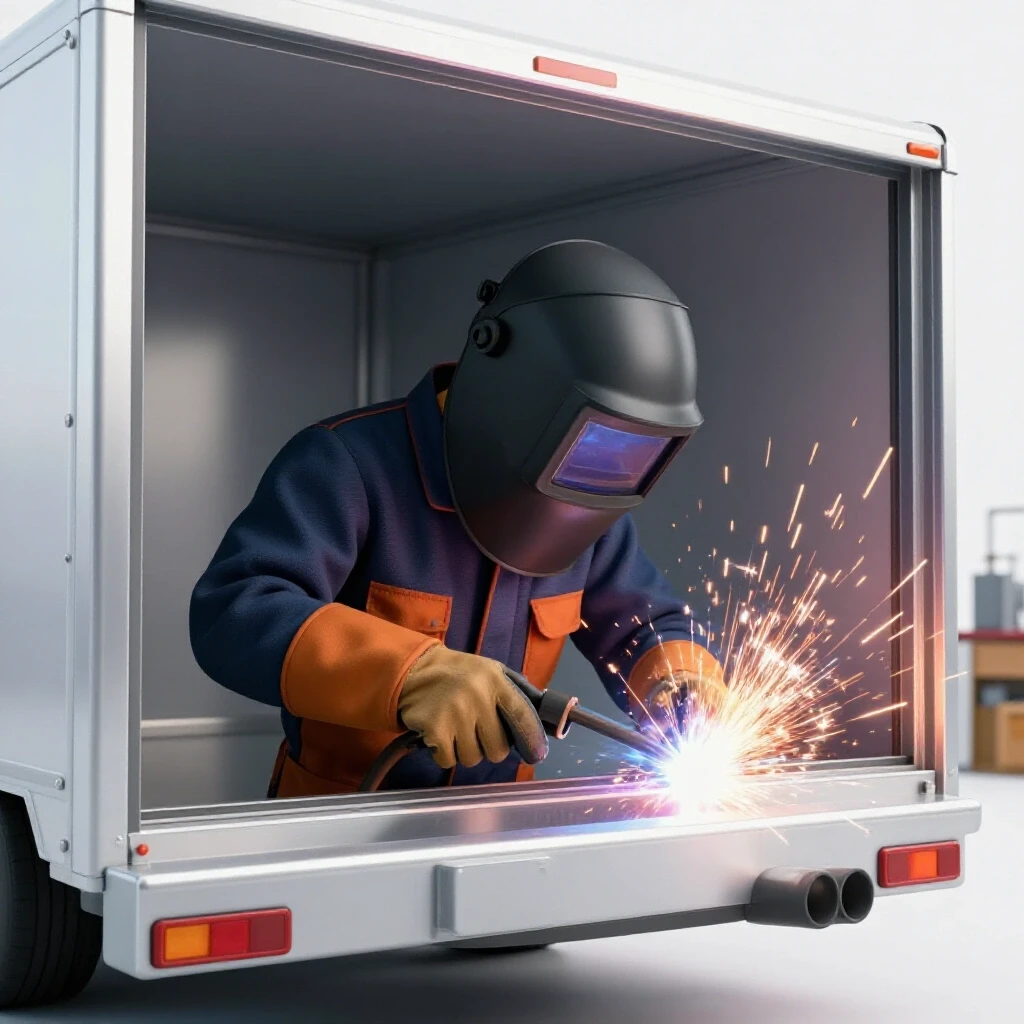
Safety in a garage environment involves protecting yourself from ultraviolet light, toxic fumes, and fire hazards. Because cars contain flammable materials like interior fabrics and fuel lines, extra precautions are mandatory when using high-heat tools.
Before you strike an arc, inspect the back of the panel you are welding. Is there sound-deadening material, undercoating, or wiring? Remove or protect these items with a welding blanket. Always have a fire extinguisher within arm’s reach. Fume extraction is also vital; welding through old automotive coatings can release hazardous vapors. Use a respirator with P100 filters, even if you have a fan running.
- PPE: Use a high-quality auto-darkening helmet set to shade 9 or 10 for low-amperage work.
- Skin Protection: Wear flame-resistant (FR) jackets and leather gloves. Even a short “tack” releases enough UV to cause a “welder’s sunburn.”
- Fire Watch: After you finish welding, stay in the shop for at least 30 minutes to ensure no hidden sparks are smoldering in the vehicle’s insulation.
Evaluating Weld Quality and Common Defects
Self-assessment is the process of objectively looking at your work to find flaws like porosity, undercut, or lack of fusion. Understanding why a defect happened allows you to correct your physical technique or machine settings in real-time.
If you see tiny holes in your weld (porosity), it usually means your gas coverage was blown away by a breeze or your metal wasn’t clean enough. If the weld looks like it is sitting on top of the metal without melting in (cold lap), you either have too much wire speed or you are moving too fast. Conversely, an “undercut” looks like a groove melted into the base metal at the edge of the weld, usually caused by too much heat or a bad torch angle.
- Visual Inspection: Look for a consistent “stack of pennies” appearance.
- Penetration Check: Look at the back of the joint. You should see a small, consistent “heat tint” or a slight bulge of metal.
- Destructive Testing: Take a sample patch you welded on scrap and try to break it with a hammer and chisel. The metal should bend before the weld breaks.
Building a Practice Log Template
To move from a beginner to an intermediate fabricator, you need to treat your shop time like a laboratory. Use this template to track your progress over your next ten practice sessions.
- Date:
- Material Gauge: (e.g., 20ga Cold Rolled Steel)
- Joint Type: (e.g., Butt joint with 0.030″ gap)
- Machine Settings: (Voltage/WFS)
- Physical Focus: (e.g., “Keeping my elbow braced today”)
- Result: (Did it warp? Did it blow through?)
- Adjustment for Next Time: (e.g., “Reduce wire speed by 10 IPM”)
Conclusion
Mastering the art of repairing automotive steel is a journey of a thousand small tacks. It requires a disciplined approach to body mechanics, a deep understanding of your machine’s parameters, and the patience to manage heat effectively. By focusing on structured practice and objective measurement, you can overcome the plateaus that stop many hobbyists. Start with the basics of clean metal and braced hands, and the professional-grade results will follow.
Frequently Asked Questions
What is the best welding process for thin car body panels? MIG (Metal Inert Gas) welding is generally considered the best for beginners and intermediates because it is easier to learn and highly effective on thin steel. TIG (Tungsten Inert Gas) offers more control and cleaner results but has a much steeper learning curve and requires more expensive equipment.
Why does my weld keep blowing holes in the metal? Blow-through is usually caused by three things: too much heat (voltage), moving the torch too slowly, or a gap that is too wide in your fit-up. Try lowering your voltage, increasing your travel speed, or using the “stitch” method to allow the metal to cool between welds.
Do I really need to use shielding gas for body patches? Yes. While flux-core wire (which doesn’t use gas) is common in home shops, it runs much hotter and creates more splatter than MIG with C25 gas. For the thin steel found on cars, the cooler, cleaner arc of a gas-shielded wire is almost essential for a quality repair.
How do I know if I have good penetration on a butt weld? On thin sheet metal, you should see a small, uniform bead of metal protruding through the backside of the joint. If the backside is still flat and untouched, the weld is “cold” and may crack later. If there are large “grapes” of metal hanging off the back, you have too much penetration.
How can I prevent the patch panel from warping? The key to preventing warp is heat management. Use the skip-tack method, where you place small spot welds in different areas and allow the metal to cool to the touch between stitches. Never run a continuous bead longer than half an inch on a car body panel.
What wire size should I use for 22-gauge steel? Use 0.023-inch (0.6mm) diameter wire. It requires less current to melt than 0.030-inch wire, which gives you a much wider “window” of control and significantly reduces the risk of burning through the thin panel.
Is it safe to weld on a car without disconnecting the battery? It is a best practice to disconnect the battery. High-frequency starts (on some TIG machines) or stray electrical surges from welding can potentially damage sensitive vehicle electronics or the alternator. Always ground your welder as close to the work area as possible.
How far back should I grind the paint before welding? You should strip all paint, primer, and rust at least one to two inches away from the weld seam. This prevents the heat of the arc from burning the nearby paint and drawing contaminants into your weld, which causes porosity and weak joints.
What should I do if the metal starts to glow bright red? If the metal is glowing bright red over a large area, stop immediately. This indicates excessive heat buildup that will lead to warping. Use a damp rag or compressed air to cool the area (slowly) and wait several minutes before continuing with smaller tacks.
Can I weld over old rust if I use a high-powered welder? No. Welding over rust is never successful. Rust is oxidized iron; it does not conduct electricity well and will contaminate the weld pool, leading to a brittle, porous “bubble” of metal that has no structural integrity. You must cut out the rust until you reach shiny, solid steel.
(This article was written by one of our staff writers, Thomas Langley. Visit our Meet the Team page to learn more about the author and their expertise.)