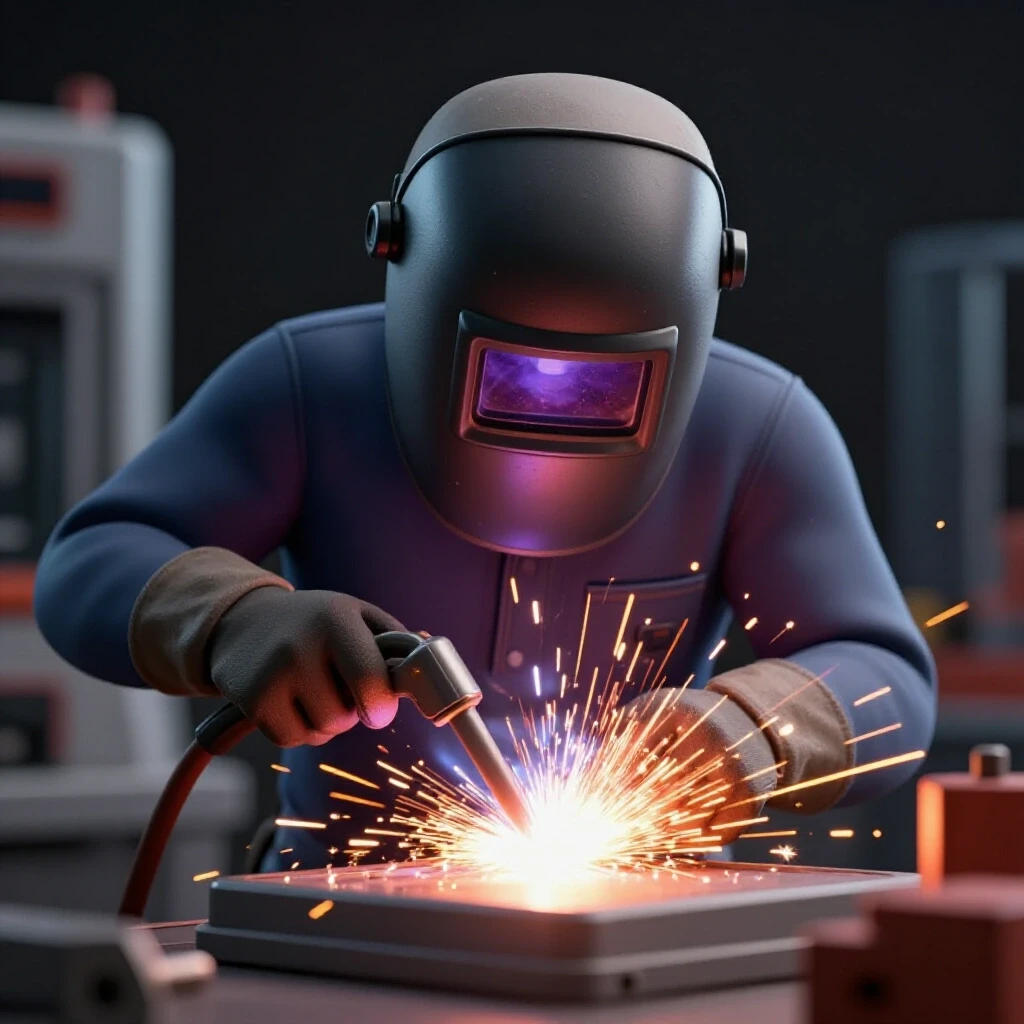
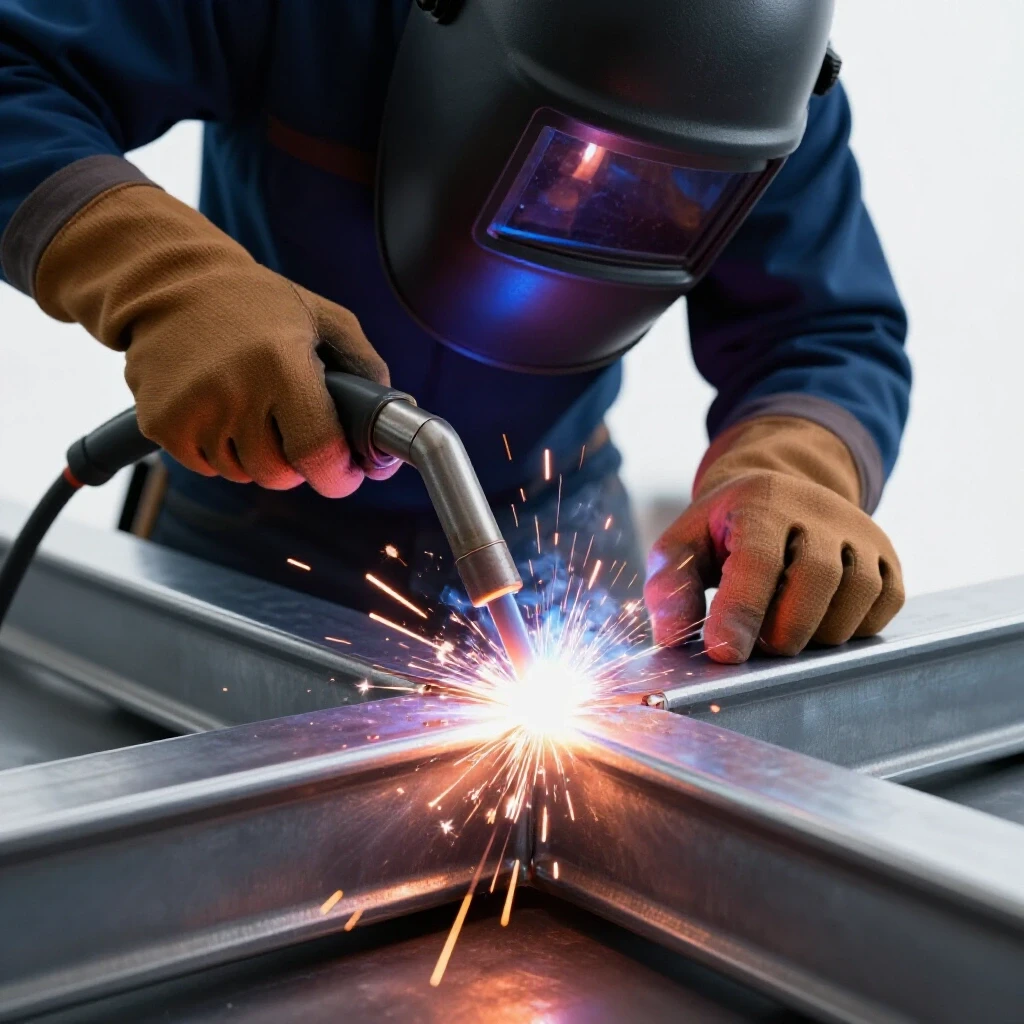
How to Weld Joints in Tight and Restricted Spaces (Guide)
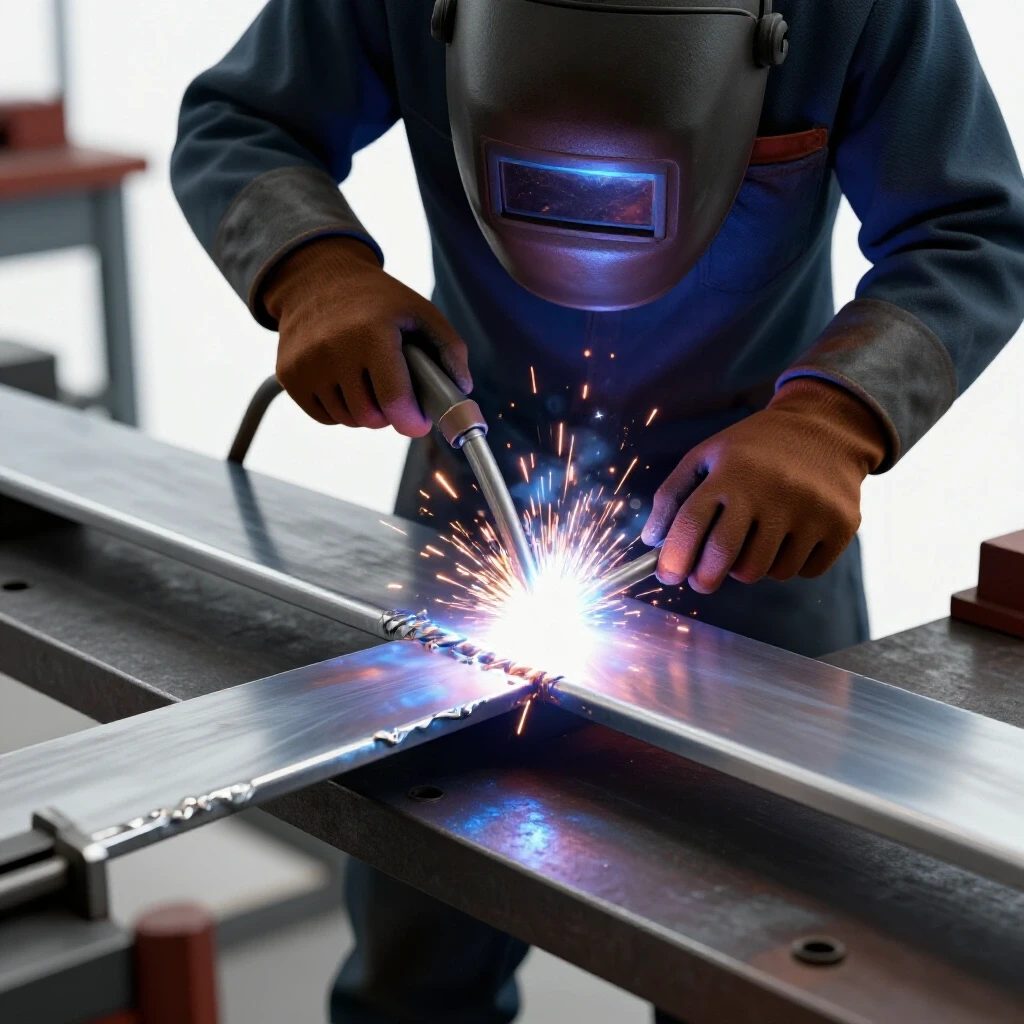
I remember the first time I tried to weld a gusset inside a narrow truck frame. I had been practicing on an open workbench for months, and I felt confident. But the moment I crawled under that chassis, everything changed. My helmet hit the frame rails, my elbow was pinned against the leaf springs, and I couldn’t even see the joint I was supposed to fuse. I ended up with a mess of cold-lapped metal and a very bruised ego. That day, I realized that mastering torch control on a flat table is only the first step. The real test of a fabricator is how they handle the spots where you can barely fit a hand, let alone a welding torch.
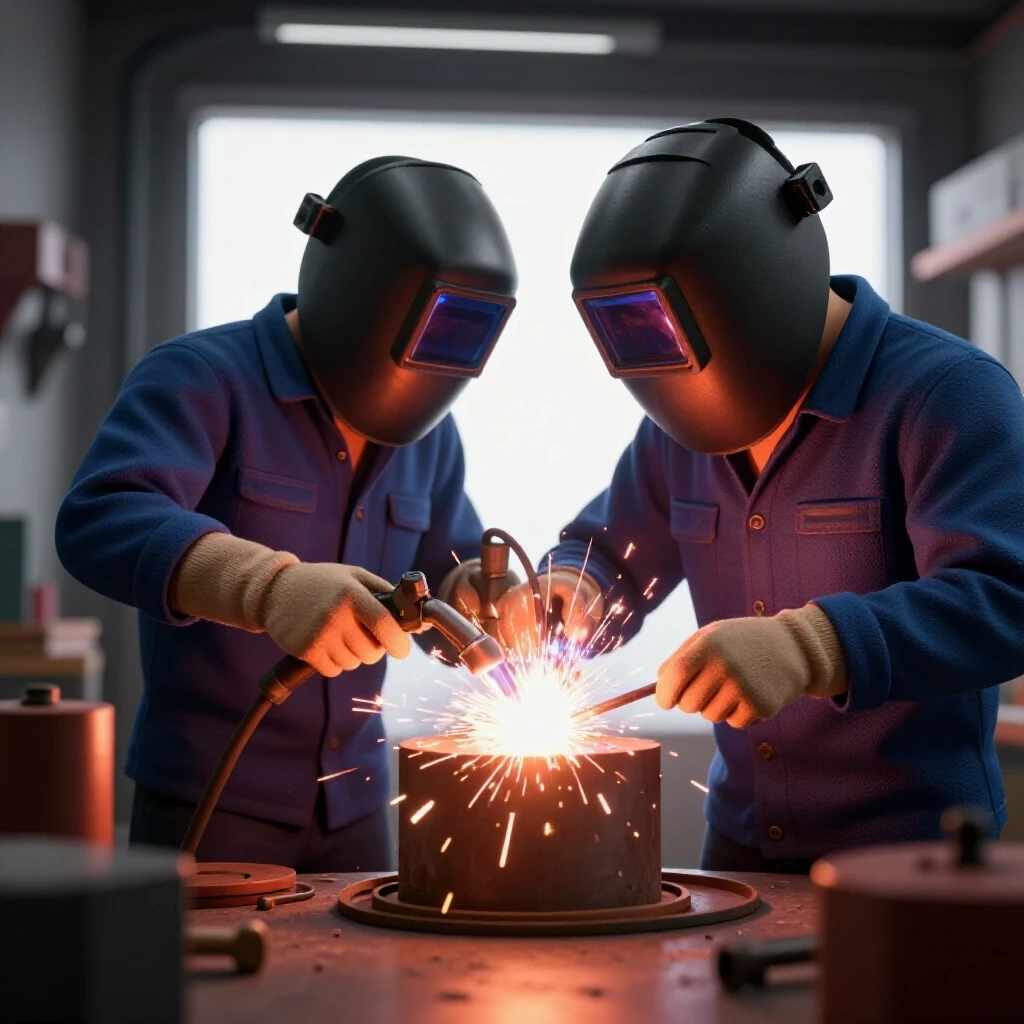
Over my 12 years of self-taught fabrication, I have learned that restricted access is not just a nuisance; it is a technical challenge that requires a specific set of physical skills. I track my progress using vocational standards because I want to know exactly why a weld failed or succeeded. Whether you are a beginner struggling with inconsistent beads or an intermediate builder hitting a plateau, the key to success in cramped quarters is a mix of body mechanics, specialized equipment setups, and a lot of structured practice.
Mastering Body Mechanics in Confined Fabrications
Body mechanics refers to how you position your physical frame to maintain stability and control when the environment limits your range of motion. In a shop setting, this means finding ways to brace your arms and torso so that your hand remains steady, even if you are twisted into an awkward shape.
When you are working in a tight spot, you lose the luxury of a comfortable seated position. I always teach my students to look for “three points of contact.” If you are holding the torch with your right hand, try to rest your left hand on a solid surface, and lean your shoulder or hip against the workpiece or a nearby structure. This creates a stable tripod for your body. Without this bracing, your muscles will fatigue quickly, leading to the shaky “chicken-wing” motion that causes erratic bead shapes and inconsistent penetration.
The Importance of the “Dry Run” in Restricted Areas
A dry run is a practice movement where you move your torch along the intended weld path without actually striking an arc. This allows you to identify where your glove might snag or where your helmet might hit an obstruction before you commit to the heat.
I never start a weld in a cramped area without doing at least three dry runs. I check my travel angle, which should ideally stay between 10 and 15 degrees for a drag technique, and ensure my “stick-out” (the distance from the tip to the metal) remains consistent. If I find that my elbow hits a bracket halfway through the move, I adjust my stance before I pull the trigger. This simple habit prevents the “stop-and-start” defects that weaken a structural joint.
Breathing and Muscle Tension Control
Controlled breathing is a physical technique used to minimize involuntary hand movements during a weld. By synchronization your breath with your travel speed, you can reduce the micro-tremors that often occur when you are under physical stress or in a cramped position.
In tight spaces, it is common to hold your breath out of concentration. This actually makes your muscles tighter and your hands shakier. I practice a technique where I exhale slowly as I move the torch. This relaxes the shoulders and allows for a smoother, more fluid motion. If you are struggling with “stuttering” beads, check your tension. If your knuckles are white from gripping the torch too hard, you are fighting against yourself.
Optimizing Equipment for Limited Access
Optimizing equipment involves selecting and modifying your welding tools to reach areas where standard-sized consumables simply cannot fit. This might include using shorter torch parts, flexible components, or specialized lenses that allow for better gas coverage at longer distances.
When I first started, I used the standard 1-inch back cap that came with my TIG torch. I quickly found out that in a tight corner, that cap would hit the back wall before the tungsten even reached the joint. Switching to a “stubby” kit changed everything. These kits use shorter collets and caps, reducing the total profile of the torch by nearly half. This allows you to get into spots that were previously impossible to reach with a standard setup.
Using Flexible Torch Heads and Short Caps
A flex-head torch is a tool designed with a neck that can be bent into various angles, allowing the user to maintain a proper work angle in obstructed areas. Short back caps are the rear covers of a TIG torch that, when shortened, allow for much tighter clearances.
- Flex-heads: These are lifesavers for welding around tubes or inside boxes. You can bend the head 45 degrees so your hand stays in a comfortable position while the electrode points exactly where it needs to go.
- Short Caps: Always keep a “button” cap in your kit. It barely sticks out past the torch body, which is essential when your clearance is less than two inches.
- Flexible MIG Necks: Some MIG guns allow you to rotate or swap the neck. This is vital for maintaining a consistent 1/2″ to 3/4″ stick-out when the gun body is blocked by a flange.
The Role of Gas Lenses in Difficult Reaches
A gas lens is a replacement part for a TIG torch that uses a series of fine mesh screens to create a laminar (smooth) flow of shielding gas. This allows the welder to extend the tungsten electrode further out from the cup without losing gas coverage.
In restricted areas, you often have to “stick out” the electrode further than the standard 1/8″ to reach the root of a joint. A standard collet body will cause turbulence, leading to porosity (bubbles in the weld). A gas lens allows for a stick-out of up to 3/4″ or more in some cases. This extra reach is the difference between a clean, silver weld and a gray, oxidized mess.
| Component | Standard Setup | Restricted Access Setup | Benefit |
|---|---|---|---|
| TIG Back Cap | Long (2-3″) | Button or Short (<1″) | Fits in tight gaps |
| TIG Cup | Standard #6 or #7 | Stubby Gas Lens #5 | Better visibility and reach |
| MIG Nozzle | Standard Flush | Tapered or Conical | Improved line of sight |
| Torch Neck | Rigid | Flexible / 360-degree Swivel | Better ergonomics |
Visualizing the Puddle When Direct Sight is Blocked
Visualizing the puddle involves using mirrors or secondary visual cues to monitor the molten metal when your welding helmet cannot reach a standard viewing angle. This is one of the most difficult skills to master because it requires your brain to invert its natural movements.
Mirror welding is a technique where you look at the reflection of the weld to guide your hand. When I first tried this, I kept moving the torch the wrong way. It took me about 20 hours of practice on scrap metal just to get my hand-eye coordination to sync up with the reflection. If you can’t see the puddle, you can’t weld. Learning to trust a mirror is a mandatory skill for advanced fabrication.
Setting Up the Mirror for Success
The mirror setup involves positioning a high-quality, heat-resistant mirror so that the reflection provides a clear view of the arc and the leading edge of the puddle. This setup must be stable enough to withstand the vibrations of the welding process.
- Use a glass mirror if possible; plastic or polished metal often distorts the image.
- Secure the mirror with a magnetic base or a “helping hand” tool.
- Ensure the mirror is angled so you can see the “toe” of the weld, where the liquid metal meets the base plate.
- Practice moving the torch toward and away from the mirror to understand the spatial relationship.
Reading Secondary Cues and “Feeling” the Weld
Secondary cues are the sounds, vibrations, and light patterns that occur during welding, which can help a fabricator understand the state of the puddle when visual access is limited. This is often called “welding by ear” or “welding by feel.”
If your view is partially blocked, listen to the arc. A steady “bacon-frying” sound in MIG welding usually means your stick-out and travel speed are consistent. If the sound becomes erratic or loud, you are likely too far away. In TIG, you can often see the “glow” of the puddle on the surrounding metal. If the glow stays a consistent width, your heat input is likely stable. These cues help you maintain quality even when you are essentially flying blind.
Adjusting Parameters for Restricted Reach
Adjusting parameters means modifying your machine settings, such as voltage or amperage, to compensate for the awkward angles and inconsistent distances that occur in tight spots. When you can’t maintain a perfect 90-degree work angle, the heat doesn’t transfer the same way.
I’ve found that in cramped quarters, I often have to run my heat slightly lower than I would on a bench. Because my movement is restricted, my travel speed is usually slower. If I use my standard “bench settings,” I’ll end up putting too much heat into the part, causing the puddle to sag or burn through. I typically drop my amperage by 5-10% when I know I’ll be moving slowly.
Managing Travel Speed and Heat Input
Travel speed is the rate at which the torch moves along the joint, measured in inches per minute (IPM). Heat input is the total amount of energy transferred to the metal, which is a calculation of voltage, amperage, and travel speed.
When your arm is tucked into a corner, you won’t hit the standard 8-12 IPM travel speed. You might only be moving at 4-5 IPM. To keep the weld from becoming too wide or overheating the metal, you must balance this slower speed with lower power settings. I use the following formula as a mental guide:
Heat Input = (Amperage x Voltage x 60) / (Travel Speed x 1000)
If the travel speed goes down, the heat input goes up. To keep the heat input stable, you must lower the amperage or voltage.
Tackling Inconsistent Torch Angles
A torch angle is the relationship between the electrode and the workpiece, consisting of the travel angle (direction of movement) and the work angle (position relative to the joint). In tight spots, these angles are rarely ideal.
- Work Angle: Ideally 45 degrees for a fillet weld. If you can only get 30 degrees, you must compensate by pointing the arc more toward the vertical plate to ensure even fusion.
- Travel Angle: Usually 10-15 degrees. If you are forced into a “push” angle in a tight spot, remember that penetration will be shallower, so you might need to increase your wire speed slightly.
- Stick-out: If you have to extend your wire further to reach a gap, your voltage will effectively drop. You may need to bump up your machine’s voltage setting to maintain a crisp arc.
A Systematic Practice Progression for Cramped Joints
A practice progression is a series of structured drills that move from simple tasks to complex scenarios, designed to build muscle memory and technical consistency. You cannot expect to weld inside a car frame if you haven’t practiced in a simulated environment first.
I track my practice sessions in a logbook. I record the date, the joint type, and the “obstruction level.” For example, I might spend 30 minutes welding inside a 6-inch steel cube I fabricated. This forces me to deal with restricted movement and heat buildup. By measuring my bead consistency in these drills, I can see exactly when I’m ready for a real-world project.
Phase 1: The “Box Drill” for Spatial Awareness
The Box Drill involves welding inside a three-sided or four-sided metal box to simulate the physical limitations of a real fabrication project. This teaches you how to manage your torch and hands when your range of motion is physically blocked.
- Tack together a 6″ x 6″ x 6″ open-top box.
- Practice running beads along the bottom inside corners.
- Gradually add “obstructions” like a vertical bar in the middle of the box.
- Goal: Maintain a consistent 1/8″ arc gap and a steady 3/32″ bead width despite the walls.
- Metric: Aim for 90% of the bead to be within your target width.
Phase 2: The Mirror Simulation Drill
The Mirror Simulation Drill is a practice exercise where the welder is completely blocked from seeing the joint directly and must rely entirely on a mirror to complete the weld. This is the ultimate test of hand-eye coordination.
- Place a lap joint behind a piece of plywood so you cannot see it.
- Set up a mirror so the joint is visible in the reflection.
- Start with simple “bead-on-plate” runs before moving to actual joints.
- Focus on moving the torch away from the reflection when you want it to move toward the joint.
- Practice for 15 minutes a day. It takes about two weeks for the “mirror-brain” to click.
Phase 3: Non-Dominant Hand Integration
Non-dominant hand integration is the practice of using your “weak” hand to guide the torch or feed filler rod when the cramped space makes using your “strong” hand impossible. Being “ambidextrous” is a massive advantage in restricted spaces.
I spent one month doing all my practice drills with my left hand (I’m right-handed). It was frustrating, and my welds looked terrible at first. However, that skill saved me when I had to weld a bracket on the underside of a dashboard where I could only reach in with my left arm. Don’t ignore your weak side; it is a tool you will eventually need.
| Practice Stage | Drill Description | Success Metric |
|---|---|---|
| Level 1 | Open table, braced hand | < 1/16″ variation in bead width |
| Level 2 | Inside 6″ box, direct sight | Consistent penetration in corners |
| Level 3 | Obstruction (bar in way) | No stops/restarts for 3 inches |
| Level 4 | Mirror only (no direct sight) | No visible porosity or undercut |
| Level 5 | Non-dominant hand only | Structural integrity pass (bend test) |
Self-Assessing Quality in Restricted Welds
Self-assessment is the process of objectively evaluating your work against industry standards to identify defects and areas for improvement. In tight spots, defects are more common, so your inspection must be even more rigorous.
When I finish a weld in a cramped area, I use a high-lumen flashlight and a dental mirror to check the “toes” of the weld. I’m looking for undercut (a groove melted into the base metal next to the weld) or cold-lap (metal that didn’t fuse to the base). If I see these, I know my torch angle or travel speed was off. I log these errors so I can focus on them during my next practice session.
Common Defects in Restricted Access Welding
- Undercut: Usually caused by an improper work angle or too much heat. In tight spots, we often lean the torch too far, which “digs” into one side of the metal.
- Porosity: Often caused by poor gas coverage. If your cup is too far away because of an obstruction, the shielding gas won’t reach the puddle.
- Lack of Fusion: This happens when the arc doesn’t hit the “root” or center of the joint. It is common when you can’t see exactly where the electrode is pointing.
- Inconsistent Profile: This is a sign of shaky hands or poor bracing. The bead will look “lumpy” rather than like a stack of smooth coins.
Using Video Analysis for Skill Refinement
Video analysis involves recording your welding sessions—especially the ones in tight spots—and watching them in slow motion to identify errors in your technique. Modern smartphones make this incredibly easy.
I often mount a GoPro or a phone near the joint before I start. Watching the footage afterward is eye-opening. I might think I’m holding a steady 1/8″ arc gap, but the video shows it jumping from 1/16″ to 1/4″. Seeing these mistakes in high definition allows me to make conscious corrections that I wouldn’t notice while under the hood.
Creating Your Own Practice Log
To truly progress, you need data. I recommend keeping a simple notebook or a digital spreadsheet to track your sessions. Over time, you will see your “visual pass rate” go up, and your frustration levels go down.
- Date and Duration: How long did you actually have the hood down?
- Setup Details: What machine settings, gas flow, and consumables did you use?
- The Challenge: Describe the restriction (e.g., “Welding inside 4-inch pipe”).
- The Result: Rate the bead appearance, penetration, and consistency on a scale of 1-10.
- Notes for Next Time: What was the biggest struggle? (e.g., “Need to brace my elbow better”).
By treating your shop time like a science experiment, you remove the guesswork. You stop wondering why your welds look bad and start understanding the physical mechanics behind them. Welding in tight spaces is a mental game as much as a physical one. It requires patience, a willingness to fail, and the discipline to keep practicing until the difficult becomes second nature.
Next time you’re faced with a joint you can barely see, don’t rush. Take a breath, find your three points of contact, do your dry runs, and remember that every professional-grade weld is the result of a thousand ugly ones that came before it. Keep tracking your metrics, keep refining your body mechanics, and you will find that no space is too tight to produce quality work.
Frequently Asked Questions
How do I stop my hand from shaking when I can’t brace my arm?
Shaking is usually caused by muscle fatigue or lack of oxygen. If you can’t brace your arm, try to brace your pinky finger against the workpiece (use a TIG finger heat shield). Also, focus on slow, rhythmic breathing and ensure you aren’t gripping the torch with excessive force.
What is the best way to clean metal in a tight corner?
Standard grinders are often too big. Use a die grinder with a small carbide burr or a “finger sander” (a narrow belt sander). If those don’t fit, use a manual wire brush or sandpaper wrapped around a file. Clean metal is even more critical in tight spots because you have less control over the puddle.
Why does my TIG tungsten keep getting contaminated in narrow gaps?
When welding in a narrow “V” or gap, the high-frequency arc can sometimes jump to the side walls instead of the root. Use a sharper tungsten point and a gas lens to keep the arc focused. Also, ensure your back cap isn’t hitting the wall and pushing your hand off course.
Can I use a standard welding helmet in confined spaces?
Standard helmets are often bulky. For very tight spots, look into “welding goggles” or low-profile “pancake” hoods used by pipeline welders. These allow your head to get much closer to the work without the helmet shell getting in the way.
How do I know if I have enough gas coverage in a restricted area?
If the weld looks gray, crusty, or has tiny holes (porosity), your gas coverage is poor. In a tight corner, the gas can sometimes swirl and pull in atmospheric air. Try increasing your gas flow by 5 CFH or using a larger gas lens cup to create a more stable “blanket” of argon.
How do I handle the heat buildup when welding inside a small box?
Small, enclosed spaces trap heat rapidly. This can lead to “heat soak,” where the base metal becomes too hot and the weld puddle becomes uncontrollable. Weld in short increments (1-2 inches), and allow the part to cool to the touch between passes.
Is mirror welding really necessary for hobbyists?
It depends on what you build. If you do automotive repair or roll cages, you will eventually hit a spot where a mirror is the only option. It’s a “break glass in case of emergency” skill that separates an average fabricator from a great one.
What is the most important metric to track for restricted welding?
Consistency of arc gap. In a tight spot, your hand tends to drift toward or away from the metal. If you can keep a steady 3/32″ gap regardless of your body position, your bead quality will improve dramatically.
Should I use MIG or TIG for tight spaces?
MIG is often easier because you only need one hand, but the gun is bulky. TIG requires two hands but the torch is much smaller. For very cramped quarters, a TIG torch with a stubby kit is usually the most surgical tool for the job.
How do I prevent “arc wander” in deep corners?
Arc wander happens when the arc follows the path of least resistance to the side walls. Keep a very tight arc (1/16″) and point the electrode directly at the root. Increasing your amperage slightly can also help “force” the arc to stay where you point it.
(This article was written by one of our staff writers, Thomas Langley. Visit our Meet the Team page to learn more about the author and their expertise.)