Is a Benchtop Mill Drill Worth It for Small Shops? (Review)
When I first transitioned from a hobbyist metalworker to a professional shop owner, I made the mistake many of us make. I priced my work based on what I thought the market would bear, rather than what it actually cost me to operate. After sixteen years in the manufacturing sector, I have learned that the difference between a profitable side-hustle and a money-pit often comes down to how you evaluate your equipment. Many small shop owners look at a compact milling and drilling unit as a simple purchase, but in reality, it is a financial lever. If you use it correctly, it speeds up your workflow and increases your precision. If you don’t account for its hidden costs, it can quietly drain your monthly budget.
The anxiety of moving from a hobby to a paid side-hustle usually stems from a lack of data. You might wonder if you are charging enough or if that new piece of machinery will ever pay for itself. My goal is to strip away the guesswork. We will look at how to integrate a versatile, space-saving mill into your shop’s economy. This involves more than just looking at a spec sheet; it requires mastering shop math, tracking every consumable, and understanding the true cost of an hour of your time.
Establishing a Realistic Shop Rate for Small-Scale Fabrication
A shop rate is the total hourly cost of running your business, including your desired profit and all overhead expenses. It is the foundation of every quote you send to a client.
Many newcomers pick a number out of thin air, like $40 or $50 an hour, because it sounds better than their day job’s wage. However, your shop rate must cover your rent, electricity, insurance, and the eventual replacement of your tools. For most side-hustles and small shops, a realistic rate falls between $65 and $120 per hour. If you charge less than $65, you are likely subsidizing your customers’ projects with your own savings.
To calculate this, you need to add up your monthly fixed costs. This includes your shop’s power bill, any software subscriptions for CAD or invoicing, and a portion of your property taxes or rent. Once you have that total, divide it by the number of billable hours you actually work each month. Most part-time fabricators only have about 40 to 60 billable hours available. Building this baseline ensures that your fabrication job costing is rooted in reality rather than hope.
Understanding the Overhead Burden Factor
The overhead burden factor is a percentage added to your labor and material costs to cover the expenses of simply staying in business. It accounts for the “unseen” costs like shop rags, floor cleaner, and the electricity used by your lights and compressor.
In a small shop, an overhead burden of 20% to 30% is common. This means if your labor and materials for a bracket cost $100, you should add at least $20 to $30 just to cover the shop’s background expenses. Interestingly, many small shop owners forget to include the cost of heating or cooling their space. If you are running a mill in a garage during a cold winter, your heater might be consuming more profit than the machine itself.
Amortizing Compact Machinery Costs
Amortization is the process of spreading the cost of an expensive tool over its expected useful life. This allows you to see how much each hour of machine use actually costs you in depreciation.
If you buy a piece of equipment and expect it to last five years, you divide the cost by 60 months. Then, divide that monthly cost by the hours you use it. For a machine used 20 hours a week, the hourly depreciation might only be a few dollars. However, if you only use it for two hours a month, that machine is a massive financial drain. Tracking this helps you decide if a specific tool generates a positive return on investment or if it is just an expensive hobby accessory.
| Expense Category | Annual Estimated Cost | Hourly Impact (500 hrs/yr) |
|---|---|---|
| Shop Utilities (Power/Heat) | $1,200 | $2.40 |
| Insurance & Licensing | $600 | $1.20 |
| Tooling & Consumables | $1,500 | $3.00 |
| Machine Depreciation | $800 | $1.60 |
| Total Overhead per Hour | $4,100 | $8.20 |
Evaluating the Economic Value of a Benchtop Mill Drill
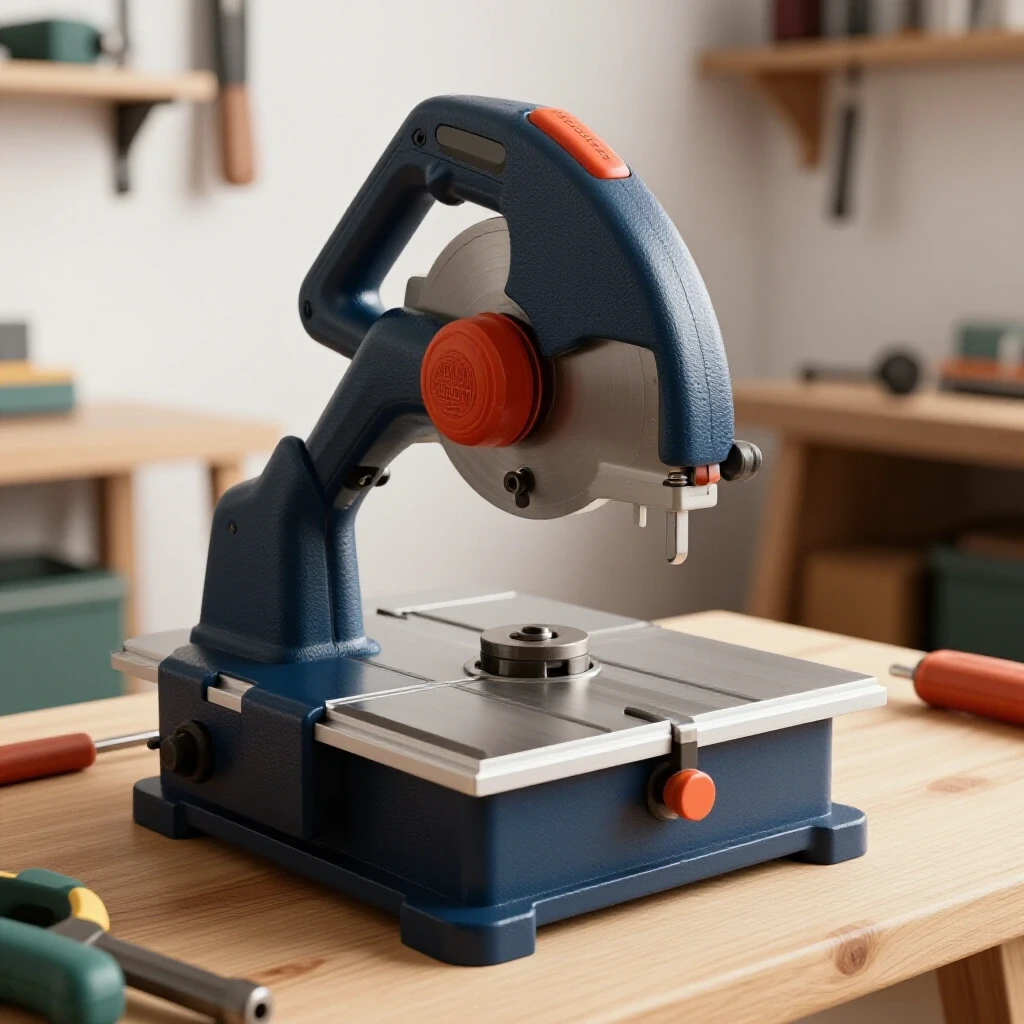
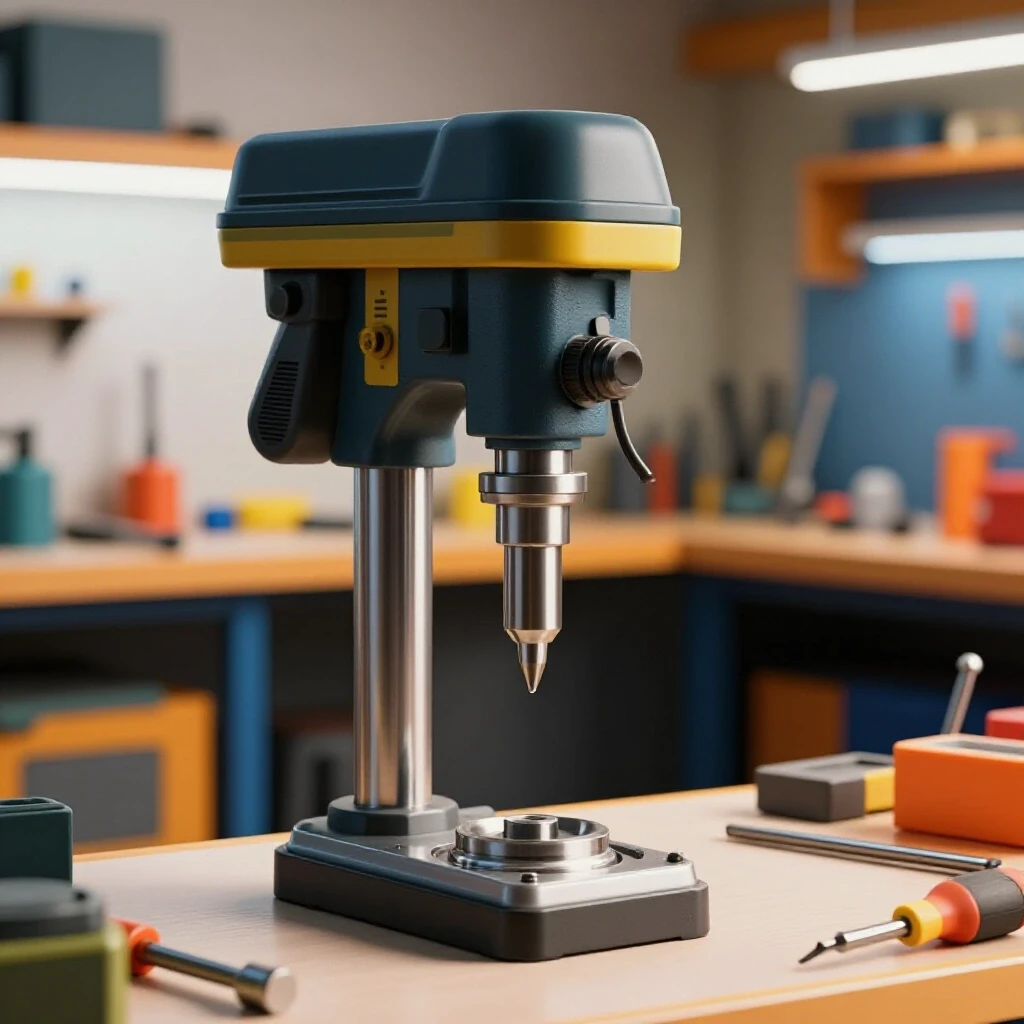
A benchtop mill drill is a hybrid machine that offers both vertical milling capabilities and heavy-duty drilling in a footprint small enough for a garage or basement. It is designed for those who need more precision than a drill press but don’t have the space for industrial-sized equipment.
From a financial perspective, these machines are often the “entry point” for serious fabrication. They allow you to take on jobs that require slotted holes, faced surfaces, or precise bolt patterns. I have seen many shops pay for one of these units in six months just by bringing work in-house that they used to outsource to larger machine shops. The key is knowing if your specific projects require the 100 to 3000 RPM range and the 0.5 to 2 horsepower these units typically provide.
The ROI of Precision in Side-Hustle Metalworking
Return on investment (ROI) is a measure of how much profit a piece of equipment generates compared to its cost. In a small shop, ROI is often found in time savings and the ability to charge higher rates for specialized work.
When you move from a hand drill to a benchtop mill, your scrap rate usually drops. Scrap is a silent profit killer. If you ruin a $50 piece of aluminum because your drill bit wandered, you haven’t just lost $50; you’ve lost the time it took to get that part ready. A mill provides the rigidity needed to hit your marks every time. Over a year, the reduction in wasted material and the ability to complete jobs faster can easily justify the investment in a compact milling unit.
Versatility vs. Specialization in Tool Selection
Versatility refers to a tool’s ability to perform multiple different tasks, while specialization is its focus on one specific function. For a small shop, a versatile tool is almost always the better financial choice.
A machine that can both drill large holes and mill flat surfaces replaces two separate tools. This saves valuable floor space, which is a form of overhead. Building on this, a versatile machine allows you to pivot your business. If the market for custom motorcycle parts slows down, you can use the same equipment to make brackets for local contractors or prototypes for inventors. This flexibility is vital for maintaining a steady cash flow during market shifts.
Why Hidden Consumables Bleed Small Shop Profits
Consumables are items that are used up during the fabrication process, such as drill bits, end mills, coolant, and sanding discs. These are often the most underestimated expenses in small metal shop pricing.
I once consulted for a shop owner who was frustrated that he wasn’t making money on a recurring job. We looked at his numbers and realized he was using one $15 end mill for every five parts, but he wasn’t charging the customer for the tooling. He was “eating” $3 per part. When his profit margin was only $10 per part, he was losing 30% of his income to a hidden cost. Tracking your welding consumable tracking and machining wear is essential for accurate bidding.
Formulating a Real Material Markup
A material markup is a percentage added to the cost of raw metal to cover the time spent sourcing, transporting, and storing it. It is not just “extra profit”; it is a fee for the logistics you handle.
Most successful shops apply a 20% to 50% markup on materials. If a piece of steel costs you $100, you should charge the customer at least $120. This covers the gas you used to drive to the supplier and the time you spent on the phone ordering it. For smaller shops, I recommend a higher markup on small orders because the “hassle factor” of getting a single piece of cold-rolled steel is much higher than buying a full pallet.
Tracking Tooling Life and Replacement Cycles
Tooling life is the amount of time a cutting tool can be used before it becomes dull or breaks. Knowing this helps you predict when you will need to spend money on replacements.
I suggest keeping a simple log next to your mill. Note when you install a new carbide end mill and roughly how many hours it lasts in different materials like aluminum or mild steel. As a result, you can begin to factor a “tooling burden” into your quotes. If you know an end mill lasts 10 hours and costs $30, you must add $3 per hour to your quote just to cover the cost of that tool.
- Keep a dedicated bin for dull tools to be sharpened or recycled.
- Use a digital spreadsheet to track the purchase date and cost of all cutters.
- Note which materials cause the fastest wear to adjust future bids.
- Include a “consumables” line item in your internal job costing sheets.
Mastering Fabrication Job Costing and Quotes
Job costing is the process of tracking every expense associated with a specific project to ensure it was profitable. A quote is the estimated price you give to a customer before the work begins.
The biggest mistake I see is “guesstimating.” You look at a part and think, “That looks like a $100 job.” Instead, you should break the job down into steps: setup, machining, deburring, and packaging. Building a custom job quote requires multiplying your shop rate by the estimated time for each step and then adding material costs and markups. This data-driven approach prevents you from underpricing your labor.
The Anatomy of a Profitable Quote
A professional quote should be clear and detailed, protecting both you and the customer. It should list the material costs, the labor hours, and any special tooling requirements.
Interestingly, providing a detailed quote often allows you to charge more. When a customer sees that you have accounted for specific tolerances and material grades, they view you as a professional rather than a hobbyist. This builds trust. It also gives you a baseline to refer back to if the customer asks for “small changes” later, which can lead to “scope creep” and lost profits.
Managing Scope Creep and Change Orders
Scope creep happens when a project’s requirements grow beyond the original agreement without an increase in price. A change order is a formal document that updates the price and timeline when the scope changes.
In my experience, small shop owners are often too nice. They agree to “add one more hole” or “tweak the bracket size” for free. However, every minute you spend on an unpaid change is a minute you aren’t making your shop rate. Always inform the customer that changes will affect the final cost. This keeps your side-hustle metalworking business profitable and sets clear boundaries with your clients.
| Job Phase | Estimated Time | Hourly Rate | Total Labor |
|---|---|---|---|
| Design/CAD | 1.0 hr | $85.00 | $85.00 |
| Machine Setup | 0.5 hr | $85.00 | $42.50 |
| Milling/Drilling | 2.0 hrs | $85.00 | $170.00 |
| Finishing/Deburr | 0.5 hr | $85.00 | $42.50 |
| Total Labor Cost | 4.0 hrs | $340.00 |
Sourcing Strategies for Small-Batch Fabrication
Sourcing is the process of finding and buying the raw materials and supplies needed for your work. For a small shop, where you aren’t buying in bulk, this can be a significant challenge.
Buying metal from a “big box” home improvement store is a fast way to lose money. Their prices are often 300% higher than a local metal service center. Even if you only need a few feet of material, it is worth establishing a relationship with a local supplier. Many will have a “remnant” or “drops” section where you can buy high-quality material at a steep discount.
Bulk Sourcing vs. Just-in-Time Purchasing
Bulk sourcing involves buying large quantities of material at once to get a lower price per unit. Just-in-time purchasing means buying only what you need for a specific job.
For a side-hustle, just-in-time is usually better for cash flow, but bulk sourcing is better for common items. I always keep a stock of 1/4″ and 1/2″ aluminum plate and common sizes of steel tubing. These are “bread and butter” materials. By buying a full 12-foot or 20-foot stick, I save significantly over buying small cut pieces. This allows me to be more competitive on small metal shop pricing while maintaining a healthy margin.
Negotiating with Metal Suppliers as a Small Buyer
You don’t need to be a massive factory to get better pricing. Most local suppliers appreciate steady, reliable customers who pay their bills on time.
When I started, I would visit the local yard in person. I learned the names of the counter staff and always brought a printed list of what I needed. By being organized and easy to work with, I eventually earned “contractor pricing” despite my low volume. Always ask if they have any “off-cuts” from a large production run. These are often the exact sizes a small shop needs for brackets or prototypes.
- Identify the three most common materials you use.
- Call three different local suppliers for quotes on full-length sticks.
- Ask about their delivery fees versus pick-up options.
- Check online retailers for specialty metals that local yards don’t stock.
Analyzing Post-Job Profits and Adjusting Your Strategy
Post-job analysis is the practice of looking at your actual costs after a project is finished and comparing them to your original quote. This is where the real learning happens.
If you quoted four hours for a job but it took six, you need to know why. Was the material harder to machine than expected? Did a tool break? Or did you just underestimate the setup time? By tracking your metal business ROI calculators and job logs, you can adjust your future quotes. This ensures that a mistake made once isn’t repeated indefinitely.
Identifying Low-Margin Traps
A low-margin trap is a type of job that looks profitable but actually barely covers its costs. These often involve complex setups for very cheap parts.
For example, making a single custom bolt might take an hour of setup and only ten minutes of machining. If you only charge for the machining time, you are losing money. I have learned to implement a “minimum shop charge” for any job that goes onto the mill. This covers the time it takes to clean the machine, set up the vise, and square the workpiece. Without a minimum charge, small jobs will slowly bleed your shop dry.
Using Digital Tools for Better Bookkeeping
Modern software makes it much easier to track your finances than the old paper ledgers I used to use. There are several affordable options for small fabrication shops.
- QuickBooks or FreshBooks: Excellent for professional invoicing and tracking expenses for tax purposes.
- Excel or Google Sheets: Perfect for creating custom job-costing calculators and tracking material inventory.
- Trello or Asana: Useful for managing the workflow of multiple projects so nothing falls through the cracks.
- Square or PayPal: Essential for accepting credit card payments from customers, though you must factor their 3% fees into your overhead.
Practical Steps for Long-Term Workshop Success
The transition from a hobbyist to a business owner is a journey of discipline. It requires you to look at your shop not just as a place of creativity, but as a production environment. Whether you are using a compact mill or a simple welder, the principles of shop math remain the same.
Start by calculating your true shop rate today. Don’t wait until you have a big order. Look at your utility bills, your tool costs, and your available hours. Once you have that number, use it ruthlessly. It will tell you which jobs to take and which ones to turn down. Over time, this data-driven approach will replace your pricing anxiety with the confidence that comes from knowing your numbers are solid.
Investing in Your Future ROI
The best investment you can make isn’t always a new machine; sometimes, it’s a better system for tracking your work. If a benchtop mill drill allows you to take on more precise work, then it is a worthy addition to your financial toolkit. Just remember to account for its maintenance, its consumables, and its depreciation.
As you grow, continue to refine your sourcing and quoting strategies. The small shop owner who survives and thrives is the one who treats every scrap of metal and every minute of time as a financial asset. Stay focused on the data, keep your overhead low, and always price for the value you provide.
Frequently Asked Questions
How do I determine if a compact mill is better than a drill press for my shop?
A drill press is designed only for vertical holes and lacks the lateral rigidity for milling. If your work requires slots, pockets, or precise hole placement (within 0.002 to 0.005 inches), a mill is necessary. From a business standpoint, the mill allows for a wider range of billable services, making it a more versatile asset for a side-hustle.
What is the average lifespan of a benchtop mill in a part-time shop?
With proper lubrication and sensible use within its 0.5 to 2 HP limits, a quality machine can last 10 to 15 years. For your ROI calculations, I recommend a conservative 5-year amortization period. This ensures you have recovered your investment while the machine still has significant resale value.
Should I charge customers for the time I spend learning how to use a new tool?
No. Your shop rate should reflect the market value of a skilled operator. If a job takes you three hours because you are learning, but a skilled pro could do it in one, you should only bill for the one hour. The “learning curve” is a personal investment in your business, not a billable expense.
How much should I mark up the cost of end mills and drill bits?
I recommend adding a “consumable burden” of 5% to 10% to every labor hour in your quote. Alternatively, for jobs that are heavy on machining, calculate the specific tool wear. If a $40 cutter will be half-worn by the end of the job, add $20 to the material or tooling line item.
Is it better to buy a used machine or a new one for a side business?
A new machine offers a warranty and predictable performance, which is better for accurate job costing. A used machine can offer a faster ROI due to lower initial cost, but only if it doesn’t require expensive repairs or lack precision. For a business, reliability is usually worth the premium of a new tool.
How do I handle customers who think my shop rate is too high?
Explain the value of your precision and the overhead costs of professional equipment. If they still complain, they are likely not your ideal customer. It is better to have no work than to work for a loss. High-quality clients understand that professional results require professional pricing.
What is the most common hidden cost in a small metal shop?
Electricity and climate control are often overlooked. Running a mill, a compressor, and a shop heater simultaneously can significantly spike your utility bill. Always track your shop’s power usage over a few months to ensure your overhead burden factor is high enough to cover these costs.
Can I really compete with large machine shops using benchtop equipment?
Yes, on small-batch and custom work. Large shops have massive overhead and often won’t take small jobs, or they will charge a high “minimum” fee. Your advantage is lower overhead and the ability to provide personalized service for one-off parts or small prototypes that the big shops don’t want.
How often should I update my shop rate?
Review your numbers at least once a year or whenever you make a significant change, such as adding a new machine or moving to a larger space. Inflation also affects material and utility costs, so a 3% to 5% annual increase in your rate is standard to maintain your profit margins.
What should I do if my post-job analysis shows I lost money?
Don’t panic, but do investigate. Identify if the loss was due to an underestimated timeline, a broken tool, or a material sourcing error. Use this information to update your quoting template immediately. Every “loss” is a paid lesson in how to run a more profitable shop in the future.
(This article was written by one of our staff writers, Michael Hargrove. Visit our Meet the Team page to learn more about the author and their expertise.)