Managing Angle Grinder Spark Hazards in Home Workshops (Fix)
I have spent more than two decades refining the way metal moves through a small-scale shop. When I first started, my workflow was a mess of extension cords and tripping hazards. As I transitioned from a hobbyist to a micro-manufacturer, I realized that growth is not just about buying faster tools. It is about controlling the environment those tools create. One of the most persistent challenges in a high-output fabrication space is the stream of incandescent particles thrown off by manual abrasive tools. If you do not manage these hot travel paths, you risk damaging expensive electronics, ruining finishes on finished parts, or worse, starting a fire in a corner you weren’t watching.
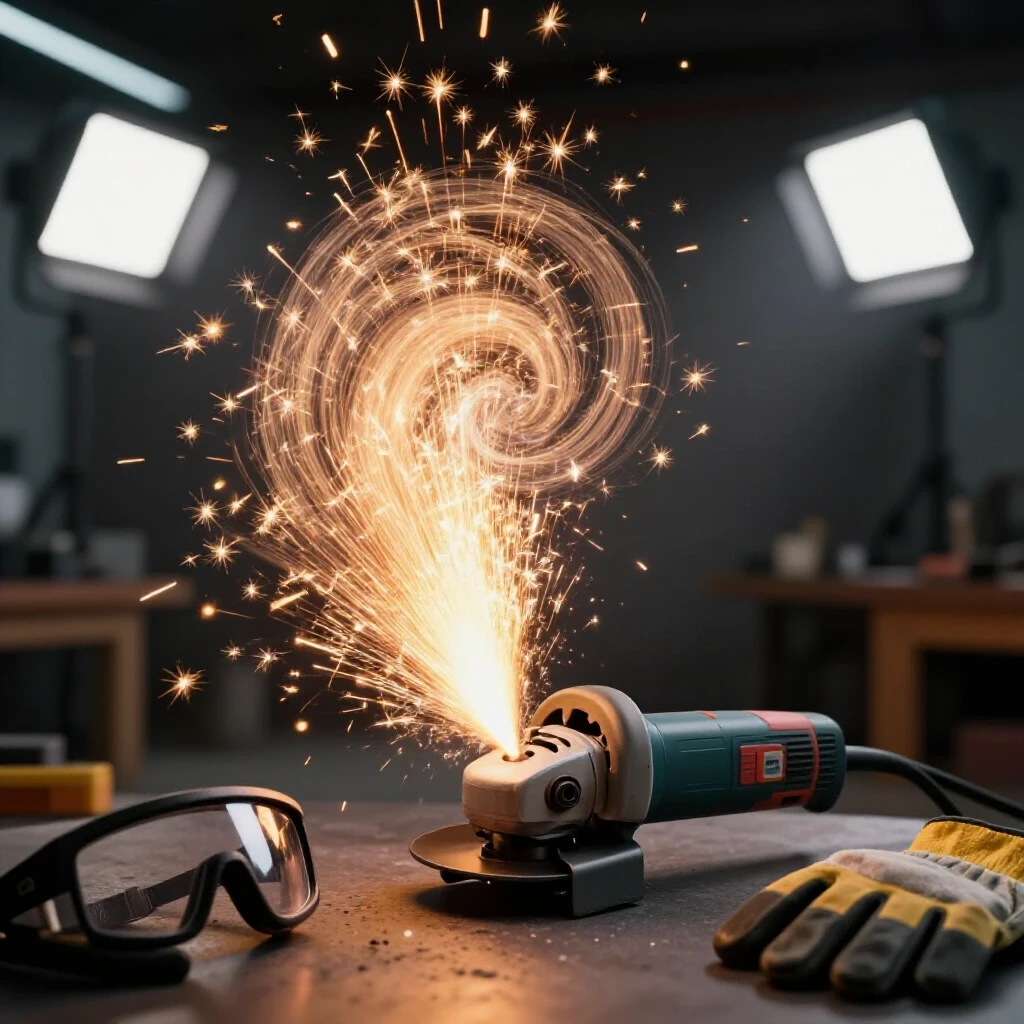
In my early years, I nearly lost a control board on a new milling machine because I was grinding steel just five feet away. The fine, metallic dust and hot debris found their way into the cooling fans. That mistake taught me that an advanced workshop layout must account for the “line of fire” created by every tool. Scaling your shop means looking at your floor plan not just as a place for machines, but as a system for managing debris and heat.
Mapping Material Flow to Contain Thermal Debris
This involves planning the physical path a project takes from raw stock to finished product to ensure that dirty processes do not interfere with clean ones. By understanding the direction of travel for both the metal and the waste it produces, you can prevent cross-contamination between workstations.
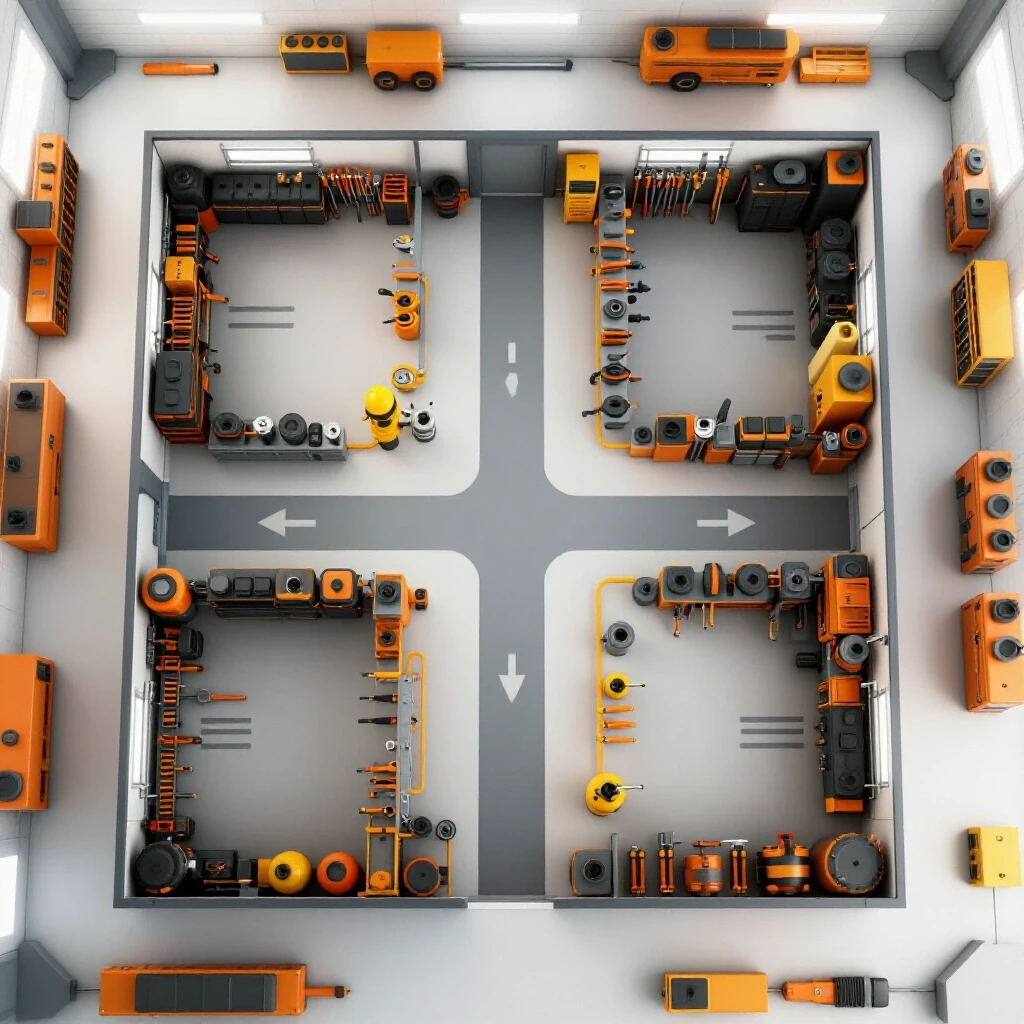
When I design a shop layout, I look for “bottlenecks” where hot work happens too close to sensitive areas. In a lean manufacturing setup, we want a linear flow. Raw steel comes in one door, moves to the cutting station, then to the grinding and welding area, and finally to assembly or paint. If your grinding station is in the middle of the shop, you are spraying hot particles over every other tool you own.
I recommend a “Zoned Approach.” You should designate a specific area for heavy abrasive work. This zone should be as far as possible from your CNC gantry or computer workstations. I use floor markings to define these boundaries. In my shop, any tool that throws sparks stays within a three-foot safety perimeter of the “Hot Zone” wall. This keeps the mess in one place and makes cleanup much faster.
- Hot Zone: Grinding, welding, and torch cutting.
- Cold Zone: CNC controls, assembly, and precision measurement.
- Buffer Zone: Material storage and heavy tool staging.
Designing Protective Barriers for High-Output Grinding
Protective barriers are physical shields used to block the flight of hot metallic particles from reaching flammable materials or sensitive equipment. These can be permanent walls, portable welding curtains, or custom-built metal screens that catch debris at the source.
In a crowded home shop, you often don’t have the luxury of a separate room for grinding. Building on the idea of zoning, I use mobile welding screens. These are frames with fire-resistant vinyl or heavy-duty canvas. Interestingly, a simple metal sheet can be even more effective if you are working in a fixed position. I once mounted a set of heavy-duty magnets to some sheet metal scraps. This allowed me to “curtain off” a specific project on my workbench, catching 90% of the debris before it left the table.
When you are scaling up, look at your floor load ratings before building permanent partitions. A heavy steel wall might be great for stopping sparks, but it adds weight. I prefer modular systems. You can use 1-inch square tubing to build frames that roll on casters. This allows you to adjust the shop layout as your projects change size.
| Barrier Type | Effectiveness | Mobility | Best Use Case |
|---|---|---|---|
| PVC Welding Curtain | High (for light sparks) | High | General welding and grinding |
| Sheet Metal Screen | Very High | Medium | Dedicated heavy grinding stations |
| Fire-Resistant Blankets | Medium | Very High | Protecting stationary machinery |
| Permanent Drywall (Type X) | Highest | None | Separating the shop from living spaces |
Operator Positioning and Tool Orientation Strategies
This refers to the way a fabricator stands and holds a tool to direct the flow of waste material away from themselves and their surroundings. Proper technique ensures that the natural rotation of the tool sends debris into a controlled area rather than across the room.
I have seen many experienced fabricators get complacent with how they hold a grinder. If the wheel is spinning toward your body, you are the primary barrier. That is a recipe for a burnt shirt or a trip to the eye doctor. I teach a “Path of Least Resistance” method. Always position yourself so the tool’s discharge path points toward a non-flammable wall or a dedicated spark trap.
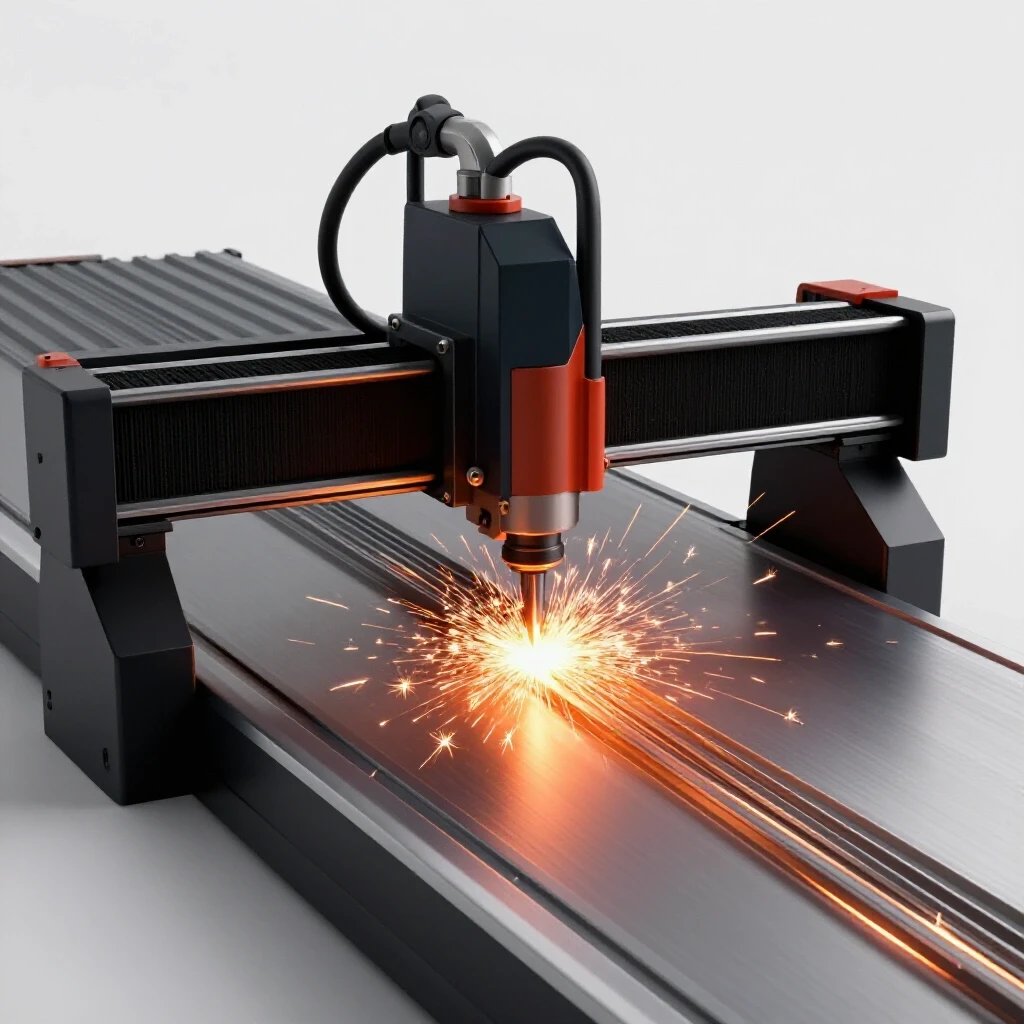
As you integrate more automation, like a CNC plasma table setup, your manual work needs to be even more disciplined. If you are prepping a part for the table, ensure the grinder’s rotation is throwing sparks away from the CNC’s linear rails and lead screws. Abrasive grit is the enemy of precision motion. I keep a “Safe Direction” arrow painted on my grinding bench to remind me (and any helpers) where the debris should go.
- Stance: Stand to the side of the wheel’s plane, never directly behind it.
- Grip: Use both hands to maintain control if the wheel catches an edge.
- Direction: Always grind so the sparks fly down and away from the workbench.
High-Volume Air Filtration and Dust Collection Design
Air filtration is the process of moving large volumes of air through filters to remove fine metallic dust and cooling smoke from the workshop environment. A well-designed system uses ductwork and powerful fans to keep the air clear and prevent the buildup of explosive dust.
When you scale a shop, air quality becomes a major production bottleneck. If you have to stop working for 20 minutes to let the “smoke clear,” you are losing money. I calculate my air needs based on the Cubic Feet per Minute (CFM) required to exchange the shop air every five to ten minutes. For a standard two-car garage converted into a shop, you want at least 1,000 to 1,500 CFM of filtration.
I use a two-stage approach for managing particles. First, I have a “source capture” system. This is a flexible duct that sits right at the grinding bench. It sucks up the fine dust before it can float away. Second, I have an ambient air cleaner hanging from the ceiling. This catches the stray particles that the source capture missed. Building this system requires understanding “static pressure loss”—the resistance the air faces as it moves through pipes and filters.
- Measure your shop volume: (Length x Width x Height).
- Determine exchange rate: Aim for 6 to 10 air changes per hour.
- Select a blower: Ensure it can pull air through your filter stack (MERV 11 or higher).
- Layout ducting: Use smooth-wall pipe and long-radius bends to keep airflow high.
Integrating 3-Phase Power for Advanced Workshop Equipment
A 3-phase power converter is a device that allows a shop owner to run industrial-grade machinery using standard single-phase residential power. This is essential for running larger motors, heavy-duty grinders, and CNC systems that require stable, high-output electricity.
As I moved toward more professional operations, I found that many high-end tools only come in 3-phase versions. You have two main choices: a Rotary Phase Converter (RPC) or a Variable Frequency Drive (VFD). An RPC is a large motor that generates the third leg of power. It is loud but very reliable for running multiple machines at once. A VFD is an electronic controller that converts power for a single machine.
When managing a shop with high electrical loads, you must balance your phases. If one “leg” of your power is drawing much more than the others, it can cause motors to overheat or electronics to glitch. I keep a log of my voltage readings under load. This ensures that when I am grinding a heavy weldment while the CNC is running, the power stays stable.
- Rotary Phase Converter: Best for running the whole shop; handles high “surge” starts.
- Variable Frequency Drive: Best for speed control on individual tools; very quiet.
- Digital Phase Converter: The most expensive but provides the cleanest power for CNC electronics.
Optimizing Layout for CNC Integration and Material Flow
Workflow optimization involves organizing tools and material storage to minimize the number of steps an operator takes and to reduce the handling of heavy parts. A good layout ensures that manual tasks do not interfere with automated machine cycles.
Integrating a CNC plasma table setup into a home shop is a major milestone. However, it often highlights how poor your material flow really is. I spent a weekend measuring how many times I walked back and forth across my shop just to find a square or a deburring tool. I realized I was wasting miles of movement every month.
To fix this, I adopted a “Cellular Layout.” This means grouping all the tools needed for a specific task in one small area. My CNC cell has its own computer station, a small cart for slag removal tools, and a dedicated spot for the manual grinder. By keeping the grinder and its debris contained within the CNC cell, I don’t have to worry about sparks traveling across the shop to my clean assembly area.
- Machine Spacing: Maintain a 3-foot minimum access zone around all sides of your CNC table.
- Tool Shadow Boards: Keep your most-used wrenches and grinders within arm’s reach.
- Material Racks: Place heavy sheet storage near the “infeed” side of your cutting table.
Capital Amortization and Scaling Your Fabrication Shop
Capital amortization is the accounting process of spreading the cost of an expensive machine over its useful life. This helps a shop owner understand the true cost of production and decide when an upgrade will actually pay for itself.
When you are scaling up, it is easy to get “shiny object syndrome.” You see a new tool and want it immediately. I use a simple spreadsheet to track my machine costs. If a new $3,000 dust collection system saves me 30 minutes of cleaning every day, I can calculate exactly how many months it will take to pay for itself based on my hourly shop rate.
I also track “down-time costs.” If a stray spark from a grinder ruins a sensor on my CNC, the cost isn’t just the $50 sensor. It is the three days the machine is sitting idle while I wait for the part to arrive. This realization is what drove me to invest heavily in spark containment and better shop organization. It is much cheaper to buy a welding screen than to repair a gantry.
| Equipment | Initial Cost | Expected Life | Annual Cost | Benefit |
|---|---|---|---|---|
| CNC Plasma Table | $8,000 | 5 Years | $1,600 | High-speed cutting, precision |
| 3-Phase Converter | $1,500 | 10 Years | $150 | Ability to run industrial tools |
| Dust Collection | $1,200 | 8 Years | $150 | Cleaner air, less machine wear |
| Mobile Spark Screens | $300 | 10 Years | $30 | Fire safety, equipment protection |
Actionable Workshop Efficiency Checklist
Use this list to audit your current setup. I go through this every six months to see where my workflow is breaking down.
- [ ] Identify the Line of Fire: Stand at your main grinding station and look at what is within 10 feet of the discharge path.
- [ ] Check Electrical Clearances: Ensure no flammable dust or metallic particles are building up inside your breaker panels or phase converters.
- [ ] Verify Airflow Direction: Use a small piece of tissue paper to see if your air filtration is actually pulling dust away from your face.
- [ ] Inspect Barrier Integrity: Look for holes or burns in your welding curtains and replace them if they are compromised.
- [ ] Audit Floor Paths: Clear any scrap metal or cords that force you to walk through the “Hot Zone” to get to your CNC controller.
- [ ] Test Emergency Stops: Ensure your CNC and other heavy machines can be shut down quickly if a fire starts.
- [ ] Clean Heat Sinks: Blow out the cooling fins on your welders and computer towers to remove metallic dust buildup.
Final Steps for a Safer, More Productive Shop
Transitioning from a hobby setup to a semi-professional operation requires a shift in mindset. You have to stop thinking like a “guy with a grinder” and start thinking like a plant manager. The goal is to create a predictable, repeatable process where the byproduct of one tool doesn’t destroy the precision of another.
Start small. You don’t need to rebuild the entire shop this weekend. Pick one area—perhaps your primary grinding bench—and focus on containing the debris. Build a simple rolling screen or improve the ducting on your dust collector. As you see the benefits in terms of a cleaner shop and less equipment damage, you will find the motivation to tackle the larger layout changes. Scaling is a marathon, not a sprint. By managing the small hazards today, you protect the big investments you are making for tomorrow.
Frequently Asked Questions
How far can sparks from a 4.5-inch angle grinder travel? Under normal conditions, incandescent particles can travel 10 to 15 feet easily. If you are working at waist height, the arc of the debris can cover a significant portion of a small home shop. Always assume a 20-foot “danger zone” for flammable materials like sawdust or chemical rags.
Are standard shop vacs safe for collecting metal grinding dust? Generally, no. Standard shop vacs use paper filters and plastic tubs. Hot metallic debris can easily melt the filter or ignite the dust already in the vacuum. Use a dedicated metal dust collector with a water tray (spark trap) or a fire-resistant cyclone separator if you are doing heavy grinding.
Can grinding sparks damage my CNC’s linear rails? Yes. The sparks are essentially tiny bits of molten steel. If they land on a lubricated rail, they can stick to the oil and create an abrasive paste. Over time, this will score the rails and ruin the precision of your machine. Always shield your CNC gantry when doing manual grinding nearby.
What is the best floor material for a grinding zone? Bare concrete is the standard. Avoid using rubber shop mats or epoxy coatings that are not rated for high heat in the immediate area where sparks land. If you have an epoxy floor, use a fire-resistant welding mat over the work area to prevent the finish from scorching or peeling.
How often should I clean my air filters in a metal shop? In a high-output shop, you should check your pre-filters every week. Metallic dust is much heavier and more “clogging” than wood dust. If you notice a drop in suction or visible dust lingering in the air, it is time for a cleaning or replacement.
Do I really need a 3-phase converter for a home shop? It depends on your goals. If you want to use industrial-grade grinders, lathes, or mills, 3-phase is often required. It provides more consistent torque and is generally more efficient for heavy-duty work. For a scaling shop, an RPC is a solid long-term investment.
Can I use a regular fan to blow sparks away? While a fan can redirect the path of sparks, it can also fan a small ember into a fire. It is much better to use a barrier to stop the sparks and a vacuum system to remove the dust. Blowing air around just spreads the fine metallic particles into every corner of your shop.
What is the most common fire hazard in a fabrication shop? The most common hazard is “hidden embers.” A spark can land in a trash can, a pile of sawdust, or a stack of cardboard and smolder for hours after you have left the shop. Always do a “fire watch” for at least 30 minutes after you finish grinding before locking up for the night.
(This article was written by one of our staff writers, Edward Sinclair. Visit our Meet the Team page to learn more about the author and their expertise.)