Metalworking Tools That Do Not Last in a Home Shop (Review)
I have spent the last 17 years in my shop taking things apart as often as I put them together. My background in industrial maintenance taught me one hard truth: a tool that looks shiny in a catalog can be a pile of scrap after six months of real use. I have seen cast iron frames snap like crackers and motor windings melt into a copper puddle. When you are standing in your shop, trying to decide where to put your hard-earned money, you need to know what lies beneath the paint.
Many people get caught up in brand names or “peak horsepower” ratings. These numbers are often just marketing fluff. In my experience, the difference between a tool that stays in your shop for twenty years and one that ends up in a dumpster comes down to basic engineering. We are talking about the quality of the castings, the type of bearings used, and how the tool handles the heat and vibration of cutting metal.
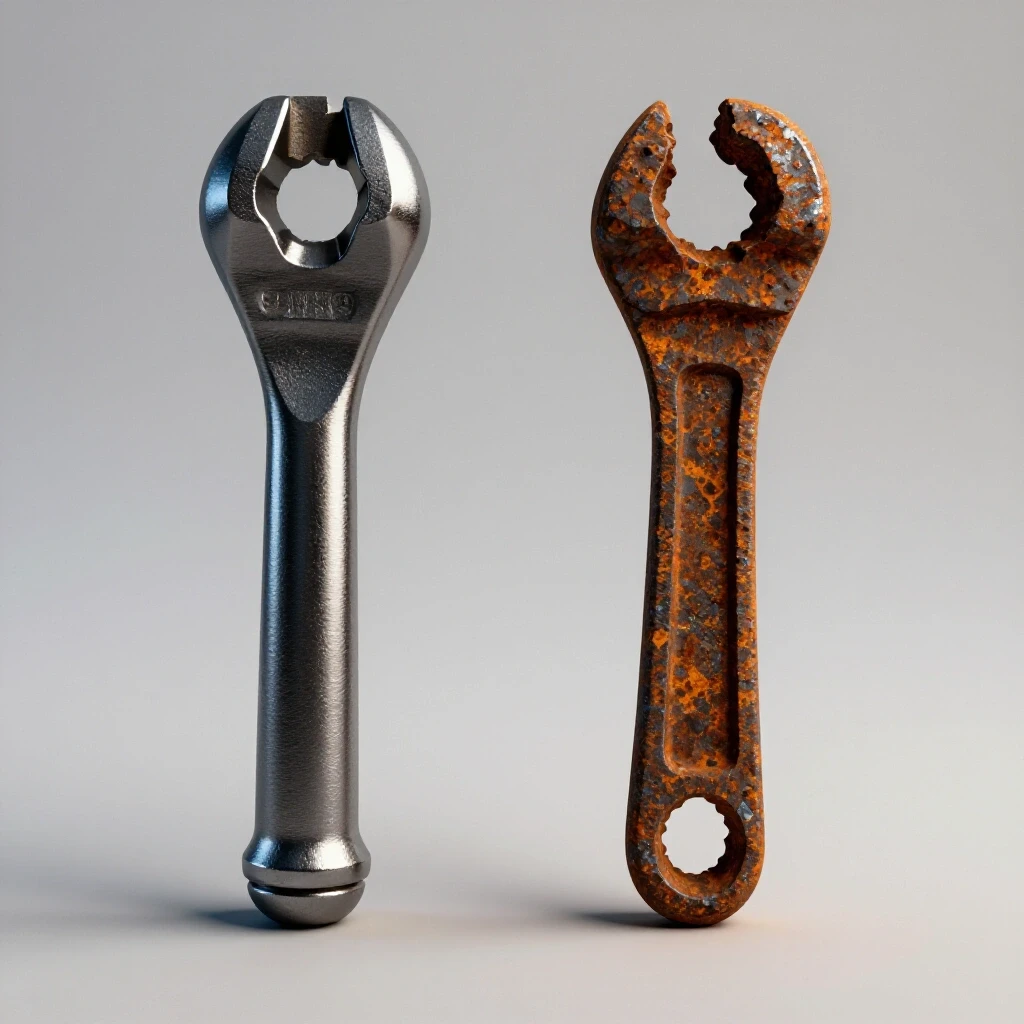
Evaluating Frame Rigidity and the Limits of Light Castings
Frame rigidity is the ability of a tool to resist bending or shaking when it is under a load. In metalworking, if your machine flexes even a tiny bit, your cuts will be off, and your tools will dull faster.
When you look at entry-level machinery, the first thing you notice is the weight. Manufacturers often save money by using thinner castings or “pot metal” alloys. These materials do not have the mass needed to soak up vibrations. I remember a small benchtop drill press I bought early on. The column was so thin that when I pulled the handle to drill a half-inch hole in mild steel, the whole head tilted backward. That flex meant the hole was never straight.
- Cast Iron Grade: Most high-quality tools use Class 30 or Class 40 gray iron. Budget tools often use lower grades that are more porous and less stable.
- Vibration Dampening: Heavy mass is your friend. It absorbs the “chatter” that happens when a cutting edge hits the metal.
- Structural Ribbing: Look inside the base or the head. Good tools have internal ribs to add strength without adding unnecessary weight.
| Material Type | Dampening Capacity | Strength | Common Use in Budget Tools |
|---|---|---|---|
| Sheet Steel | Very Low | Low | Tool stands and motor covers |
| Aluminum Alloy | Medium | Medium | Small pulleys and gearboxes |
| Class 20 Cast Iron | Medium | Low | Main frames of entry-level lathes |
| Class 40 Cast Iron | High | High | Premium machine beds and columns |
The Reality of Motor Design and Cooling in Budget Machinery
The motor is the heart of any power tool, but it is also where many budget brands cut corners to save a few dollars.
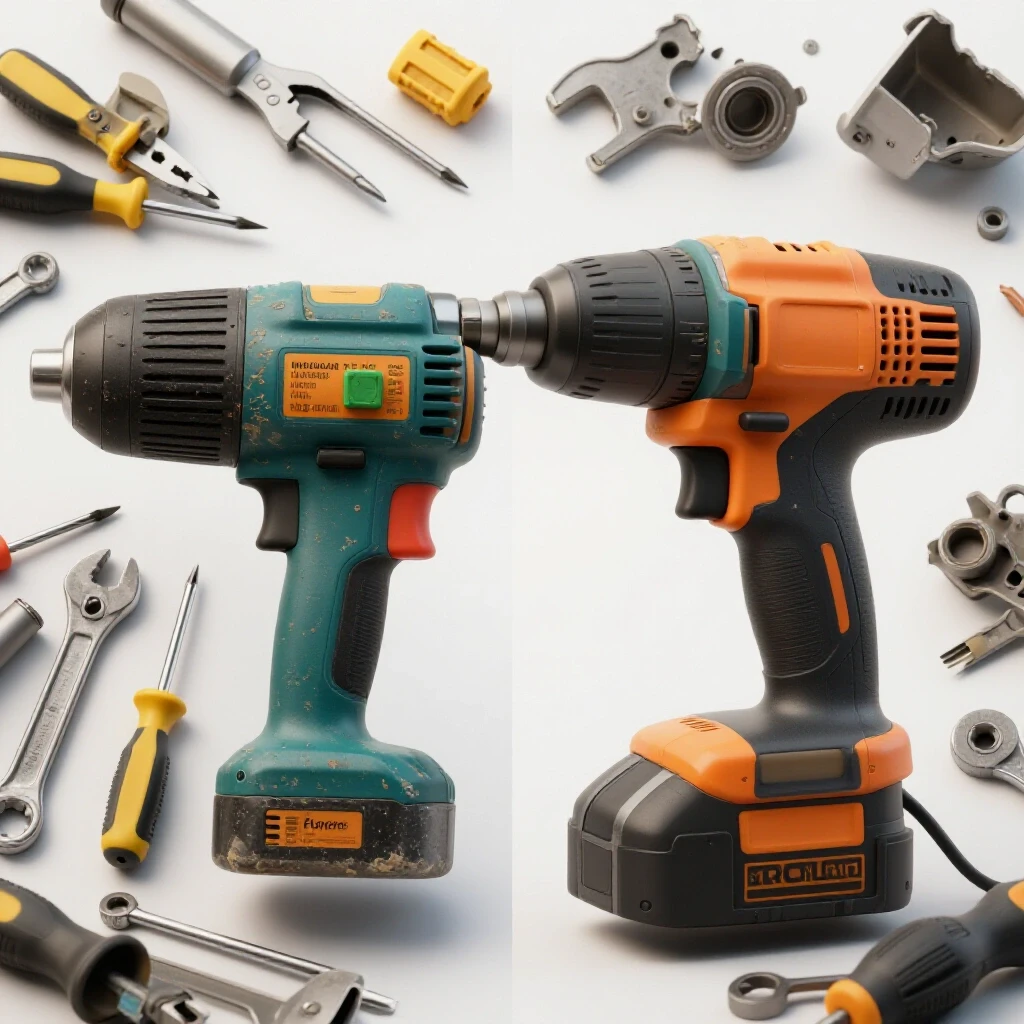
I once tore down a cheap angle grinder that died after only three hours of cleaning up welds. When I got inside, I found the “1-horsepower” motor was barely the size of a soda can. The copper windings were thin, and the cooling fan was a flimsy piece of plastic that had melted. In a home shop, you might not run your tools all day, but when you do use them, you need them to handle the heat.
- Continuous vs. Peak HP: “Peak” horsepower is a trap. It is the power the motor makes right before it burns out. Always look for the “Continuous Duty” rating.
- Winding Insulation: Motors are rated by classes (like Class F or Class H). Higher classes can handle more heat before the wire insulation melts.
- Brush Quality: In brushed motors, cheap carbon brushes wear down fast and can scar the commutator, ruining the motor.
Why Cheap Clamping and Workholding Tools Often Fail
Workholding is the most underrated part of metalworking. If you cannot hold the piece still, you cannot work on it safely or accurately.
I have a drawer full of “C-clamps” that look like the letter “U” because the frames bent. Budget clamps often use cast iron that is too brittle or soft steel that stretches. The screws are another failure point. On a high-quality clamp, the threads are rolled and hardened. On a budget version, they are often cut into soft lead screw stock. After a few uses, the threads strip out, and the clamp is useless.
- Thread Engagement: Check how much the screw wobbles in the frame. Too much play means the threads will strip under pressure.
- Swivel Pads: Cheap pads are often held on by a thin crimp. They pop off the first time you apply real pressure.
- Handle Strength: If you can bend the handle with your bare hands, the clamp will not hold up to a heavy project.
Measuring Spindle Runout and Bearing Quality
Total Indicated Runout (TIR) is a measurement of how much a rotating shaft wobbles. In a drill press or a lathe, runout is the enemy of precision.
When I test a new machine, I always bring my dial indicator. I place the tip on the inside of the spindle taper and spin it by hand. On a solid machine, that needle shouldn’t move more than 0.001 inches. On many budget machines, I have seen runout as high as 0.005 or 0.010 inches. That might not sound like much, but it means your drill bit will “walk,” and your holes will be oversized.
- Bearing Grades: Most budget tools use ABEC-1 bearings. These are the lowest precision grade. They wear out faster and have more “slop.”
- Spindle Support: A good spindle is supported by two or more bearings spaced far apart. Cheap tools cram them close together, which allows the spindle to tilt.
- Seals: In a metal shop, fine dust and chips are everywhere. If the bearings aren’t properly sealed, that grit gets inside and acts like sandpaper.
Abrasives and Cutting Tools: Why Budget Options Lose Their Edge
It is tempting to buy the big pack of “bargain” files or drill bits, but in my shop, those usually end up as expensive toothpicks.
I once compared a premium American-made file to a budget import. The budget file felt sharp at first, but after ten minutes of filing a piece of 1018 steel, the teeth were rounded over. The steel wasn’t hardened correctly. The same goes for drill bits. A “High-Speed Steel” (HSS) bit from a discount bin often lacks the cobalt or tungsten needed to keep a sharp edge when things get hot.
- Hardness Testing: Quality tools are heat-treated to a specific Rockwell hardness (HRC). If it is too soft, it wears. If it is too brittle, it chips.
- Flute Geometry: Look at the “valleys” in a drill bit or end mill. Premium tools have polished flutes that help chips slide out. Budget tools have rough surfaces that cause clogs and heat.
- Abrasive Bond: On grinding wheels, the “bond” is the glue that holds the grit together. Cheap wheels either shed grit too fast or “load up” with metal, making them stop cutting.
The Failure Points of Electronic Speed Controllers
Modern tools often use electronics to control motor speed. While this is convenient, it adds a layer of complexity that can lead to early failure.
I have repaired dozens of variable-speed controllers on small lathes and mills. The most common failures are cheap capacitors and poor soldering. These boards are often tucked away in unventilated boxes where heat builds up. When the controller dies, the whole machine is a paperweight until you find a replacement part—which might not even be available next year.
- Heat Sinking: Look for large aluminum fins on the electronic components. This helps pull heat away from the sensitive parts.
- Potentiometer Quality: The knob you turn to change speed is a “pot.” Cheap ones get “scratchy” or develop dead spots, making the motor surge.
- Circuit Protection: Does the board have a fuse or a circuit breaker? Without it, a simple motor jam can fry the entire control system.
Layout Tools and Measurement Accuracy
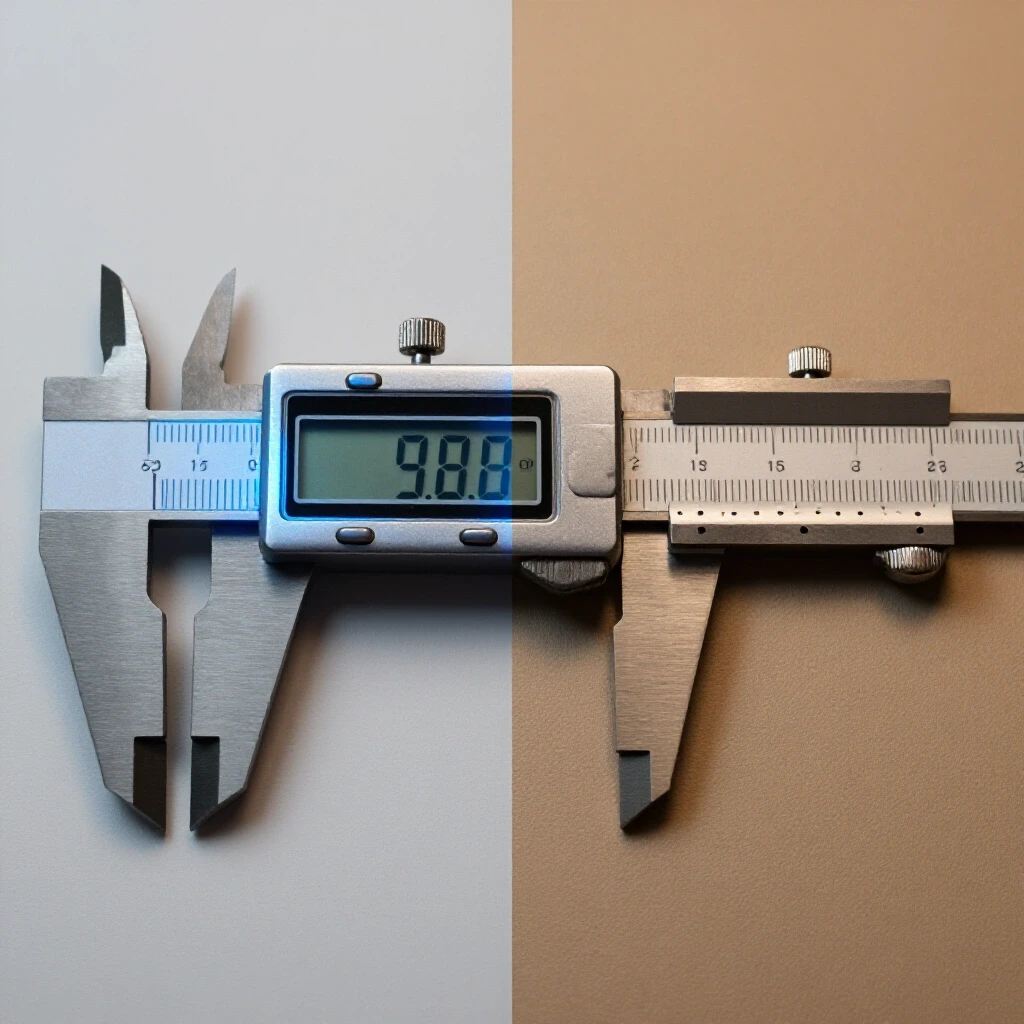
If your measurements are wrong, nothing else matters. In a home shop, tools like squares, calipers, and rulers are the foundation of every project.
I once checked a “precision” square from a budget set against my master grade block. It was out by nearly 1/16th of an inch over a six-inch span. The steel was soft, and the markings were just printed on the surface instead of being etched. Over time, those markings rub off, and the square gets bumped out of alignment because the metal is too thin to hold its shape.
- Material Choice: Look for hardened stainless steel. It resists rust and stays straight even if it gets dropped.
- Etched Graduations: Run your fingernail over the numbers. If you can’t feel them, they are just ink and will fade.
- Adjustment Screws: On tools like calipers, look for small screws that allow you to take up the “slop” as the tool wears.
Checklist for Inspecting New Workshop Machinery
Before you pull the trigger on a big purchase, I recommend going through this checklist. It will help you see past the marketing and focus on the mechanical reality of the tool.
- Check the Weight: Does the weight match the size? If it feels light for its class, the castings are likely thin.
- Listen to the Bearings: Turn the machine on and listen. A high-pitched whine or a grinding sound usually means cheap bearings or poor alignment.
- Feel for Heat: Run the motor for five minutes. If the casing is hot to the touch, the cooling system or the motor size is inadequate.
- Inspect the Finish: Look at the unpainted surfaces. Are they smooth or do they have deep grind marks? Rough finishes often hide poor quality underneath.
- Test the Controls: Do the handles and knobs feel solid? Plastic handles on high-stress parts are a major red flag.
Planning for Spare Parts and Long-Term Support
The biggest problem with many budget tools is that they are “disposable.” When a gear breaks or a switch dies, you cannot find a replacement.
I always check the manufacturer’s website before I buy. Do they have a parts diagram? Can I actually buy a replacement motor or a set of gears? If the answer is no, you are essentially renting that tool until it breaks. I prefer buying from companies that have been around for a while and have a reputation for stocking parts, even for their older models.
- Standardized Parts: Look for tools that use standard belts, bearings, and switches. You can buy these at any industrial supply house.
- Manual Quality: A good manual with a full parts list is a sign that the company expects you to maintain the tool.
- Community Support: Search online forums. If there is a community of people fixing and upgrading a specific model, you will have a much easier time keeping yours running.
Why Choosing the Right Tool Class Matters
Sometimes, a budget tool fails simply because we ask too much of it. A small hobby lathe is not meant to turn a six-inch steel flywheel.
I see this a lot in residential shops. Someone buys a light-duty drill press and tries to use it as a milling machine. The side loads destroy the spindle bearings in a week. Understanding the limits of your equipment is just as important as the quality of the tool itself. If you know you are going to be working with heavy plate steel, don’t buy the benchtop model. Save your money until you can afford the floor-standing version with the bigger motor and the heavier frame.
Summary of Material and Component Benchmarks
When you are comparing two machines, use these benchmarks to help you decide. These are the standards I use when I am evaluating a new piece of gear for my own shop.
- Minimum Spindle Runout: 0.001 inches for precision work; 0.003 inches for general fabrication.
- Motor Rating: Look for a “Service Factor” (SF) of 1.15 or higher. This means the motor can handle a 15% overload for short periods.
- Cast Iron Type: Demand at least Class 25 gray iron for any load-bearing frame.
- Bearing Type: Tapered roller bearings are preferred for spindles; sealed ball bearings for secondary shafts.
- Table Flatness: A milling or drill press table should be flat within 0.002 inches across its entire surface.
Selecting tools for a home shop is always a balance between cost and performance. By focusing on the physical construction—the iron, the copper, and the steel—you can avoid the hype and build a shop that actually lasts. My goal has always been to buy a tool once and use it for a lifetime. It takes a bit more research and sometimes a bit more money upfront, but it saves a lot of frustration in the long run.
Frequently Asked Questions
How can I tell if a motor is high quality without taking it apart? Look at the nameplate for the “Insulation Class” and the “Service Factor.” A Class F or H insulation rating and a Service Factor of 1.15 or higher are good signs. Also, check the weight; a heavier motor usually has more copper in the windings, which helps it run cooler.
Is cast iron always better than steel for tool frames? For most stationary tools, yes. Cast iron has natural “graphite flakes” that help it absorb vibration. Steel is stronger but it tends to “ring” like a bell, which can lead to chatter during a cut. However, a heavy, thick steel frame is better than a thin, poorly cast iron one.
What is the most common cause of early failure in budget drill presses? It is usually a combination of spindle runout and poor bearing support. When the spindle wobbles, it creates heat and uneven loads. This wears out the cheap bearings quickly, leading to more wobble until the machine can no longer drill an accurate hole.
Why do my cheap files get dull so fast? Most budget files are made from lower-carbon steel that isn’t hardened properly. A good file should be “glass hard” (around 60-65 HRC). If the manufacturer skips the correct heat-treatment process to save money, the teeth will round over the first time they hit a hard spot in the metal.
Are digital readouts (DROs) on budget machines reliable? The electronics on budget machines are often the first thing to fail. They are prone to interference from other tools and often use cheap plastic sensors that can get clogged with oil or metal chips. If you need a DRO, it is often better to buy a solid manual machine and add a high-quality aftermarket kit later.
How much spindle runout is too much for a home shop? For a drill press used for general fabrication, anything over 0.005 inches is going to be frustrating. For a lathe or a mill, you really want to stay under 0.001 inches if you want your parts to fit together correctly.
Can I upgrade a cheap tool to make it last longer? Sometimes. You can often replace cheap bearings with high-quality ones (like SKF or Timken) and replace flimsy belts with link-belts to reduce vibration. However, you cannot easily fix a thin, flexible frame or a poorly cast bedway.
What is “back-EMF” and why does it matter for speed controllers? Back-EMF is the voltage a motor creates while it is spinning. A good speed controller uses this signal as feedback to keep the motor spinning at a constant speed even when you start cutting. Cheap controllers lack this feedback, so the motor slows down as soon as you put a load on it.
Why does the “bedway” finish matter on a lathe? The bedways are the tracks the tool moves along. If they are not ground flat and hardened, they will wear unevenly. This causes the tool to “dip” or “climb” as it moves, making it impossible to turn a straight cylinder.
What should I look for in a tool warranty? Look for a warranty that covers the motor and major castings for at least two years. More importantly, check if the company has a service center in your country. A “lifetime warranty” doesn’t mean much if you have to ship a 500-pound machine back to another continent for repair.
Is a brushless motor always better for metalworking? Brushless motors are generally better because they are more efficient and have no brushes to wear out. They also tend to have better torque at low speeds. However, they rely heavily on complex electronics, so the quality of the controller board becomes even more critical.
How do I check for “porosity” in a casting? Look at the unpainted or machined surfaces for tiny holes that look like bubbles in a sponge. This is porosity. It’s a sign of a poor casting process and means the metal is weaker and more likely to crack under stress.
(This article was written by one of our staff writers, Steven Brooks. Visit our Meet the Team page to learn more about the author and their expertise.)