Simple Quality Checks to Reduce Workshop Rework (DIY Guide)
I remember the first time I tried to build a simple workbench frame. I had spent hours cutting square tubing, or so I thought. When I finally clamped the pieces together and laid down my first beads, the entire structure looked like a trapezoid. I had ignored the tiny gaps and slight misalignments, thinking I could “weld through it.” That day, I learned that a few minutes of careful measurement saves hours of grinding and wasted steel.
Over the last 12 years, I have moved from a frustrated hobbyist to a fabricator who trusts his own work. This journey was not about buying the most expensive welder. It was about developing a systematic way to check my work at every step. If you are struggling with inconsistent welds or parts that just do not fit, you are likely facing a coordination and measurement hurdle. By focusing on physical cues and basic verification steps, you can stop guessing and start building with confidence.
Establishing a Reliable Foundation Through Body Mechanics
Mastering body mechanics involves positioning your physical self to ensure the torch or tool moves in a fluid, repeatable path. It is the practice of using your skeleton and muscles as a steady jig to maintain consistent angles and distances during the fabrication process.
Why Three Points of Contact Stabilize Your Motion
Three points of contact refer to having your feet firmly planted while bracing your arms or hips against a stable surface like a welding table. This technique minimizes natural body tremors and allows for much finer control over the welding torch or cutting tool.
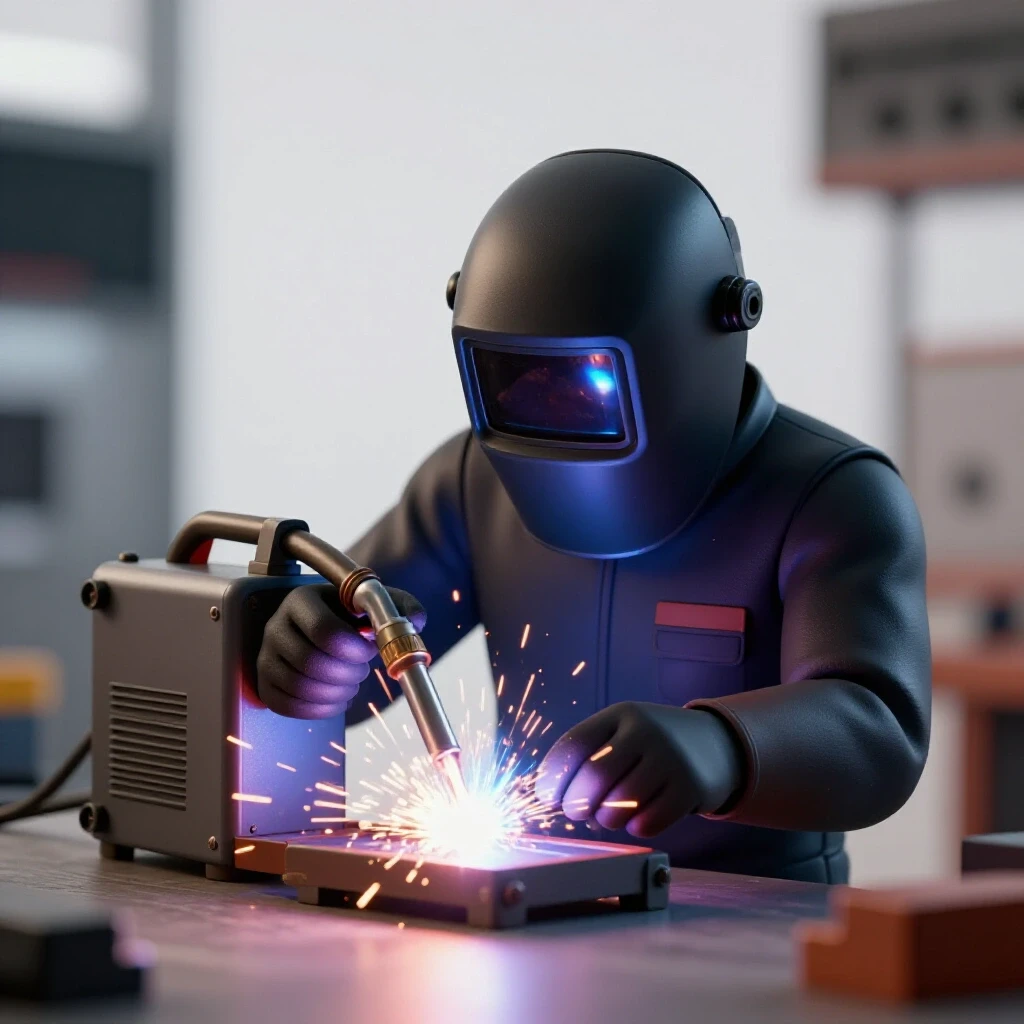
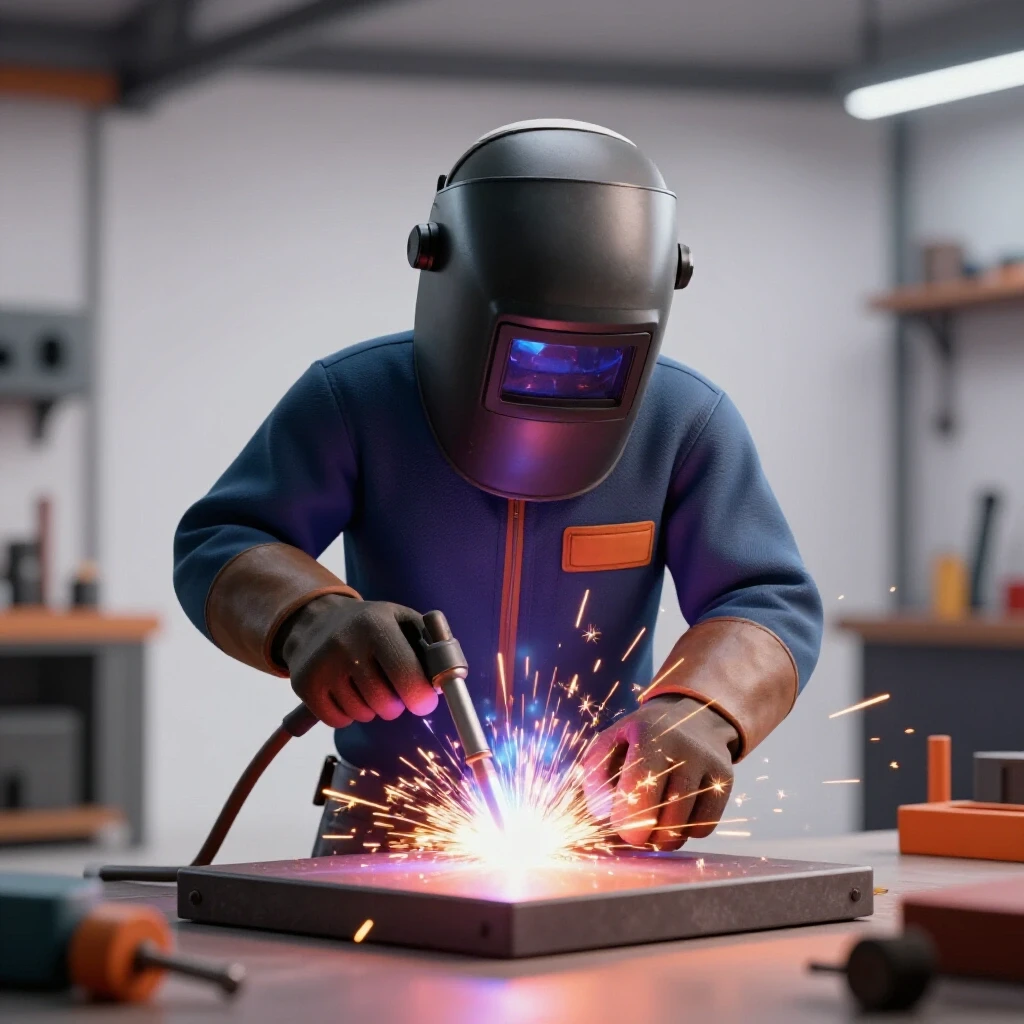
When I started, I tried to “freehand” my welds by standing upright without support. My beads were wobbly because my muscles were fighting gravity. Now, I always look for a way to “tuck in.” If I am welding on a table, I rest my elbow or the side of my hand on the work surface. This creates a pivot point. Think of your arm like a compass used in geometry. When one point is fixed, the other can move in a perfect arc or straight line.
Controlling the Torch Travel Angle
The travel angle is the position of your torch relative to the direction of the weld, usually held at a 10 to 15-degree “drag” or “push” position. Maintaining this specific angle ensures that the shielding gas covers the molten metal and that the heat penetrates the joint correctly.
If your angle is too steep, you might push the metal out of the joint. If it is too flat, you will lose gas coverage and end up with “porosity,” which looks like tiny bubbles in your weld. I tell my students to imagine they are holding a pencil. You do not write with a pencil perfectly vertical; you tilt it slightly to let the lead flow smoothly. In welding, that tilt controls where the heat goes.
| Joint Type | Torch Angle (Travel) | Torch Angle (Work) | Common Error |
|---|---|---|---|
| Butt Joint | 10-15° Drag | 90° to Plate | Too much tilt causes shallow penetration |
| Fillet (T-Joint) | 10-15° Drag | 45° to both plates | Aiming too high misses the bottom corner |
| Lap Joint | 10-15° Drag | 60-70° toward top plate | Burning away the top edge of the metal |
Mastering Torch Control and Puddle Dynamics
Reading the weld puddle is the ability to see and react to the molten pool of metal as it forms. It requires understanding how heat, speed, and wire delivery interact to create a strong, uniform bond between two pieces of metal.
Identifying the Fluid Puddle Tension
Fluid puddle tension describes how the molten metal holds its shape due to surface tension and heat input. A healthy puddle should look like a shiny, liquid oval that follows your torch without being so runny that it drips or so stiff that it does not flow.
When you are learning metal fabrication, the puddle is your primary feedback loop. If the puddle looks like it is “chasing” your torch, you are likely moving at a good speed. If it starts to get very wide and flat, you are moving too slowly and putting too much heat into the metal. Conversely, if the puddle is narrow and pointy like a teardrop, you are moving too fast. I spent weeks just running “beads on plate” to learn how to keep that oval shape consistent for the entire length of a six-inch run.
Calculating and Maintaining Weld Travel Speed Tips
Weld travel speed is the rate at which you move the torch along the joint, typically measured in inches per minute (IPM). Finding the right speed is essential for balancing heat input and ensuring the weld bead has the correct height and width.
A good baseline for many DIY projects is a speed of 8 to 12 inches per minute. To practice this, I recommend marking a line on a scrap piece of steel and timing yourself. If you move too fast, the weld will be thin and weak. If you move too slowly, you risk “burn-through,” where the metal gets so hot it actually falls away, leaving a hole.
- Formula for Heat Input: (Amps x Volts x 60) / Travel Speed.
- Target: Keep your heat input within the range recommended for your material thickness.
- Visual Cue: A consistent speed produces “ripples” in the weld that are evenly spaced, like a stack of fallen dimes.
Measuring Your Way to Precision and Reducing Errors
Dimensional verification is the process of using manual tools to check that your parts are the correct length, width, and angle before and after joining them. It is the most effective way to catch mistakes early and avoid having to cut apart a finished project.
Using Squares and Straightedges for Alignment
Squares and straightedges are basic hand tools used to ensure that two pieces of metal meet at a perfect 90-degree angle or lie on a completely flat plane. Using these tools frequently during the “tack welding” phase prevents the entire structure from pulling out of shape.
I never trust my eyes alone. Metal warps when it gets hot. As the weld cools, it shrinks and pulls the metal toward the bead. To combat this, I use a machinist square to check my corners after every small “tack” (a tiny, temporary weld). If I see a gap between the square and the metal, I know I need to adjust the piece before I lay down the final bead. This is a core part of any metal welding practice guide.
Accuracy with Calipers and Tape Measures
Calipers and tape measures provide the numerical data needed to confirm that your fabrication matches your plan. Calipers are used for small, precise measurements within a thousandth of an inch, while tape measures handle larger spans of the project.
For beginner and intermediate fabricators, a common mistake is measuring from the “end” of the tape measure, which can have a loose hook. I prefer to “burn an inch,” which means starting my measurement at the 1-inch mark for better accuracy (just remember to subtract that inch from your final total!). When I am fitting tubes together, I use calipers to check the “gap” or “fit-up.” A gap larger than 1/16 of an inch on thin material makes welding much harder and increases the chance of the part warping.
The Critical Role of Material Preparation in Quality Control
Material preparation, or “prepping the joint,” involves cleaning the metal surfaces to remove contaminants like rust, oil, or mill scale. Clean metal is the only way to ensure the weld fuses deeply and remains free of internal defects.
Defining the One-Inch Clean Zone
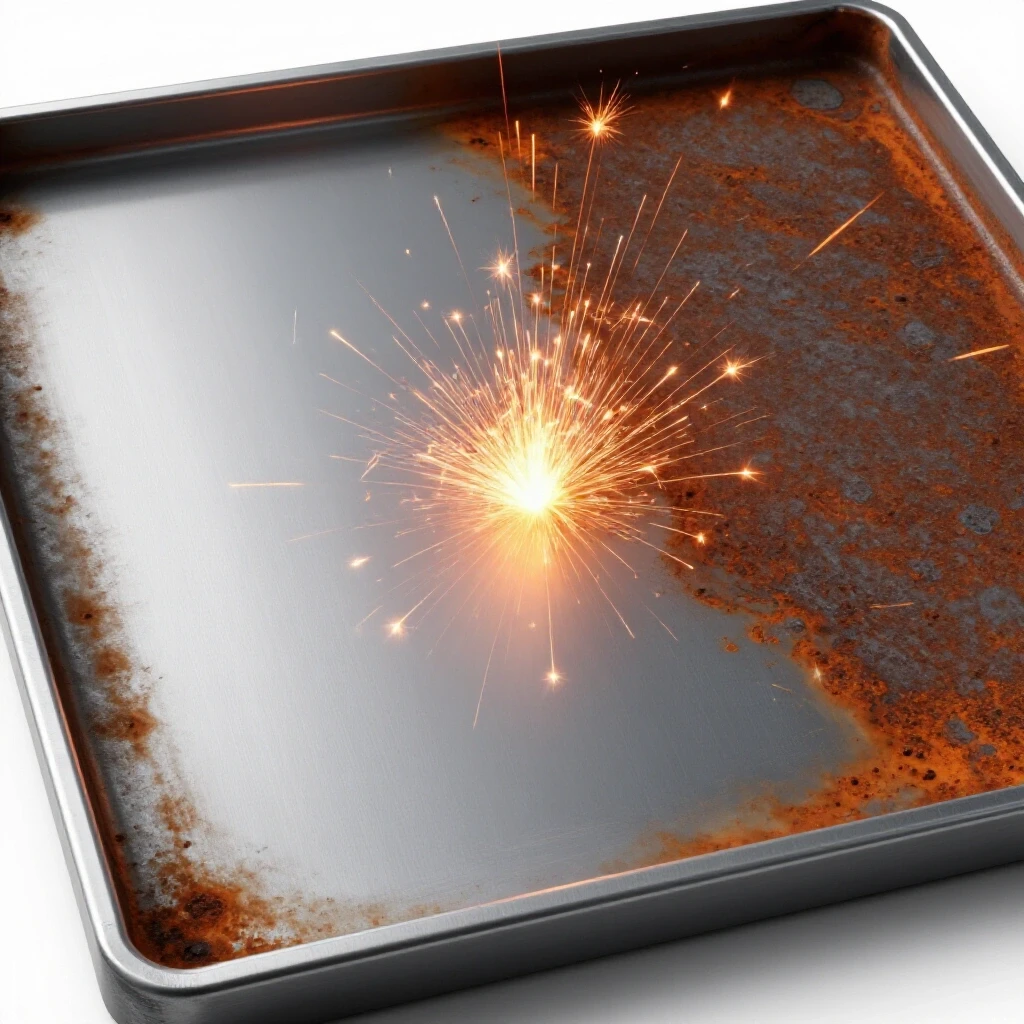
The clean zone is the area approximately one inch away from the weld joint on all sides that must be ground down to shiny, bare metal. Removing the dark “mill scale” from hot-rolled steel is non-negotiable because that scale acts as an insulator and causes arc instability.
I used to be lazy about grinding. I thought the high heat of the welder would just “burn off” the rust. I was wrong. The result was always a “spattery” mess and a weld that looked like cold oatmeal. Now, I use a flap disc on an angle grinder until I can see my reflection in the steel. This simple step makes the arc much smoother and allows the puddle to flow into the base metal effortlessly.
Understanding Fit-Up and Gapping
Fit-up refers to how closely two pieces of metal touch before you start welding. Proper gapping ensures that the weld can reach the “root” or the very bottom of the joint, creating a structural bond rather than just a surface-level stick.
- Tight Fit: Good for thin materials (16 gauge or thinner) to prevent burn-through.
- Slight Gap (1/32″ to 1/16″): Good for thicker plates (1/8″ and up) to allow the weld to penetrate all the way through.
- Beveling: For very thick metal (1/4″ or more), you must grind the edges into a “V” shape so the weld can fill the entire thickness of the plate.
Developing a Systematic Practice Routine for Skill Progression
A structured practice routine involves repeating specific motions and joints to build muscle memory and technical consistency. Rather than just “building things,” you spend dedicated time on drills that isolate one variable at a time, such as travel speed or hand position.
The Value of Trade School Practice Drills
Trade school drills are repetitive exercises, like the “bead-on-plate” method, where you fill a flat piece of scrap metal with parallel rows of welds. These drills allow you to focus entirely on your hand-eye coordination without worrying about the complexity of a full project.
When I was hitting a plateau, I went back to basics. I took a 6×6 inch plate and drew straight lines on it with a soapstone marker. I practiced following those lines while maintaining a consistent arc gap of 3/32″ to 1/8″. If the gap gets too long, the arc wanders; if it is too short, the electrode sticks. By doing this for 30 minutes every shop session, my hands learned the “feel” of the correct distance.
Progressing Through Joint Types
Technique progression is the logical order of learning joints, starting from the easiest (flat beads) and moving toward the most difficult (overhead or vertical welds). Mastering each stage before moving to the next prevents frustration and ensures a solid understanding of metal behavior.
- Bead-on-Plate: Focus on straight lines and consistent width.
- Lap Joint: Learn to join two overlapping pieces without melting the top edge.
- T-Joint (Fillet): Practice directing heat into the corner where two plates meet.
- Butt Joint: Focus on full penetration and keeping the plates flat.
- Outside Corner: Learn to manage heat on thin edges.
Visual Assessment and Identifying Common Fabrication Defects
Visual assessment is the act of looking at a finished weld or cut to find flaws that could lead to failure. Learning to spot these “defects” allows you to correct your technique and understand why a specific weld did not turn out as expected.
Spotting Undercut and Overlap
Undercut is a groove melted into the base metal next to the weld that has not been filled back in, while overlap (or “cold lap”) is when the weld metal just sits on top of the surface without fusing. Both are signs of incorrect heat or torch angle.
If I see undercut, I know I am either moving too fast or my amperage is too high. It looks like a tiny “cliff” at the edge of the weld. Overlap looks like a muffin top hanging over the edge of a pan; it means the metal didn’t get hot enough to “wet out.” When I see these, I stop and adjust my settings immediately. This is a vital part of learning metal fabrication because it turns a “bad weld” into a lesson.
Checking for Porosity and Slag Inclusions
Porosity appears as small holes or pits in the weld, usually caused by wind blowing away your shielding gas or dirty metal. Slag inclusions occur in Stick or Flux-Core welding when bits of the protective coating get trapped inside the weld metal.
To avoid these, I always check my gas flow and make sure I am not working in a drafty area. If I am using a process with slag, I use a chipping hammer and a wire brush between every single “pass” or layer of weld. Leaving even a tiny bit of slag behind will ruin the next layer. It is like trying to paint over wet mud; it just will not stick.
Maintaining a Progress Log to Break Through Skill Plateaus
A progress log is a written or digital record of your machine settings, materials used, and the results of your practice sessions. Tracking this data helps you identify patterns, see how far you have come, and pinpoint exactly which settings work best for your specific equipment.
How to Use a Welding Technique Progression Log
A log helps you stop repeating the same mistakes by giving you a reference point for success. I keep a small notebook on my welding bench. Every time I have a “perfect” run, I write down exactly what I did.
- Date: When the practice happened.
- Material: Type and thickness (e.g., 1/8″ Mild Steel).
- Process: MIG, TIG, or Stick.
- Settings: Amperage, Voltage, Wire Feed Speed.
- Notes: “Moved slower today, puddle stayed rounder.”
Using Video Review for Physical Correction
Digital video review involves filming your hands and the arc while you weld, then watching it back (often in slow motion) to see mistakes you missed in real-time. This is one of the most modern and effective welding technique progression tools available to the home fabricator.
Sometimes, I think my hand is steady, but when I watch the video, I see that I am actually “pulsing” the torch forward and back. There are many free apps that allow you to watch video at 25% speed. Seeing your mistakes in slow motion makes them much easier to fix the next time you pick up the torch. It is the closest thing to having an instructor standing over your shoulder.
Conclusion: The Path to Professional Results
Building professional-grade skills in a home workshop is not about luck; it is about a commitment to small, repeatable checks. By stabilizing your body, measuring your parts at every step, and keeping a detailed log of your progress, you remove the guesswork from your projects.
The frustration of rework usually comes from rushing the “invisible” steps like cleaning and fit-up. If you take the time to grind your metal to a shine and check your angles with a square before you strike an arc, you will find that the welding itself becomes much easier. Mastery is simply the result of doing the basics correctly, thousands of times in a row. Start your next session by slowing down, bracing your arm, and focusing on that liquid oval in the puddle. You will see the difference in your very first bead.
FAQ: Mastering Manual Fabrication Skills
How can I tell if my weld travel speed is correct?
Look at the ripples in the finished bead. If they are spaced evenly and the weld is about twice as wide as the electrode you are using, your speed is likely correct. If the bead is very thin and the ripples are stretched out like “V” shapes, you are moving too fast. If the bead is wide, flat, and lacks distinct ripples, you are moving too slowly.
Why does my metal always warp after I weld it?
Metal expands when heated and shrinks as it cools. This shrinkage creates a powerful pulling force. To minimize this, use “tack welds” every few inches to hold the structure in place. You can also “back-step” your welds, which means welding in short sections in the opposite direction of the overall travel to balance the heat.
What is the “1-inch clean zone” and why is it important?
The 1-inch clean zone is the area of bare, shiny metal you must create by grinding away rust, paint, and mill scale. This ensures the welding arc is stable and that no contaminants get trapped in the molten metal, which would cause weak, porous welds.
How do I stop my hand from shaking while welding?
Use the “three points of contact” rule. Brace your elbow on the table, rest your hip against the bench, or use your non-welding hand to support your torch hand. Breathing is also key; do not hold your breath, as this increases muscle tension and shaking.
What are the most important tools for a beginner to check their work?
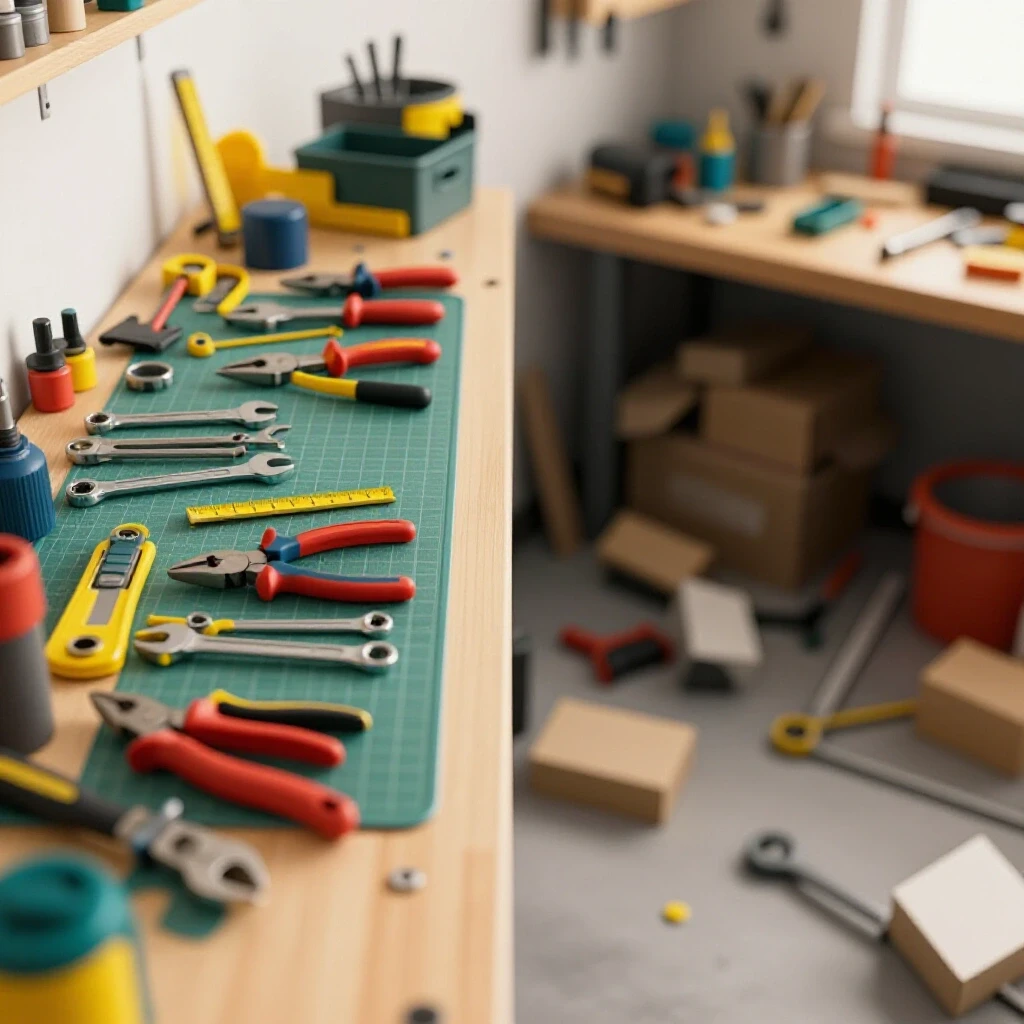
A high-quality machinist square, a set of calipers, and a reliable tape measure are essential. These tools allow you to verify that your parts are square and the correct length before you commit to a permanent weld.
How do I know if I have good penetration?
On a butt joint, you should see a small “bead” or heat tint on the back side of the plate. This indicates the heat traveled all the way through the thickness of the metal. If the back of the plate looks untouched, you likely need more amperage or a slower travel speed.
Why should I keep a practice log?
A log allows you to track which settings work for your specific machine and material. When you return to a project after a few weeks, you won’t have to waste time “dialing in” your settings again; you can simply look at your notes and start working.
What is “undercut” and how do I fix it?
Undercut is a small groove or “ditch” at the edge of the weld. It is usually caused by too much heat or moving too fast, which prevents the puddle from filling the area the arc melted. To fix it, lower your amperage or slow down your travel speed to allow the metal to fill the joint.
Can I weld over rust if I turn the heat up?
No. Welding over rust or mill scale introduces impurities into the weld pool, leading to “porosity” (holes) and a lack of fusion. No amount of extra heat can compensate for dirty metal. Always grind to bare steel for structural work.
How often should I check my project for squareness?
Check for squareness before you tack, after you tack, and after every major weld run. It is much easier to break a small tack weld to fix an angle than it is to cut through a full-length bead.
(This article was written by one of our staff writers, Thomas Langley. Visit our Meet the Team page to learn more about the author and their expertise.)