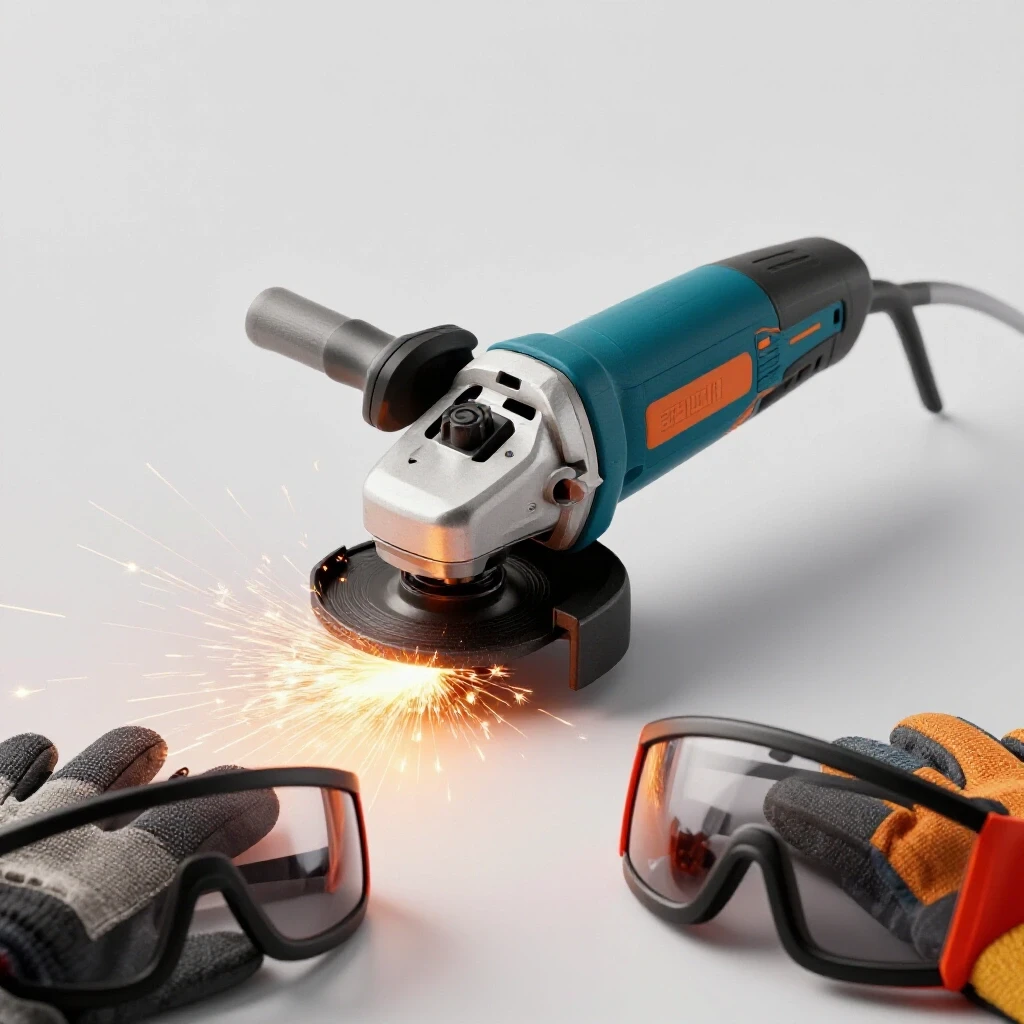
Simple Ways to Secure and Protect Tools in a Home Shop (Fix)
After 17 years in industrial maintenance and fabrication, I have learned that a tool’s price tag rarely tells the whole story. I have stood over $10,000 lathes that vibrated like a washing machine because the casting was poor, and I have seen budget mills outlast their counterparts because the owner knew how to shield the vitals. When you are looking to invest your hard-earned money into workshop machinery, you are not just buying a brand. You are buying a collection of mechanical tolerances, metallurgical choices, and electrical components.
The marketing hype often focuses on “peak horsepower” or “professional-grade paint,” but these metrics do not keep your shop running. My goal is to help you look past the glossy brochures. We will look at how to evaluate the physical build of a machine and how to use your own fabrication skills to safeguard your investment from theft, rust, and mechanical wear. Whether you are choosing between a MIG welder or a flux-core unit, or deciding which metal lathe belongs on your bench, the fundamentals of structural integrity remain the same.

Evaluating Machinery Foundations and Frame Rigidity
The foundation of any serious shop tool is its frame, which must provide enough mass to dampen vibrations and maintain alignment under load. A rigid frame ensures that the precision you measure on day one is the same precision you see five years later during a heavy project.
In my shop, I always look at the casting first. Most hobby-grade machines use thin sheet steel or low-grade aluminum to save on shipping costs. However, for a metal lathe or a milling machine, you want grey cast iron. Cast iron has a unique internal structure that absorbs harmonics. If a machine is too light, the vibration from the cutting tool will transfer back into the workpiece, leaving a poor surface finish. When researching, check the shipping weight. A heavier machine in the same class almost always indicates better structural dampening.
Why Cast Iron Grades Matter for Tool Longevity
Cast iron is classified by its tensile strength and its ability to absorb vibration, with Class 25 and Class 30 being the most common in quality workshop machinery. Higher grades offer better wear resistance for the “ways” or sliding surfaces where the tool components move against each other.
I have performed teardowns on several entry-level lathes where the bedways were so soft they could be scratched with a standard file. This is a sign of poor heat treatment or low-grade iron. You want “induction hardened” ways. This process uses high-frequency electricity to heat the surface of the iron before quenching it, creating a hard outer skin that resists nicks and scratches while keeping the core tough.
| Cast Iron Grade | Tensile Strength (PSI) | Vibration Dampening | Common Application |
|---|---|---|---|
| Class 25 | 25,000 | Excellent | Small lathe beds, drill press tables |
| Class 30 | 30,000 | Very Good | Milling machine columns, large lathes |
| Class 40 | 40,000 | Good | Industrial CNC frames, heavy bases |
| Ductile Iron | 60,000+ | Moderate | High-stress brackets, gears |
- Class 25 is the standard for most home shop equipment.
- Vibration Dampening is measured by how fast a physical shock dissipates through the metal.
- Induction Hardening should reach a Rockwell C hardness of 45-50 for long-term durability.
Building Robust Locking Mechanisms with Basic Fabrication
Physical security for your tools does not require expensive electronics; it requires clever use of steel and a welder to create deterrents that cannot be easily bypassed. By fabricating your own brackets and locking bars, you can secure entire tool chests or heavy machinery with simple, manual hardware.
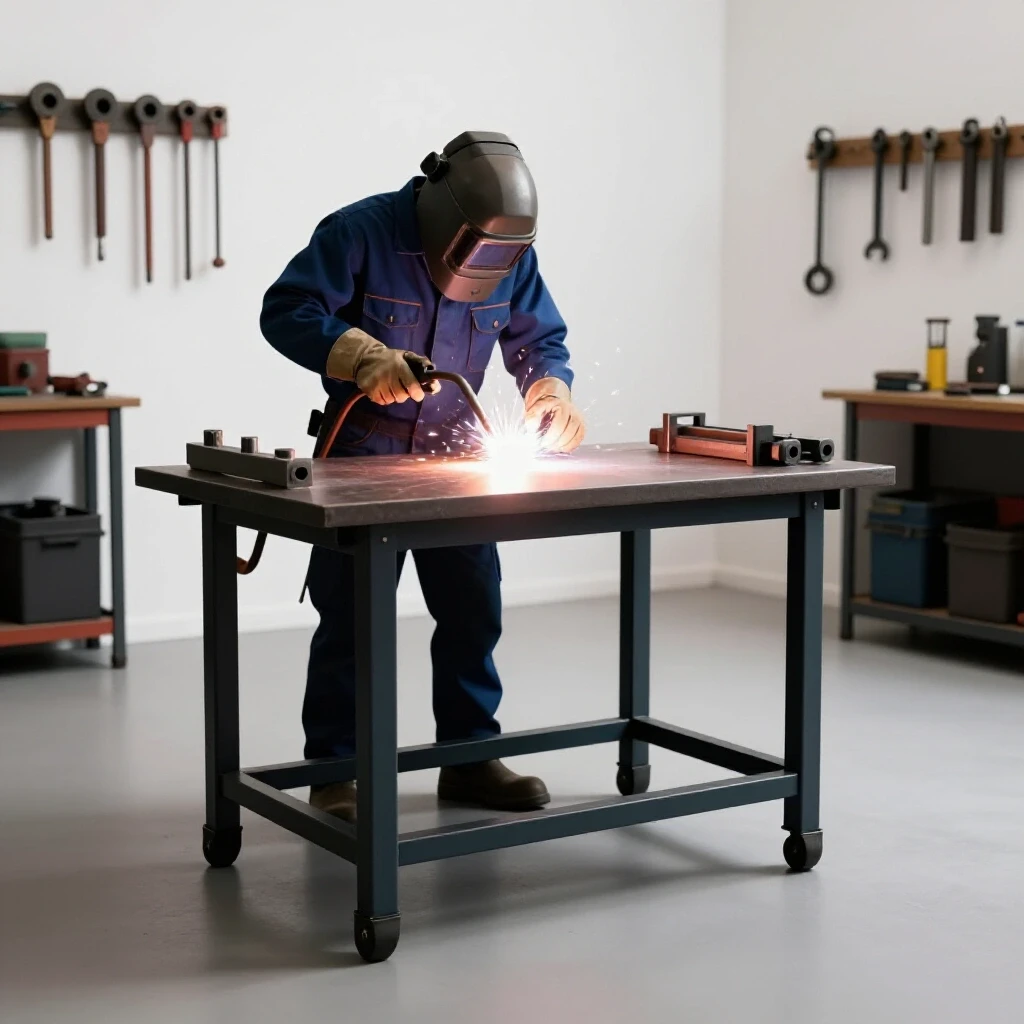
I once worked in a shared shop where “borrowed” tools were a constant issue. I solved this by welding a vertical 1/4-inch thick steel flat bar to the side of my rolling cabinet. The bar swung across all the drawers and locked into a heavy-duty tab at the bottom. This prevented any drawer from opening with a single padlock. It is a low-cost way to add a layer of protection that a bolt cutter cannot easily reach.
Fabricating Steel Locking Bars for Multi-Drawer Cabinets
A locking bar is a long piece of steel that spans the front of a tool chest, preventing the drawers from being pulled out when the bar is secured in place. This method is far more effective than the thin cylindrical locks that come standard on most budget toolboxes.
To build one, you only need basic metalworking tools. Use a piece of 1.5-inch wide by 3/16-inch thick flat stock. Weld a heavy-duty hinge at the top of the cabinet and a thick U-bolt or a fabricated “hasp” at the bottom. When you are done for the day, you swing the bar down and lock it. This setup forces a thief to cut through thick steel or the lock itself, rather than just prying a flimsy drawer slide.
- Material: Use hot-rolled steel for the bar; it is cheap and easy to weld.
- Placement: Ensure the bar covers the center of the drawers to prevent the corners from being pried out.
- Hardware: Use a “puck” style lock or a shrouded shackle padlock to prevent bolt cutter access.
Safeguarding Precision Internals from Moisture and Dust
Precision tools are vulnerable to the environment, specifically humidity which causes rust and fine metal dust which acts as an abrasive on moving parts. Protecting these surfaces involves a combination of physical barriers like bellows and chemical barriers like specialized oils.
In my 17 years of maintenance, the most common cause of machine failure isn’t a broken gear; it is “stiction” caused by rust on the ways. Even in a climate-controlled shop, moisture can settle on cold cast iron overnight. I recommend using a dedicated way oil, which contains “tackifiers” that help the oil stick to vertical surfaces. Unlike WD-40, which evaporates, way oil stays put and creates a moisture-proof seal.
Managing Spindle Runout and Bearing Health through Shielding
Spindle runout is the amount of wobble in a rotating shaft, and it is often caused by debris entering the bearing races or physical damage to the spindle nose. By using custom-made sheet metal shields or rubber bellows, you can keep chips and coolant away from these sensitive areas.
Total Indicated Runout (TIR) is the metric we use to measure this wobble. If you have a lathe spindle with a TIR of more than 0.001 inches, your work will never be truly round. I always check the bearing type during a machine review. Tapered roller bearings are generally better for home shops because they can be adjusted to take up “slop” or play as they wear. If the bearings are exposed to the air, they will eventually fail.
- TIR Benchmarks: A good hobby lathe should have a TIR of 0.0005 to 0.001 inches at the spindle nose.
- Bearing Styles: Look for “sealed-for-life” bearings in motors, but “adjustable tapered rollers” in headstocks.
- Shielding: Use 20-gauge sheet metal to create “chip guards” over the lead screws and motor vents.
Assessing Motor Designs and Electrical Drive Boards
The motor and its controller act as the brain and muscles of your machinery, and their design dictates how much torque you have at low speeds. Protecting these electrical components from metal shavings is critical, as a single stray chip can short out a control board.
I prefer “Brushless DC” (BLDC) motors for smaller machines and “Three-Phase Induction” motors with a VFD (Variable Frequency Drive) for larger ones. Budget machines often use “Universal” motors, which are loud and lose power as you slow them down. When you are choosing workshop machinery, look at how the electronics are housed. If the circuit board is visible through the motor vents, you need to fabricate a filtered enclosure to keep the dust out.
Comparing Inverter vs. Transformer Efficiency for Home Use
Modern welders and motor drives use inverter technology to convert power, which is much more efficient and lighter than the old transformer-based designs. However, inverters are more sensitive to “dirty” power and dust, requiring better physical protection in a home shop environment.
When I compare welding processes, I look at the duty cycle. A transformer welder is a tank—it can sit in a dusty corner for 20 years and still work. An inverter welder is a computer that welds; it needs to be kept clean and dry. If you buy an inverter-based tool, make sure the internal cooling fans have filters that you can clean regularly.
| Feature | Transformer Design | Inverter Design |
|---|---|---|
| Weight | Very Heavy (50-100 lbs) | Light (15-30 lbs) |
| Power Efficiency | 50% to 60% | 80% to 90% |
| Low-Speed Torque | Excellent | Depends on Controller Quality |
| Dust Sensitivity | Low | High |
| Repairability | Simple (Wires/Coils) | Complex (Circuit Boards) |
- Inverter Efficiency: Allows you to run more powerful tools on a standard 120V or 240V household circuit.
- Back-EMF Feedback: High-quality controllers use this to maintain constant RPM even when the tool is under a heavy load.
Verifying Alignment and Mechanical Tolerances
Accuracy in a home shop is not a matter of luck; it is the result of careful measurement and the ability to adjust the machine’s components. Before you commit to a major purchase, you must understand how to verify that the machine is square and that the slides move smoothly.
I never trust a machine straight out of the box. I use a dial indicator to check the “tram” of a mill or the alignment of a lathe tailstock. If the machine’s base is twisted during shipping or installation, the slides will bind. This is why many experienced machinists “bolt down” their equipment to a heavy, level bench. It prevents the frame from warping under its own weight.
Measuring Total Indicated Runout (TIR) for Long-Term Accuracy
To measure TIR, you place a dial indicator on a fixed part of the machine and touch the tip to a rotating part, such as the spindle. As you rotate the spindle by hand, the needle shows the deviation in thousandths of an inch.
If you find that a new machine has high runout, it might not be a “lemon.” Sometimes, it is just a matter of cleaning the factory shipping grease out of the bearing seats. However, if the runout persists, it indicates a poorly machined spindle or low-quality bearings. Knowing how to perform this test allows you to hold manufacturers accountable before the warranty expires.
- Clean the Surface: Ensure the spindle nose is free of oil and grit.
- Mount the Indicator: Use a magnetic base attached to the machine bed.
- Rotate Slowly: Turn the spindle by hand through 360 degrees.
- Record the High/Low: The difference between the highest and lowest reading is your TIR.
Organizing for Accessibility and Safety
A well-organized shop is a safer shop because you aren’t fumbling for tools while a machine is running. Protecting your hand tools involves creating dedicated storage that prevents them from knocking against each other, which can dull cutting edges and ruin precision.
I am a big fan of “shadow boards” or custom-cut foam inserts. When every wrench and micrometer has a specific home, you notice immediately if something is missing or if a tool has been left on a vibrating machine surface. I often use scrap plywood to build custom racks for my lathe chisels and milling cutters. This keeps the sharp edges from touching, which is the easiest way to protect your investment in tooling.
Creating Custom Tool Holders to Prevent Impact Damage
Impact damage occurs when hardened steel tools, like end mills or drill bits, are tossed into a drawer together. The brittle edges can chip easily. By fabricating a simple holder from a block of wood or plastic with drilled holes, you keep the tools upright and separated.
For larger items like welding clamps or grinders, I weld simple “J-hooks” from 1/4-inch round bar and attach them to a wall-mounted rail. This gets the tools off the floor and away from the “splash zone” of sparks and oil. It is a practical application of your fabrication skills that directly improves the longevity of your equipment.
- Materials: Repurpose scrap HDPE plastic or hardwood for tool blocks.
- Layout: Group tools by task (e.g., all lathe-related tools in one rack).
- Protection: Line the bottom of tool drawers with rubber matting to prevent sliding.
Practical Benchmarks for Shop Equipment Selection
When you are ready to buy, you need a checklist to cut through the marketing fluff. Do not let a salesperson distract you with “free accessories.” Focus on the “iron” and the “guts” of the machine. A machine with a solid frame and a good motor can always be upgraded with better accessories later, but a flimsy frame is a permanent handicap.
I always check the “fit and finish” of the non-painted surfaces. If the manufacturer didn’t bother to deburr the edges of the castings, they likely took shortcuts on the internal bearings and gears as well. Look for grease nipples on all moving joints; if a machine cannot be easily lubricated, it is designed to be disposable.
10-Step Inspection Checklist for New Machinery
- Check the Weight: Does it match the spec sheet? Lighter often means thinner castings.
- Test the Spindle TIR: Aim for less than 0.001 inches.
- Inspect the Ways: Look for smooth grinding marks and no visible “pitting” in the iron.
- Cycle the Gears: Listen for excessive grinding or whining in the headstock.
- Check for Play: Wiggle the handles; there should be minimal “backlash” (lost motion).
- Verify the Motor Type: Is it a brushless DC or a standard induction motor?
- Examine the Wiring: Are the cables shielded and the connections tight?
- Test the Emergency Stop: Ensure it cuts power immediately and is easy to reach.
- Measure the Bed Level: Use a precision level to ensure the frame isn’t twisted.
- Check Parts Availability: Can you buy replacement belts, brushes, or gears easily?
Conclusion
Securing and protecting your workshop equipment is an ongoing process that starts with making a smart purchase and continues with smart shop habits. By focusing on the structural integrity of the machines you buy—looking for heavy cast iron, low spindle runout, and robust motor designs—you set yourself up for success. Once the tools are in your shop, use your fabrication skills to build physical deterrents and environmental shields.
Remember, the goal is to spend more time making things and less time fixing your tools. A well-protected machine maintains its value and its accuracy, allowing you to tackle more complex projects with confidence. Take the time to build those locking bars, oil those ways, and verify those alignments. Your future self, and your projects, will thank you for the effort.
FAQ: Common Questions on Workshop Tool Protection
What is the best way to prevent rust on cast iron tools without using messy grease?
I recommend using a dedicated “Dry Film” lubricant or a high-quality paste wax. These products create a barrier that moisture cannot penetrate but do not leave a sticky residue that attracts sawdust or metal chips. For long-term storage, a specialized “VCI” (Vapor Corrosion Inhibitor) cover can protect the metal by emitting a rust-preventing vapor inside the cover.
How can I tell if a budget lathe has induction-hardened ways?
You can often tell by looking at the color and the edge of the ways. Hardened ways usually have a slightly darker, blue-grey tint compared to the rest of the casting. A more direct (but cautious) method is the “file test.” A standard metal file will “bite” into soft iron but will slide across a hardened surface like it is skating on glass. Do this test in a non-critical area, like the very end of the bed.
Is a brushless motor really worth the extra cost for a home mill?
Yes, in most cases. Brushless motors provide much better torque at low speeds, which is critical for drilling large holes or milling tough steel. They also lack carbon brushes that wear out over time and create conductive dust inside the motor. If your budget allows, a brushless system or a 3-phase motor with a VFD is a significant upgrade over a standard brushed motor.
How do I secure a heavy toolbox that doesn’t have a built-in lock?
The most effective DIY method is to weld or bolt a “locking bar” system. You can use a piece of angle iron or flat bar that pivots over the drawer faces. Secure it with a heavy-duty padlock at the bottom. This prevents the drawers from being opened even if the cabinet is tilted or moved.
What is “backlash” and how does it affect my tool’s accuracy?
Backlash is the “dead space” or play in a lead screw when you change directions. For example, if you turn a handle clockwise and then counter-clockwise, the distance you turn the handle before the table actually moves is the backlash. While some backlash is normal in manual machines, excessive play (over 0.010 inches) makes it very difficult to hit precise dimensions.
Can I use a standard padlock for my shop security fabrication?
You can, but I suggest using a “shrouded shackle” or “puck” lock. Standard padlocks have an exposed U-shaped shackle that can be easily cut with a 24-inch bolt cutter. Shrouded locks hide the shackle inside the lock body, making it nearly impossible to get a cutting tool onto the hardened steel.
Why is spindle runout such a big deal for hobbyists?
If your spindle wobbles, every tool you put in it will also wobble. This leads to “chatter,” which ruins the surface finish of your part and can even break small drill bits or end mills. It also puts uneven loads on your bearings, leading to premature failure. Keeping your TIR below 0.001 inches is the gold standard for quality work.
How often should I oil my machine ways?
You should apply a thin coat of way oil every time you use the machine. Before you start, wipe the ways clean of any old oil and chips, then apply fresh oil. This ensures that the sliding surfaces are always separated by a thin film of lubricant, reducing wear and preventing the “stiction” that causes jerky movements.
What is the advantage of a VFD (Variable Frequency Drive)?
A VFD allows you to take a standard 3-phase industrial motor and run it on single-phase household power while also giving you full control over the speed. Unlike simple “dimmer switch” controllers, a VFD maintains the motor’s torque even at very low RPMs. It also provides “soft start” and “electronic braking,” which protects the machine’s internal gears from sudden shocks.
How do I protect my electrical control boards from metal dust?
The best way is to ensure the electronics are in a “NEMA 4” or “IP65” rated enclosure, which is dust-tight. If your machine has an open vent, you can fabricate a small frame to hold a piece of air conditioner filter media over the intake. This allows air to cool the components while trapping the conductive metal dust that causes short circuits.
(This article was written by one of our staff writers, Steven Brooks. Visit our Meet the Team page to learn more about the author and their expertise.)