Simple Workshop Scheduling Diaries to Track Projects (Review)
Transitioning a shop from a hobby space to a professional-grade fabrication environment is a heavy lift. I remember the exact moment I realized my old way of working was broken. I had just installed a CNC plasma table and a larger press brake, but I was still tripping over scrap metal and hunting for my welding magnets. My production was up, but my stress was higher. I had the tools, but I lacked the system to run them.
For over twenty years, I have refined my home-based shop by applying the same lean manufacturing principles I used in industrial operations. Scaling up isn’t just about buying bigger machines. It is about understanding the physics of your floor space, the limits of your electrical panel, and the way you record your progress. When you move into high-output work, the complexity grows. You need a way to manage that complexity without getting buried in technical distractions.

The key to this evolution is a blend of high-tech machinery and low-tech management. While we use automation for cutting and bending, the most reliable way to track our daily goals and machine maintenance is through manual logging. Using a physical notebook or a dedicated shop diary allows you to document your workflow and material needs without ever leaving the workbench. It keeps your head in the game and your hands on the tools.
Mapping the Physical Limits of High-Output Fabricating
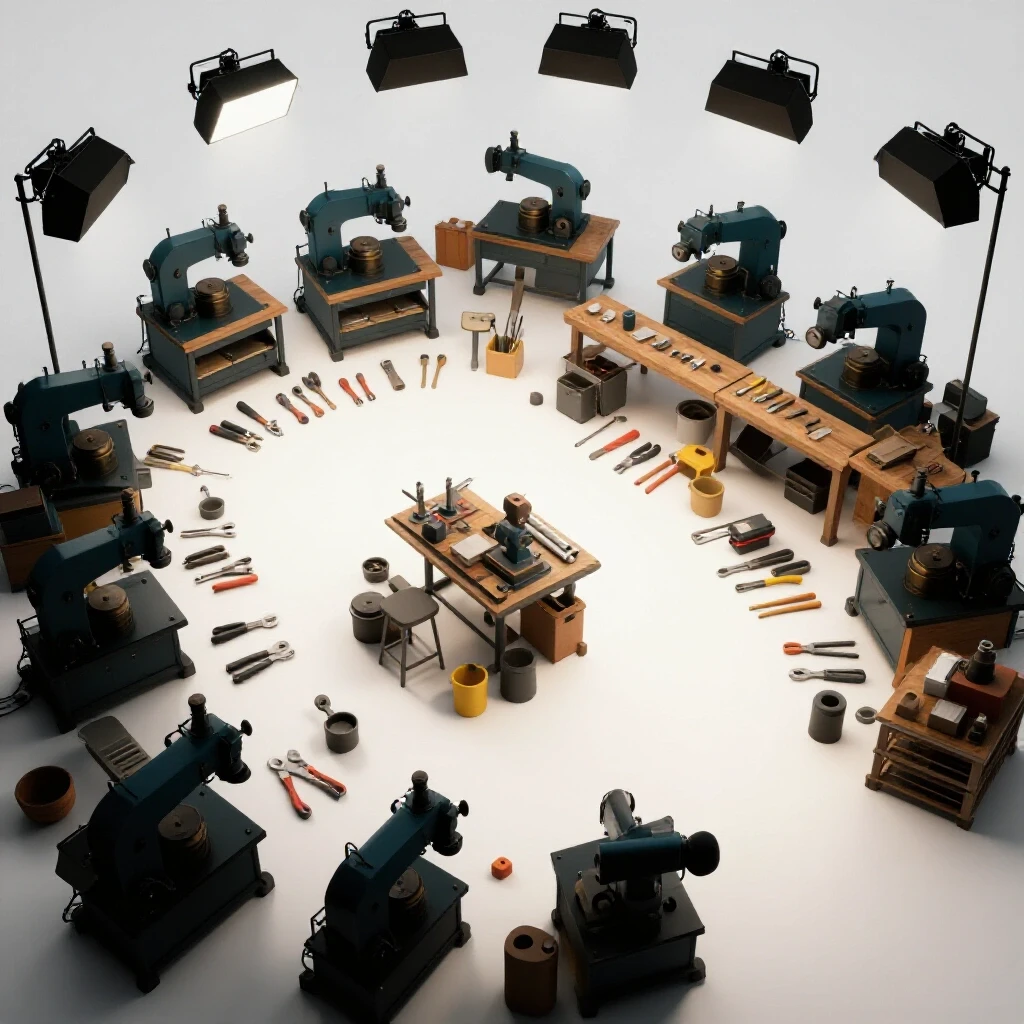
Advanced workshop layout is the study of how materials move through a space from the moment they arrive to the moment they leave as finished products. A poor layout forces you to move heavy steel multiple times, which wastes energy and increases the risk of injury.
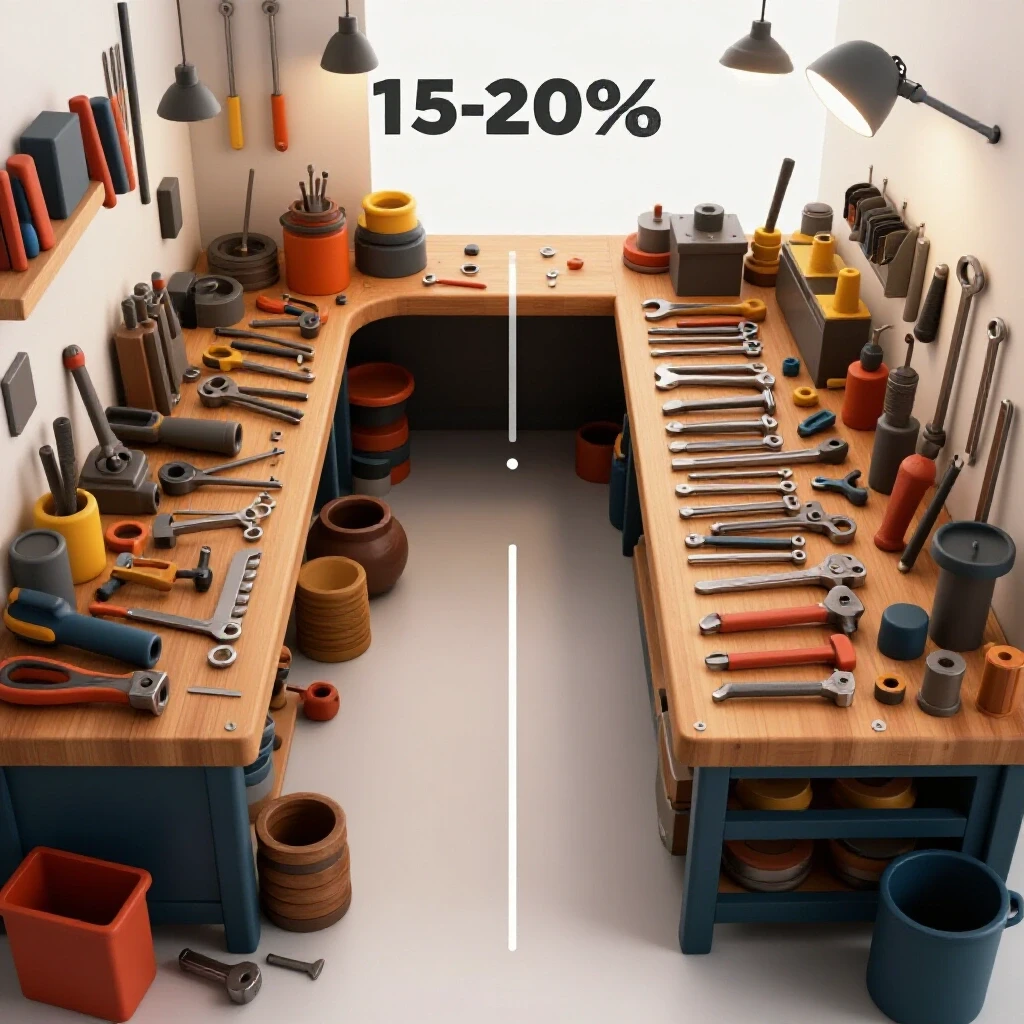
In my early years, I placed machines wherever they fit. This led to a “spaghetti” flow where I was constantly moving a cart of parts back and forth across the shop. Now, I design for a linear or U-shaped flow. You want your raw material storage near the door, followed by your primary cutting station, then your fabrication table, and finally the finishing and shipping area. This reduces “travel waste,” a core concept in lean manufacturing.
Evaluating Floor Load and Material Staging
Floor load rating refers to the amount of weight a concrete slab can safely support without cracking or sinking. Industrial machinery, especially heavy CNC tables and large material racks, exerts significant “point loads” that can exceed the capacity of a standard four-inch residential garage floor.
Before you bolt down a new piece of equipment, you must know what is under your feet. Most residential slabs are 3,000 to 3,500 PSI concrete. If you are installing a heavy gantry system or a multi-ton press, you may need to cut out a section of the floor and pour a thickened pad. I learned this the hard way when a heavy rack of plate steel caused a hairline fracture that eventually interfered with my plasma table’s level.
| Layout Factor | Traditional Hobby Setup | Advanced Production Flow |
|---|---|---|
| Material Path | Random/Back-and-forth | Linear or U-shaped |
| Staging Area | None (floor clutter) | Dedicated Inbound/Outbound zones |
| Machine Spacing | Tight (less than 2 feet) | 3-foot minimum safety/access zones |
| Tool Access | Shared/Centralized | Point-of-use (tools at every station) |
Why Back-and-Forth Foot Traffic Kills Shop Throughput
Every time you walk across the shop to find a square or a specific drill bit, you are losing money. In a professional setting, we call this “motion waste.” To fix this, I moved toward a “cell” layout. Each area of my shop is a self-contained unit. The welding cell has its own grinders, clamps, and PPE. The CNC cell has its own deburring tools and measuring devices.
By using a manual project log at each station, I can track how long tasks actually take. I write down the start and stop times for a specific job in my shop diary. This data is eye-opening. You might think a job takes two hours, but your written records might show it actually takes four because you spent ninety minutes looking for materials or moving obstacles.
Balancing the Load with Industrial Power Solutions
A 3-phase power converter is a device that allows you to run industrial-grade machinery on a standard residential single-phase electrical service. Most high-output tools, like large compressors and heavy-duty mills, require three lines of alternating current to run efficiently and provide maximum torque.
When I first scaled up, I was intimidated by three-phase power. Residential homes only have two “hot” legs of power. To get that third leg, you have to generate it yourself. This is a critical step for any fabricator moving toward professional equipment. It opens the door to used industrial machinery that is often cheaper and more durable than brand-new single-phase hobby tools.
The Mechanics of Phase Conversion
There are three main ways to get three-phase power in a home shop: static converters, rotary converters, and Variable Frequency Drives (VFDs). A static converter is the simplest but only provides about two-thirds of the motor’s rated power. This is rarely enough for high-output fabrication.
I prefer rotary phase converters for the whole shop. A rotary converter uses a “idler motor” to generate the third leg of power. It provides clean, balanced voltage that is safe for sensitive CNC electronics. For individual machines, a VFD is an excellent choice because it also allows you to control the speed of the motor. However, VFDs can be complex to wire and may require a dedicated unit for every tool.
- Static Converters: Low cost, but significant power loss and potential motor heat.
- Rotary Converters: Best for running multiple machines; provides balanced 3-phase power.
- VFDs: Excellent for speed control on single machines; requires technical setup.
- Phase Balancing: You must measure the voltage between all three legs under load to ensure they stay within a 5% to 10% range.
Managing Electrical Demand and Safety
When you add automation and heavy motors, you quickly reach the limit of a 200-amp residential service. I keep a written log of the “Full Load Amps” (FLA) for every machine in my shop diary. This helps me plan my work so I don’t try to run the CNC plasma, the 5HP air compressor, and the shop heater all at the same time.
Tripping a main breaker in the middle of a CNC cut is more than an annoyance; it can ruin an expensive sheet of material and knock your machine out of alignment. By tracking your power usage in a manual schedule, you can stagger high-draw tasks. For example, I might schedule all my heavy grinding and compressor-heavy work for the morning and save the precision assembly for the afternoon when the power load is lower.
Designing High-Volume Air Handling Systems
Dust collection duct design is the science of moving air and debris through a series of pipes at a velocity high enough to keep particles suspended. In a metalworking shop, this isn’t just about sawdust; it is about hazardous metal fines and toxic welding fumes.
Clean air is often the most overlooked part of workshop optimization. If you can smell the ozone from your plasma cutter or see a haze in the air after grinding, your filtration is failing. I spent months researching CFM (Cubic Feet per Minute) requirements and static pressure losses to build a system that actually works.
Calculating Duct Static Pressure and Velocity
Static pressure is the resistance that air encounters as it moves through your ducts. Every bend, every foot of pipe, and every flex hose adds resistance. If your blower isn’t strong enough to overcome this resistance, the air will slow down, and dust will settle inside your pipes, creating a fire hazard.
For metal grinding dust, you need a “transport velocity” of about 3,500 to 4,000 feet per minute (FPM). To achieve this, I used smooth-walled galvanized pipe rather than flexible ribbed hose. I also used long-radius elbows instead of sharp 90-degree turns. I keep a simple diagram of my duct layout in my shop notebook, along with the CFM measurements at each drop. This allows me to check for clogs or leaks if I notice the suction dropping.
| Tool Type | Recommended CFM | Minimum Duct Diameter |
|---|---|---|
| Small Bench Grinder | 350 – 500 | 4 inches |
| Large Belt Sander | 500 – 700 | 5 inches |
| CNC Plasma Table | 1,000 – 1,500 | 6 to 8 inches |
| Welding Fume Arm | 600 – 900 | 6 inches |
Protecting Your Lungs and Your Equipment
High-volume clean air filtration is a two-stage process. First, you need “source capture,” which pulls fumes away right where they are created. Second, you need “ambient filtration” to scrub the air in the entire room. I use a multi-stage cyclone collector for source capture and a ceiling-mounted air cleaner for the rest.
I track my filter maintenance in my project diary. I write down the date I blew out the filters or replaced the HEPA bags. Without a written record, it is easy to forget this task until the air quality has already degraded. Keeping these records ensures that my CNC gantry and computer components stay free of conductive metal dust, which can cause short circuits and expensive downtime.
Integrating CNC Automation into Existing Workflows
CNC plasma table setup is the process of assembling, leveling, and calibrating an automated cutting system to ensure repeatable accuracy. This is often the biggest hurdle for a fabricator moving from manual work to micro-manufacturing.
The learning curve for CNC is steep. You aren’t just learning a new tool; you are learning a new language. You have to master CAD (Computer-Aided Design), CAM (Computer-Aided Manufacturing), and the machine control software. In my experience, the technical integration is where most shops fail. They buy the machine but don’t have a plan for how to feed it files or maintain its precision.
Leveling Gantry Systems for Precision Cutting
A CNC gantry must be perfectly level and square to produce accurate parts. If the rails are even slightly twisted, your cuts will be skewed, and your torch height control will struggle to maintain the correct gap. I spent three days leveling my table using a precision machinist’s level and a dial indicator.
Once the machine is leveled, you must calibrate the “steps per inch.” This involves telling the software to move the torch ten inches and then measuring how far it actually moved. I keep a dedicated section in my shop diary for these calibration numbers. Every few months, I re-check the squareness of the gantry and record the results. This manual “health check” prevents small errors from turning into scrapped parts.
- Check for Square: Use the 3-4-5 triangle method or a large precision square.
- Verify Level: Use a machinist’s level on both the X and Y rails.
- Tension Belts/Gears: Ensure there is no “slop” or backlash in the drive system.
- Lubricate Rails: Use the manufacturer-recommended oil or dry lube.
- Test Grounding: Ensure the table is properly grounded to prevent electrical noise.
Managing Tooling Files and Cut Data
One of the most valuable things you can record in a shop diary is your “cut chart.” While the manufacturer provides general settings for different thicknesses of metal, every shop is different. Your specific air pressure, humidity, and power quality will affect how the torch performs.
Whenever I cut a new material, I write down the amperage, the feed rate, and the pierce height in my manual log. If the cut comes out clean with no dross, I circle those settings. The next time I have to cut 3/16-inch aluminum, I don’t have to guess. I just flip back through my paper records and find the “sweet spot” I already discovered. This simple habit saves me hours of testing and wasted material.
Organizing Production Sequences with Manual Logging Systems
In a busy shop, the hardest thing to manage is your own time. When you have five different projects at various stages of completion, it is easy to get overwhelmed. This is where a simple, paper-based tracking framework becomes your most important tool.
I use a daily diary to map out my production sequences. At the end of every day, I spend ten minutes writing down what I accomplished and what the first task for tomorrow will be. This “brain dump” allows me to leave the shop stress behind and ensures I hit the ground running the next morning. It is a low-cost way to maintain a professional workflow.
Maintaining Machine Reliability through Written Records
Regular maintenance is what separates a professional shop from a hobbyist’s garage. If a machine breaks down in the middle of a deadline, it’s usually because a small problem was ignored. I use my shop diary to track every bit of maintenance, from oiling the mill to changing the dessicant in the air lines.
By looking back at my notes, I can see patterns. If I notice that I’m replacing the plasma electrodes more often than usual, I can investigate my air quality or my cutting settings. These written records provide a “history” of the shop that you just can’t keep in your head. It turns “I think the machine is fine” into “I know the machine is maintained.”
- Daily: Clear the CNC table of slag; check air compressor moisture traps.
- Weekly: Wipe down ways and rails; check belt tensions.
- Monthly: Deep clean the dust collection filters; verify 3-phase voltage balance.
- Quarterly: Re-square the CNC gantry; check floor level for any settling.
Actionable Benchmarks for Shop Optimization
To know if your shop is actually improving, you need benchmarks. I track a few key metrics in my diary that tell me how efficient my layout and workflows are. These aren’t complex formulas; they are simple observations that reflect the health of the operation.
One metric I use is the “Touch Count.” How many times do I have to touch a piece of steel before it is a finished part? If I have to move it from the rack to the floor, then to the saw, then back to the floor, my layout is failing. My goal is to move it once to the cutting station and once to the welding table. Another metric is “Setup Time.” How long does it take me to get the CNC table ready for a new job? By recording these times in my diary, I can see if my new tool organization is actually helping.
Moving Toward a Semi-Professional Operation
The transition to a high-output shop is a marathon, not a sprint. It requires a constant focus on small improvements. You don’t need a million-dollar facility to produce professional results; you need a disciplined approach to how you use your space, your power, and your time.
Start by looking at your floor. Can you move a sheet of steel from the door to your table without moving a bicycle or a lawnmower? If not, that is your first project. Next, look at your air. If you are breathing dust, your shop isn’t professional yet. Finally, look at your records. If you don’t know exactly what you did last Tuesday or when you last changed your compressor oil, start a shop diary today.
These analog habits provide the foundation for high-tech success. They keep you grounded in the physical reality of fabrication while you push the limits of what your machinery can do. Scaling up is about more than just more parts; it is about better systems.
FAQ
How do I know if I need a rotary phase converter or a VFD?
A rotary phase converter is best if you want to power multiple 3-phase machines in your shop from one source. It is a “set it and forget it” solution. A VFD is better for a single machine where you need to control the motor speed, like a lathe or a mill, but you will need one for every machine you own.
What is the best way to start a shop diary?
Keep it simple. Buy a durable, hardbound notebook and a good pen. Keep it on your main workbench. Start by writing the date and three things you want to accomplish. At the end of the day, note any issues you had with machines or materials. Don’t worry about making it look perfect; it’s a tool, not a scrapbook.
How much space do I really need around a CNC plasma table?
You should aim for at least three feet of clear space on all sides. This allows you to load material safely and gives you room to perform maintenance on the gantry and rails. If you are tight on space, ensure at least one long side is completely open for loading full sheets.
Why is static pressure important in dust collection?
Static pressure is the resistance your blower must overcome to move air. If your pipes are too small or have too many bends, the resistance goes up, and the airflow (CFM) drops. This leads to dust settling in the pipes, which can cause clogs and fire hazards.
How often should I check the level of my machinery?
For precision equipment like CNC tables or lathes, you should check the level every three to six months. Concrete floors can shift slightly with temperature changes or weight loads. A machine that is out of level will wear out its bearings faster and produce inaccurate parts.
Can I run a CNC table on a standard garage circuit?
Most CNC control electronics run on standard 110V power, but the plasma cutter itself usually requires a 220V/50A circuit. If you are also running a high-volume air compressor, you will likely need a dedicated sub-panel to handle the load without tripping breakers.
What is the most common layout mistake in a fabrication shop?
The most common mistake is not leaving enough room for material staging. People often pack machines together but forget they need space to store 20-foot sticks of tubing or 4×8 sheets of plate steel. This leads to “clutter bottlenecks” that slow down the entire shop.
How do I calculate the “Touch Count” for a project?
Simply count every time you pick up or move a piece of material during the fabrication process. If you move a part ten times to perform three operations, you have a high touch count. Look for ways to store material closer to the machines to reduce this number.
Is manual logging better than using a digital app?
In a fabrication environment, paper is often superior because it doesn’t require clean hands, battery power, or an internet connection. You can quickly sketch a part or jot down a measurement without fumbling with a touchscreen. It also creates a permanent, physical record that is easy to flip through while you work.
What should I do if my 3-phase voltages are unbalanced?
If the voltage between any two legs varies by more than 10%, you should consult an electrician or the manufacturer of your phase converter. Unbalanced power can cause motors to overheat and can damage the sensitive electronics in CNC controllers.
(This article was written by one of our staff writers, Edward Sinclair. Visit our Meet the Team page to learn more about the author and their expertise.)