Using 20V Battery Adapters for Older Tool Brands (Review)
I remember standing over a bench in a crowded shop, staring at a stack of legacy 18V cordless grinders that were essentially paperweights. The old nickel-cadmium batteries had long since given up the ghost, but the tools themselves—the heavy-duty gearboxes and the brushed motors—were still solid. In fabrication, we often face the choice of replacing an entire system or finding a way to bridge the gap between old mechanical reliability and modern power delivery. When I first started experimenting with modern power pack interfaces for these older platforms, I realized that the challenge wasn’t just about making the tool turn on. It was about maintaining the precision required for high-stakes metalwork, such as preparing a clean bevel for a critical weld or ensuring a consistent finish on sheet metal assembly.
In my 18 years of troubleshooting industrial mills and custom setups, I have learned that any change in a tool’s power source can introduce new variables. A slight drop in voltage or an intermittent connection doesn’t just slow you down; it can lead to tool chatter, poor surface finishes, and even weld porosity if your edge preparation is compromised. This guide focuses on the systematic diagnostic steps needed to integrate modern high-capacity power packs with legacy fabrication tools, ensuring they perform at or above their original factory specifications.
Establishing a Diagnostic Baseline for Legacy Tool Performance
Before upgrading a legacy platform with a modern interface, you must determine if the mechanical core of the tool is still capable of precision work. This baseline assessment involves checking the physical integrity of the motor, bearings, and drive assembly to ensure that the new power source won’t simply accelerate an existing mechanical failure.
Mechanical Integrity and Spindle Play Assessment
Mechanical integrity refers to the physical condition of the tool’s moving parts, specifically how well they maintain alignment under load. Spindle play, or the amount of “wiggle” in the output shaft, is a primary indicator of bearing wear that can lead to excessive tool chatter and ruined workpieces.
When I evaluate an older grinder or drill, I use a dial indicator to measure radial and axial play. For most fabrication tasks, a spindle runout of more than 0.005 inches is a red flag. If the bearings are shot, providing a more powerful 20V source will only increase the vibration frequency, making it nearly impossible to maintain a steady line during plasma cutting prep. I always check the brushes as well; if they are worn to less than 1/4 inch, the contact with the commutator will be poor, leading to arcing and inconsistent torque even with a fresh battery.
Electrical Continuity and Contact Resistance Testing
Electrical continuity is the presence of a complete path for current flow, while contact resistance is the opposition to that flow caused by dirty or oxidized terminals. In older tools, the original battery contacts are often pitted or covered in a layer of non-conductive oxidation that can restrict power delivery.
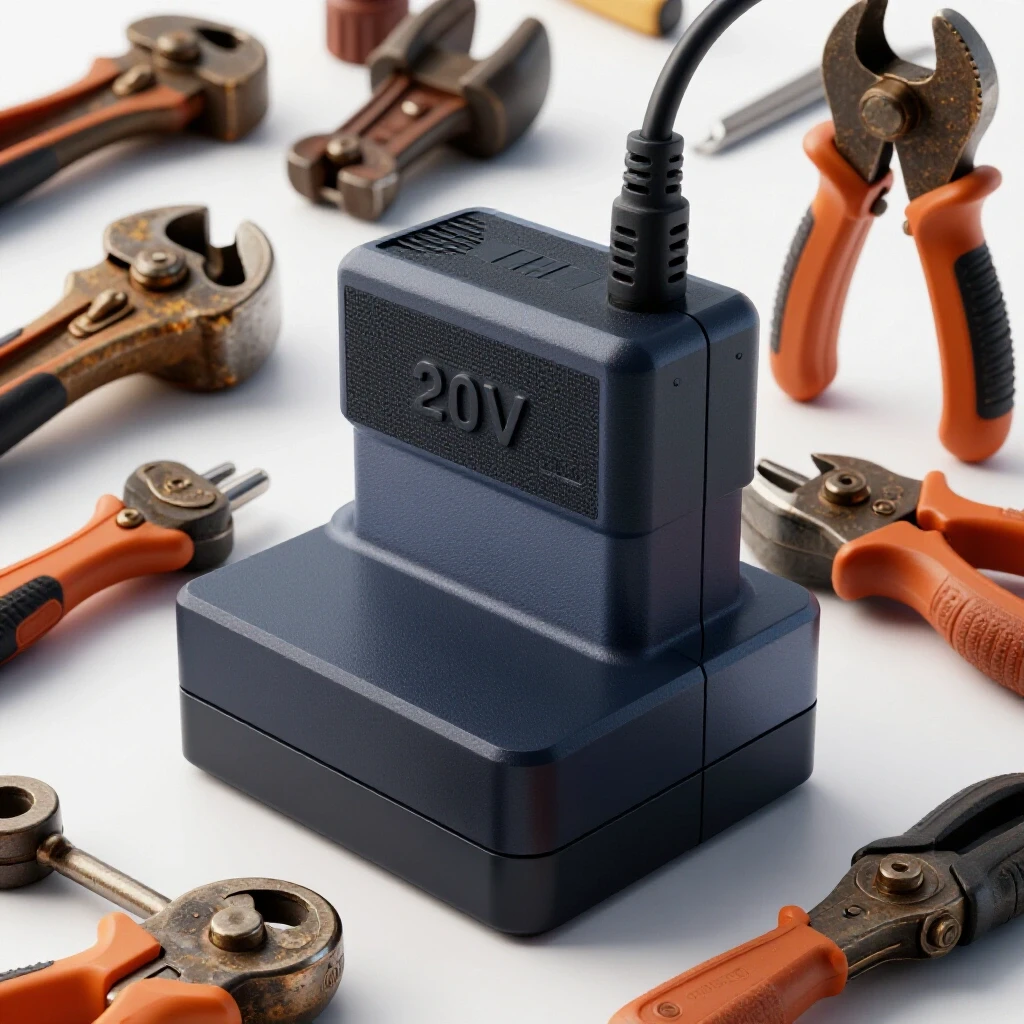
I use a multimeter set to the lowest Ohms scale to test the resistance between the tool’s internal wiring and the external battery terminals. A reading higher than 0.3 Ohms suggests that the contacts need cleaning or replacement. When using a modern interface converter, the number of connection points doubles. You have the connection between the battery and the adapter, and the adapter and the tool. Each of these is a potential failure point that can cause a voltage drop, leading to “stuttering” under heavy grinding loads.
Analyzing Power Delivery Consistency in Adapted Grinders
The primary goal of using a modern power pack on an older tool is to achieve consistent RPM and torque during demanding tasks. In metal fabrication, inconsistent tool speed is a silent killer of quality, often resulting in uneven bevels or overheating the base metal before a weld.
Monitoring Voltage Drop Under Fabrication Loads
Voltage drop occurs when the electrical pressure from the battery decreases as the motor pulls more current during a heavy cut or grind. If the adapter or the battery cannot handle the “draw,” the motor will bog down, which changes the chip load on your abrasive and can cause the tool to kick back.
To diagnose this, I perform a “load test” using a digital voltmeter. While grinding a piece of 1/4-inch mild steel, I monitor the voltage at the adapter terminals. A healthy system should not drop more than 1.5 to 2.0 volts from its resting state. If you see a drop of 4 volts or more, the interface is likely struggling with the current demand. This lack of “punch” is often the root cause of poor edge prep, which later manifests as troubleshooting weld porosity because the grinder wasn’t spinning fast enough to properly clean the oxides off the metal surface.
Torque Displacement and Motor Heat Signatures
Torque displacement is the shift in how a tool handles resistance, while heat signatures are the thermal patterns generated by the motor and the battery interface during operation. Using an infrared heat tracker allows you to see if the adapter is becoming a bottleneck by identifying “hot spots” at the connection points.
During a typical sheet-metal assembly session, I monitor the temperature of the adapter. If the interface exceeds 140 degrees Fahrenheit, it indicates high resistance in the conversion pins. High heat at the tool’s handle not only makes it uncomfortable to use but also signals that energy is being wasted as heat rather than being converted into mechanical torque. This can lead to the motor’s insulation breaking down, eventually causing a short circuit that could ruin both the tool and your expensive new battery.
| Performance Metric | Legacy NiCd Battery | Modern Pack with Adapter | Impact on Fabrication |
|---|---|---|---|
| No-Load RPM | 10,000 | 10,500 | Slightly faster cutting speeds |
| Voltage Under Load | 14.5V | 17.8V | Better torque retention |
| Runtime (Continuous) | 8 Minutes | 22 Minutes | Less downtime during prep |
| Connection Resistance | 0.1 Ohms | 0.4 Ohms | Potential for heat at the grip |
| Vibration (m/s²) | 4.5 | 5.2 | Higher risk of tool chatter |
Resolving Tool Chatter and Harmonic Vibrations
Tool chatter is a resonant vibration that occurs when the tool, the workpiece, and the power source reach a frequency that causes the cutting edge to bounce. When you add an adapter and a modern battery to an old tool, you change the tool’s mass and its center of gravity, which can shift these harmonics.
Identifying Resonant Harmonics in Retrofitted Tools
Resonant harmonics are the specific frequencies where a tool naturally vibrates most violently. Because modern 20V batteries are often lighter or shaped differently than old 18V packs, the balance of the tool changes, which can exacerbate vibrations during high-speed grinding.
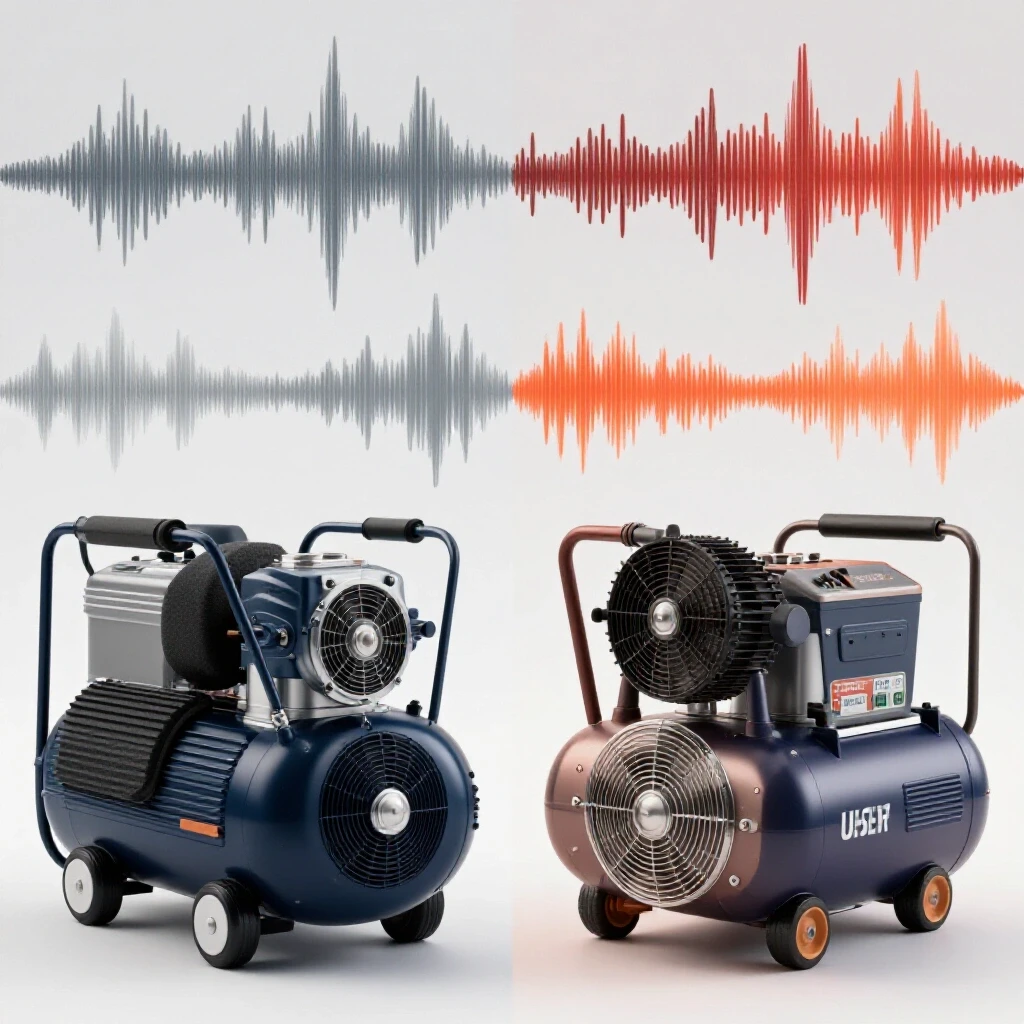
If I notice a “harmonic hum” or a rippled pattern on the metal surface, I know the tool’s vibration profile has changed. I use a smartphone-based vibration spectrum analyzer to find the peak frequency. Often, the adapter itself might have a slight bit of “play” or looseness in the tool’s battery track. Even a movement of 0.010 inches can create a secondary vibration that ruins a fine finish. I solve this by using high-density foam shims or tightening the adapter’s mounting screws to ensure the battery and tool act as a single, rigid mass.
Dampening Techniques for Sheet Metal Assembly
Dampening is the process of absorbing or neutralizing vibrations before they reach the workpiece. In sheet metal work, excessive vibration from an adapted tool can cause the metal to “oil-can” or flex, leading to inaccurate hole placement or distorted seams.
- Mass Loading: Adding a small amount of weight to the tool handle can sometimes move the resonant frequency out of the “chatter zone.”
- Grip Isolation: Using vibration-dampening gloves helps the operator maintain a steady feed rate, which is critical for preventing tool chatter.
- Interface Shimming: Ensuring the adapter is seated perfectly flush with the tool body prevents the “clacking” sound of plastic on plastic during operation.
Systematic Fault Isolation for Intermittent Power Issues
There is nothing more frustrating than a tool that cuts out right in the middle of a critical pass. Intermittent power issues in adapted systems are usually caused by physical movement or thermal expansion at the interface points.
The “Wiggle Test” and Contact Mapping
The “wiggle test” is a manual diagnostic step where you physically stress the connection points while the tool is running (under safe, no-load conditions) to see if the circuit breaks. Contact mapping involves using a marking dye or graphite to see where the adapter pins are actually touching the tool’s terminals.
If the tool cuts out when you apply downward pressure, the adapter is likely losing contact at the top of the terminal rail. I look for “witness marks” on the pins. If the marks are only at the very tip, the pins aren’t seated deeply enough. I’ve found that many off-the-shelf adapters have pins that are slightly too thin, leading to a loose fit. Increasing the tension on the tool’s internal leaf springs by 0.015 inches can often create a more secure, “bite-like” connection that survives the rigors of a fabrication shop.
Diagnosing Back-EMF and Controller Faults
Back-EMF (Electromotive Force) is the voltage pushed back into the circuit by a spinning motor. Some modern batteries have sensitive protection circuits that might mistake the Back-EMF from an old, heavy-duty brushed motor as a short circuit, causing the battery to shut down prematurely.
If your tool runs for three seconds and then stops, you are likely dealing with a protection circuit trip. This isn’t a fault of the tool or the battery, but a compatibility mismatch in how the electronics handle the motor’s “noise.” In these cases, I check the motor’s commutator. A dirty commutator creates more electrical noise. Cleaning it with a stone can reduce the “spike” sent back to the battery, often resolving the shutdown issue without needing to modify the electronics.
Troubleshooting Case Study: The Stuttering Portaband
I recently worked on a case involving a veteran fabricator whose legacy bandsaw started “stuttering” after he switched to a modern power interface. Every time he tried to cut through 2-inch angle iron, the saw would pulse and eventually stop.
We started by isolating the variables. First, we tested the saw with a corded power supply to rule out a mechanical bind; it cut perfectly, so the gearbox was fine. Next, we measured the voltage at the motor while cutting. We saw the voltage drop from 20V down to 12V in a fraction of a second. The culprit wasn’t the battery, but the adapter’s internal wiring. The manufacturer had used 18-gauge wire, which was too thin for the 25-amp draw of the bandsaw under load. We replaced the internal adapter leads with 14-gauge high-strand copper wire, and the stuttering vanished. This taught us that the “bottle-neck” is often hidden inside the plastic housing of the converter.
Checklist for Maintaining Adapted Fabrication Tools
To keep your retrofitted tools running at peak performance, I recommend a monthly diagnostic routine. This prevents minor wear from turning into a major failure during a project.
- Inspect Terminal Tension: Ensure the tool’s battery rails haven’t spread apart. They should firmly grip a 0.030-inch feeler gauge.
- Clean Contact Points: Use a contact cleaner and a stiff nylon brush to remove carbon buildup and metal dust from the adapter pins.
- Check Housing Screws: Vibrations can loosen the screws holding the adapter together. Tighten them to prevent internal rattling.
- Monitor Motor Brushes: Check for even wear. Uneven wear suggests the commutator is out of round, which will cause power fluctuations.
- Verify Battery Latch: Ensure the modern pack clicks into the adapter with no movement. If it wobbles, it will arc and eventually melt the plastic.
Conclusion: Bridging the Gap Between Eras
Mastering the use of modern power sources on legacy tools is about more than just saving money; it’s about maintaining the workflow and reliability of the equipment you know best. By applying a systematic diagnostic approach—checking mechanical baselines, monitoring voltage under load, and isolating vibrational harmonics—you can ensure that your “upgraded” tools are assets rather than liabilities.
The transition from old battery tech to modern packs via adapters requires a millwright’s eye for detail. You have to be willing to look past the surface and measure the tolerances that matter. When the connection is solid, the voltage is stable, and the harmonics are dampened, these older tools often outperform their modern counterparts in pure durability. Your next step is to grab your multimeter and dial indicator, and start auditing your legacy fleet. The goal isn’t just to make them run; it’s to make them run with the precision your fabrication work demands.
Frequently Asked Questions
Why does my adapted grinder feel like it has less “torque” than it used to?
This is usually caused by high contact resistance or thin wiring inside the adapter. Even if the battery is “20V Max,” if the interface cannot deliver the high amperage (current) required for grinding, the motor will bog down. Check the internal wiring of the adapter; it should be at least 14 or 16-gauge for high-draw tools.
Can using an adapter cause weld porosity?
Indirectly, yes. If the adapter causes the grinder to run at inconsistent speeds, you won’t get a clean, uniform bevel. Leftover oxides or uneven surfaces can trap gases during the welding process, leading to porosity. Consistent RPM is key to proper weld preparation.
How do I stop the “whining” noise my tool makes with the new battery?
That whine is often a high-frequency vibration caused by the pulse-width modulation (PWM) in the battery’s protection circuit interacting with the old motor. If it’s accompanied by physical vibration, check for “play” in the adapter-to-tool fit and shim it with a non-conductive material.
Is it normal for the adapter to get hot during a long grinding session?
A little warmth is normal, but it shouldn’t be “hot to the touch” (over 140°F). Excessive heat means there is a resistance problem at the pins or in the internal wiring. This wastes battery power and can eventually melt the adapter housing.
Why does my tool shut off when I hit a heavy spot in the metal?
This is likely the battery’s “Over-Current Protection” (OCP) kicking in. Modern batteries are designed to shut down to prevent damage if they sense too much resistance. Ensure your tool’s bearings are lubricated and the brushes are in good shape to minimize the mechanical load on the motor.
How can I tell if my old tool’s motor is too worn for a 20V upgrade?
Check the commutator (the copper part the brushes touch). If it is deeply grooved or has “burnt” black spots, the motor is drawing too much current. Also, use a dial indicator to check for spindle runout; anything over 0.005 inches will cause excessive vibration with a more powerful battery.
Does the extra weight of the adapter and battery affect tool alignment?
Yes, it changes the center of gravity. In tasks like precision drilling or long-track cutting, you may need to adjust your grip or use a guide to compensate for the “tail-heavy” feel of the tool to maintain a square alignment.
What is the most common failure point in these battery conversion setups?
The most common failure is the physical connection between the adapter and the tool’s original battery rails. Because these were designed for a different locking mechanism, they can vibrate loose, causing arcing, heat, and intermittent power loss.
Can I use these adapters for heavy-duty fabrication tasks like plasma prep?
Yes, provided the adapter is high-quality. Heavy grinding for plasma prep requires sustained high current. If the tool maintains its RPM under a heavy load, the adapter is doing its job. If the RPM drops significantly, the adapter is a bottleneck.
How do I measure the “voltage drop” mentioned in the article?
You can use a multimeter with “alligator clip” leads. Attach them to the wires leading into the tool’s motor (if accessible) or the adapter’s output pins. Watch the screen while you put the tool under a typical work load. A drop of more than 10-15% of the resting voltage indicates a bottleneck.
(This article was written by one of our staff writers, Paul Whitaker. Visit our Meet the Team page to learn more about the author and their expertise.)