Vertical vs Horizontal Steel Rack Storage Compared (DIY Plan)
The transition from a hobbyist workshop to a professional-grade fabrication space is rarely a single event. It is a series of hard-earned lessons in physics, geometry, and logistics. Twenty years ago, I started with a basic welder and a pile of steel tucked into a corner. As my output grew and I integrated a CNC plasma table, that disorganized pile became a liability. I realized that how I stored my raw stock was the primary bottleneck in my production cycle. If you are spending twenty minutes digging for a specific piece of 2-inch square tubing, your advanced machinery is sitting idle.
Scaling a shop requires a shift in mindset. You stop looking at tools and start looking at systems. In my own facility, I had to move away from “where does this fit?” to “how does this move?” This guide focuses on the critical decision between standing your material on end or laying it flat. We will look at how to build your own systems using steel you likely already have on hand. We will also explore how these choices impact your floor layout, electrical needs, and overall shop throughput.
Mapping Material-Flow Loops and Floor Capacity
Material flow is the path stock takes from the delivery truck to the cutting table and finally to the shipping dock. It minimizes wasted motion and physical strain. A well-mapped flow ensures that heavy steel moves the shortest distance possible while keeping access zones clear for safety and maintenance.
When I first laid out my current shop, I used a “spaghetti diagram.” I drew a line for every trip I took to get a piece of steel. The lines crossed each other constantly, creating a mess. By reorganizing my storage, I reduced my daily walking distance by nearly 30 percent. You must consider your floor load ratings before you build any heavy-duty rack. A standard 4-inch concrete slab can often handle the weight, but concentrated loads from a narrow rack can cause cracking over time.
- Always maintain a 3-foot minimum access zone around all storage areas.
- Position your heaviest stock closest to the primary cutting station.
- Verify floor thickness before anchoring any permanent steel structures.
- Design paths that allow for a 20-foot stick of steel to be turned without hitting machines.
Comparing Upright and Flat Stock Storage Strategies
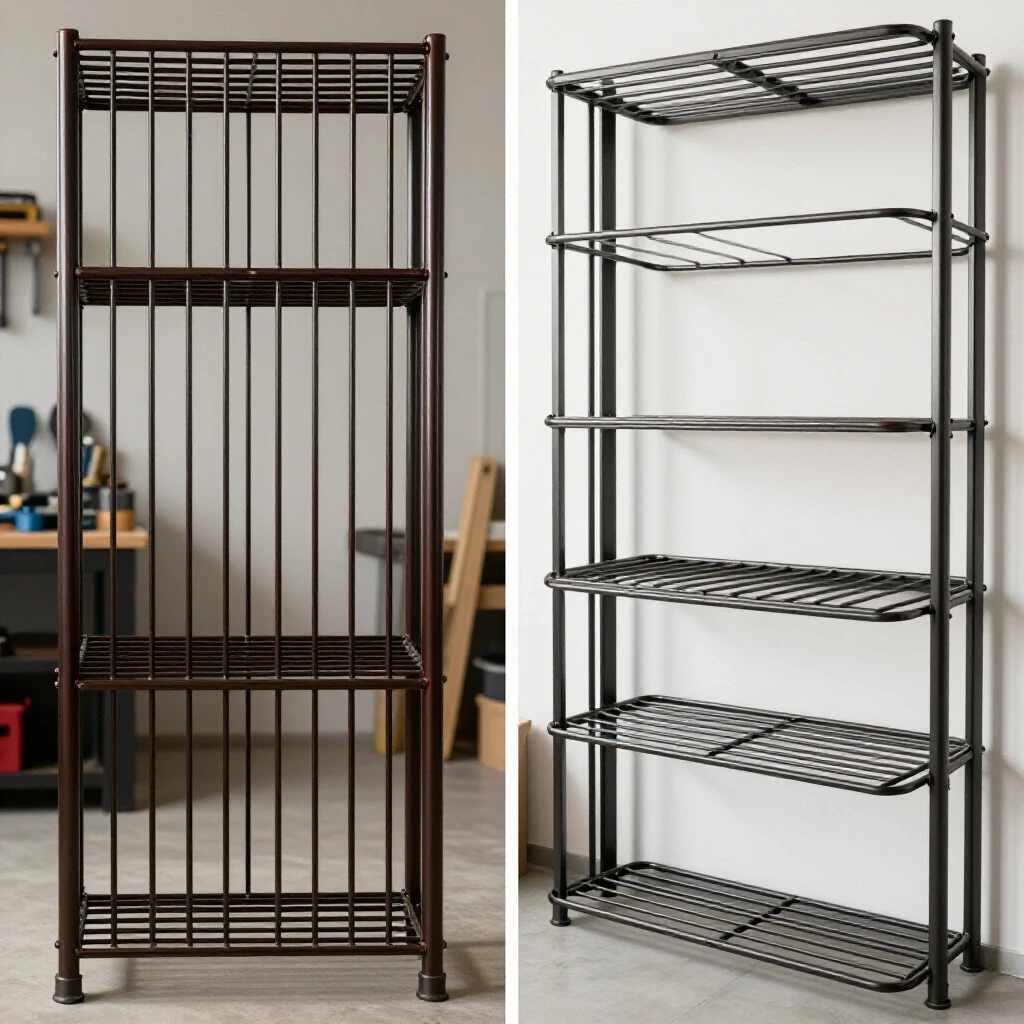
Choosing between standing material on its end or laying it flat involves balancing floor footprint against ease of selection. Upright storage saves space but requires height, while flat storage allows for easier heavy-duty stacking. Each method has specific structural requirements that dictate how you will fabricate your DIY solution.
In my experience, upright storage is a game-changer for short-to-medium lengths and “drops.” It allows you to see every piece of inventory at a glance. However, if you are working with 20-foot lengths of heavy C-channel, gravity becomes an enemy. Flat storage is more stable for high-volume bulk, but it often leads to the “bottom of the pile” syndrome. You inevitably need the piece at the very bottom.
| Feature | Upright (Vertical) Storage | Flat (Horizontal) Storage |
|---|---|---|
| Floor Space Usage | Low (Highly Efficient) | High (Consumes Square Footage) |
| Ease of Selection | Excellent for varied sizes | Difficult for mixed stacks |
| Weight Capacity | Limited by floor point-load | High (Distributed over area) |
| Ceiling Height Req. | High (Must exceed material length) | Low (Standard height is fine) |
| DIY Build Complexity | Moderate (Needs safety chains) | Low (Simple cantilever or bunk) |
Structural Fabrication for Heavy Metal Loads
Building your own storage requires understanding how square tubing and angle iron distribute weight to the floor. Proper weld penetration and gusseting ensure the rack doesn’t buckle under the weight of full steel lifts. A DIY rack must be over-engineered because the dynamic loads of sliding steel in and out create significant stress.
I prefer using 2-inch or 3-inch square tubing with a 3/16-inch wall thickness for most rack frames. Angle iron is excellent for the “shelves” or “dividers” because it provides a natural stop for the material. When I built my cantilever rack, I used heavy gussets at every joint. This prevents the arms from sagging over time. Remember, a rack holding two tons of steel is essentially a giant spring waiting to unload if a weld fails.
- Use a minimum of 1/4-inch plate for floor mounting pads to distribute weight.
- Incorporate diagonal bracing on the back of the rack to prevent racking (side-to-side movement).
- Ensure all welds are full-penetration; this is not the place for “tack and go” assembly.
- Add a slight upward pitch (2 to 3 degrees) to horizontal arms to keep round stock from rolling off.
Optimizing Workflow for CNC Plasma Integration
A CNC plasma table setup changes how you retrieve material. Storing sheets and bars near the gantry reduces the time spent moving heavy loads, which directly impacts your daily throughput and machine uptime. An efficient layout places the storage rack within the “swing zone” of the machine’s loading area.
Integrating automation like a CNC table means your material handling must be just as fast as the machine’s travel speed. If the gantry moves at 300 inches per minute, but it takes you ten minutes to find a sheet of 11-gauge plate, the machine’s efficiency is wasted. I positioned my flat sheet rack directly behind my plasma table. This allows me to slide sheets onto the water bed with minimal lifting.
- Identify the “loading side” of your CNC gantry.
- Clear a path for sheet material that is at least 5 feet wide.
- Store frequently used thicknesses at waist height to reduce back strain.
- Use labeled dividers for different material types (mild steel, stainless, aluminum).
Electrical and Air Quality Considerations in the Fabrication Cell
High-output shops require robust 3-phase power converters and dust collection duct design to maintain a safe environment. Managing the heat and fumes from constant cutting is as important as the storage itself. Proper ventilation prevents fine metal dust from settling on your stored stock, which can cause rust or contamination.
When I upgraded to a larger CNC system, I had to install a rotary phase converter to handle the 3-phase power requirements. This added a new layer of complexity to my shop layout. I also had to design a high-volume air scrubbing system. Without it, the plasma smoke would coat every piece of steel in the rack with a fine, abrasive film. This film can ruin the finish on stainless or clog your plasma torch consumables.
- Target 1,000–2,000 CFM for a standard 4×4 or 4×8 plasma table extraction.
- Use smooth-wall metal ducting to reduce static pressure losses in your air system.
- Position your 3-phase power converter in a well-ventilated area away from heavy dust.
- Balance your electrical loads across all three phases to prevent motor overheating.
DIY Fabrication Plan for Customized Steel Racks
A successful DIY build follows a logical sequence: cutting components to length, jigging the frame for squareness, and executing structural welds. This process creates a tailored solution that fits your specific workshop dimensions and material needs. By building it yourself, you can account for specific obstructions like electrical panels or air lines.
For an upright rack, start with a heavy base frame. I use 4-inch C-channel for the base to keep the center of gravity low. The “fingers” that separate the material should be angled slightly toward the wall. This ensures the steel leans back securely. For a flat rack, the cantilever design is king. It allows you to store long sticks without the interference of front vertical posts.
- Measure and Cut: Use a cold saw or bandsaw for precise 90-degree cuts on your square tubing.
- Jig the Base: Clamp your base components to a flat welding table to ensure the foundation is perfectly square.
- Tack and Square: Tack the vertical uprights and check them with a machinist’s square in two planes.
- Weld and Gusset: Complete all structural welds, then add 1/4-inch triangular gussets to every major joint.
- Anchor to Floor: Use 1/2-inch wedge anchors to secure the rack to the concrete, ensuring it cannot tip.
Tracking Efficiency and Layout Maintenance
Once your racks are built and your material is organized, the work isn’t over. You need a way to track how well the system is functioning. I use a simple “touch count” metric. Every time I touch a piece of steel before it gets cut, that counts as a touch. The goal is to get that number as close to one as possible.
If you find yourself moving three pieces of steel to get to the one you want, your layout needs adjustment. Regularly check your rack for signs of stress or fatigue. Look for chipped paint around welds, which can indicate movement or cracking. A shop that scales successfully is one that treats its infrastructure with the same respect as its high-end machinery.
- Perform a monthly inspection of all floor anchors and structural welds.
- Re-evaluate your “high-use” zones every quarter based on your current projects.
- Keep a log of machine downtime caused by material handling delays.
- Update your CAD/CAM tool library to reflect the materials you actually have in stock.
Summary of Advanced Shop Evolution
Transitioning to a professional-level operation is a marathon, not a sprint. By focusing on the fundamentals of material storage and flow, you create a foundation for all your other technology. Whether you choose an upright system for its small footprint or a flat system for its high capacity, the key is intentionality.
I have found that the most successful shops are those that minimize “dead time.” Every minute spent searching for a tool or a piece of steel is a minute that isn’t generating revenue. Build your racks to be rugged, position them to be accessible, and maintain them to be safe. This systematic approach will turn your workshop from a collection of tools into a high-output manufacturing cell.
FAQ
What is the best material for a DIY steel rack? I recommend using mild steel square tubing (2×2 or 3×3) with at least a 3/16-inch wall thickness. It provides excellent torsional rigidity and is easy to weld with standard shop equipment. Angle iron is also useful for dividers and shelf supports.
How do I determine if my floor can handle a heavy rack? A standard 4-inch residential or light commercial slab usually supports about 3,000 to 4,000 PSI. However, the point load of a rack is the concern. Use large base plates (at least 6×6 inches) to spread the weight and avoid placing anchors near existing cracks or expansion joints.
Should I use a rotary or static phase converter for my CNC? For CNC machinery, a rotary phase converter or a high-quality VFD (Variable Frequency Drive) is essential. Static converters do not provide the balanced 3-phase power required by sensitive electronics and CNC gantry motors, which can lead to “ghost” errors or motor failure.
How much CFM do I really need for plasma smoke? For a 4×8 table, you should aim for at least 1,500 to 2,000 CFM. This ensures that the air velocity at the table surface is high enough to capture fine particulates before they disperse into the shop.
Can I store full sheets of steel vertically? Yes, but it requires a very robust “toaster rack” design. You must ensure the sheets are leaning at a slight angle (about 5 degrees) so they don’t tip forward, and the base must have high-friction surfaces to prevent the bottom of the sheets from sliding out.
How do I prevent my racks from “racking” or swaying? Diagonal bracing is the most effective method. Adding an “X” pattern of flat bar or smaller tubing across the back of the rack will significantly increase its lateral stability. Never rely solely on the strength of the 90-degree welds.
Is it better to weld or bolt a DIY rack together? Welding provides a more rigid, permanent structure which is better for heavy loads. However, bolting specific components (like the arms on a cantilever rack) can allow for future adjustability. If you bolt, use Grade 8 hardware and torque them to spec.
What is the “spaghetti diagram” for shop layout? It is a visual tool where you draw lines on a floor plan representing every movement a worker or piece of material makes during a project. If the drawing looks like a plate of spaghetti, your layout is inefficient and needs to be streamlined into a more linear flow.
How often should I clean my shop’s air filtration filters? In a high-production environment, check your pre-filters weekly. If you notice a drop in suction (static pressure increase), it is time to clean or replace them. Keeping filters clean protects your lungs and prevents dust from settling on your inventory.
How do I balance the weight on an upright rack? Always place your heaviest and longest materials toward the center or the most supported part of the rack. Shorter “drops” and lighter gauges can go toward the ends. This keeps the center of gravity stable and reduces the risk of the rack twisting.
(This article was written by one of our staff writers, Edward Sinclair. Visit our Meet the Team page to learn more about the author and their expertise.)