Why Upgrading to High Speed Metal Cold Saws Pays Off (Review)
Scaling a fabrication shop from a hobby space into a professional environment is a transition marked by a shift in perspective. In my 20 years of managing manufacturing operations, I have learned that the biggest hurdle isn’t just buying better tools. It is about how those tools change the way material moves through your building. When you move away from standard cutting methods to high-speed circular shearing, you aren’t just changing a blade; you are fundamentally altering your production capacity.
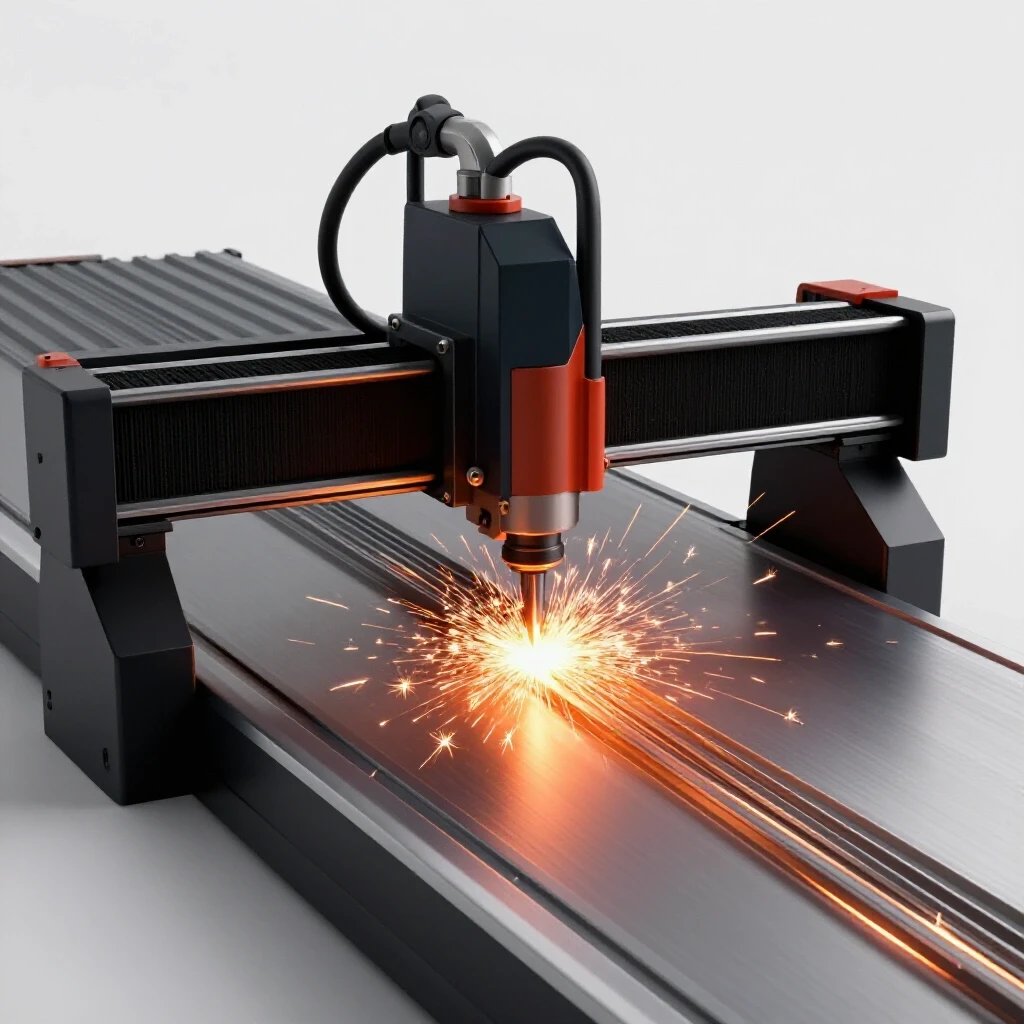
I remember the early days in my home-based shop. I was using a standard abrasive chop saw that filled the air with grit and left every piece of tubing with a massive burr. As I began integrating more advanced equipment, like a CNC plasma table, I realized my cutting station was the primary bottleneck. The time spent grinding edges and squaring up cuts was stealing hours from my actual fabrication work. Transitioning to a high-speed metal cold saw was the turning point that allowed me to treat my shop like a true production facility.
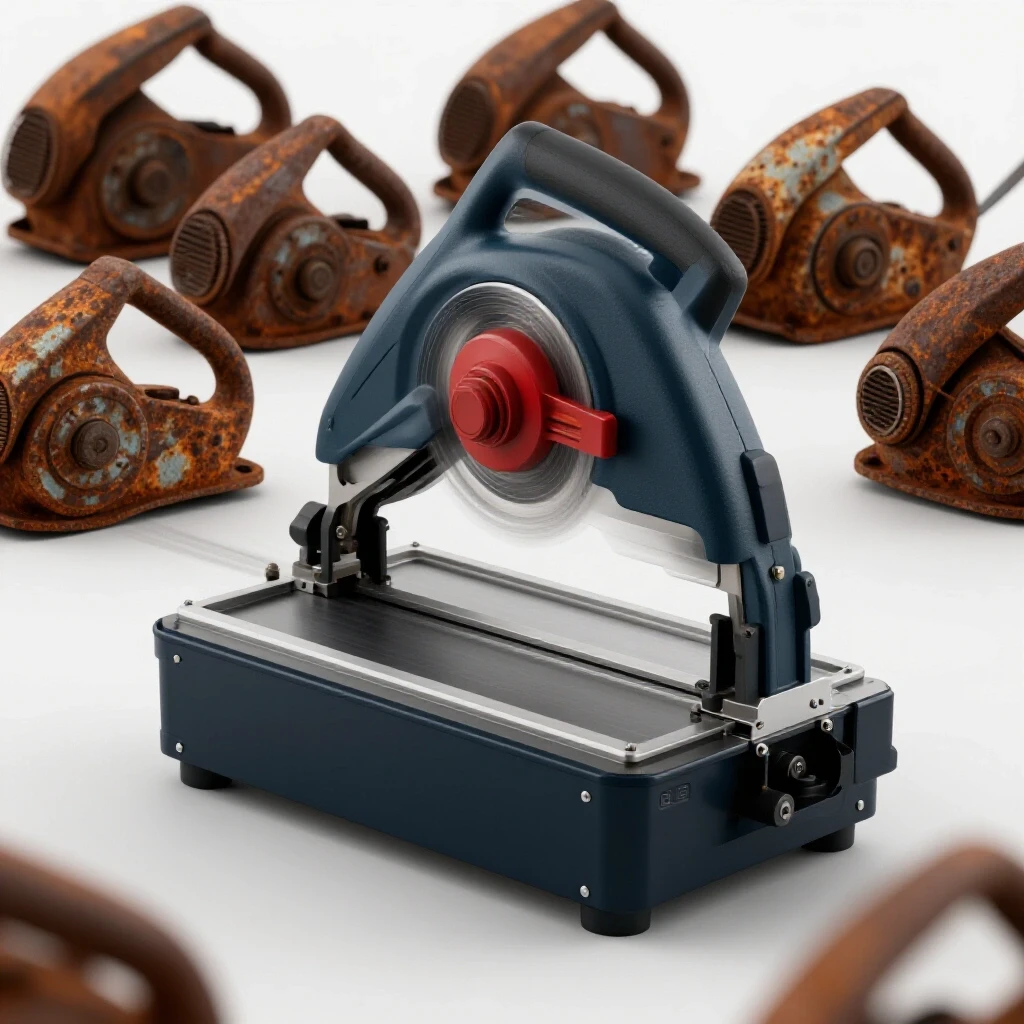
Mapping Material-Flow Loops and Machine Zoning
Strategic workshop layout involves analyzing the path a raw piece of metal takes from the moment it enters the building until it leaves as a finished product. Proper zoning ensures that high-speed cutting stations are placed to minimize travel distance and physical strain on the operator.
Efficiency in a micro-manufacturing environment is often won or lost in the “travel inches.” In my shop, I utilize a linear flow pattern. This means the material moves in one direction without doubling back. If your raw material rack is at the back of the shop, but your saw is at the front, you are wasting energy and floor space moving heavy stock. I recommend placing your high-speed cutting station immediately adjacent to your primary material entry point.
Why Linear Flow Patterns Reduce Physical Bottlenecks
A linear flow pattern organizes machinery in a sequence that mimics the stages of production, starting with raw material and ending with shipping. This reduces the “spaghetti effect” where operators cross paths frequently, leading to safety hazards and wasted time.
When I redesigned my layout, I used a 3-foot minimum access zone around every major machine. This is not just for safety; it is for maintenance. For a high-speed cold saw, you also need to account for the “in-feed” and “out-feed” lengths. If you frequently cut 20-foot sticks of tubing, you need a 40-foot clear path. If your shop is only 30 feet long, you have to angle the saw. I found that a 15-degree offset to the main aisle often provides the necessary clearance without blocking other workstations.
Measuring Floor Load Ratings for Heavy Machinery
Floor load rating is the amount of weight a workshop floor can safely support per square foot. Industrial cold saws and the accompanying material racks can concentrate several thousand pounds into a very small footprint, requiring a stable concrete foundation.
Most residential garage floors are 4 inches thick, which is generally sufficient for a standard saw. However, if you are scaling up to a high-output setup with heavy material rollers, you must check for cracks or settling. In my experience, anchoring the saw to the floor is vital. High-speed blades rotating at 3000 to 5000 RPM create gyroscopic forces and vibrations. A saw that isn’t bolted down will “walk” across the floor, ruining your precision and creating a safety risk.
| Layout Factor | Requirement | Impact on Efficiency |
|---|---|---|
| In-feed Clearance | 20-24 feet | Allows for full-length stock handling |
| Access Zone | 3 feet minimum | Ensures safe maintenance and operation |
| Operator Station | 4×4 feet | Reduces fatigue and improves visibility |
| Material Height | 36-42 inches | Matches standard fabrication table heights |
Transitioning to High-Speed Precision Cutting Mechanics
High-speed metal cold saws utilize toothed circular blades that rotate at significantly higher RPMs than traditional cold saws. This rapid shearing action produces clean, square cuts with minimal burrs, which is essential for shops moving toward professional-grade assembly and welding.
The technical shift here is moving from “grinding” the metal to “shearing” it. Traditional abrasive saws use friction to melt through the material. A high-speed cold saw uses a precision-ground blade to take actual chips out of the metal. This results in a cut that is cool to the touch and perfectly square. When I first made this switch, the reduction in prep time was immediate. I no longer had to spend five minutes with a flap disc on every cut before the part was ready for the welding table.
Understanding RPM Ranges and Blade Stabilization
Rotational speed, measured in Revolutions Per Minute (RPM), determines how the blade interacts with the metal. High-speed variants typically operate between 3000 and 5000+ RPM, requiring specialized blade stabilization to prevent wobbling or deflection during the cut.
Blade stabilization is achieved through heavy-duty flanges and precision spindles. In a high-output environment, any vibration in the blade will lead to a rougher surface finish. I look for saws with a robust “head” design. The head is the assembly that holds the motor and the blade. If this assembly is made of thin stamped steel, it will flex. A cast-iron head is the standard for anyone looking to achieve professional results.
The Impact of Tooth Geometry on Cut Squareness
Tooth geometry refers to the shape, angle, and spacing of the teeth on a circular saw blade. For high-speed metal cutting, the teeth are designed to eject chips rapidly, preventing the blade from clogging and ensuring the cut remains perfectly vertical.
In my project logs, I have noted that using the wrong tooth count is the most common mistake for advanced hobbyists. A blade with too many teeth will “rub” the metal rather than cut it, while too few teeth will “grab” and potentially break the blade. For thin-wall tubing, a higher tooth count is necessary to ensure at least three teeth are in the material at all times. For solid bar stock, a coarser tooth count allows for deeper chips and faster through-put.
Powering the Evolution: 3-Phase Electrical Loading
Most professional-grade high-speed saws require 3-phase power, which provides more consistent torque and better energy efficiency than single-phase residential power. Managing this electrical requirement is a core part of transitioning to a semi-professional shop environment.
When I moved into my current space, I only had standard 240V single-phase power. To run industrial machinery, I had to learn about phase conversion. 3-phase power uses three separate alternating currents that are out of sync with each other. This creates a rotating magnetic field in the motor, which is much more powerful and smoother than the “pulsing” nature of single-phase power.
Rotary vs. Digital Phase Converters
A rotary phase converter uses a physical motor to generate the third leg of power, while a digital converter uses solid-state electronics to create a clean 3-phase signal. Each has distinct advantages for a fabrication shop depending on the sensitivity of the equipment.
For a high-speed saw, a rotary phase converter is often the most reliable choice. They are rugged and can handle the high “inrush” current when the saw motor starts up. However, they are noisy. If your shop is in a residential area, a digital phase converter might be better. Digital units provide “balanced” power, meaning the voltage on all three legs is nearly identical. This is crucial for the longevity of the motor.
- Rotary Converters: Best for high-torque starts; loud; mechanically simple.
- Digital Converters: Extremely quiet; very efficient; more expensive; provides “clean” power.
- Static Converters: Not recommended for high-speed saws as they reduce the motor’s horsepower by a third.
Balancing Voltage for Motor Longevity
Phase balancing is the process of ensuring that the voltage across all three legs of a 3-phase system is equal. Large imbalances can cause the motor to overheat and fail prematurely, which is a costly setback for any scaling operation.
I recommend using a multimeter to check your voltages under load. If you see a difference of more than 5% between the legs, your converter needs adjustment. In my shop, I keep a log of these readings every six months. This data-driven approach has saved me from at least two motor burnouts over the years. According to the National Electrical Code (NEC), proper grounding and circuit protection are also non-negotiable when installing these systems.
| Power System | Voltage Stability | Noise Level | Ideal Use Case |
|---|---|---|---|
| Single Phase | High | Low | Small hand tools, lights |
| Rotary 3-Phase | Moderate | High | Heavy grinders, old saws |
| Digital 3-Phase | Excellent | Very Low | Precision high-speed saws, CNC |
Managing Waste and Air Quality in High-Output Environments
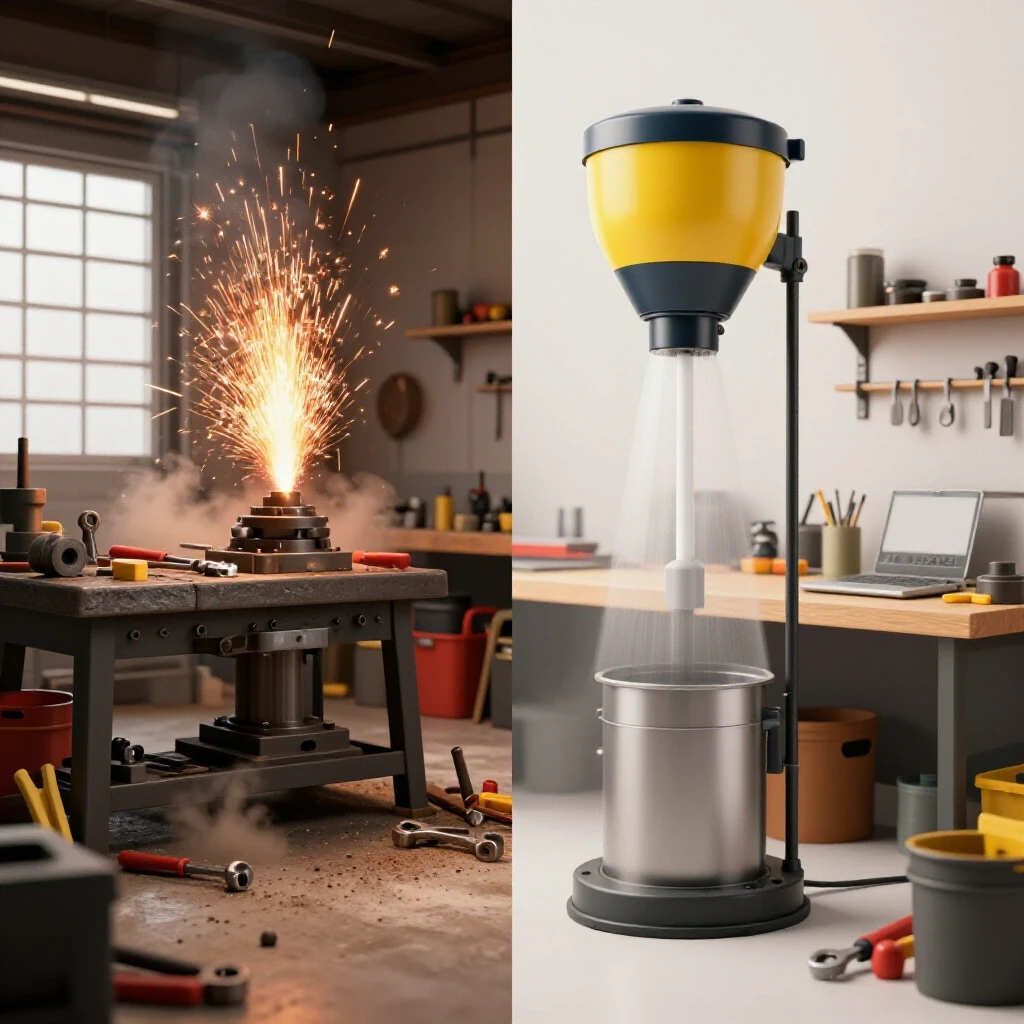
High-speed cutting generates a large volume of metal chips and, in some cases, a fine mist of coolant. Designing an effective collection and filtration system is vital for maintaining a clean workspace and protecting your health.
In a professional shop, “dust collection” for metal is different than for wood. Metal chips are heavy and abrasive. They don’t just float in the air; they fly off the blade at high velocities. If you don’t contain them, they end up in the tracks of your CNC plasma table or inside the cooling fans of your welders. This leads to premature equipment failure and hours of unnecessary cleaning.
Designing High-Volume Chip Collection Systems
Chip collection involves using shrouds and high-velocity air to capture metal fragments at the source. A well-designed system uses smooth-walled ducting to prevent clogs and a multi-stage separator to pull the heavy metal out of the air stream.
I use a dedicated “chip tray” system combined with a vacuum shroud. The shroud is positioned exactly where the blade exits the cut. For high-speed saws, the air velocity in the duct needs to be around 4,000 to 4,500 feet per minute (FPM) to keep the heavy chips moving. I found that using standard PVC pipe is a mistake; the static electricity build-up can be a fire hazard, and the metal chips will eventually erode the plastic walls. Stick to grounded spiral metal ducting.
Air Scrubbing and Coolant Mist Filtration
Air scrubbing refers to the process of pulling the entire volume of shop air through a series of filters to remove fine particulates. For saws that use a mist coolant system, a specialized “mist collector” is required to prevent oils from settling on every surface in the shop.
OSHA standards for air quality are a good benchmark even for home-based shops. If you can see a “haze” in the air after a few hours of cutting, your filtration is inadequate. I installed a ceiling-mounted air scrubber that cycles the shop’s air volume six times per hour. For a 1,000-square-foot shop with 10-foot ceilings, you need a unit rated for at least 1,000 CFM (Cubic Feet per Minute).
- Source Capture: Use a shroud directly on the saw.
- Primary Separation: Use a cyclone separator to drop heavy chips into a bin.
- Fine Filtration: Use a HEPA-rated filter for the remaining dust.
- Ambient Scrubbing: Use ceiling units to catch what the source capture missed.
Advanced Workshop Layout and CNC Workflow Integration
The real value of a high-speed cutting upgrade is how it feeds into the rest of your advanced workflows. By producing cleaner, more accurate blanks, you reduce the workload on downstream processes like CNC plasma cutting and final assembly.
In my shop, the high-speed saw is the “gatekeeper.” If a part is cut poorly there, it causes problems at every other station. For example, if I am building a frame that will be finished on the CNC plasma table, a square cut at the saw means the frame will sit perfectly flat on the water bed. This level of precision is what separates a hobbyist from a professional fabricator.
Reducing Setup Times for Downstream Fabrication
Setup time is the period required to prepare a machine or a workpiece for a specific process. High-speed saws reduce this by providing “weld-ready” cuts that do not require secondary deburring or squaring.
I track my “touch time” for every part. Before the upgrade, a single 2×2 square tube cut took 45 seconds to cut and 3 minutes to clean. After switching to a high-speed circular shearing method, the cut took 15 seconds and required zero cleaning. Over a production run of 100 parts, that is a saving of nearly 6 hours. That is time I can spend on CAD/CAM design or optimizing my CNC plasma table setup.
Coordinating Tooling Files and Material Lists
Integrating a high-speed saw into a professional workflow involves more than just physical labor; it requires software coordination. Maintaining accurate material lists and cut sheets ensures that the saw operator is always working in sync with the CNC programmer.
I use a simple cloud-based ERP (Enterprise Resource Planning) system to track my inventory. When I design a part in CAD, the software generates a cut list. This list goes to the saw station. Because the high-speed saw is so accurate, I can program my CNC plasma table with much tighter tolerances. I know that the blank I place on the table will be exactly the size I intended, within a few thousandths of an inch.
- Step 1: Export cut list from CAD software.
- Step 2: Group cuts by material size to minimize waste (nesting).
- Step 3: Execute cuts on the high-speed saw.
- Step 4: Move parts directly to the CNC or welding jig.
Actionable Benchmarks for Shop Optimization
To help you gauge your progress, I have compiled a list of benchmarks based on industrial standards and my own shop metrics. These are not “perfect” numbers, but they provide a target for a scaling operation.
- Cut Squareness: Aim for less than 0.005 inches of deviation over a 4-inch cut.
- Surface Finish: The cut face should be smooth enough that no grinding is needed for a structural weld.
- Electrical Balance: Keep 3-phase voltage legs within 2% of each other for maximum motor life.
- Airflow: Maintain at least 4,000 FPM velocity in chip collection ducts.
- Maintenance: Check blade tension and lubrication levels every 8 hours of run time.
Following these metrics has allowed me to scale my throughput without increasing my floor space. It is about working smarter within the constraints of a micro-manufacturing environment.
Conclusion
Transitioning to a high-speed metal cutting system is a significant step in the evolution of any advanced workshop. It requires a holistic approach that considers floor layout, electrical infrastructure, and air quality management. By focusing on the physics of material flow and the mechanics of the shearing process, you can eliminate the bottlenecks that hold back your production.
My journey from a basic hobby setup to a professional-grade facility was paved with lessons about efficiency and precision. The high-speed cold saw was the catalyst for many of those improvements. It forced me to rethink my power delivery, my waste management, and my workflow. If you are ready to scale, look at your cutting station. It is likely the key to unlocking the next level of your shop’s potential.
FAQ
What is the main difference between a standard cold saw and a high-speed version? Standard cold saws usually run at very low RPMs (50-100) and are designed for heavy solids. High-speed versions run at 3000-5000+ RPM and use different blade geometries to shear through tubing and light shapes much faster, often with a cleaner finish.
Can I run a high-speed 3-phase saw on a 220V residential circuit? Yes, but you will need a phase converter. A rotary or digital phase converter can take your single-phase 220V/240V input and create the three legs of power required by the saw’s motor.
How often do high-speed blades need to be sharpened? This depends on the material, but in a production environment, I typically swap blades every 500 to 1,000 cuts. Unlike abrasive wheels, these blades are an investment and can be professionally sharpened many times.
What is the best way to handle the metal chips produced by these saws? A combination of a gravity-fed chip tray and a high-velocity vacuum shroud is best. Ensure your vacuum system uses metal ducting to handle the abrasive nature of the chips and to prevent static fire risks.
Do these saws require a special coolant? Most high-speed saws use a “mist” or “micro-lube” system. This uses a tiny amount of specialized vegetable-based oil atomized in an air stream. It keeps the blade lubricated without soaking the floor in liquid.
How much space should I realistically allocate for a saw station? Beyond the machine footprint, you need at least the length of your longest raw stock on the in-feed side and the length of your longest finished part on the out-feed side. A 20-foot stick of pipe requires a 40-foot linear path.
Why is blade stabilization so important at high RPMs? At 5000 RPM, any slight imbalance or flex in the blade is magnified. This causes “chatter,” which ruins the surface finish and can lead to the blade shattering. Heavy-duty flanges are essential to keep the blade true.
Will a high-speed cold saw work for stainless steel? High-speed saws are excellent for non-ferrous metals and mild steel. For stainless steel, the RPM usually needs to be dialed back, and a specific blade grade is required to prevent work-hardening of the material.
How do I know if my shop’s air filtration is sufficient for a new saw? If you notice a “metallic” smell or a fine mist hanging in the air after cutting, your CFM is too low. Aim for an air scrubber that can move the entire volume of your shop’s air at least six times per hour.
Is it worth anchoring the saw to the concrete floor? Absolutely. The high rotational speed of the motor and blade creates vibration. Bolting the machine down ensures the saw stays square to your material rollers and prevents the machine from shifting during a heavy cut.
(This article was written by one of our staff writers, Edward Sinclair. Visit our Meet the Team page to learn more about the author and their expertise.)