Avoid Budget Overruns When Expanding Your Home Shop (DIY Fix)
I remember the exact moment I realized my side-hustle was actually costing me money. I had just finished a custom garden gate for a local client. I spent twenty hours cutting, fitting, and welding. When I handed over the invoice and collected my $500, I felt great—until I looked at my empty argon tank and the pile of used-up flap discs on the floor. After subtracting the cost of the steel, the gas refill, and the box of grinding wheels, I realized I had earned about four dollars an hour.
That was fifteen years ago. Since then, I have owned and operated multiple small fabrication shops. I have learned that growing a metalworking business is not about how well you can weld; it is about how well you can track your numbers. Many hobbyists moving into paid work struggle because they do not account for the small, invisible costs that eat away at a bank account.
If you are currently managing a small workshop budget, you know the pressure of trying to stay competitive while still making a profit. You might be wondering if you should buy that new TIG welder or if you should keep using your old stick machine. This guide is built on my personal data and experience to help you make those decisions without risking your financial stability.
Why Your Hourly Rate Is Often Your Biggest Mistake
A shop rate is the total amount you must charge per hour to cover every single expense of your workshop while still making a profit. It is the foundation of every bid you send to a customer. If this number is wrong, every job you do will slowly drain your resources.
When I first started, I picked a number that “felt right.” I charged $30 an hour because I thought it sounded fair. I did not realize that my electricity, shop rent, and tool wear were already costing me $25 an hour. I was only making $5 for my skill and labor. To find your true rate, you must add up your monthly shop overhead and divide it by the number of hours you actually spend working on billable projects.
For most side-hustle metalworking shops, a realistic rate falls between $65 and $120 per hour. This range covers the cost of keeping the lights on, replacing broken drill bits, and eventually buying better equipment. If you charge less than this, you are likely subsidizing your customers’ projects with your own personal savings.
- Step 1: List every monthly shop cost (power, heat, consumables, small tool replacement).
- Step 2: Decide how many hours a week you can realistically work on paid jobs.
- Step 3: Divide your costs by those hours to find your “break-even” number.
- Step 4: Add your desired profit margin on top of that number.
The Hidden Drain of Shop Consumables
Consumables are the items you use up during a project that cannot be sold back to the customer, such as welding gas, sandpaper, and saw blades. These are the most common source of budget leaks in a growing shop. Because they are small, many builders forget to put them on the invoice.
In my shops, I tracked every pack of grinding discs and every bottle of shielding gas for a year. I discovered that consumables usually equal about 10% to 15% of the total material cost. If you are building a table that uses $200 worth of steel, you are probably using $30 worth of wire, gas, and abrasives. If you don’t charge for them, that $30 comes directly out of your pocket.
I recommend using a “consumable burden” percentage. Instead of trying to count every inch of welding wire, simply add a flat 15% fee to your material total on every quote. This ensures that when your gas bottle runs dry, the money to refill it is already in the bank.
| Consumable Item | Typical Cost per Unit | Impact on Small Jobs |
|---|---|---|
| Flap Discs (4.5″) | $2.50 – $5.00 each | High (often 3-4 per project) |
| Welding Gas (Argon/CO2) | $50 – $80 per refill | Moderate (depends on arc time) |
| MIG Wire (2lb spool) | $15 – $20 | Low per inch, but adds up |
| Drill Bits / Taps | $5 – $25 each | High (if broken during the job) |
Mapping Out Your Equipment Return on Investment
A return on investment, or ROI, is the time it takes for a new tool to pay for itself through increased speed or new capabilities. Buying a new tool feels like an expansion, but if it sits idle, it is just a heavy paperweight that cost you money.
Before I buy any new piece of equipment, I use a simple “payback period” calculation. I ask myself: “How many hours will this tool save me on a typical job?” If a $2,000 cold saw saves me 10 minutes of cutting and cleaning per project, and I do 10 projects a month, it will take years to pay off. However, if that same saw allows me to take on high-precision jobs I couldn’t do before, the ROI changes.
Focus on tools that reduce your “non-billable” time. Grinding and cleaning are usually non-billable because customers pay for the finished product, not the hours you spent fixing a bad cut. Tools that improve your accuracy from the start are almost always the best financial investments for a small shop.
- Phased Acquisition: Buy the tool only when a specific job requires it and the profit from that job covers at least 25% of the tool’s cost.
- Used vs. New: For manual tools like benders or notches, high-quality used equipment often provides a much faster ROI than brand-new entry-level gear.
- Maintenance Tracking: Keep a log of how many hours a machine runs. This helps you predict when it will need parts before it breaks and stops your production.
Building a Realistic Fabrication Job Costing Model
Fabrication job costing is the process of predicting exactly how much a project will cost you in time, materials, and overhead before you start. Many small shop owners guess their prices, which leads to “bidding low” just to get the work.
A professional quote should be broken into three clear sections: Materials, Labor, and Shop Fees. I always mark up my materials by at least 20% to 30%. This covers the time I spent driving to the steel yard, the fuel for my truck, and the risk of a mistake. If I buy a piece of steel for $100, the customer pays $130.
Labor should be estimated by breaking the project down into steps: cutting, tacking, welding, and finishing. I usually double my initial “gut feeling” for finishing time. Grinding welds always takes longer than we think. By being honest about the time required, you protect your shop’s budget from unexpected overruns.
- Material Cost: Price of steel + 30% markup.
- Consumables: 15% of the material cost.
- Labor: Total estimated hours x your shop rate.
- Subtotal: Add these three together.
- Contingency: Add 10% to the subtotal for “surprises.”
Why Material Sourcing Can Make or Break Your Profit
Sourcing is the act of finding and buying your raw materials at the lowest possible price without sacrificing quality. In a small shop, you do not have the buying power of a large factory, so you must be smarter about how you shop.
I once lost a bid for a set of railings because my material costs were higher than the competitor’s total price. I was buying my steel from a local hardware store, while they were buying from a regional steel wholesaler. Now, I never buy metal from big-box stores. Even if I only need one stick of tubing, the price difference at a dedicated steel yard is often 50% or more.
Building a relationship with a local supplier is vital. Ask about their “remnant” or “drops” pile. These are leftover pieces from larger industrial orders that they sell by the pound. For a side-hustle metalworking business, these remnants can be a goldmine. I have built entire projects using high-quality drops that cost me a fraction of the full-length price.
- Buy in Bulk: If you use a lot of 1-inch square tubing, buy ten sticks at once. Most yards offer a discount at the “bundle” or “half-bundle” level.
- Standardize Your Designs: Try to design your projects using the same sizes of steel. This reduces waste and allows you to use your leftovers on the next job.
- Verify Your Delivery: If a yard charges $75 for delivery, it is often cheaper to spend an hour picking it up yourself if your shop rate is $65. If your shop rate is $120, pay for the delivery and keep working.
Tracking Post-Job Profits to Stop Budget Leaks
Post-job reconciliation is the practice of looking at your actual costs after a project is finished and comparing them to your original estimate. This is where you find out if your pricing model is actually working.
I keep a simple notebook where I write down the estimated time for a job on the left and the actual time it took on the right. If I estimated five hours for welding but it took eight, I need to know why. Was the fit-up poor? Did I run out of gas? Did I spend too much time talking to the customer?
This data is more valuable than any software. It tells you exactly where your shop is losing money. If you find that you are consistently over on your finishing time, you might need to invest in a better grinder or change how you weld to reduce splatter. Over time, this tracking makes your quotes much more accurate and your shop much more profitable.
- The “Five-Minute” Rule: Spend five minutes at the end of every work session recording what you used and how long you worked.
- Analyze the Gap: If your actual cost was 20% higher than your estimate, you must increase your rates or your efficiency on the next similar job.
- Celebrate Wins: When a job comes in under budget, don’t just spend the extra money. Put it into a “tool fund” for your next shop upgrade.
Managing Shop Flow to Minimize Wasted Movement
Workshop efficiency is the ability to complete a task with the least amount of wasted effort or movement. In a small home shop, space is tight, and every minute you spend looking for a wrench is a minute you aren’t making money.
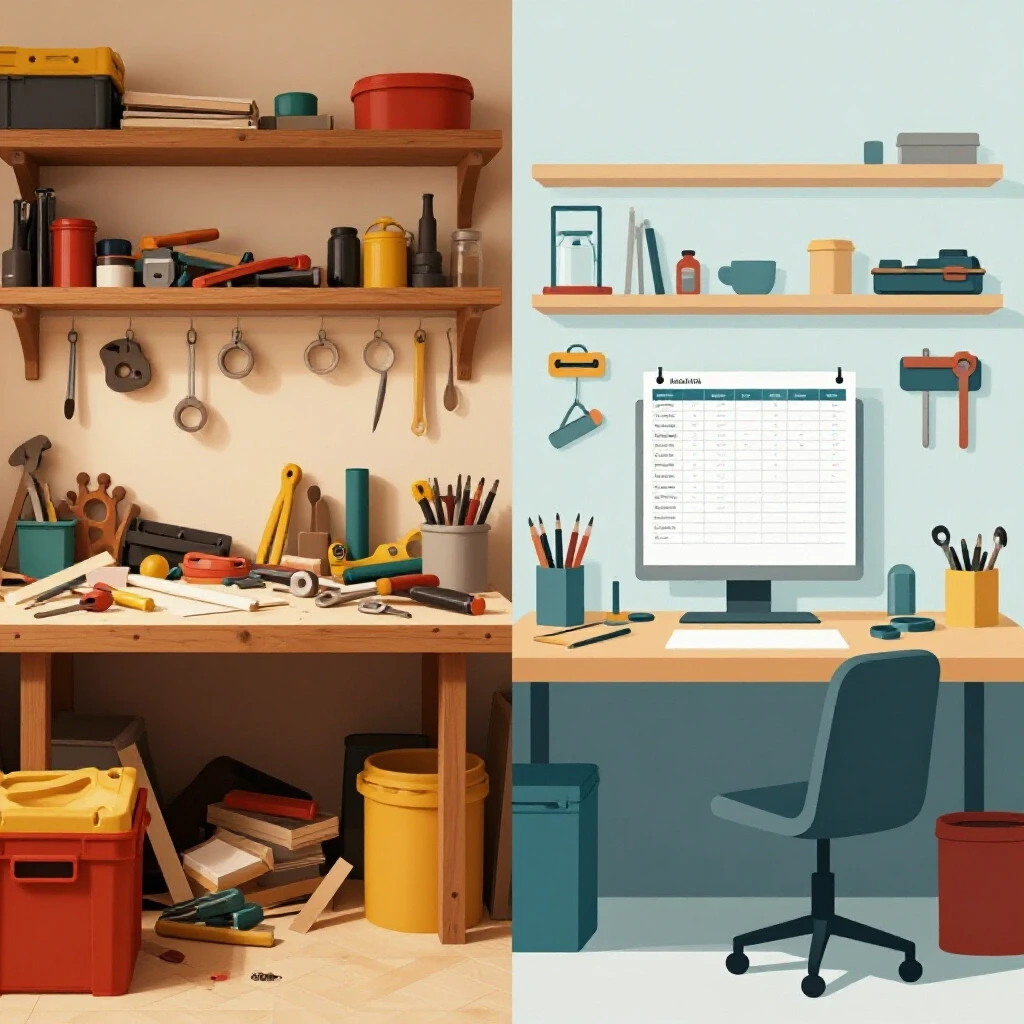
I spent years working in a cluttered shop before I realized that my “disorganization” was costing me about an hour a day. At a shop rate of $75, that was $375 a week in lost potential earnings. I spent one weekend building dedicated tool racks and mobile carts for my welders.
By keeping your most-used tools within arm’s reach of your welding table, you reduce “travel time.” This might seem small, but in a fabrication environment, these seconds add up to hours over the course of a month. A clean, organized shop is not just about aesthetics; it is a financial strategy to keep your overhead low.
- Mobile Bases: Put everything on wheels. This allows you to clear floor space for large projects and quickly bring tools to the work.
- Shadow Boards: Use pegboards or foam cutouts so you can instantly see if a tool is missing.
- Point-of-Use Storage: Keep your welding pliers at the welder, your measuring tapes at the saw, and your grinders at the fab table.
Using Digital Tools for Better Shop Management
In today’s world, you don’t need a complex accounting degree to manage a small fabrication business. There are several simple digital tools that can help you track your expenses and send professional quotes.
I personally use a mix of simple spreadsheets and basic invoicing apps. The goal is to make the “business side” of the shop as fast as possible so you can get back to the metal. If it takes you two hours to write a quote, you are already behind on your profit for that job.
- QuickBooks or Wave: Great for tracking expenses and sending professional invoices that customers can pay online.
- Google Sheets: Perfect for building a custom “quote calculator” where you can plug in your material lengths and it automatically calculates your markup and shop rate.
- Evernote or Keep: Use these to snap photos of material receipts so you don’t lose them before tax season.
Avoiding the “Friend and Family” Discount Trap
One of the hardest parts of transitioning from a hobbyist to a side-hustle is learning how to charge people you know. Many new shop owners give away their labor for free to friends, thinking it will lead to “exposure.”
In my experience, “exposure” does not pay the electric bill. If you want to help a friend, give them a discount on your profit margin, but never work for less than your break-even shop rate. If your shop costs $40 an hour to run, and you charge a friend $20, you are literally paying $20 an hour for the privilege of doing their work.
Be transparent with them. Explain that while you love helping, the shop has fixed costs that must be covered. Most people who value your skill will understand and be happy to support your growing business.
- The “Material-Only” Myth: Never do a job for “just the cost of materials.” You are still using your gas, your electricity, and your tool life.
- Set Clear Boundaries: Tell friends your lead times. Don’t let a “favor” job push back a paying customer’s project.
- Invoice Everything: Even if you give a discount, send an invoice that shows the full price and then the “friend discount” subtracted. This shows them the real value of your work.
Final Steps for a Profitable Shop Expansion
Expanding your home workshop is an exciting journey, but it requires a disciplined approach to finances. By focusing on your true shop rate, tracking every consumable, and being honest about your labor time, you can grow without the stress of budget overruns.
Start by auditing your last three projects. Look at what you charged versus what you actually spent. If the numbers don’t look good, don’t get discouraged. Use that data to adjust your next bid. Every mistake is just a lesson that you’ve already paid for—make sure you learn from it.
As you move forward, remember that the most successful shops aren’t always the ones with the most expensive tools. They are the ones that are managed with precision and a clear understanding of the bottom line. Keep your overhead low, your quality high, and your eyes on the numbers.
Frequently Asked Questions
How do I calculate my shop rate if I work out of my garage?
Even if you don’t pay separate rent, your garage has costs. Calculate the portion of your home’s electricity, heating, and internet used by the shop. Add in your tool depreciation and the cost of your time. Most garage-based fabricators find their “true” cost is at least $50-$60 per hour before adding profit.
Should I charge by the hour or by the project?
For custom fabrication, I always recommend a “flat-fee” quote based on your estimated hours. Customers like knowing the total cost upfront. However, make sure your contract states that any changes to the design will result in additional charges.
What is a “safe” markup for steel and hardware?
A 30% markup is standard for small shops. This covers the time spent sourcing, transporting, and storing the material. For very small orders (under $50), some shops use a 50% to 100% markup to cover the “hassle factor” of the trip to the supplier.
How do I account for mistakes or “do-overs” in my pricing?
I include a 10% “contingency fee” in every quote. If the job goes perfectly, that 10% is extra profit. If I mess up a cut or break a tap, that money covers the cost of the replacement material and the extra labor time.
When is the right time to upgrade to a more expensive welder?
Upgrade when your current machine is the “bottleneck” in your shop. If you are turning down work because your welder can’t handle the thickness, or if a new machine would cut your welding time in half, the ROI is likely there. Don’t buy for “features” you won’t use every week.
How do I track consumables without it taking forever?
Don’t track every single item. Use the “percentage method.” Track your total spending on gas and abrasives for three months. Divide that by your total material spending. This will give you a percentage (usually 10-15%) that you can simply add to every future quote.
Is it worth it to buy a trailer for material pick-ups?
Only if the delivery fees you save in one year are more than the cost of the trailer, its registration, and its maintenance. For most side-hustlers, paying a $75 delivery fee once a month is much cheaper than owning and storing a trailer.
How do I handle customers who say my price is too high?
Explain your process and the quality of materials you use. If they still complain, they are likely not your target customer. It is better to have an empty shop than a shop full of work that is losing you money.
What is the best way to price “production” runs of the same item?
For the first five items, use your standard rate. Once you find a rhythm and get faster, you can lower the per-piece price slightly while still making a higher hourly rate due to your increased efficiency. This is the “sweet spot” of fabrication profit.
How much should I set aside for tool replacement?
A good rule of thumb is to put 5% of every invoice into a separate “equipment fund.” This ensures that when your grinder dies or your welder needs a new torch, the money is already there and you don’t have to pull from your personal household budget.
(This article was written by one of our staff writers, Michael Hargrove. Visit our Meet the Team page to learn more about the author and their expertise.)