Cheap Ways to Heat a Garage Metal Workshop in Winter (Guide)
I remember the first winter I tried to run a fabrication side-hustle out of my two-car garage. I was excited about a contract for twenty custom gate hinges, but the temperature inside was hovering just above freezing. My hands were too numb to TIG weld cleanly, the argon gas flow felt sluggish, and I spent more time shivering than striking arcs. At the end of the month, my small profit was swallowed whole by a massive spike in the utility bill because I used a portable electric heater that did nothing but spin the meter.
That experience taught me a hard lesson in workshop economics. In the metalworking world, your shop rate—which usually ranges from $65 to $120 per hour for small shops—is not just about your skill. It is a reflection of your overhead. If you do not control the cost of staying warm, you are essentially paying your clients to let you work for them. Managing a shop in the winter requires more than just a jacket; it requires a calculated approach to heat that does not wreck your margins or require a major grid upgrade.
Establishing a Baseline Shop Rate for Cold-Weather Operations
A shop rate is the total hourly cost of running your business, including labor, overhead, and profit. In winter, increased utility costs and slower production speeds must be factored into this number to prevent losing money on every job.
When I talk to fabricators about their pricing, they often forget the “hidden” overhead of winter. Overhead includes everything that isn’t directly tied to a specific piece of metal, such as shop rent, insurance, and heating fuel. If your monthly heating bill jumps by $200, and you work 40 hours a month on your side-hustle, your overhead just increased by $5 per hour. If you didn’t adjust your fabrication job costing to reflect this, that money comes directly out of your pocket.
To calculate a realistic shop rate during the winter months, I use a simple formula. I take my fixed monthly costs and add a “seasonal burden factor.” This factor accounts for the extra fuel or wood used, plus a 10% buffer for decreased efficiency. Cold metal takes longer to prep, and cold machines need longer warm-up cycles. By identifying these costs upfront, you can ensure your side-hustle metalworking remains profitable even when the mercury drops.
| Cost Category | Summer Baseline (Hourly) | Winter Adjusted (Hourly) | Impact on Margin |
|---|---|---|---|
| Direct Labor | $45.00 | $45.00 | Neutral |
| Shop Utilities | $4.00 | $12.00 | -$8.00 |
| Consumable Burden | $6.00 | $8.00 | -$2.00 |
| Equipment Depreciation | $10.00 | $10.00 | Neutral |
| Total Shop Rate | $65.00 | $75.00 | Requires Price Adjustment |
DIY Radiant Heating Systems Using Workshop Scrap
Radiant heating involves transferring heat directly to objects rather than the air. Using polished metal reflectors or scrap-built panels allows you to stay warm at the workbench without the high cost of heating the entire garage volume.
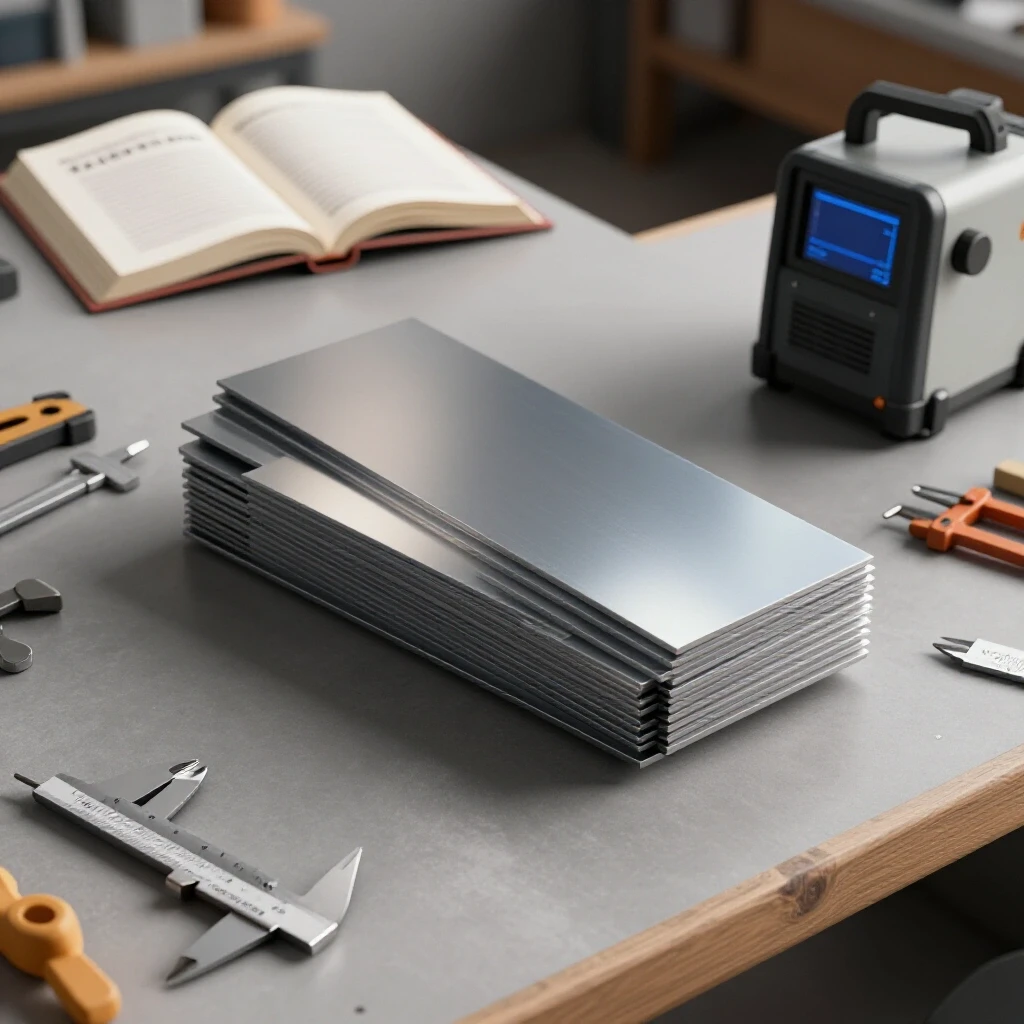
One of the most cost-effective ways to manage a cold shop is to stop trying to heat the air. In a drafty garage, warm air rises and escapes through the roof. Radiant heat, however, travels in waves and warms you directly. I once built a series of “heat reflectors” using scrap aluminum sheets polished to a mirror finish. By placing these behind a small localized heat source, I could direct the warmth specifically toward my welding bench or my lathe.
This approach is a win for metal business ROI calculators. Instead of spending $500 on a commercial heater, you spend $20 on fasteners and use scrap material you already have. This keeps your equipment investment low. When you focus the heat only where you are standing, you reduce the “pre-heat” time of the shop. This means you can start billing hours sooner, rather than waiting two hours for a massive space to reach a comfortable temperature.
- Use scrap 16-gauge aluminum or stainless steel for reflectors.
- Position panels to bounce heat toward your core and feet.
- Focus on “zone heating” to keep overhead under $2 per hour.
- Avoid placing reflectors near flammable grinding dust or paint lockers.
Building and Operating Waste-Oil Burners for Zero-Fuel Costs
Waste-oil burners recycle used motor oil or hydraulic fluid into heat. For a metal fabricator, these units can be fabricated from old tanks or pipe, effectively turning a waste product into a free energy source for the workshop.
If you are already doing automotive work or have access to a local mechanic, waste oil is a gold mine. I spent years refining a drip-style waste oil heater made from an old propane tank and some heavy-wall steel tubing. The beauty of this system is the fuel cost: zero. When you remove the fuel cost from your overhead allocation, your profit per job increases significantly.
However, building these requires a solid understanding of fabrication job costing and safety. You are building a device that burns a heavy fuel, so it must be vented properly with a chimney. In my experience, the “payback period” on a DIY waste-oil burner is incredibly short—often less than one winter season. If you spend 20 hours of shop time building it, and you save $400 in fuel, your “internal shop rate” for that build was $20 an hour. That is a smart use of time during a slow month.
- Source used oil from local shops looking to avoid disposal fees.
- Always include a secondary containment tray under the burner.
- Ensure the chimney stack is tall enough to create a natural draft.
- Filter your oil through a 100-mesh screen to prevent burner clogs.
Integrating Solid Fuel and Wood Stoves into a Metalworking Space
Wood stoves provide intense, localized heat using scrap lumber or cordwood. In a metal shop, these must be positioned carefully to avoid fire hazards from grinding sparks or welding splatter while maximizing heat throw to the floor level.
Wood is often the cheapest fuel available, especially if you have access to pallets or construction offcuts. In a metal shop, a wood stove serves a dual purpose. It provides heat, and it acts as a flat surface for warming up cold metal parts before welding. I often place my workpieces on a steel rack near the stove. This reduces the risk of thermal shock and cracking in heavy welds, which is a common quality control issue in winter.
From a small metal shop pricing perspective, wood heat is highly predictable. If you know you need two armloads of wood for a four-hour job, you can easily calculate your “consumable burden.” The main mistake I see is shop owners underestimating the time it takes to manage the fire. If you spend 15 minutes every hour messing with the stove, you are losing 25% of your billable time. To stay profitable, you need a stove with a long burn time or a large enough firebox to handle bigger logs.
- Keep a 36-inch “clear zone” around the stove free of all clutter.
- Install a spark arrestor on your chimney to protect your roof and neighbors.
- Use a magnetic stove thermometer to monitor for over-firing.
- Store your wood outside to keep moisture and bugs out of your precision machinery.
Why Hidden Consumables Bleed Small Shop Profits in Cold Weather
Consumables are items used up during a job, like welding wire, shielding gas, and sanding discs. In winter, the cost of these items can rise due to waste, poor storage, or the physical effects of cold on chemicals and gases.
Many side-hustlers struggle with pricing their work accurately because they don’t track how cold weather affects their supplies. For example, shielding gas like Argon or C25 behaves differently in the cold. I have seen regulators freeze up or provide inconsistent flow rates, leading to porous welds that must be ground out and redone. That is a double hit to your profit: you use twice the gas and twice the labor.
I recommend adding a “consumable burden factor” of at least 15% to your material markup during the winter. This covers the extra gas used during setup and the extra grinding discs needed when your welds aren’t as clean due to cold starts. Tracking these small expenses is what separates a hobbyist from a professional shop owner. If you don’t measure it, you can’t manage the ROI of your workshop.
- Store welding electrodes in a heated “rod oven” or a sealed container with a desiccant.
- Keep spray paints and adhesives in a conditioned space inside your house until needed.
- Monitor gas cylinder pressure closely; cold temps cause lower pressure readings.
- Track disc usage per job to see if cold metal is wearing your abrasives faster.
Measuring the ROI of Localized Heat vs. Whole-Shop Solutions
Return on investment (ROI) in this context compares the setup cost of a heater against the hours of productivity gained. Localized heat focuses energy exactly where the fabricator stands, minimizing wasted fuel and lowering the hourly overhead burden.
When deciding how to keep your shop functional, you must look at the “payback period.” If a DIY waste-oil heater costs you $150 in parts and 10 hours of labor, your total investment is roughly $850 (valuing your time at a $70/hr shop rate). If that heater saves you $150 a month in propane, it pays for itself in less than six months. That is a fantastic return on investment for a small business.
Conversely, buying a high-end heater that requires a new chimney and professional installation might cost $3,000. For a side-hustle that only brings in $1,000 a month, that is a three-year payback period. As a business owner, you have to ask if that capital would be better spent on a new cold saw or a better welder that increases your production speed. Always choose the heating solution that offers the fastest path back to profitability.
Analyzing Post-Job Profits and Winter Cost Variance
Job cost variance is the difference between what you estimated a job would cost and what it actually cost. Analyzing this after every winter project helps you refine your future quotes and identify where cold-weather overhead is eating your margins.
After every project I finish in the winter, I sit down with my material receipts and my time log. I look for “cost creep.” Did a job that usually takes five hours take seven because I was moving slower in the cold? Did I use more propane than expected? If the answer is yes, I adjust my next quote. I don’t guess; I use the data from my previous jobs to set a more accurate “winter shop rate.”
Using a simple spreadsheet or a digital invoice platform can make this easy. You can tag jobs as “Winter” and “Summer” to see the direct impact of the season on your bottom line. If your profit margin drops by 10% every January, you know you either need to raise your prices or find a cheaper way to keep your hands warm. This data-driven approach is the only way to ensure your side-hustle survives and grows.
- FreshBooks or QuickBooks: Excellent for tracking overhead and invoicing clients with professional templates.
- Wave Accounting: A free option for very small shops to track expenses and see basic profit/loss reports.
- Google Sheets: Create a custom “Job Costing Calculator” to track every bolt, disc, and therm of heat used.
- Evernote or Notion: Useful for keeping a “Shop Journal” where you record daily temperatures and how they affected your work speed.
Practical Steps for Immediate Workshop Efficiency
To optimize the financial efficiency of your workshop, you must take small, low-barrier steps today. You don’t need a massive budget to improve your situation. Start by identifying the “micro-climates” in your garage. If you spend 80% of your time at the welding bench, that is the only place that needs to be 60 degrees. The rest of the shop can stay at 40 degrees.
Next, look at your material sourcing. Buying metal in bulk before the winter hits can save you on delivery fees and ensure you aren’t driving to the steel yard in a snowstorm. This also allows you to “acclimatize” the metal to your shop temperature slowly, which helps with precision measurements. Finally, be transparent with your clients. If you have to add a small “seasonal energy surcharge” to your quotes, explain why. Most customers understand that running a professional shop involves real costs.
- Set up a “warm zone” using heavy welding curtains to trap heat in a small area.
- Use a heated floor mat at your most-used workstation to keep your feet warm.
- Schedule heavy grinding or plasma cutting for the coldest parts of the day to let the friction and sparks add heat to the room.
- Review your electricity or gas bills from last year to set a realistic budget for this year.
FAQ: Managing Workshop Economics in Cold Weather
How do I calculate a “seasonal energy surcharge” for my fabrication quotes? I recommend looking at your total utility increase over the winter months and dividing it by your average billable hours. If your bill goes up $150 and you work 30 hours, add $5 to your hourly rate. Alternatively, add a flat 5-8% “Shop Supplies & Utilities” fee to every invoice to cover these fluctuating costs.
Is it cheaper to run a wood stove or a waste-oil burner in a small metal shop? Waste oil is technically cheaper if you have a free source of oil, as it requires less physical labor to process than wood. However, a wood stove is simpler to build and maintain. From an ROI perspective, choose the one for which you have the easiest access to “free” fuel.
How does cold weather affect my tool depreciation and maintenance costs? Cold temperatures can make lubricants thicker and plastics more brittle. This leads to increased wear on bearings and gearboxes. I factor in an extra 5% for maintenance in the winter to cover more frequent oil changes in machines and the replacement of cracked hoses or cords.
Should I charge more for mobile welding jobs in the winter? Yes. Mobile work in the winter involves more equipment strain, longer setup times, and physical hardship. A “Cold Weather Mobilization Fee” of $50-$100 is standard in many regions to cover the extra fuel for idling trucks and the risk of working in sub-optimal conditions.
What is the best way to track “consumable burden” when I’m just starting out? The easiest way is the “Bucket Method.” Buy a set amount of consumables (e.g., 10 grinding discs, one roll of wire, one tank of gas) and see exactly how many projects they last. Divide the total cost of those items by the number of billable hours worked to find your hourly consumable rate.
Can I use passive solar heat in a metal garage without big windows? Yes. You can build a “Solar Air Heater” out of scrap aluminum soda cans and a simple wooden frame with a clear plastic cover. Mounted on a south-facing wall, these can blow 100-degree air into your shop for free whenever the sun is out, significantly reducing your daytime heating load.
How do I handle “cold starts” on my machinery to avoid damage? Always allow your machines, like lathes or mills, to run at low RPMs for 10-15 minutes before taking a heavy cut. This allows the oil to thin out and reach all the critical surfaces. Treating your tools well in the winter extends their lifespan and protects your equipment ROI.
Is it worth insulating just the area around my workbench? Absolutely. Creating a “conditioned cell” within a larger uninsulated garage is a classic small-shop move. Use heavy moving blankets or welding curtains to create a small room around your bench. Heating 100 square feet is significantly cheaper than heating 400 square feet.
How do I factor in “shiver time” or reduced productivity in my bids? I use a “Efficiency Multiplier.” If I know a job takes 10 hours in the summer, I multiply that by 1.2 in the winter (making it 12 hours). This accounts for the extra time spent warming up hands, wearing bulky clothes, and dealing with cold-related equipment finickiness.
What are the safety risks of DIY heaters in a metal fabrication environment? The biggest risks are carbon monoxide and fire. Always use a CO detector in your shop. Ensure all DIY heaters are vented to the outside and kept far away from flammable vapors, such as those from parts cleaners, paints, or gasoline tanks. Safety is the foundation of a profitable business.
(This article was written by one of our staff writers, Michael Hargrove. Visit our Meet the Team page to learn more about the author and their expertise.)