How to Weld a Trailer Tongue Cargo Carrier Storage Tray (Fix)
I have spent a decade and a half staring at the blue glow of a welding arc, and if there is one thing I have learned, it is that steel has a mind of its own. You can spend hours measuring your angle iron, double-checking your square, and cleaning your joints, only to watch the metal pull a quarter-inch out of alignment the moment it cools. It is a frustrating reality for anyone working in a home shop. When I built my first front-mounted utility rack for a flatbed trailer, I didn’t respect the heat. By the time I finished the final bead, the entire frame looked like a Pringle chip.
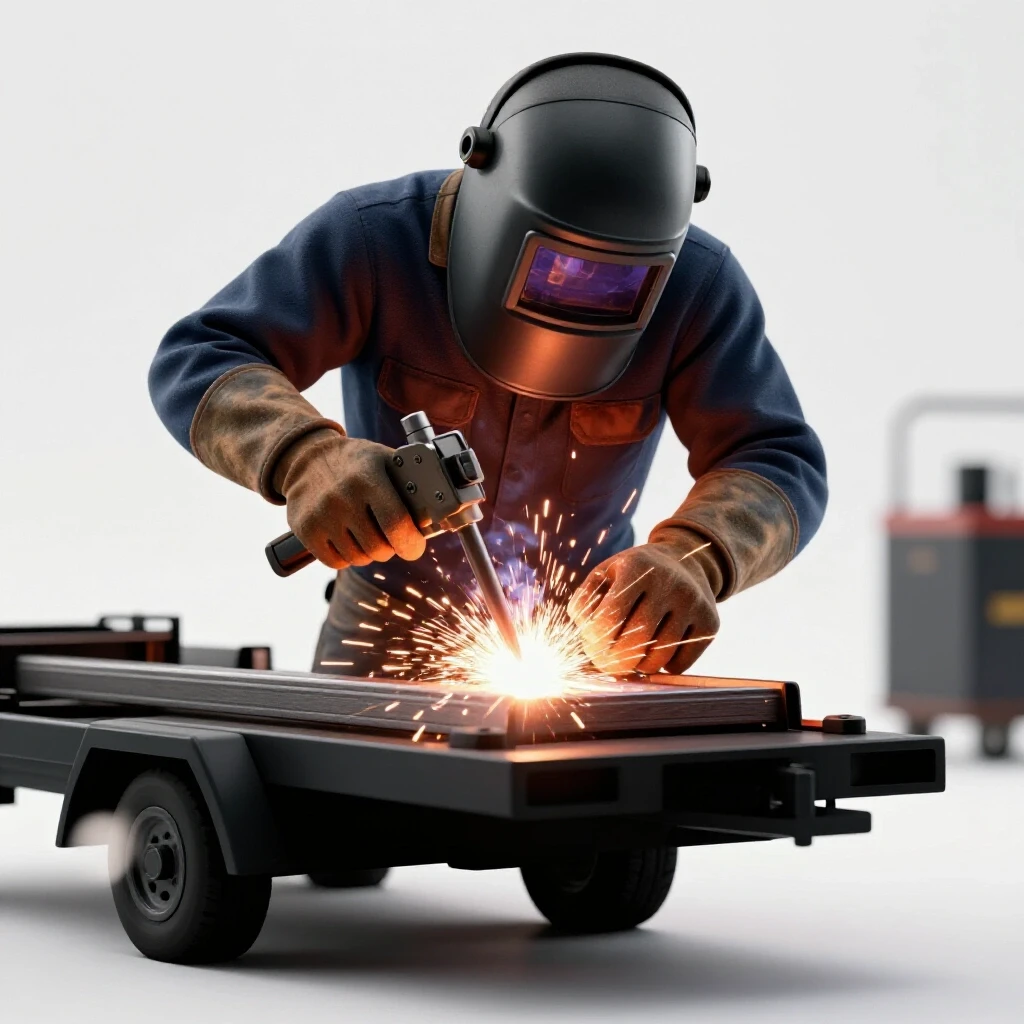
That failure taught me that custom fabrication projects are less about the welding itself and more about the preparation and the sequence. Whether you are building a new platform for a generator or fixing a sagging battery tray on an A-frame tongue, the physics of metal warping remain the same. In this guide, I am going to walk you through the process of building a structurally sound, square, and durable storage solution for your trailer tongue. We will focus on the layout, the math of the cuts, and the specific ways to fight the thermal forces that want to ruin your hard work.
Understanding Material Selection and Load Requirements
Choosing the right steel involves balancing the weight of the raw material against the weight of the cargo you plan to carry. For most trailer-mounted platforms, we look for a sweet spot that provides rigidity without adding unnecessary tongue weight to the tow vehicle.
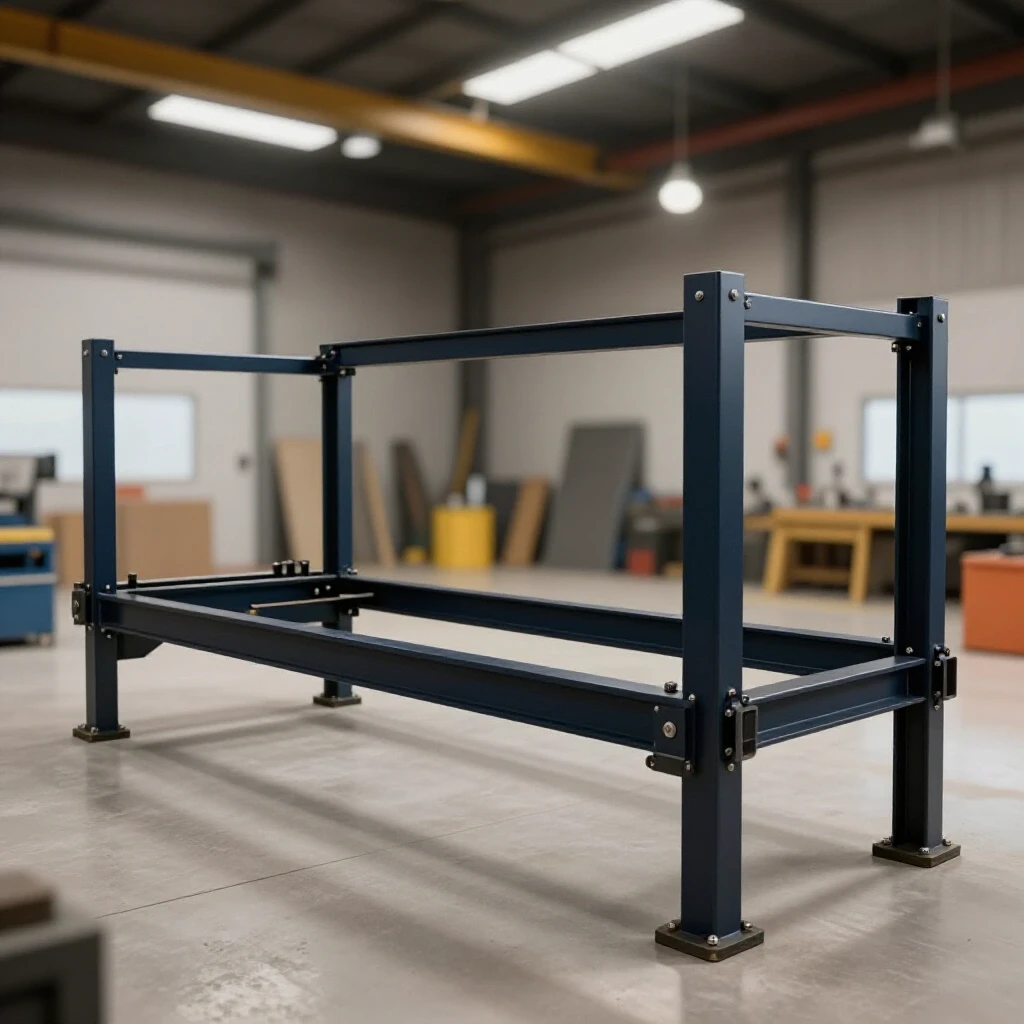
For these types of utility builds, I typically lean toward 1/8-inch or 3/16-inch mild steel. Angle iron with 2-inch legs is a standard choice for the outer frame because it provides a natural “shelf” for the flooring material. If you are building a tray intended to hold a heavy winch or several full fuel cans, 3/16-inch is the safer bet. It handles the vibration of the road much better and offers more surface area for your weld beads to penetrate.
- 1/8-inch Angle Iron: Best for light loads like battery boxes or small toolboxes (under 150 lbs).
- 3/16-inch Angle Iron: Recommended for heavier gear, generators, or larger storage chests (up to 500 lbs).
- Expanded Metal (9-gauge): A common choice for the floor of the tray because it allows water and debris to fall through.
Planning the Layout and Calculating Kerf Allowances
A successful build starts with a cut list that accounts for the thickness of your blade and the way the corners overlap. If you ignore these small measurements, your final frame will consistently come out larger or smaller than your intended dimensions.
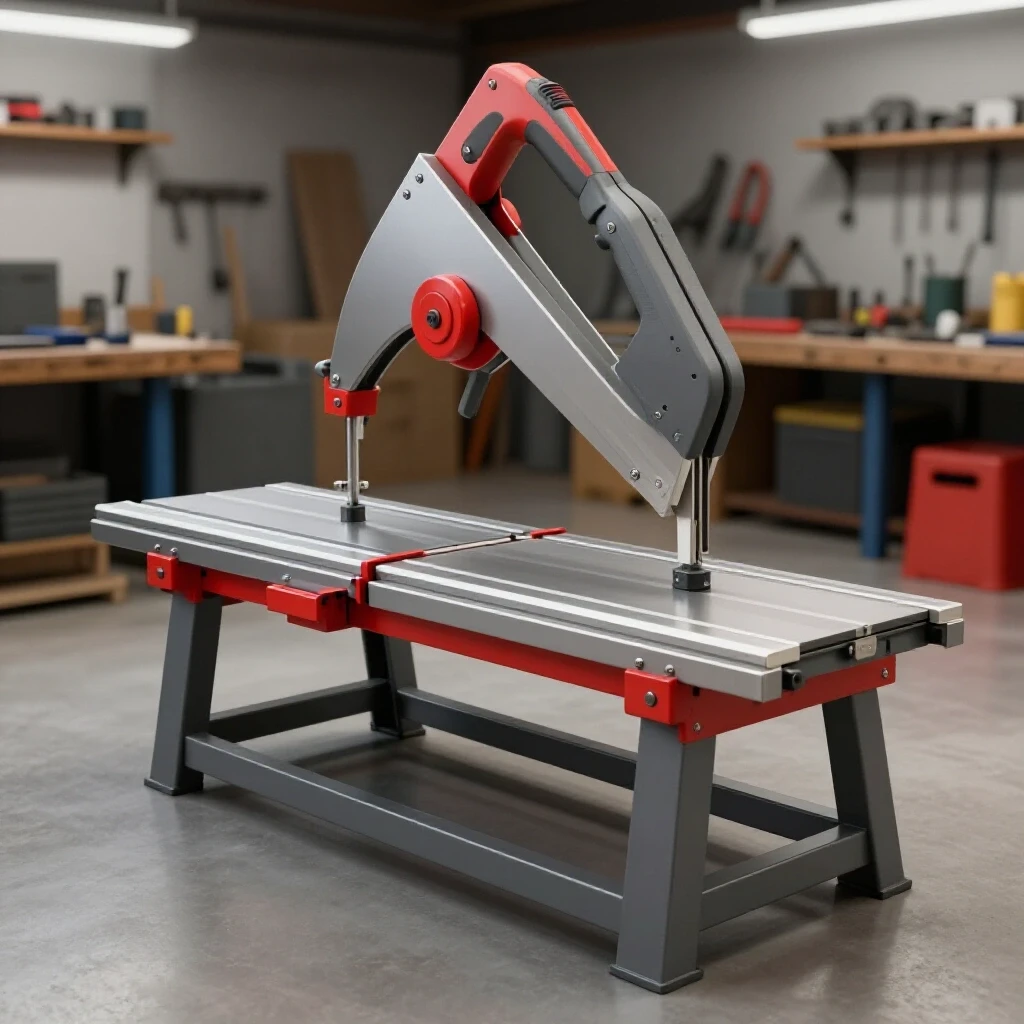
In the world of metal layout tips, “kerf” is a term you need to know. Kerf is the width of the material removed by the cutting tool. If you use a standard abrasive chop saw, you might lose 1/8 of an inch of steel with every cut. If you are using a portable band saw, that loss might only be 1/32 of an inch. When I plan my cuts, I mark my lines and always cut on the “waste side” of the line. This ensures the finished piece stays true to the measurement.
Metal Kerf Allowances by Cutter Type
| Cutting Tool | Typical Kerf Width | Best Use Case |
|---|---|---|
| Abrasive Chop Saw | 3/32″ to 1/8″ | Rough dimensional cuts for thick angle iron |
| Portable Band Saw | 1/32″ to 1/16″ | Precision miters and clean assembly joints |
| Plasma Cutter | 1/16″ to 1/8″ | Notching or cutting floor plates |
| Oxy-Acetylene Torch | 1/8″ to 3/16″ | Heavy structural modifications |
When designing the tray, I prefer a “butt joint” or a “miter joint.” A miter joint (45-degree cuts) looks cleaner but is harder to get perfectly square if your saw isn’t calibrated. A butt joint (one piece overlapping the end of another) is easier to clamp and square up, which is what I usually recommend for a garage build.
Preparing the Metal for Stronger Weld Joints
You cannot get a structural weld on dirty steel. Mill scale, which is the dark grey coating on new hot-rolled steel, is an insulator that will cause your arc to stutter and lead to a lack of fusion in your joint.
I start every project by stripping the mill scale back at least one inch from every weld zone. I use a 4.5-inch angle grinder with a 40-grit flap disc for this. You want to see shiny, bright silver metal before you even think about pulling the trigger on your MIG gun. If you are fixing an existing tray that has been on a trailer for years, you must also remove all rust and old paint. Welding over contaminants creates porosity—tiny bubbles in the weld—which makes the joint brittle and prone to cracking under the stress of road vibrations.
- Grind to bright metal: Removes mill scale and rust.
- Bevel thick edges: For 3/16-inch steel, grind a 30-degree bevel on the edges to allow for deeper weld penetration.
- Degrease: Use a residue-free cleaner like acetone to remove any oils or shipping lubricants.
Building Workshop Jigs for Square Assemblies
A jig is essentially a temporary frame or fixture that holds your workpieces in the exact position they need to be while you weld them. Without a jig, the heat of the weld will pull the metal toward the bead, ruining your 90-degree corners.
You don’t need a professional fabrication table to build a square tray. I often use my workbench and a set of heavy-duty cast iron welding squares. If you are working on a budget, you can even screw two straight pieces of wood or steel to your table at a perfect 90-degree angle to act as a guide. The goal is to create physical stops that the metal can be clamped against. This prevents the “draw” of the weld from moving the parts during the initial assembly.
- Level the work surface: Use shims to ensure your table or floor is flat.
- Set your corners: Place your first two pieces of angle iron against your square.
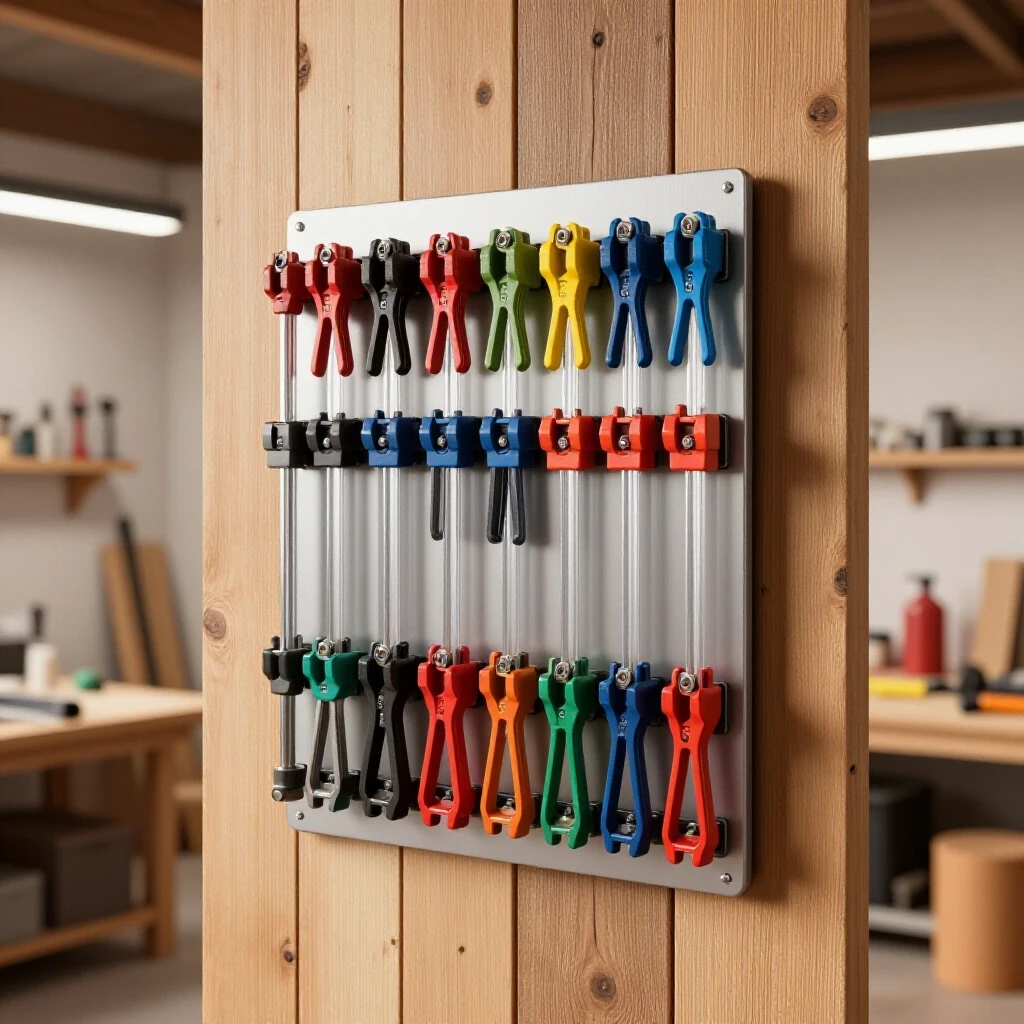
- Clamp aggressively: Use C-clamps or F-clamps every 6 to 10 inches to keep the metal from lifting.
- Check diagonals: Measure from one corner to the opposite corner. If the two measurements are identical, your frame is square.
Mastering the Strategic Tack Weld
A tack weld is a small, temporary bead about the size of a pea. Its job is to hold the parts together while allowing you to make minor adjustments before committing to the final structural welds.
When I am assembling a trailer storage frame, I never weld a full seam right away. I place small tacks at the corners and in the middle of long spans. If I see the frame starting to pull out of square, I can easily break a tack with a hammer or a grinder and reset the piece. A common mistake is making tacks too small; they need to be strong enough to resist the cooling forces of the metal. For 1/8-inch steel, a tack should be about 1/4-inch long.
- Tack the outside corners first: This keeps the perimeter stable.
- Opposite side tacks: If you tack the top of a joint, the metal will pull “up.” Tack the bottom immediately after to balance the pull.
- Re-measure after every four tacks: Don’t assume it stayed square just because it’s clamped.
Weld Sequencing to Control Heat Warping
Weld sequencing is the specific order in which you lay your beads to manage the expansion and contraction of the metal. If you start at one corner and weld all the way around in a circle, you are almost guaranteed to end up with a warped frame.
As the weld pool cools, it shrinks. This shrinkage exerts thousands of pounds of force on the surrounding steel. To combat this, I use a “staggered” approach. I might weld two inches on the front left corner, then move to the back right corner. By jumping across the project, I distribute the heat more evenly. This prevents any one area from getting so hot that the metal loses its structural shape.
Weld Sequencing and Distortion Control
| Step | Action | Purpose |
|---|---|---|
| 1 | Tack all four corners | Establishes the basic footprint |
| 2 | Weld 1″ on inside corners (alternating) | Pulls the joints tight toward the center |
| 3 | Weld 1″ on outside corners (alternating) | Counteracts the inside pull |
| 4 | Fill in remaining gaps in 2″ increments | Prevents massive heat buildup in one zone |
| 5 | Allow to air cool | Prevents brittle joints from rapid quenching |
Interestingly, the more metal you put down, the more the project will pull. You don’t need a massive, bulging bead to have a strong joint. A flat, consistent bead with good penetration is much stronger and causes less warping than a huge “mountain” of weld metal.
Attaching the Support Platform to the Trailer Tongue
The way you attach the tray to the trailer’s main frame is critical for safety. The tongue of the trailer is a primary structural member. You want to avoid welding across the top or bottom of the tongue beam if possible, as this can create a “stress riser” where the metal might eventually crack.
Instead, I prefer to weld along the sides of the tongue beam. This is known as longitudinal welding. By running your beads parallel to the length of the trailer, you maintain the structural integrity of the tongue while providing a massive amount of shear strength for the storage tray. If your tray is sitting on top of an A-frame tongue, you can use heavy-duty U-bolts to secure it, or weld short “tabs” to the tray that then wrap around the sides of the trailer frame.
- Avoid transverse welds: Do not weld a bead across the width of the tongue.
- Focus on the vertical webs: The sides of the C-channel or square tubing on the trailer are the strongest points for attachment.
- Load distribution: Ensure the tray is centered so it doesn’t cause the trailer to pull to one side during towing.
Structural Reinforcement and Floor Grating
Once the main perimeter is welded and attached, you need to consider the floor. A large open frame will flex under the weight of a generator or a toolbox. Adding cross-members—shorter pieces of steel that run between the main rails—is essential.
I typically space my cross-members every 12 to 16 inches. This provides enough support for 9-gauge expanded metal or a solid steel plate. When welding the floor grating down, don’t weld a continuous bead. Instead, use “stitch welds.” These are 1-inch beads spaced every 4 to 6 inches. This is more than enough to hold the floor in place while minimizing the heat you put into the main frame.
- Cut cross-members to a “snug” fit: They should stay in place with just a light tap from a hammer.
- Tack from the center out: This pushes any slight “bows” in the metal to the edges where they are easier to manage.
- Weld the floor grating on the top side: This keeps the bottom of the tray clean for ground clearance.
Final Alignment Checks and Straightening Techniques
Even with the best sequencing, you might find a slight twist in your tray. This is where the “fix” part of custom fabrication projects comes into play. Before you call the project finished, you need to verify that the tray is level and that it hasn’t pulled the trailer tongue out of alignment.
If a corner has pulled up, you can sometimes use “heat shrinking” to pull it back. This involves heating a small spot on the opposite side of the warp with a torch and then cooling it quickly with a damp rag. However, for most DIYers, it is safer to use mechanical force. A long piece of steel used as a lever, or a heavy-duty bottle jack and some chains, can often “cold-set” the metal back into its proper place.
- The 3-4-5 Rule: Use this classic geometry trick to check the squareness of your tray. If one side is 3 feet, the other is 4 feet, the diagonal must be exactly 5 feet.
- Check for “Wind”: Sight across the top of the frame from the front. The front and back rails should be perfectly parallel. If they look like they are crossing, the frame has a “wind” or a twist.
- Stress relief: Sometimes, a few firm hits with a dead-blow hammer near the weld joints can help “relax” the internal stresses of the metal.
Common Pitfalls in Utility Tray Fabrication
I have seen many builders make the mistake of over-welding. They think that if a one-inch weld is good, a ten-inch weld must be ten times better. In reality, too much weld metal just adds more heat, more warping, and more weight without adding much functional strength.
Another common issue is ignoring the “tongue weight” of the trailer. Most Class III hitches are rated for a maximum tongue weight of 500 to 800 pounds. If you build a heavy steel tray and load it with 400 pounds of gear, you might be exceeding the capacity of your tow vehicle or making the trailer difficult to handle. Always keep the total weight of the tray and its contents in mind during the design phase.
- Rookie Mistake 1: Not cleaning the underside of the trailer tongue. Road grime and grease will ruin your attachment welds.
- Rookie Mistake 2: Welding the tray too close to the trailer jack. Make sure you leave enough room to operate the handle or the electric motor.
- Rookie Mistake 3: Forgetting to account for the turning radius. If the tray is too wide, it might hit the bumper of your truck during a sharp turn.
Practical Benchmarks for a Solid Build
When you are finished, your tray should feel like a part of the trailer, not an accessory bolted onto it. There should be no “spring” or “bounce” when you stand on it (assuming you are within the weight limit).
I always perform a “hammer test” on my welds. A sharp strike with a chipping hammer should result in a high-pitched “ping.” A dull “thud” might indicate a cold weld or a lack of fusion. Additionally, look at the “toe” of the weld—the point where the bead meets the base metal. It should transition smoothly without a deep groove or “undercut.” Undercutting is a sign that your amperage was too high, and it weakens the structural integrity of the steel.
- Dimensional Tolerance: Aim for +/- 1/16th of an inch across the entire frame.
- Alignment: The tray should be level with the trailer frame within 1/8th of an inch.
- Weld Consistency: Beads should be uniform in width and height, showing consistent heat input.
Frequently Asked Questions
What is the best welding process for a trailer tray?
MIG (Metal Inert Gas) welding is usually the best choice for home fabricators. It is fast, produces clean welds, and is easy to control on 1/8-inch and 3/16-inch steel. Stick welding (SMAW) is also an excellent option, especially if you are working outside or on older, slightly rusty trailers, as it can penetrate through contaminants better than MIG.
Can I weld a steel tray to an aluminum trailer tongue?
No. You cannot directly weld steel to aluminum using standard shop methods. If you have an aluminum trailer, you must either bolt the steel tray to the frame using stainless steel hardware and an isolation barrier (to prevent galvanic corrosion) or build the tray out of aluminum and use a TIG welder.
How do I prevent the tray from bouncing and cracking the welds?
Vibration is the enemy of welds. To prevent fatigue cracking, ensure you have solid gussets—triangular pieces of steel—at the corners where the tray meets the tongue. These gussets distribute the stress over a larger area, preventing the metal from flexing at a single point.
What size tack welds should I use?
For most trailer projects using 3/16-inch steel, your tacks should be roughly 1/4 inch to 3/8 inch long. They need to be substantial enough to hold the weight of the parts and the “pull” of the cooling metal, but small enough that they can be easily ground out if you make a mistake.
Why did my frame warp even though I clamped it to the table?
Clamping helps, but it cannot stop the laws of physics. When metal is heated to a molten state and then cools, it must shrink. If you leave the clamps on until the metal is completely cold, the internal stresses stay locked in. The moment you release the clamps, the frame “springs” into a warped shape. The key is to balance the heat with a proper weld sequence rather than relying solely on clamps.
Is it safe to weld on the tongue of a boat trailer?
It depends on the material. Many boat trailers are galvanized (dipped in zinc). Welding on galvanized steel releases highly toxic fumes (zinc oxide). You must grind off all the galvanizing in the weld area and wear a respirator. Additionally, ensure the trailer is not a “bolt-together” model made of high-strength tempered steel that shouldn’t be heated.
How much weight can a 3/16-inch angle iron tray hold?
If properly reinforced with cross-members every 12 inches and securely welded to the tongue, a 3/16-inch angle iron tray can easily support 400 to 500 pounds. However, always check your trailer’s Gross Vehicle Weight Rating (GVWR) to ensure you aren’t overloading the axle or the tires.
Should I grind my welds flat for a better look?
On a utility project like this, I recommend leaving the welds slightly proud (raised). Grinding a weld perfectly flat often removes the strongest part of the joint. If you want a clean look, just use a flap disc to remove the spatter and smooth the edges, but don’t thin out the structural bead.
How do I know if my MIG welder is powerful enough?
For 3/16-inch steel, you generally need a welder capable of at least 140 to 180 amps. If you are using a small 110V “suitcase” welder, you may need to use flux-core wire and pre-heat the joints with a propane torch to ensure you get deep enough penetration.
What is the best way to check if the tray is centered?
Measure from the center of the trailer coupler (the hitch point) to the front corners of your tray. These two diagonal measurements should be identical. If one is longer, the tray is crooked and will create aerodynamic drag and potential handling issues.
By following these layout and sequencing steps, you can turn a pile of raw steel into a functional, professional-grade storage solution. The secret isn’t in the fancy tools; it is in the patience you show during the setup and the respect you give to the heat of the arc. Once you master the “pull” of the metal, your custom fabrication projects will move from “good enough” to truly structural.
(This article was written by one of our staff writers, Robert Kline. Visit our Meet the Team page to learn more about the author and their expertise.)