How to Build a Dedicated Chop Saw Cutting Station (Guide)
When I stepped into my first empty garage back in 2013, I had a limited budget and a massive amount of ambition. Like many of you, I spent hours scrolling through forums, feeling the weight of analysis paralysis. I worried that one wrong purchase would drain my $2,000 startup fund. My background as an industrial maintenance technician taught me that a shop is only as good as its primary processing area. For a metalworker, that means the place where you break down raw stock.
Establishing a permanent home for your metal-cutting machinery is more than just a convenience. It is a fundamental safety requirement. In those early days, I tried cutting steel on the floor or perched on a pair of flimsy plastic sawhorses. It was dangerous, inaccurate, and frustrating. A dedicated area for material processing allows you to manage sparks, support heavy loads, and maintain the precise angles needed for clean welds. By focusing on a structured build, you can avoid the “buy once, cry once” cycle and create a professional-grade environment on a hobbyist budget.
Assessing Your Starter Metal Workshop Layout and Physical Limits
Defining your available square footage and workflow paths is the first step in creating a functional fabrication space. You must account for the length of raw material and the clearance needed for safe operation before any construction begins.
When you bring home a 20-foot stick of square tubing, you quickly realize that a small garage shrinks fast. In my second shop, I failed to account for “material swing.” I placed my cutting area in a corner, only to realize I couldn’t feed long pieces from the left side. I had to tear everything out and start over. Now, I recommend a minimum clearance of at least 8 feet on either side of your saw’s blade if you plan to work with standard stock lengths.
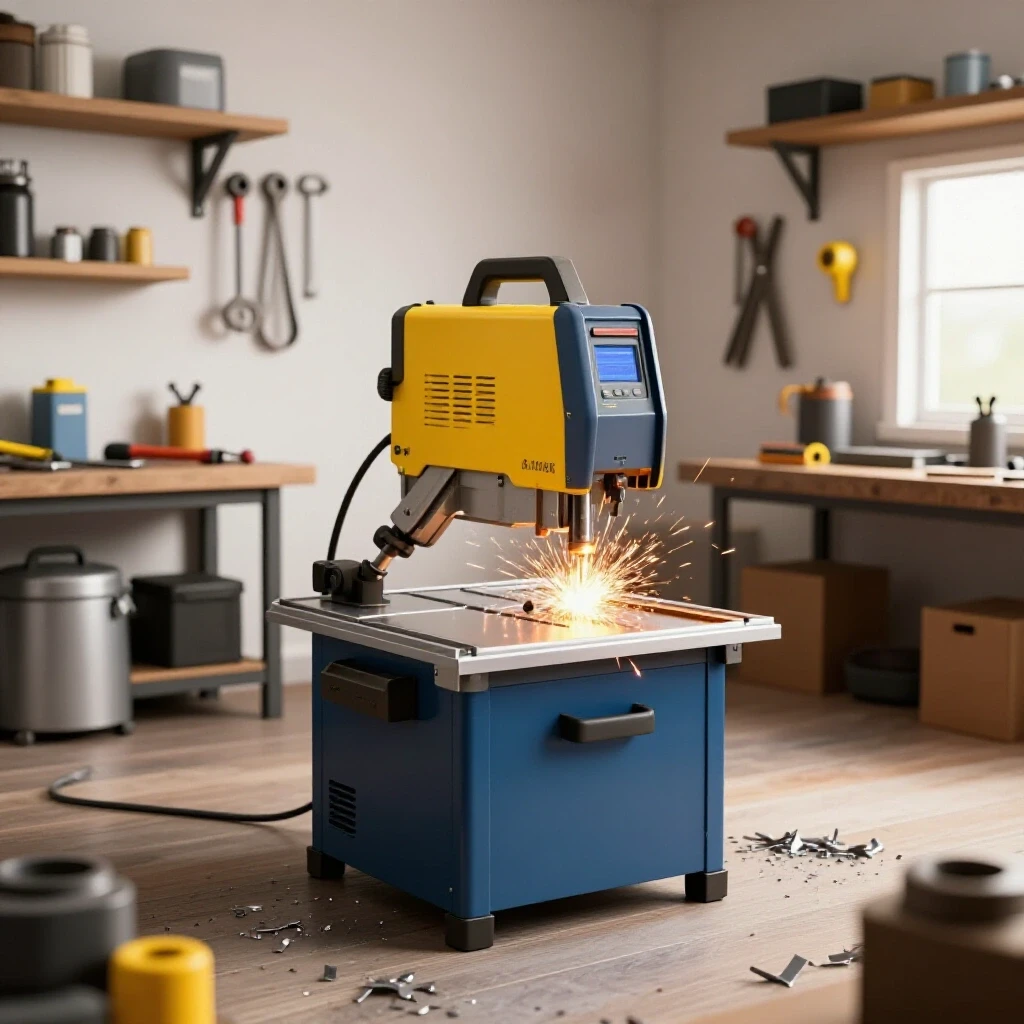
You also need to consider the “hot zone.” Abrasive saws throw a stream of sparks that can travel 15 feet or more. When planning your layout, ensure this stream points toward a non-flammable wall or an open garage door. Avoid placing your station near chemical storage, lawnmower gas cans, or sawdust-heavy woodworking tools. Using a simple floor plan sketch—even just on graph paper—can save you hours of physical labor later.
- Minimum Workspace Width: 16 to 20 feet for full stock support.
- Spark Clearance Depth: 10 to 15 feet of unobstructed, non-flammable floor space.
- Operator Standing Area: A 36-inch by 36-inch clear zone to ensure stable footing.
Calculating Power Requirements for a Budget Metalworking Tools Setup
Understanding the electrical load of your machinery is critical for preventing tripped breakers and protecting your equipment from voltage drops. You must match your workshop electrical setup to the specific amperage demands of high-torque cutting tools.
Most entry-level metal saws pull between 13 and 15 amps under load. If you are running your tool on a standard 15-amp residential circuit that also powers your shop lights and a radio, you are going to trip the breaker. During my first year, I constantly fought with a 15-amp circuit that couldn’t handle the startup surge of my saw. I eventually learned that a dedicated 20-amp circuit is the baseline for a reliable fabrication space.
Voltage drop is another silent killer of budget tools. If you use a thin, 16-gauge extension cord, the motor will struggle, heat up, and eventually burn out. I track my tool performance using a basic log, and I noticed a significant increase in motor life once I switched to 12-gauge cords or direct wall plugging. Always verify your circuit’s capacity before pulling the trigger on a high-amperage tool.
| Tool Class | Typical Amperage (Start/Run) | Recommended Circuit | Gauge Requirement (under 25ft) |
|---|---|---|---|
| Abrasive Chop Saw | 15A / 20A Surge | 20 Amp Dedicated | 12 AWG |
| Cold Cut Saw | 13A / 15A Surge | 20 Amp Dedicated | 12 AWG |
| Angle Grinder (4.5″) | 6A / 10A Surge | 15 Amp Shared | 14 AWG |
| Bench Grinder | 4A / 8A Surge | 15 Amp Shared | 14 AWG |
Material Selection for a Stable Fabrication Bench
Choosing the right framing and surface materials ensures your workstation can handle the vibration and weight of heavy steel stock. A mix of affordability and structural integrity is key for a beginner’s first major shop project.
For a metalworking station, I prefer a hybrid approach. While an all-steel frame is ideal for grounding and fire resistance, a heavy-duty timber frame topped with a steel plate is often more accessible for someone just starting out. If you choose wood, you must protect the “impact zone” where sparks land. I once saw a wooden bench smolder for hours after a long cutting session because a spark landed in a crack. Covering the top with a 1/8-inch thick steel sheet provides a safe, durable surface that can handle the heat.
If you have already acquired a basic welder, building the frame from 2-inch square tubing (1/8-inch wall thickness) is an excellent way to practice your skills. Steel is dimensionally stable, meaning it won’t warp with humidity like wood does. This stability is vital for keeping your infeed and outfeed supports perfectly level with the saw’s base.
- Steel Tubing (2×2, 11ga): High durability, fireproof, easy to weld.
- Heavy Timber (4×4 posts): Low cost, high mass for vibration dampening.
- Surface Plate (10ga to 1/4″ steel): Provides a flat, non-flammable work area.
Establishing Ergonomic Bench Height and Alignment
Setting your work surface at the correct height reduces physical fatigue and improves the accuracy of your measurements. Proper alignment between the saw base and the support wings is the difference between a square cut and a wasted piece of material.
In my early 30s, I built a bench that was too low, thinking it would be easier to lift heavy steel onto it. After a week of leaning over, my lower back was in constant pain. The “elbow rule” is a standard in industrial maintenance: the working surface should be roughly at the height of your bent elbow. For most people, this falls between 36 and 42 inches.
The most critical measurement, however, is the offset between the bench top and the saw’s cutting deck. Most chop saws have a base that sits 2 to 3 inches above the table. To ensure your material stays flat, you must build your side supports (wings) to be perfectly flush with that deck. If the material is angled even slightly, your saw will produce a mitered cut when you wanted a square one. I use a long aluminum straightedge to verify this alignment across the entire 16-foot span.
Designing Integrated Material Support Wings
Long-stock supports prevent heavy steel from tipping or binding the blade during a cut. These extensions must be rigid enough to hold the weight of 20-foot bars without sagging or shifting.
Beginners often overlook the importance of “outfeed” support. When you finish a cut, the piece you just severed will drop if it isn’t supported. This can cause the blade to bind or the metal to burr heavily. I recommend building wings that extend at least 4 to 6 feet on either side of the saw. If space is tight, these can be designed as fold-down leaves or removable sections.
For those on a strict budget, you don’t need expensive roller conveyors. A simple flat rail made of steel angle iron or even a smooth piece of hardwood can work, provided it is level. I’ve found that a “V-groove” support style is particularly helpful for holding round tubing or pipe securely.
- Fixed Wings: Best for permanent shops with plenty of wall space.
- Adjustable Rollers: Useful for varying material shapes but harder to keep level.
- Fold-Down Extensions: Ideal for multi-purpose garage spaces where the car still needs to park.
Effective Garage Workshop Ventilation and Spark Control
Managing the byproduct of metal cutting—fine dust and hot sparks—is essential for maintaining a healthy environment and preventing fires. A dedicated station should include features that contain and extract these materials at the source.
Abrasive saws produce a significant amount of “swarf,” which is a mix of metal filings and spent grinding wheel dust. This grit gets into everything: your lungs, your tool bearings, and even your laundry. When I analyzed my shop costs over three years, I found that tools kept in a grit-heavy environment failed 40% faster than those in clean areas. To combat this, I built a “spark box” behind my saw. This is a simple metal shroud that catches the spark stream and drops the heavy debris into a removable tray.
Ventilation is equally important. OSHA guidelines for small workshops suggest a high rate of air exchange when performing “hot work.” While a full industrial hood might be out of reach, a high-CFM (Cubic Feet per Minute) exhaust fan placed directly behind the cutting station can pull the finest dust away from your face. I always wear a P100 respirator during long cutting sessions, regardless of my fan setup.
| Feature | Purpose | Recommended Material |
|---|---|---|
| Spark Shroud | Redirects spark stream downward | 16ga Sheet Metal |
| Dust Port | Connection for shop vacuum | 2.5″ or 4″ PVC/Hose |
| Collection Tray | Holds metal shavings for disposal | Steel or Aluminum Pan |
| Exhaust Fan | Removes airborne particulates | 500+ CFM Wall Fan |
Budgeting for Essential Safety Gear and Measuring Tools
Allocating your funds correctly ensures you don’t end up with a high-end saw but no way to protect yourself or measure your work. I follow a strict 30% rule: 30% of your total station budget should go toward safety and precision instruments.
It is a common mistake to spend every penny on the machine itself. However, a $500 saw is useless if you’re using a $1 tape measure and no eye protection. In my tracking logs, I’ve noted that “budget” safety gear often fails at the worst times. For example, cheap plastic face shields can fog up or scratch easily, leading you to take them off “just for one cut.” That is when accidents happen.
Invest in a pair of high-quality, ANSI Z87.1+ rated safety glasses and a full-face shield. For measuring, a high-contrast steel tape measure and a solid machinist square are non-negotiable. If your station isn’t square, your projects won’t be either, leading to gaps in your welds that are difficult for a beginner to fill.
- Eye Protection: ANSI Z87.1+ glasses and a clear face shield.
- Hearing Protection: Earmuffs with a Noise Reduction Rating (NRR) of 25 or higher.
- Precision: 12-inch combination square and a 25-foot steel tape.
- Fire Safety: A 10lb ABC-rated fire extinguisher mounted within reach.
Common Layout Mistakes and How to Avoid Them
Learning from the errors of others is the fastest way to build a functional shop without wasting money. Most beginners fall into the same traps regarding height, mobility, and material flow.
One of the biggest mistakes I see is building a station that is “too permanent.” In a small garage, your needs will change. I initially bolted my cutting station to the floor, only to realize six months later that I needed that space for a larger welding table. Using heavy-duty locking casters allows you to move the entire 16-foot assembly if necessary, though you must ensure the floor is level where you park it to maintain your support alignment.
Another pitfall is ignoring the “clean zone.” Metalworking is messy. If your cutting station is right next to your clean assembly area, you will constantly be fighting grit under your workpieces. Try to keep the cutting and grinding tasks on one side of the shop, and the welding and assembly on the other. This simple separation will save you hours of cleanup time.
- Mistake: Building on an uneven floor without adjustable feet.
- Mistake: Using flammable materials (like carpet or untreated wood) in the spark zone.
- Mistake: Blocking access to electrical panels or main walkways.
Next Steps for Your First Fabrication Project
Building a dedicated area for your metal-cutting tools is a milestone in any maker’s journey. It moves you from “making do” to “making progress.” Start by measuring your space and sketching a layout that respects the 16-foot material rule. Track your costs in a simple spreadsheet, ensuring you leave room for high-quality safety gear.
Once your station is built, perform a series of test cuts. Check for squareness in both the vertical and horizontal planes. Adjust your support wings until a 4-foot level sits perfectly flat across the saw’s base and the extensions. This attention to detail now will pay dividends in every project you build for years to come. Remember, a safe shop is a productive shop.
FAQ: Common Questions About Setting Up a Cutting Station
What is the best height for a metal-cutting bench? The ideal height is usually between 36 and 42 inches, or roughly at elbow height for the operator. This reduces back strain and allows for better visibility during the cut. Always ensure the saw’s deck is flush with any side supports you build.
Can I build my station out of wood if I’m on a budget? Yes, but you must take fire safety precautions. Use heavy 4×4 or 2×6 construction for stability and cover the top surface with a sheet of 1/8-inch steel to protect it from hot sparks and heavy metal stock.
How much space do I really need for a chop saw? While the tool itself is small, you need enough room to handle the material. Ideally, you should have 8 to 10 feet of clear space on both sides of the blade to support standard lengths of steel tubing or angle iron.
Do I need a dedicated circuit for my saw? It is highly recommended. Most metal-cutting saws pull 15 amps and have a high startup surge. Running them on a shared 15-amp circuit often leads to tripped breakers. A dedicated 20-amp circuit with a 12-gauge cord is the professional standard.
How do I manage the dust and sparks in a small garage? Build a spark box or shroud behind the saw to catch the debris. Use a high-CFM exhaust fan to pull fine dust out of the air and always wear a P100 respirator. Keeping your cutting area separate from your “clean” areas will also help.
What is the “30% rule” for shop budgeting? This rule suggests that you should allocate 30% of your total tool budget toward high-quality safety gear (glasses, shields, hearing protection) and precision measuring tools (squares, tapes). This ensures you can use your machinery safely and accurately.
Why are my cuts coming out crooked even with a new saw? The most common reason is that the material is not being supported level with the saw’s base. If the steel is sagging or propped up too high on the ends, the blade will enter the metal at an angle. Check your wing alignment with a long straightedge.
Is an abrasive saw better than a cold-cut saw for a beginner? Abrasive saws are generally cheaper upfront, making them popular for budget-conscious beginners. However, they produce more sparks and dust. Cold-cut saws (with carbide-tipped blades) are cleaner and more accurate but have a higher initial cost and more expensive blades.
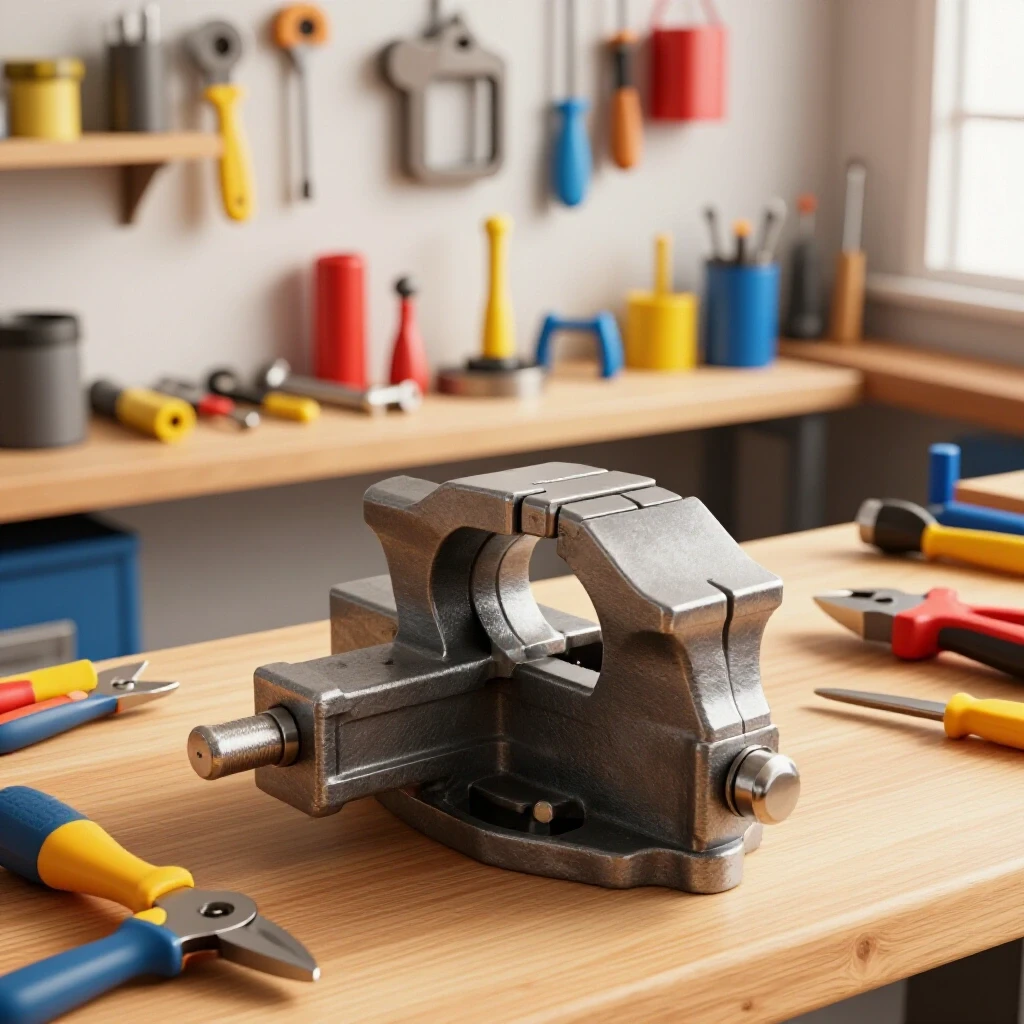
How do I secure long pieces of steel while cutting? Your cutting station should include integrated clamping or a heavy-duty vise. If the material is very long, the weight of the steel itself can help hold it down, but you should always use the saw’s built-in fence and clamp to prevent the piece from spinning.
Should I put my cutting station on wheels? If you have a small or multi-purpose shop, locking casters are a great idea. Just make sure they are heavy-duty enough to handle the weight of the bench and the steel stock, and always lock them before starting a cut to ensure stability.
(This article was written by one of our staff writers, Michael Thompson. Visit our Meet the Team page to learn more about the author and their expertise.)