How to Quiet a Noisy Workshop Air Compressor (DIY Guide)
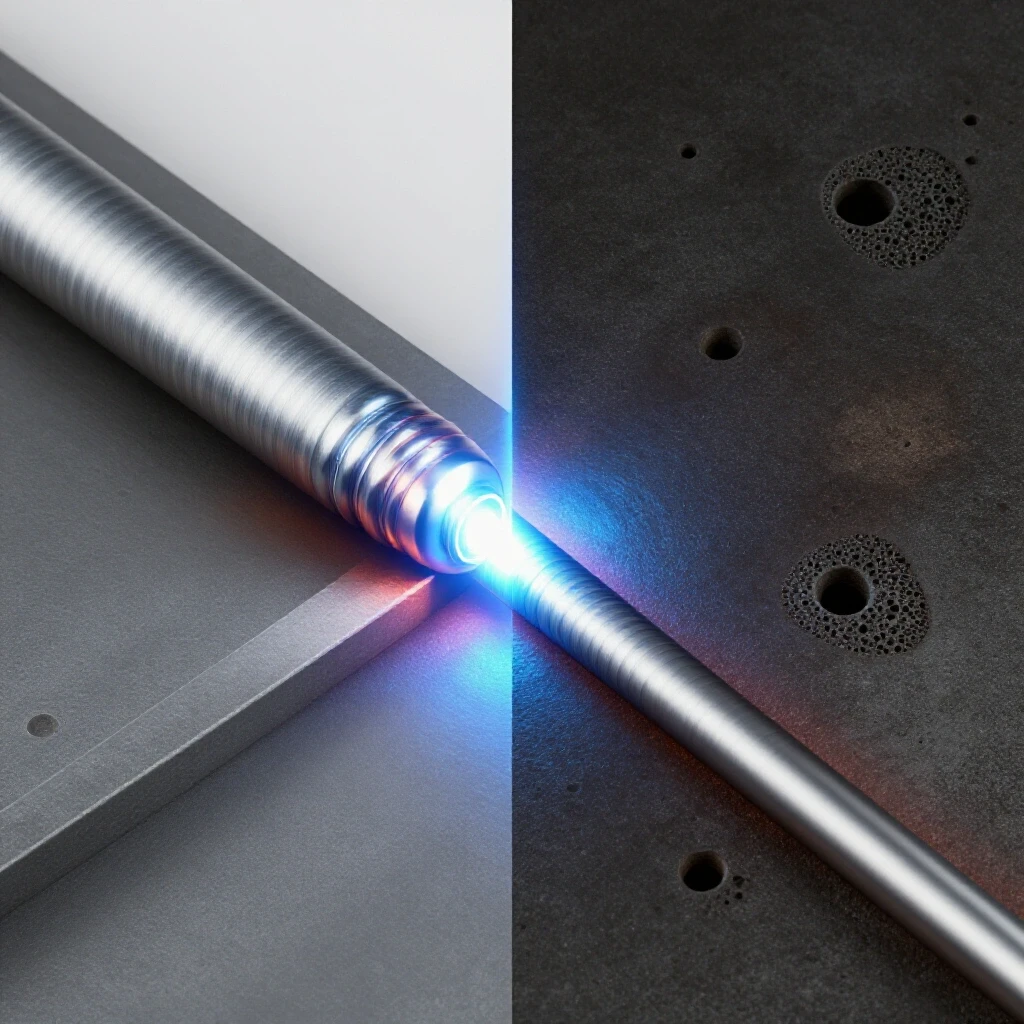
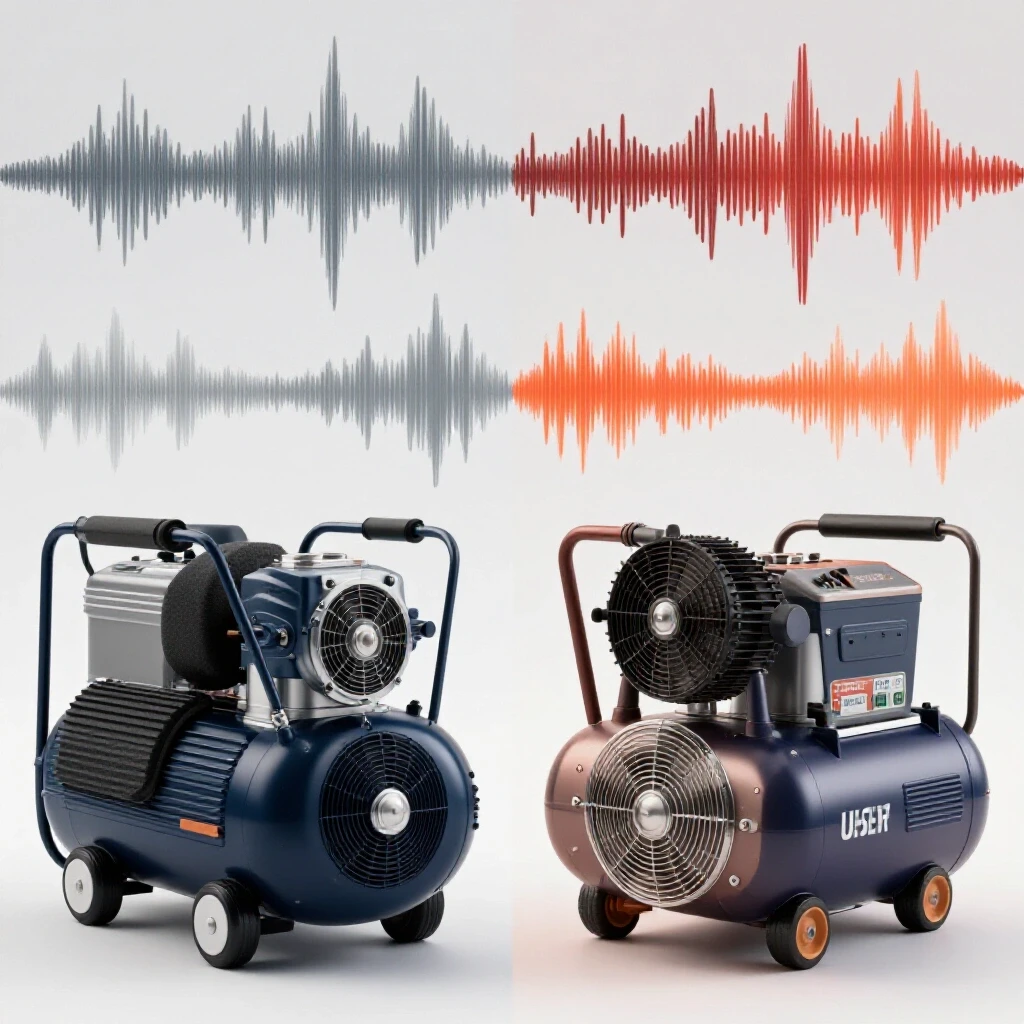
There is a specific kind of frustration that sets in when you are laying a critical TIG bead and the shop compressor suddenly hammers to life. The vibration travels through the slab, the noise spikes to 90 decibels, and your focus vanishes. In my 18 years troubleshooting industrial mills and custom fabrication setups, I have learned that a chaotic acoustic environment is more than just an annoyance. It is a diagnostic barrier. When a shop is too loud, you cannot hear the subtle hiss of a shielding gas leak that causes weld porosity, nor can you detect the early-stage rhythmic clicking of a failing spindle bearing.

Mastering the acoustics of your workspace is a fundamental part of a metalworking diagnostic guide. If you cannot hear your equipment, you cannot diagnose it effectively. Over the years, I have seen how excessive machinery vibration can even translate into tool chatter on a lathe, ruining a surface finish because a compressor ten feet away was sending harmonics through the floor. Resolving these issues requires a systematic approach, moving from simple mechanical isolation to advanced airflow management.
Identifying the Primary Sources of Shop Noise
Understanding the specific origin of a sound is the first step in any mechanical troubleshooting process. Noise in a pressurized air system typically stems from three distinct areas: mechanical friction within the pump, air turbulence at the intake, and structural resonance where the machine meets the floor.
When I walk into a shop to address a noise complaint, I start with a simple “listen and feel” test. I place a hand on the tank (carefully) to feel the frequency of the vibration. High-frequency vibration often points to internal pump issues or belt misalignment. Low-frequency thumping usually indicates a lack of structural damping. By isolating these variables, we can apply the right fix without wasting time on ineffective “solutions.”
| Noise Symptom | Likely Root Cause | Diagnostic Step |
|---|---|---|
| High-pitched squeal | Belt slippage or bearing wear | Check belt tension and pulley alignment |
| Rapid rhythmic thumping | Intake air pulses | Temporarily baffle the intake to test |
| Deep floor vibration | Structural resonance | Measure vibration at the base vs. the floor |
| Metallic clattering | Loose hardware or internal valve float | Torque all external fasteners to spec |
Differentiating Between Airborne and Structure-Borne Sound
Airborne sound travels directly from the source to your ears, while structure-borne sound moves through the machine’s frame and into the building’s foundation. Effective metal fabrication fixes require addressing both, as a quiet pump on a resonant floor will still feel like a jackhammer in the next room.
Building on this, we must recognize that concrete is an excellent conductor of low-frequency energy. If your equipment is bolted directly to the slab, the entire floor becomes a speaker. Interestingly, the mass of the slab can actually amplify certain frequencies, creating “dead spots” or “loud spots” in the shop that vary depending on where you stand.
Mechanical Vibration Isolation and Damping
Structural decoupling is the process of breaking the physical path that vibrations take from a machine to the surrounding environment. By using specialized materials to absorb kinetic energy, we can significantly reduce the “hum” that permeates a workshop during heavy fabrication tasks.
In my experience, the most overlooked tool in a metalworking diagnostic guide is the humble isolation mount. I recall a case study where a custom fabrication shop was struggling with mysterious tool chatter on their precision grinders. After two days of checking spindle backlash and gib tightness, we realized the large reciprocating compressor in the corner was the culprit. It was sending 30 Hz vibrations through the floor, which matched the resonant frequency of the grinder’s headstock. We installed rubber-and-cork isolation pads under the compressor, and the chatter disappeared instantly.
Selecting the Right Damping Materials
Not all rubber is created equal. For heavy machinery, we look at the Shore A hardness rating of the material. A Shore 50A rubber is relatively soft and good for lighter loads, while a Shore 70A is much firmer for heavy-duty pumps.
- Vibration Pads: Use a “sandwich” pad consisting of ribbed rubber and a cork center. These are designed to handle high compressive loads while dissipating energy.
- Spring Mounts: For large, top-heavy units, spring isolators can be more effective at catching low-frequency oscillations.
- Flex Hoses: Never hard-plumb your compressor to your shop’s iron pipe or copper lines. Use a high-pressure reinforced rubber lead-in hose to prevent the piping system from acting as a resonator.
Mechanical Troubleshooting Steps for Base Stability
Before spending money on pads, ensure the machine itself is stable. A “soft foot” condition—where one corner of the base does not sit flush—can cause the frame to twist and vibrate excessively.
- Loosen all mounting bolts.
- Use a feeler gauge to check the gap under each foot.
- If a gap exceeds 0.005 inches, shim it with stainless steel shim stock.
- Tighten bolts using a cross-pattern to ensure even pressure.
Managing Intake Turbulence and Exhaust Resonance
The sound of air being sucked into a cylinder at high velocity is often the loudest part of a reciprocating pump’s operation. This “intake bark” is a series of pressure pulses that can be muffled using basic fluid dynamics principles without restricting airflow.
Many fabricators assume they need a bigger air filter to quiet the intake, but the volume of the filter housing matters more than the surface area of the element. A larger plenum (an air-filled chamber) allows the pressure pulses to expand and lose energy before they reach the open air. This is a common strategy in automotive engineering that works perfectly in the shop.
Designing a DIY Intake Silencer
A simple but effective intake muffler can be fabricated from standard PVC pipe and acoustic foam. The goal is to force the air through a series of baffles or a larger chamber to break up the sound waves.
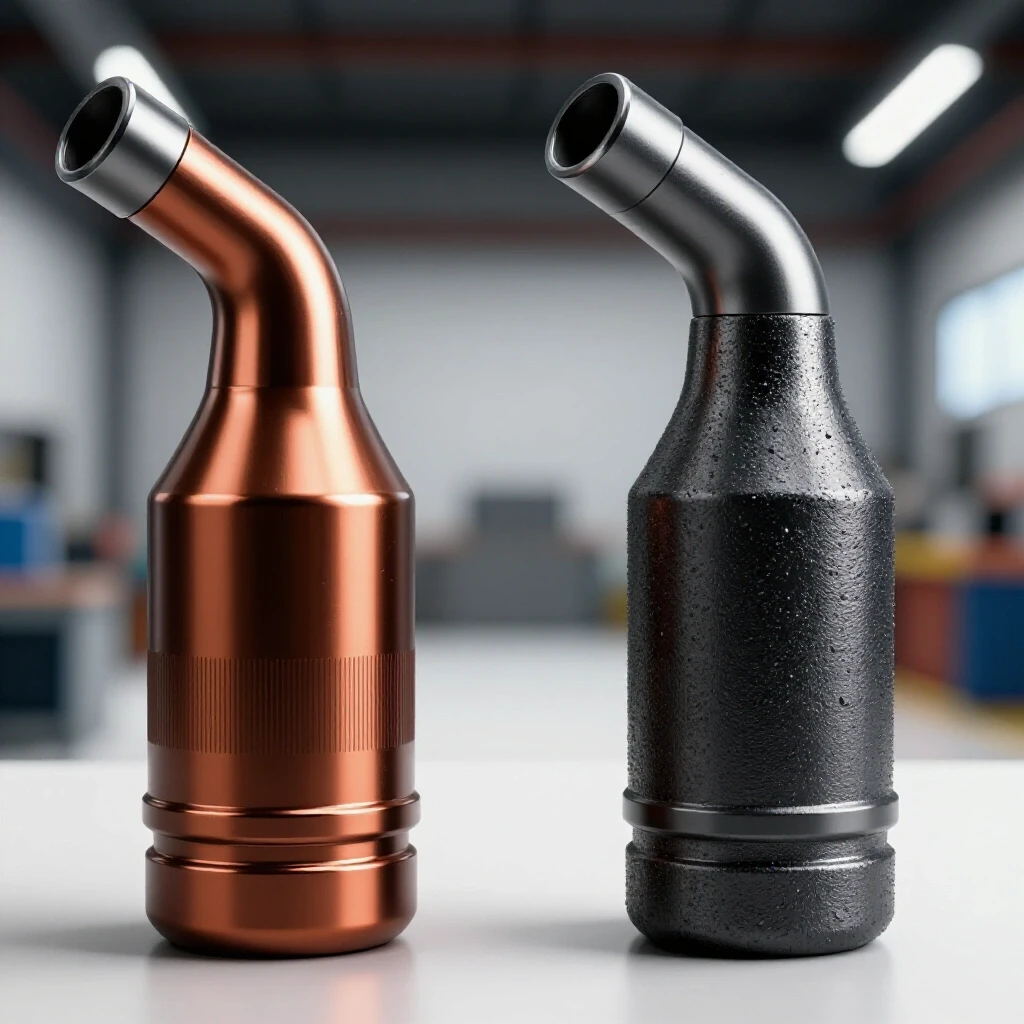
- The Expansion Chamber: Mount a 2-inch diameter PVC pipe over the existing intake. Line the inside with open-cell foam (ensure it is secured so it cannot be sucked into the pump).
- Remote Intake: One of the most effective metal fabrication fixes is to move the intake entirely. Using reinforced hose, route the intake to the outside of the building or into a crawlspace. This removes the primary noise source from your immediate workspace.
- Filter Upgrades: Replace the stock plastic filter housing with a heavy-duty metal canister filter. The increased mass of the metal housing prevents it from vibrating and adding to the noise floor.
Understanding Airflow Restrictions
When modifying an intake, you must monitor the vacuum pressure. If you restrict the air too much, the pump will run hotter and take longer to reach the “cut-out” pressure. This increases wear on the rings and valves. As a rule of thumb, ensure the internal diameter of your silencing system is at least 1.5 times the diameter of the original intake port.
Constructing a Ventilated Soundproof Cabinet
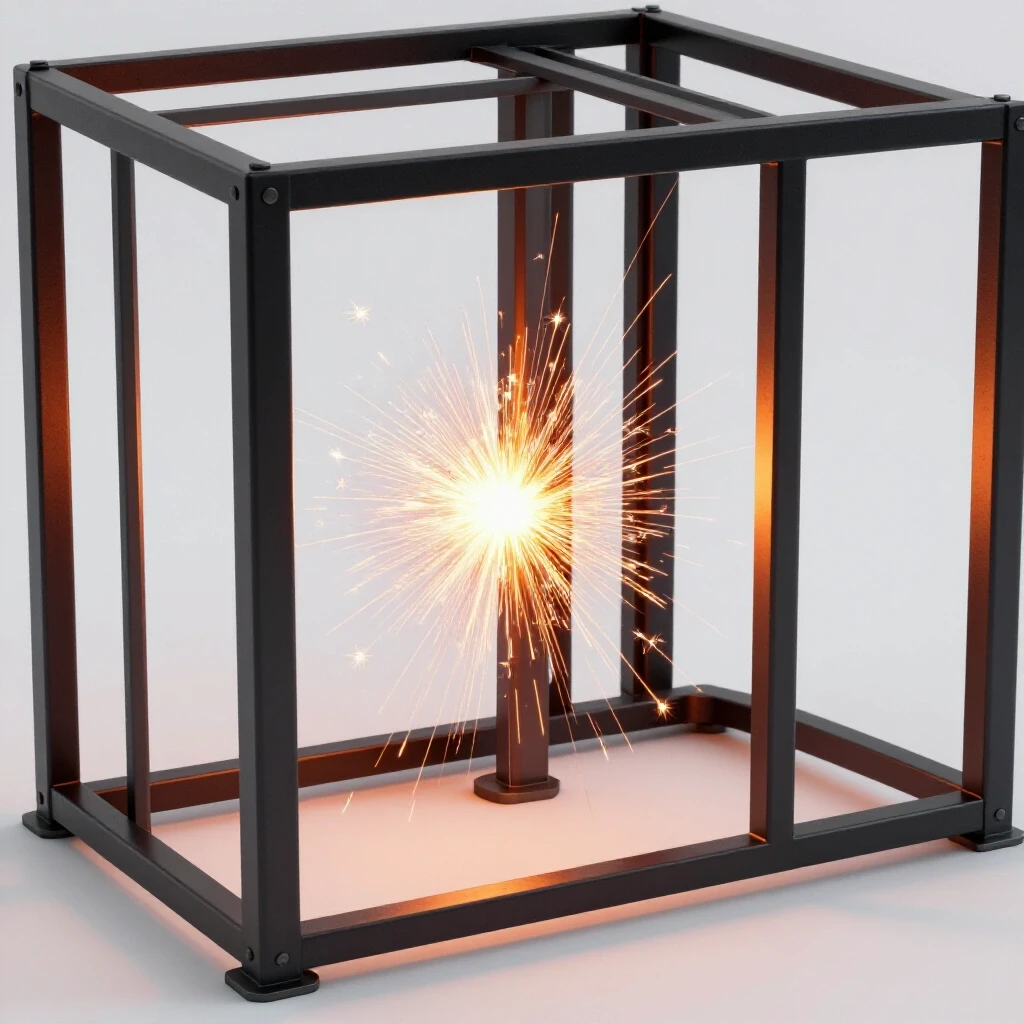
If isolation and intake muffling aren’t enough, a dedicated enclosure is the next logical step. A well-built cabinet uses the principle of “Mass-Air-Mass” to block sound waves, but it must be designed with thermal management in mind to prevent equipment failure.
I have seen many DIY enclosures fail because the builder forgot about heat. An air compressor is essentially a heat pump; it generates a massive amount of thermal energy during the compression cycle. If that heat is trapped, the oil will thin out, the gaskets will bake, and you will eventually face a catastrophic pump seizure.
The Physics of Sound Transmission Loss
To block sound, you need mass. Plywood alone is often too light. I recommend a “constrained layer” approach.
- Outer Shell: 3/4-inch MDF or plywood provides the structural mass.
- Damping Layer: Apply a layer of mass-loaded vinyl (MLV) or even a layer of heavy rubber roofing membrane to the inside.
- Absorption Layer: Finish with 2-inch thick stone wool or acoustic foam. Stone wool is preferable because it is fire-resistant and has excellent sound absorption coefficients at low frequencies.
Engineering the Ventilation System
A quiet box is useless if it kills the machine. You need a “baffle box” or “sound maze” for the air intake and exhaust.
- Active Cooling: Install a high-CFM (cubic feet per minute) industrial fan to pull fresh air through the cabinet.
- The Maze Path: Create a zig-zag path for the air to enter and exit. Line this path with foam. Sound waves are directional and will bounce off the foam and lose energy, while the air can flow freely around the corners.
- Thermal Monitoring: I always recommend mounting a digital thermometer inside the cabinet. If the internal temperature exceeds 120 degrees Fahrenheit, your ventilation is inadequate.
Maintenance Routines to Reduce Mechanical Clatter
Sometimes, a noisy shop is simply a sign of neglected maintenance. Loose components, worn belts, and low oil levels can turn a smooth-running machine into a rattling mess. In my diagnostic work, I always start with the basics before moving to complex modifications.
A common issue I encounter is “valve slap.” As the reed valves in a compressor head wear or become carbon-coated, they may not seat properly, leading to a loud metallic clicking. Regular cleaning and inspection of the valve plate can restore both performance and quiet operation.
The Lathe Alignment Checklist for Drive Belts
Just as you would check a lathe alignment checklist to ensure precision, you must check your compressor’s drive system. A misaligned belt creates a high-pitched “chirp” and increases vibration.
- Check Pulley Alignment: Use a straightedge across the faces of the motor and pump pulleys. They should be parallel within 0.010 inches.
- Verify Belt Tension: A belt that is too tight will wear out bearings and cause a low-frequency growl. A belt that is too loose will squeal. Aim for about 1/2 inch of deflection under moderate thumb pressure.
- Inspect for Fraying: A damaged belt creates an uneven load on the motor, leading to rhythmic vibrations that can mimic internal mechanical failure.
Lubrication and Friction Reduction
Oil is not just for lubrication; it is a damping fluid. Using the correct viscosity—usually a non-detergent 30-weight oil specifically designed for compressors—ensures that the crankcase components are properly cushioned. If the oil is too thin, the mechanical “clack” of the connecting rods will be much more pronounced.
Integrating Noise Control into the Workflow
A quieter shop directly improves the quality of your work. When the background decibel level drops, your sensory perception increases. This is crucial for identifying hard-to-find issues like electrical gremlins or shielding gas turbulence.
For example, when troubleshooting weld porosity, the sound of the gas flow is a major diagnostic clue. If you can hear a “fluttering” sound at the nozzle, you know your flow rate is too high, causing turbulence that pulls in atmospheric oxygen. If the compressor is screaming in the background, you will never hear that flutter, and you will spend hours chasing “ghost” problems in your wire feeder or gas bottle.
Actionable Tracking Framework for Shop Noise
To systematically reduce noise, I use a simple logging template. This helps track which modifications actually provide the most “bang for the buck.”
- Baseline Measurement: Use a smartphone decibel meter app to record the noise level at 3 feet, 10 feet, and at your primary workbench.
- Isolation Phase: Install vibration pads and re-measure. Note the change in “floor feel.”
- Intake Phase: Install an intake silencer and re-measure. Note the change in high-frequency “bite.”
- Enclosure Phase: Build the cabinet and re-measure. Ensure the thermal delta (difference between shop temp and cabinet temp) stays under 20 degrees Fahrenheit.
| Modification | dB Reduction (Typical) | Cost Level | Impact on Heat |
|---|---|---|---|
| Rubber/Cork Pads | 3–5 dB | Low | None |
| Intake Silencer | 5–8 dB | Low | Minimal |
| Drive Belt Alignment | 2–4 dB | Free | Reduces friction |
| Full Baffled Enclosure | 15–20 dB | Moderate | High (Requires Fans) |
Real Case Study: The Ghost in the Lathe
I once worked with a fabricator who was ready to scrap a high-end engine lathe because of “unsolvable” tool chatter. Every time he took a finishing cut on 4140 steel, the surface would show a rhythmic wavy pattern. We checked the spindle bearings, the tool post rigidity, and the carriage gibs. Everything was within the manufacturer’s tolerance of 0.0005 inches.
During a late-night session, the shop was quiet except for the lathe—until the air compressor in the back room kicked on. I noticed the chatter pattern on the workpiece immediately changed frequency. We realized the compressor’s vibration was traveling through the slab, hitting the lathe’s leveling feet, and inducing a harmonic resonance in the long workpiece.
By simply moving the compressor onto a dedicated thick rubber mat and replacing the hard-piped copper line with a flexible hose, the “unsolvable” lathe issue was fixed. This reinforces the idea that mechanical troubleshooting steps must often look outside the machine that is showing the symptoms.
Conclusion and Next Steps
Systematically addressing workshop noise is a hallmark of an advanced fabricator. It is not just about comfort; it is about creating an environment where precision is possible. By isolating vibrations, muffling intake pulses, and maintaining your equipment, you turn your shop into a finely tuned instrument rather than a source of stress.
Your next steps should be low-barrier and data-driven. Start by downloading a decibel meter app and taking baseline readings. Check your belt alignment and look for “soft foot” conditions on your mounting base. These small, zero-cost adjustments often provide the most immediate relief. From there, you can move toward more complex solutions like intake silencers or ventilated enclosures, always keeping a close eye on thermal management and mechanical tolerances.
FAQ: Common Concerns in Workshop Noise Mitigation
Does a quieter compressor run hotter? If you use an enclosure, yes, it will run hotter unless you provide active ventilation. A properly designed cabinet with a high-flow fan should keep the pump within 15–20 degrees of the ambient shop temperature. Intake silencers generally do not increase heat if they are sized correctly.
Can I use egg-carton foam for soundproofing? No. Egg-carton foam is too thin and lacks the density to block sound. It is also highly flammable. Stick to stone wool or specialized acoustic foam designed for industrial environments.
How do I know if my intake silencer is too restrictive? Time your compressor’s “recovery time” (the time it takes to go from 90 PSI to 120 PSI) before and after the modification. If the time increases by more than 5%, your silencer is too restrictive and needs a larger internal diameter.
Will rubber pads make the compressor unstable? If the pads are too soft, the unit may rock back and forth, which can stress the plumbing. Use “ribbed” pads or cork-core pads that are rated for the weight of your specific unit to maintain stability.
Can I just put the compressor in another room? Yes, “distance” is the most effective sound attenuator. However, you must still use a flexible lead-in hose to prevent the vibration from traveling through the walls and floor into your workspace.
What is the most common mistake in DIY noise reduction? The most common mistake is hard-plumbing the compressor. No matter how much foam you use, if the vibration is traveling through copper or iron pipes bolted to your walls, the entire building will still ring like a bell.
How often should I check belt tension for noise control? Check it every 50 hours of operation or once a month. Belts stretch over time, and a slightly loose belt is a major contributor to high-frequency noise and vibration.
Does oil type really affect noise? Yes. Using a high-quality, full-synthetic compressor oil can reduce internal friction and mechanical “clatter.” Always follow the manufacturer’s viscosity requirements, but a synthetic upgrade often runs smoother and quieter.
Is it safe to build an enclosure around a gas-powered compressor? No. Never enclose a gas-powered unit due to the risk of carbon monoxide buildup and extreme fire hazards. These techniques are strictly for electric-motor-driven reciprocating pumps.
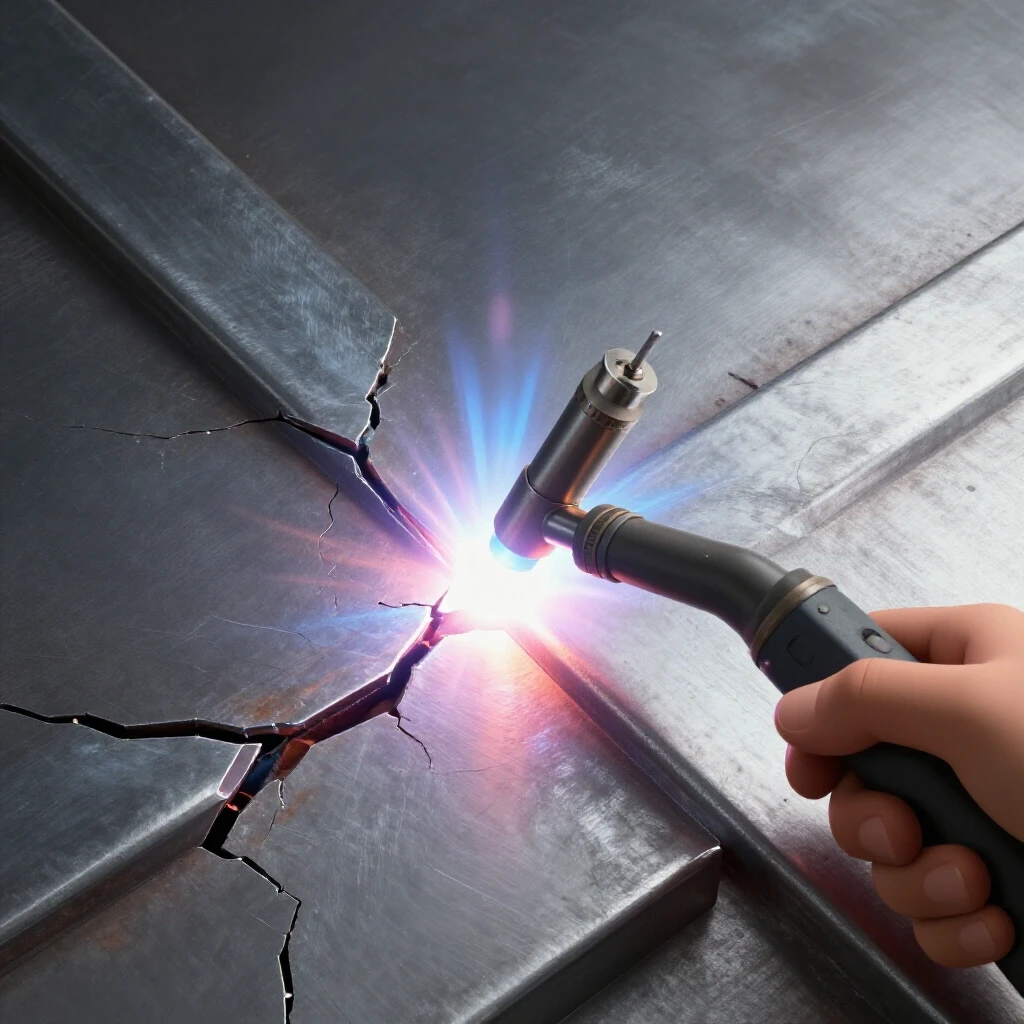
Can vibration cause weld porosity? Indirectly, yes. If the vibration is severe enough to affect the stability of your TIG torch hand or the consistency of the shielding gas envelope, it can lead to atmospheric contamination in the weld pool.
What is the “Shore A” rating I should look for in pads? For most 60–80 gallon shop compressors, a Shore A rating of 60 to 70 is ideal. It is firm enough to support the weight but soft enough to absorb the 30–60 Hz vibrations common in these machines.
Why does my compressor get louder as it gets older? This is usually due to “bearing play” or “valve carbonization.” As bearings wear, the tolerances increase, allowing parts to “slap” or vibrate more freely. A systematic teardown and cleaning of the valve plates can often restore the original sound levels.
(This article was written by one of our staff writers, Paul Whitaker. Visit our Meet the Team page to learn more about the author and their expertise.)