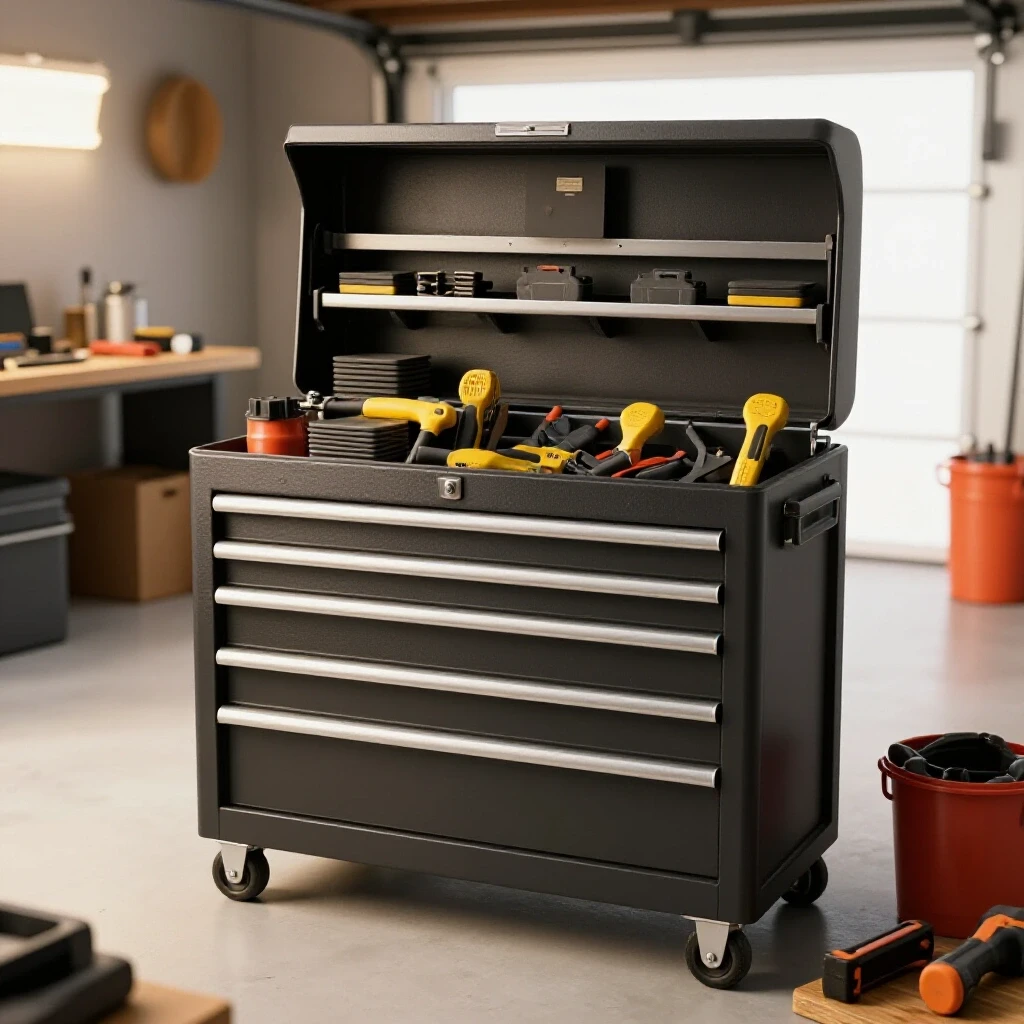
How to Weld Custom Mobile Assembly Workstations (DIY Plan)
The transition from a hobbyist metalworker to a professional fabricator usually happens the moment you accept money for a project. For many years, I worked in a shop where I thought “profit” was whatever was left in my pocket after buying the steel. It took me a few years and a few thousand dollars in “hidden” losses to realize that a side-hustle metalworking business lives or dies by its math, not just its welds.
When you decide to build heavy-duty steel workshop furniture or mobile assembly platforms, you aren’t just making a tool. You are making a financial decision. Every cut you make with a cold saw and every bead you lay with a MIG welder has a specific cost attached to it. If you aren’t tracking the gas in your bottle, the wear on your flap discs, and the depreciation of your welding machine, you are likely working for free. My goal is to help you see the workshop as an economic engine where every square foot of floor space must earn its keep.
Establishing a Realistic Shop Hourly Rate for Fabrication
A shop hourly rate is the total dollar amount you must charge per hour to cover all operating costs while generating a net profit. This figure includes your personal take-home pay, fixed overhead like rent and insurance, and variable expenses like electricity and maintenance.
Most side-hustlers start by picking a number out of thin air, often around $30 or $40 an hour. In reality, a sustainable rate for a small-scale fabrication shop typically falls between $65 and $120 per hour. If you charge less than $65, you are likely subsidizing your customers’ projects with your own savings. To find your true rate, you must add up your monthly fixed costs—even if the shop is in your garage—and divide them by the number of hours you actually spend under the hood.
I often see new shop owners forget to include “non-billable” time. This is the time you spend sweeping the floor, quoting jobs, or driving to the steel yard. If you work 20 hours a week but only spend 10 hours actually welding, your billable rate must be high enough to cover those 10 hours of administrative work.
- Labor: What you would pay a skilled welder to do the work.
- Overhead: Rent, utilities, insurance, and software subscriptions.
- Profit Margin: The extra 10% to 20% that stays in the business for future growth.
Mapping Machinery Amortization and Tool ROI
Amortization is the process of spreading the cost of an expensive tool over its expected lifespan to understand its daily cost. Return on Investment (ROI) measures how quickly a piece of equipment pays for itself through increased productivity or new service offerings.
When I bought my first high-end TIG welder for $4,500, I didn’t view it as a $4,500 loss. I viewed it as a five-year investment. If I use that machine for 250 days a year over five years, the “machine cost” is only $3.60 per day. When you are building custom steel frames or mobile workstations, knowing your machine’s daily cost helps you price jobs more accurately.
If a new horizontal bandsaw saves you 30 minutes of manual cutting per project, and your shop rate is $80 an hour, that saw saves you $40 in labor every time you use it. If the saw costs $1,200, its payback period is only 30 projects. This is how you decide whether to upgrade your equipment or stick with what you have.
| Equipment Item | Purchase Price | Estimated Life (Years) | Annual Depreciation | Cost Per Work Day (250 days) |
|---|---|---|---|---|
| MIG Welder Setup | $2,500 | 5 | $500 | $2.00 |
| Cold Saw | $1,800 | 7 | $257 | $1.03 |
| Plasma Cutter | $1,500 | 5 | $300 | $1.20 |
| Large Fixture Table | $3,000 | 10 | $300 | $1.20 |
Why Hidden Consumables Bleed Small Shop Profits
Consumables are the items used up during the fabrication process, such as welding wire, shielding gas, grinding wheels, and drill bits. Because these items are small and purchased frequently, they are often the most overlooked expense in fabrication job costing.
In my experience, consumables can account for 10% to 15% of a project’s total cost. If you are building a mobile platform out of 11-gauge rectangular tubing, you might go through three flap discs and half a bottle of C25 gas. If you don’t factor that $40 into your quote, it comes directly out of your profit.
I recommend using a “consumable burden factor.” This is a flat percentage added to the material cost of every job. For standard MIG welding on mild steel, a 15% burden is a safe baseline. If the steel for your workstation costs $300, you should automatically add $45 to cover the “invisible” costs of wire and gas.
- Shielding Gas: Calculate the cost per cubic foot to know exactly what an hour of trigger time costs.
- Abrasives: Track how many feet of weld a single grinding disc can clean.
- Welding Wire: Note the weight of wire used on large-scale frame builds.
Designing for Efficiency with Rectangular Steel Tubing
Building with rectangular or square steel tubing requires a focus on square cuts, proper fit-up tolerances, and a planned welding sequence. For mobile shop equipment, using 11-gauge to 14-gauge mild steel provides a balance between structural rigidity and manageable weight.
When you are fabricating a custom base for a workstation, the quality of your initial cuts determines the speed of the entire build. A frame that is 1/8-inch out of square will cause headaches when you try to mount casters or add a top plate. I always suggest using 2×2 inch square tubing for the main uprights and 2×3 inch rectangular tubing for the base frame where the most weight will sit.
Focusing on 11-gauge steel (approximately 1/8-inch thick) allows for deep weld penetration without the risk of blowing through the metal, which is common with thinner 16-gauge materials. This thickness also provides a solid foundation for welding on heavy-duty caster plates, which are essential for shop mobility.
- Tack Welding: Always tack all four corners of a joint before laying a final bead to prevent heat distortion.
- Caster Plates: Use 1/4-inch thick plate steel for mounting wheels to ensure the bolts don’t pull through under load.
- Squareness: Check diagonals across the frame; they must be identical to ensure the structure is true.
Calculating Material Markup and Sourcing Strategies
Material markup is the additional percentage added to the raw cost of steel to cover the time spent sourcing, transporting, and storing it. Sourcing strategies involve finding reliable local steel service centers that offer better pricing than big-box retail stores.
I never sell steel at my cost. If I spend two hours driving to the steel yard and loading a rack, that is time I am not welding. A standard material markup for a small shop is between 20% and 40%. If a project requires $500 worth of steel, the client should be charged $600 to $700. This covers your “procurement labor” and the risk of material price fluctuations.
To keep costs down, I buy full 20-foot lengths of tubing whenever possible. Most steel yards charge a “cut fee” for anything less than a full stick. If you have the storage space, buying in bulk can increase your profit margins significantly because you are charging the customer the “per foot” retail rate while paying the “full stick” wholesale rate.
- Identify local wholesalers: Avoid retail hardware stores for anything other than an emergency.
- Ask for “remnants”: Many yards sell off-cuts at a steep discount by the pound.
- Check for delivery options: Sometimes the $75 delivery fee is cheaper than your time and fuel.
Building a Custom Fabrication Quote
A professional quote is a breakdown of all anticipated costs, including labor, materials, consumables, and profit. It serves as a contract between you and the client, ensuring there are no surprises when the final invoice arrives.
When I quote a mobile assembly station for a client, I use a tiered system. I list the raw materials, the estimated shop hours, and a “specialty hardware” line item for things like high-capacity locking casters. This transparency builds trust. However, I always include a “variance clause” of 10%. This protects me if the price of steel spikes or if the design requires more welding time than anticipated.
Many side-hustlers fail because they provide a “flat price” without doing the math. If you tell a customer a cart will cost $500, but the steel costs $300 and the casters cost $100, you are only making $100 for your labor. If that cart takes you eight hours to build, you are earning $12.50 an hour—less than a fast-food wage.
- Material Cost: Steel + 30% markup.
- Hardware: Casters, bolts, and handles + 20% markup.
- Labor: Estimated hours x Shop Hourly Rate.
- Total Quote: Sum of all parts + 10% contingency.
Analyzing Post-Job Profits and Shop Efficiency
Post-job analysis is the practice of comparing your estimated costs against your actual spending once a project is finished. This is the only way to know if your pricing model is working or if you are losing money on specific tasks.
After you finish a build, look at your notes. Did the frame take four hours to weld instead of two? Did you use more grinding discs than you quoted? I keep a simple log for every major shop project. This data is gold. If I see that I consistently underestimate the time it takes to clean and prep 11-gauge steel for paint, I adjust my future quotes accordingly.
Efficiency in a small shop is often about “batching” tasks. If you are building two similar mobile bases, cut all the steel at once. Weld all the caster plates at once. This reduces tool changeover time and increases your effective hourly rate.
| Project Phase | Estimated Time | Actual Time | Variance |
|---|---|---|---|
| Material Sourcing | 1.0 Hour | 1.5 Hours | +0.5 |
| Cutting & Prep | 2.0 Hours | 2.5 Hours | +0.5 |
| Welding & Assembly | 4.0 Hours | 3.5 Hours | -0.5 |
| Finishing/Cleanup | 1.0 Hour | 2.0 Hours | +1.0 |
| Totals | 8.0 Hours | 9.5 Hours | +1.5 |
Digital Tools for Fabrication Management
Managing a side-hustle requires organization that doesn’t take up all your free time. Digital tools can help track expenses, generate invoices, and manage client communications from your phone while you are in the shop.
I rely on a few specific types of software to keep my shop’s finances in order. You don’t need an expensive enterprise system; a few simple apps will do. The goal is to move away from paper scraps and “mental math” which lead to forgotten expenses.
- QuickBooks or FreshBooks: These are excellent for tracking overhead and sending professional invoices.
- Excel or Google Sheets: I use these for my custom ROI calculators and material tracking logs.
- Evernote or Keep: Perfect for snapping photos of steel yard receipts so they don’t get lost in the shop.
- Wave Accounting: A great free option for side-hustlers who only need basic bookkeeping and invoicing.
Practical Steps for Improving Workshop Economics
To truly optimize your workshop, you must treat it like a business, even if it is a part-time endeavor. This means being disciplined about your time and protective of your profit margins.
Start by auditing your last three projects. Calculate exactly how much you made per hour after all expenses. If that number is lower than you’d like, look for the “leak.” Is it high material waste? Is it slow cutting speeds? Is it underpriced labor? Once you identify the leak, you can fix it.
Building your own shop infrastructure, like mobile workstations, is the best time to practice these financial principles. Since you are the “client,” you can track every penny without the pressure of a deadline. This builds the “muscle memory” needed to quote external jobs with confidence and accuracy.
- Track every minute: Use a timer in the shop to see where your time actually goes.
- Review your utility bills: Note how much your electricity jumps during heavy welding months.
- Set a “Minimum Shop Fee”: Never take a job for less than $50, even if it takes five minutes. This covers the cost of turning on the machines.
Frequently Asked Questions
How do I calculate the cost of welding gas for a single project? To find your gas cost, divide the total cost of a tank refill by the estimated hours of “trigger time” the tank provides. For a standard 125 cubic foot bottle of C25, you might get 6 to 8 hours of continuous welding. If the refill costs $60, your gas cost is roughly $8 to $10 per hour of actual welding.
Should I charge the same rate for grinding as I do for welding? Yes. Your shop rate is based on the overhead of the space and your time, not just the specific tool in your hand. Grinding is often more physically demanding and uses more expensive consumables (flap discs) than welding. Never discount your labor for “unskilled” tasks like prep or cleanup.
What is the best way to handle a client who thinks my shop rate is too high? Explain your value. A professional shop rate covers specialized equipment, insurance, and the expertise to build a safe, structural product. If a client compares your custom steel fabrication to a cheap, mass-produced alternative, explain the difference in material thickness (e.g., 11-gauge vs. 20-gauge) and longevity. If they still balk, they are likely not your target customer.
How much should I mark up hardware like casters or power strips? A standard markup for purchased hardware is 20%. This covers the time you spent researching the right parts, ordering them, and the liability of the part failing. If a set of heavy-duty casters costs you $80, the client should be charged at least $96.
Is it better to use MIG or TIG for building shop workstations? For most mobile shop furniture made of mild steel tubing, MIG is the most cost-effective choice. It is significantly faster than TIG, which lowers your labor cost. TIG is excellent for thin-gauge stainless or aluminum, but for structural 11-gauge steel, the speed and strength of MIG welding provide a better ROI.
How do I factor in the cost of shop floor space? Calculate your monthly rent (or mortgage) and utilities, then divide that by the total square footage of your shop. This gives you a “cost per square foot.” If a large assembly project takes up 25% of your shop for a week, that project should technically carry 25% of your weekly overhead costs.
What steel thickness is best for a heavy-duty mobile workstation? For a station that will hold several hundred pounds of equipment, 11-gauge (1/8-inch) square or rectangular tubing is the industry standard. It provides excellent rigidity and is easy to weld with mid-range MIG machines. 14-gauge is acceptable for lighter-duty carts but may flex under heavy vibration.
How do I account for “waste” when buying steel? Always add 10% to your material requirements for “drop” or waste. If you need 18 feet of tubing, you must buy a 20-foot stick. The customer pays for the entire 20-foot stick because you cannot easily use the 2-foot leftover piece for another job. This ensures you aren’t left holding the cost of unusable remnants.
(This article was written by one of our staff writers, Michael Hargrove. Visit our Meet the Team page to learn more about the author and their expertise.)