Balancing Safety vs Cost in Structural Metal Builds (Guide)
When I opened my first small fabrication shop, I spent most of my nights staring at a spreadsheet and a pile of scrap metal. I had plenty of experience with a torch and a TIG pedal, but I was failing at the “business” part of the business. I would quote a job based on what I thought the steel cost, add a little for my time, and hope for the best. Usually, I ended up making about five dollars an hour after I accounted for the grinding wheels I burned through and the electricity that kept the lights on.
Transitioning from a hobbyist to a side-hustle metalworker is a major financial shift. You move from making things for fun to making things that must perform under pressure while also turning a profit. If you overbuild a frame using two-inch solid square bar when quarter-inch tubing would work, you lose your profit margin to material costs. If you underbuild it to save money, you risk the structural integrity of the project. Finding that balance is the difference between a thriving shop and an expensive hobby.
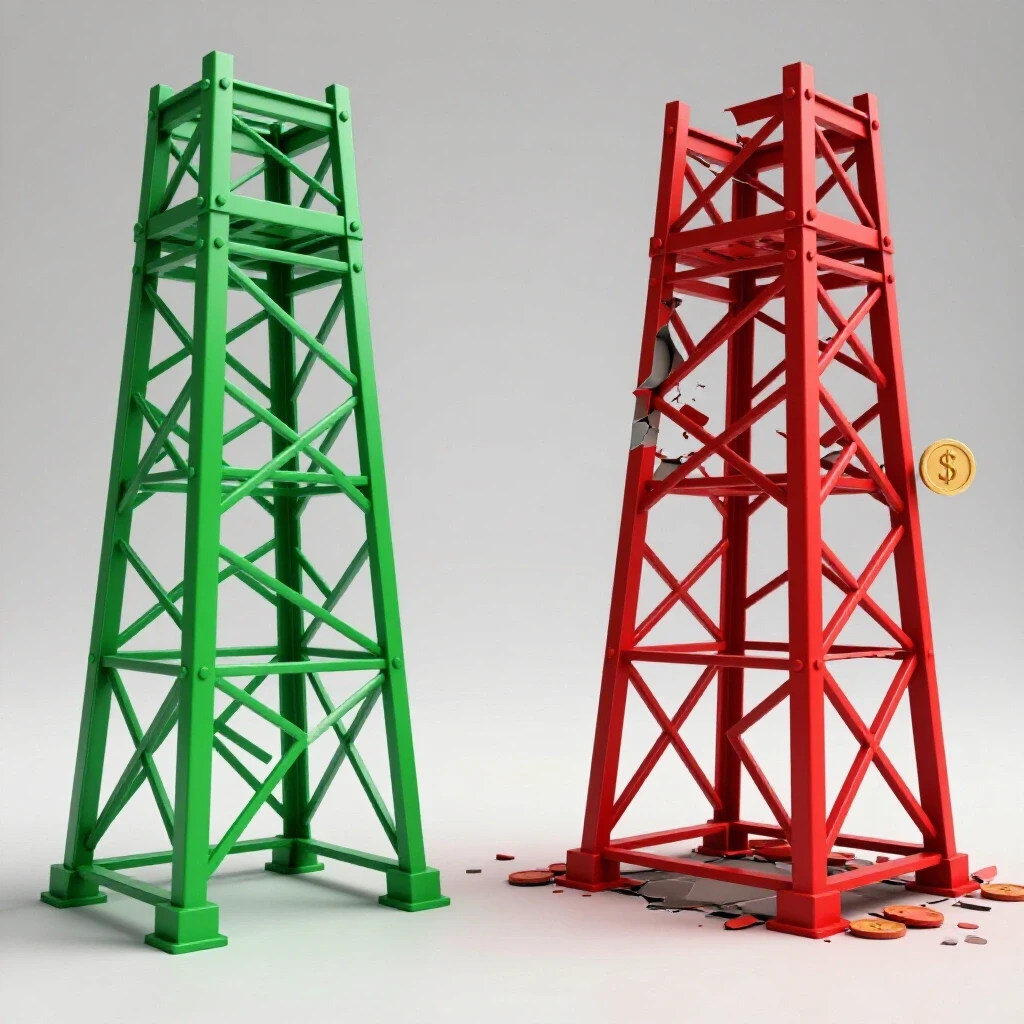
Finding the Sweet Spot Between Material Strength and Project Budget
This involves identifying the point where a frame is strong enough to handle its intended load without wasting money on excessively thick steel that adds no functional value.
In my sixteen years of fabrication, I have seen many shop owners try to save money by sizing down their materials. They might swap a 3/16-inch wall tube for an 1/8-inch wall to save twenty percent on the material bill. While the savings look good on paper, the labor often increases because thinner materials warp more easily under high heat. You end up spending more time on straightening and fit-up than you saved on the steel.
A better approach is to look at the geometry of the build. Using a taller, thinner rectangular tube often provides more rigidity than a shorter, thicker square tube for the same price. I call this “buying strength with shape.” When you understand how different profiles handle weight, you can offer a lower price to the customer while maintaining a high safety margin.
- Material Choice: Mild steel is the workhorse of the small shop because it is predictable and affordable.
- Wall Thickness: Stick to standard sizes (1/8″, 3/16″, 1/4″) to keep your sourcing simple and your costs down.
- Weight vs. Strength: Remember that every extra pound of steel adds to your shipping or delivery costs.
Calculating a Realistic Shop Rate for Heavy Fabrication
This is the process of determining the minimum hourly fee needed to cover electricity, rent, tool wear, and your own labor while leaving room for a net profit.
Most side-hustlers pick a number out of thin air—usually $40 or $50 an hour. They think this is great because it is more than they make at their day job. However, that $50 has to pay for the shop space, the $2,000 welder you bought last year, and the $300 electric bill. In reality, a sustainable shop rate for a small fabrication business usually lands between $65 and $120 per hour, depending on your location and equipment.
To find your true rate, you must track your fixed costs. These are the bills you pay even if you don’t weld a single bead this month. Then, you look at your “billable hours.” If you only have ten hours a week to work on side projects, those ten hours have to cover all your overhead. If your overhead is $500 a month, you are already $50 in the hole every hour before you even pay yourself.
| Expense Category | Monthly Cost (Example) | Hourly Burden (10 hrs/week) |
|---|---|---|
| Shop Rent/Utilities | $400 | $10.00 |
| Equipment Amortization | $150 | $3.75 |
| Consumables (Gas/Wire) | $100 | $2.50 |
| Software/Admin | $50 | $1.25 |
| Total Overhead | $700 | $17.50 |
Building on this, if you want to earn $40 an hour for your labor and keep a 20% profit margin for the business, your shop rate needs to be closer to $72 per hour.
Why Hidden Consumables Impact Your Bottom Line on Load-Bearing Projects
This section covers tracking the actual cost of welding gas, filler wire, and grinding wheels used during deep-penetration welding tasks to avoid losing money on structural assemblies.
Consumables are the “silent killers” of fabrication job costing. When you are building a heavy-duty bracket or a load-bearing frame, you aren’t just “tacking” things together. You are running long, hot beads that consume a significant amount of shielding gas and filler wire. I once tracked a project where I used three full flap discs and half a bottle of argon just on the joint preparation and final cleanup. That was $60 in supplies I hadn’t put in the quote.
Interestingly, many small shops fail because they treat consumables as a flat fee. Instead, you should apply a “consumable burden factor.” For structural work, I typically add 10% to 15% of the total material cost as a consumable charge. If the steel costs $500, I add at least $50 for the wire, gas, and abrasives. This ensures that as the project gets bigger and heavier, the budget for the supplies scales with it.
- Shielding Gas: Calculate your flow rate (CFH) against your arc time to see how much a bottle really costs per hour.
- Abrasives: High-quality ceramic discs cost more upfront but last three times longer, reducing your “cost per inch” of grinding.
- Filler Metal: Don’t forget that heavy fillets require multiple passes, which can eat through a 10lb spool faster than you expect.
Estimating Labor for Complex Joint Preparation
This involves factoring in the time required for beveling, cleaning, and fit-up, which are essential for strong joints but often overlooked in quick price estimates.
In structural metalworking, the weld is only as good as the preparation. If you are joining two pieces of 3/8-inch plate, you cannot just butt them together and weld the surface. You have to grind a bevel into both pieces to ensure the weld metal penetrates the full thickness of the material. This prep work can take twice as long as the actual welding.
When I am side-hustle metalworking, I use a simple rule: for every hour of arc time, I budget two hours for fit-up and finishing. If you skip the prep to save time, you compromise the strength of the build. If you don’t charge for that prep time, you are working for free. I recommend using a “linear-foot cost baseline” for prep. For example, if you know it takes you ten minutes to bevel and clean one foot of heavy plate, you can accurately price a large frame by measuring the total length of the joints.
Mapping Machinery Amortization and Tool ROI
This is the financial practice of spreading the cost of an expensive tool over its useful life to understand how much it costs to operate every time you turn it on.
Buying a new $3,000 pulse MIG welder feels like a big hit to the bank account. However, if you plan to use that machine for five years, it only costs you $600 a year, or about $50 a month. If you use it for 20 hours a month, the machine “costs” you $2.50 per hour. This is called machine amortization.
Knowing your metal business ROI calculators is vital when deciding whether to upgrade. If a new bandsaw saves you thirty minutes of manual cutting on every job, and your shop rate is $80 an hour, that saw pays you back $40 every time you use it. If the saw costs $1,200, it pays for itself in 30 jobs. That is a clear, data-driven decision. Don’t buy tools because they are shiny; buy them because they reduce your labor time or increase your capability to handle heavier, safer builds.
- Identify the tool’s cost.
- Estimate its lifespan in years.
- Calculate the monthly cost.
- Compare the time saved vs. the hourly shop rate.
Sourcing Material Without Sacrificing Quality
This means finding the most cost-effective way to acquire steel and aluminum while ensuring the material meets the thickness and grade requirements for a safe build.
Material markups are a standard part of small metal shop pricing. I typically charge customers 20% to 35% more than what I paid for the steel. This covers my time spent driving to the local supplier, the fuel for my truck, and the risk of a mistake during the build. If you don’t mark up your materials, you are essentially providing a free delivery and storage service for your client.
To keep your builds profitable, you need to manage your “drop” or scrap. In a structural build, you might buy a 20-foot stick of tubing but only use 17 feet. The customer should pay for the full 20 feet. That extra three feet of “drop” becomes pure profit when you use it for a smaller bracket or gusset on a future job. This is how you build a “material library” that lowers your costs over time.
Incremental Testing and Validating Your Work
This section discusses how to verify the strength of your fabrication through manual testing methods that don’t require expensive laboratory equipment.
Since we aren’t using industrial testing labs, we have to rely on workshop-level validation. For load-bearing frames, I use incremental load testing. This means applying weight in stages—25%, 50%, then 100% of the intended load—while checking for deflection or signs of stress in the joints. You can do this using sandbags, water barrels, or even your own body weight for smaller assemblies.
A key part of this is documenting the process. Take photos of your joint preparation and your final welds. If a customer asks why your price is higher than the guy down the street, show them the photos of the deep-penetration bevels you ground into the frame. This demonstrates that you aren’t just “gluing” metal together; you are building a structural assembly that is worth the premium price.
Building a Custom Job Quote That Protects Your Margin
This is the final step where you combine your labor, material, consumables, and profit into a single document that clearly communicates the value to the client.
A good quote should be broken down so the customer sees the value but doesn’t get bogged down in the minutiae. I never list my “shop rate” as a line item. Instead, I list “Fabrication and Assembly Labor.” This prevents the customer from trying to negotiate your hourly wage.
- Material Total: Include the marked-up cost of all steel and hardware.
- Labor Estimate: Based on your prep, welding, and finishing time.
- Consumable Fee: The 10-15% burden we discussed earlier.
- Project Contingency: I always add a 5% to 10% “buffer” for unexpected issues, like a broken drill bit or a slight change in the design.
As a result of using this structured approach, your quotes will become more accurate over time. You will stop “guesstimating” and start “calculating.” When a project is finished, compare your actual costs to your quote. This “post-job cost reconciliation” is the best way to learn where you are losing money.
Practical Steps for Your Next Project
- Track every minute. Use a simple app or a notebook to record exactly how long you spend on prep, welding, and grinding.
- Save your receipts. Don’t just look at the total; look at the cost per foot of steel and the cost of your gas refills.
- Review your “drops.” See if you can design future projects to use the scrap you already have on hand.
- Audit your electricity. If you are running a high-amperage welder, check your bill to see if your “utilities” estimate in your shop rate is actually covering the cost.
Frequently Asked Questions
How do I know if my welds are strong enough for a load-bearing frame? In a manual workshop, strength comes from proper joint preparation and penetration. If you grind a 45-degree bevel into your material so the weld can reach the center of the joint, and you see a slight “bulge” or heat signature on the back side, you likely have full penetration. Always perform a “destructive test” on scrap pieces of the same thickness to see how much force it takes to break your weld.
Is it better to use thicker metal or more gussets to save money? Often, using thinner material with well-placed gussets is both stronger and more cost-effective. A 3/16-inch plate with a 2-inch gusset can resist bending better than a 1/4-inch plate without one. Gussets use your “drop” material, which saves you money while increasing the structural integrity of the build.
How much should I mark up my materials for a side-hustle? A standard markup is 20% to 35%. If the job requires you to spend two hours at the steel yard and use a tank of gas, lean toward the 35% mark. If the material is delivered to your door, a 20% markup is usually sufficient to cover the administrative time of ordering and handling.
What is the “consumable burden factor,” and why does it matter? The consumable burden factor is a percentage added to a quote to cover items that are hard to track individually, like welding wire, gas, and sanding discs. For structural work, 10-15% is a safe bet. It matters because these small costs can eat 20% of your profit if they aren’t accounted for in the initial price.
Should I charge for the time I spend designing the project? Yes. Design time is billable time. If you spend two hours sketching a frame and calculating material lengths, that is two hours you aren’t welding. You should charge your full shop rate for design work, or at the very least, a “consultation fee” that is applied to the final bill if they move forward with the project.
How do I calculate the ROI on a new piece of shop equipment? Divide the cost of the tool by the amount of time it saves you per job, multiplied by your shop rate. For example, if a $500 cold saw saves you 15 minutes per job and your rate is $80/hr ($20 per 15 mins), the saw pays for itself in 25 jobs. If you do 25 jobs in a year, the tool has a 1-year ROI.
What is the most common mistake when pricing structural fabrication? Underestimating the “finishing” time. Most people quote the welding but forget the hours spent grinding welds flush, removing spatter, and painting or coating the final product. Finishing can often take as long as the actual assembly.
How can I compete with factory-made items that are cheaper? Don’t try to compete on price. Compete on “custom fit” and “material quality.” Factory items are often made with the thinnest possible material to save on shipping. Your value is in building something heavier, more durable, and specifically designed for the customer’s needs. Show them the difference in material thickness to justify your higher price.
How do I handle a customer who thinks my shop rate is too high? Explain your overhead and the quality of your materials. If they still complain, they likely aren’t your target customer. A side-hustle should be profitable, not a charity. It is better to have no job than a job that costs you money to complete.
Why is “machine amortization” important for a part-time shop? It helps you realize that your tools are wearing out every time you use them. If you don’t factor in a small “replacement fee” into your shop rate, you won’t have the money to buy a new welder when your current one eventually fails. This ensures your business is sustainable over the long term.
(This article was written by one of our staff writers, Michael Hargrove. Visit our Meet the Team page to learn more about the author and their expertise.)