Designing Workshop Floor Plans for Safety and Flow (DIY Plan)
Scaling a fabrication shop is a major step that moves you from a hobbyist to a serious producer. In my twenty years of running a shop, I have seen many people focus only on getting new tools. While a CNC plasma table is a game-changer, it can also become a massive bottleneck if your floor space is not ready for it. I remember when I first brought in a heavy-duty gantry system. I had no clear plan for how material would move from the delivery truck to the cutting bed. I spent more time moving pallets out of the way than I did actually cutting steel. That experience taught me that a successful shop is built on the physics of movement and the logic of power.
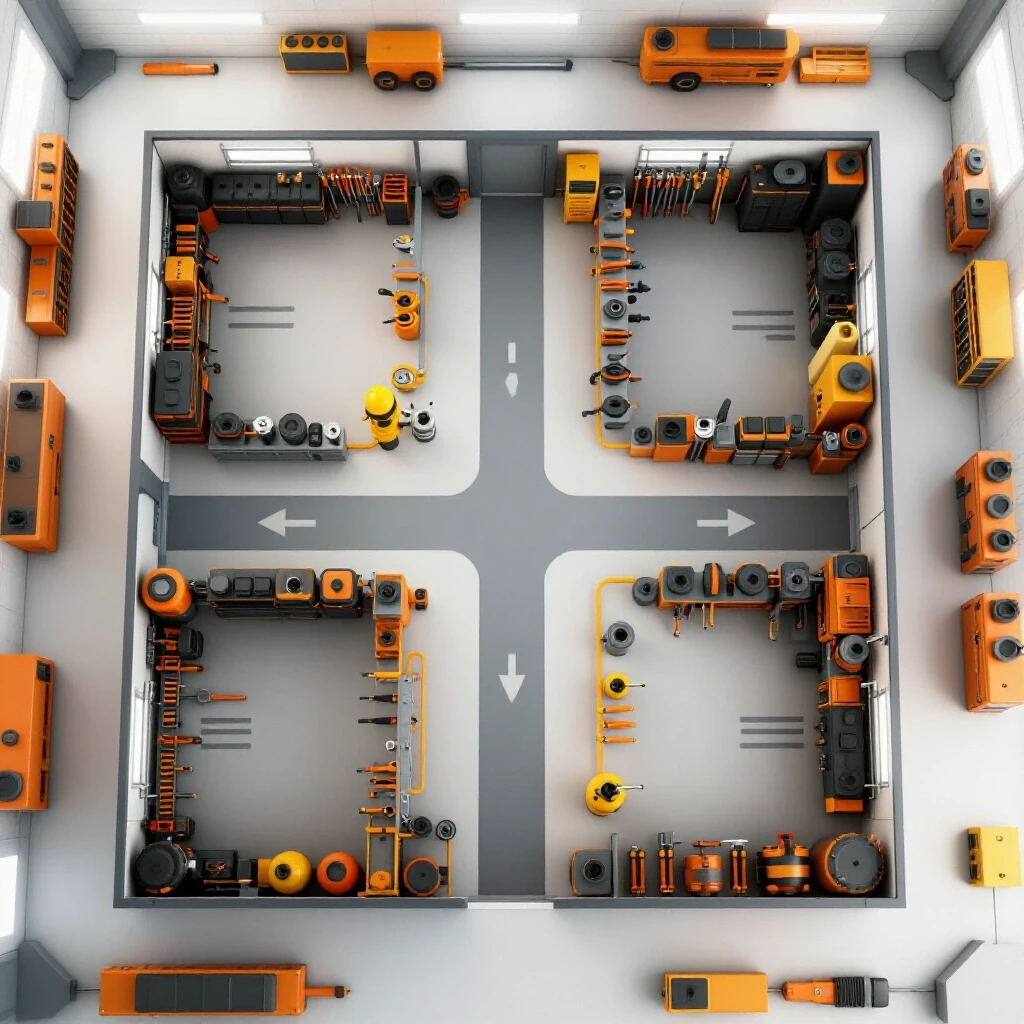
The goal of a high-output workspace is to reduce the number of times you touch a piece of metal. Every time you pick up a part and move it across the room, you are losing money. You want a space where raw stock enters at one end and finished, welded parts exit at the other. This requires a deep look at how you manage your floor space, how you deliver power to your machines, and how you keep the air clean enough to breathe. Transitioning to a semi-professional setup means thinking like a process engineer.
Mapping Material-Flow Loops for High-Volume Output
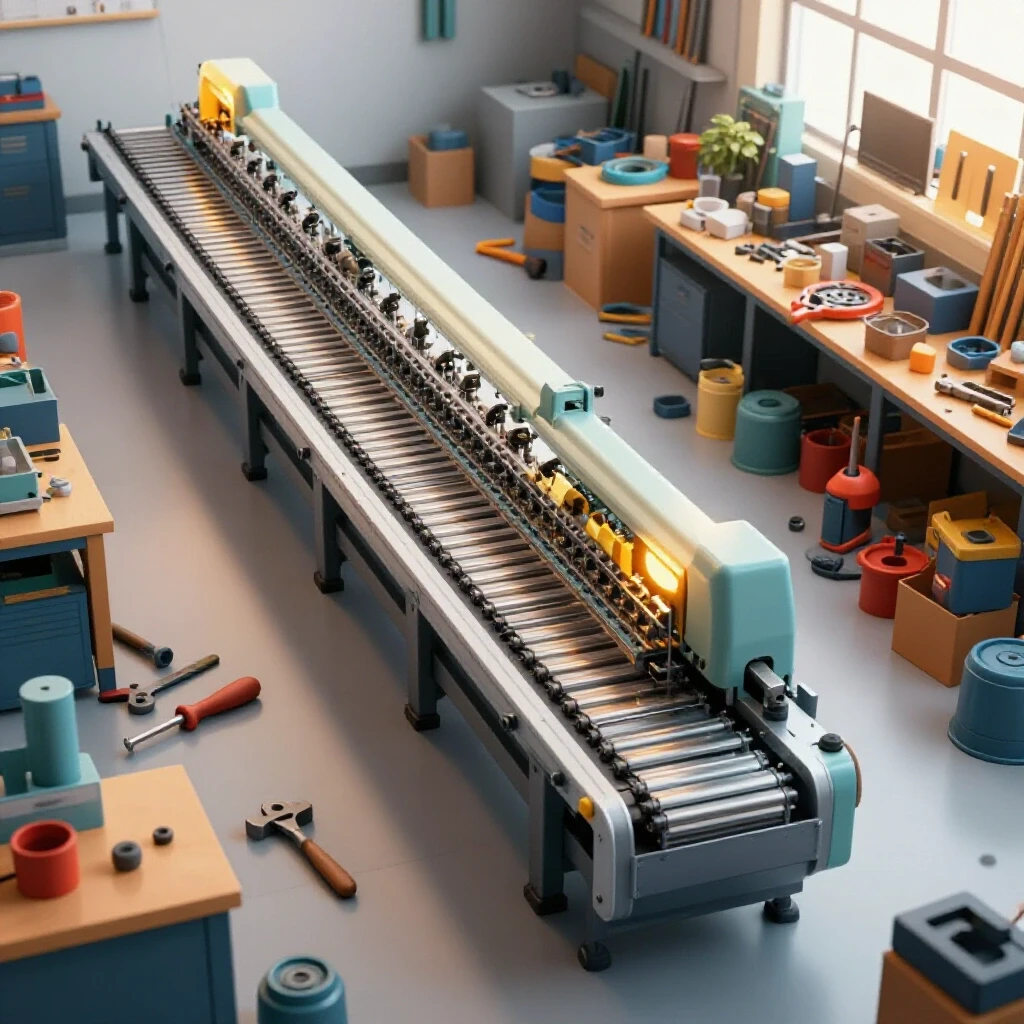
A material-flow loop is the physical path that raw steel or aluminum takes through your shop from arrival to completion. Mapping this path helps you identify where parts get stuck and where workers might trip over each other or equipment.
When I first started optimizing my layout, I realized my saw was too far from my material rack. I was carrying 20-foot sticks of tubing across the entire shop. This was not just tiring; it was dangerous. An advanced workshop layout should prioritize a linear or “U-shaped” flow. In a linear flow, material moves in a straight line through various stations. In a U-shaped flow, material enters and exits through the same side of the building, which is often better for smaller shops with only one large bay door.
You must also consider your floor load ratings. A CNC plasma table with a full water bed can weigh several thousand pounds. If your concrete slab is thin or cracked, that weight can cause shifting over time. This shifting will throw off the level of your machine and ruin your cutting accuracy. Before you place a heavy machine, check the thickness of your floor. Most light industrial or upgraded home shops have four inches of concrete, which is usually enough, but you must ensure the weight is spread out properly.
Creating Clear Machine Spacing Boundaries
Machine spacing boundaries are the empty zones around your equipment that allow for safe operation, maintenance, and material loading. These zones prevent accidents and ensure you have enough room to swing a long piece of metal without hitting a wall or another tool.
I suggest a minimum of three feet of clearance around all sides of a stationary tool. For a CNC plasma table, you might need even more room on the loading side. If you use a forklift or a gantry crane, your aisles need to be wide enough for those tools to turn. I once tried to squeeze a welding station right next to my finishing area. The sparks from the grinder kept hitting the fresh paint on my finished parts. By setting strict boundaries, you keep different processes from interfering with one another.
Defining Zoned Work Areas for Safety
Zoning involves grouping similar tasks together to manage hazards like heat, light, and dust. By creating a “hot zone” for welding and a “dirty zone” for grinding, you can better control the environment and protect sensitive electronics.
Your CNC plasma table and computer station should be as far from your grinding area as possible. Metal dust is conductive and can easily short out a circuit board if it gets sucked into a cooling fan. I use heavy welding curtains to separate these zones. These curtains block UV light from welding arcs and keep sparks from flying into other areas. This simple change made my shop much safer and kept my expensive electronics running longer.
| Layout Type | Best Use Case | Primary Benefit |
|---|---|---|
| Linear Flow | Long, narrow shops | Minimal material handling |
| U-Shaped Flow | Shops with one entry point | Centralized loading and unloading |
| Cell-Based Flow | Specialized small-part production | High flexibility for custom work |
Implementing Stable 3-Phase Power for Advanced Machinery
A 3-phase power converter is a device that transforms standard single-phase residential power into the three-line power required by industrial motors and high-end CNC machines. This allows a small shop to run equipment that would otherwise be unusable.
Most home-based shops only have 240V single-phase power. However, industrial-grade saws, mills, and large compressors often run on 3-phase power because it is more efficient. Three-phase motors are smaller, last longer, and provide more consistent torque. When I upgraded my shop, I had to choose between a static converter and a rotary phase converter. A static converter is cheaper but only provides two-thirds of the motor’s rated power. A rotary phase converter (RPC) uses a separate motor to generate the third leg of power, giving you full performance.
Comparing Rotary vs. Static Phase Converters
Rotary phase converters use a physical motor to create a balanced three-phase output, while static converters use capacitors to start a motor but do not provide a true third phase during operation. Choosing the right one depends on how much power your machinery needs to maintain under load.
If you are running a CNC machine, you almost always need a rotary phase converter or a high-quality digital phase converter. CNC electronics are very sensitive to voltage drops. A static converter can cause the voltage to sag, which might lead to a system crash in the middle of a cut. I use a rotary converter for my main shop power because it can handle multiple machines running at once. It is a bit louder, but the stability it provides for my CNC gantry is worth the noise.
Balancing Voltage for CNC Controller Protection
Voltage balancing is the process of ensuring that all three lines of power have nearly identical voltage levels. Unbalanced power can cause motors to overheat and can damage the delicate sensitive components inside a CNC control box.
When you install a 3-phase system, you must check the voltage between each leg. In a perfect world, they would all be the same. In reality, you want them within 5% of each other. I check my phase balance every few months using a multimeter. If the “manufactured leg” from your converter is too high or too low, it can cause “electrical noise.” This noise can mess with the signals sent to your stepper or servo motors, leading to skipped steps and ruined parts.
| Converter Type | Power Efficiency | Best For |
|---|---|---|
| Static Converter | 60-70% | Small drill presses or light saws |
| Rotary Converter | 95-100% | CNC tables, large mills, and lathes |
| Digital Converter | 98-100% | Highly sensitive CNC electronics |
Engineering High-Volume Air Filtration for Fume and Dust Management
Air filtration in a fabrication shop involves moving large volumes of air to remove harmful metal dust and welding fumes. This requires a system of fans, filters, and ducts designed to maintain high air velocity.
Fume extraction is not just about comfort; it is about long-term health. When you cut metal with plasma or weld for hours, you create fine particulates that stay in the air. I designed my own dust collection duct design to pull air directly from the source. The key metric here is Cubic Feet per Minute (CFM). You need enough CFM to pull the dust into the hood before it can spread through the shop. For a standard welding station, you usually want at least 1,000 CFM of airflow at the hood.
Calculating Duct Static Pressure Losses
Static pressure loss is the resistance air faces as it moves through pipes, bends, and filters. If your ducts are too small or have too many turns, your fan will not be able to move enough air to be effective.
Every foot of pipe and every elbow adds resistance. I learned this the hard way when I tried to use flexible dryer venting for my first dust system. The ridges in the flex pipe created so much turbulence that the suction at the end was almost zero. Now, I use smooth-walled metal ducting. I also keep my runs as straight as possible. If you must have a turn, use two 45-degree elbows instead of one sharp 90-degree elbow. This keeps the air moving fast enough to prevent metal dust from settling and clogging the pipes.
Designing a Multi-Stage Cyclone Collection System
A multi-stage cyclone system uses centrifugal force to spin heavy particles out of the air before they reach the main filter. This prevents the filter from clogging quickly and maintains a consistent level of suction.
In my shop, the air first enters a cyclone separator. The heavy grinding dust and metal chips fall into a bin at the bottom. The finer dust then moves to a HEPA-rated canister filter. This two-step process means I only have to clean my expensive filters once a month instead of every day. If you are scaling a fabrication shop, this kind of system is a must. It keeps your air clean and reduces the time you spend on maintenance.
- 1,000 CFM: Minimum airflow for a single-person welding hood.
- 3,500 FPM (Feet Per Minute): Minimum air velocity inside the duct to keep metal dust from settling.
- 6-inch Ducting: Common size for main lines in a small professional shop.
- HEPA Filter: Necessary for capturing the finest, most dangerous particles.
Strategizing CNC Plasma Table Placement for Peak Efficiency
CNC plasma table setup involves more than just finding a spot on the floor; it requires planning for material loading, water table maintenance, and gantry movement. The table should be the centerpiece of your workflow, not an obstacle you have to walk around.
When I installed my first 4×8 table, I put it against a wall to save space. That was a mistake. I quickly realized I couldn’t reach the back side to clean out the slag or adjust the material. Now, I leave at least three feet of space on all sides. You also need to think about how you will get 4×8 sheets of steel onto the bed. If you have to carry them by hand, you will be exhausted before you even start cutting. I positioned my table so that my overhead hoist can reach it directly from the material storage rack.
Managing Gantry Travel and Cable Protection
Gantry travel refers to the movement of the cutting head along the X and Y axes. Protecting the cables that power the motors and the plasma torch is vital for preventing downtime.
As the gantry moves, it pulls a “cable track” or “drag chain.” You must ensure this chain has a clear path and cannot get snagged on anything. I once had a piece of scrap metal fall into the track, which caused the motor to bind and ruined a large sheet of aluminum. I now use raised cable trays to keep the lines off the floor and away from the sparks. This keeps the signals to the stepper or servo motors clean and prevents “ghosting” or erratic movements during a cut.
Water Table Maintenance and Drainage
A water table uses a pool of water beneath the cutting surface to catch sparks and reduce smoke. Maintaining this water level and keeping it clean is a constant task in a high-output shop.
Water tables are heavy and messy. You need a plan for how to drain the water when it gets too full of sludge. I installed a simple plumbing system with a ball valve that lets me drain the tank into a settling barrel. This allows the metal fines to sink to the bottom so I can reuse the water. Without a good drainage plan, you will end up with a wet, slippery floor, which is a major safety hazard in a shop full of electrical equipment.
| Component | Maintenance Interval | Action Required |
|---|---|---|
| Water Table | Weekly | Remove large scrap and check water level |
| Cable Tracks | Monthly | Inspect for debris or frayed wires |
| Gantry Rails | Daily | Wipe down and apply light lubricant |
| Torch Consumables | Per Project | Check nozzle and electrode for wear |
Refining the Workflow Matrix for Maximum Throughput
A workflow matrix is a way of organizing your shop so that the most common tasks take the least amount of time and effort. It involves analyzing every step of your production process to find and remove bottlenecks.
In my shop, I use a “cell” approach for certain products. For example, my bracket-making cell has everything I need in one small area: a small rack of pre-cut steel, the CNC table, a deburring station, and a shipping table. By keeping these tools close together, I can produce a batch of parts without walking more than ten feet. This type of workflow optimization tips the scale from a hobby shop to a professional operation. It’s not about working harder; it’s about making the layout work for you.
Eliminating Back-and-Forth Foot Traffic
Excessive walking is one of the biggest “hidden” wastes in any fabrication environment. Every minute spent walking across the shop is a minute you aren’t cutting, welding, or finishing parts.
I used to keep my clamps on one wall and my welding table on the other. I calculated that I was walking nearly a mile a day just getting tools. I moved my most-used tools to a rolling cart that stays right next to the work table. This simple change increased my daily output by nearly 15%. When you plan your shop, try to keep the tools for each stage of the process within arm’s reach of that station.
Implementing a Visual Management System
Visual management uses colors, labels, and floor markings to tell you exactly where everything belongs and what the status of a project is. This reduces the time spent looking for tools or wondering what to do next.
I use colored tape on the floor to mark out permanent “no-go” zones for safety. Red tape marks the swing area of the chop saw, and yellow tape marks the path for moving material. I also use a simple board to track jobs. When a job moves from “Cutting” to “Welding,” I move a magnet on the board. This keeps me organized and ensures that I never lose track of a customer’s order. It also helps anyone else in the shop understand the flow without me having to say a word.
- Map the Path: Use tape to trace the path of a single part through your shop.
- Identify Cross-Traffic: Look for areas where paths cross, which can cause accidents.
- Group Tools: Move all tools needed for a specific task into one “cell.”
- Label Everything: Use clear labels so you never have to search for a specific wrench or grit of sandpaper.
- Audit Regularly: Every month, look for new piles of scrap or clutter that are blocking your flow.
Conclusion
Building a professional-grade fabrication space is a journey of constant improvement. It starts with a solid understanding of how material moves and how power is delivered. By focusing on a linear flow, stable 3-phase power, and efficient air handling, you create an environment where you can do your best work. I have learned that the most expensive tool in the shop is the one that is hard to get to or dangerous to use.
The transition to CNC machinery and automated workflows is challenging, but it is also rewarding. It allows you to take on bigger projects and produce parts with a level of precision that isn’t possible by hand. As you refine your layout, remember to be patient. You won’t get it perfect the first time. I have moved my welding table four times in the last five years, and each time, the shop got a little bit faster and a little bit safer.
Your next step is to grab a roll of tape and mark out your current material paths. Look for the tangles and the bottlenecks. Once you see them on the floor, the solutions often become clear. A well-organized shop is more than just a place to work; it is a system that supports your creativity and your business goals.
FAQ
What is the best way to move heavy steel sheets alone? I recommend using a gantry crane with a vacuum lift or a plate clamp. If you don’t have the height for a crane, a heavy-duty sheet goods trolley can work. The key is to avoid lifting the full weight of the sheet manually to prevent back injuries and dropped material.
How much clearance does a CNC plasma table really need? You should aim for at least three feet of space on all sides. This allows you to walk around the machine to clear slag, change consumables, and perform maintenance. If you are loading full sheets, you may need an additional six to eight feet on the loading side for maneuvering.
Can I run a CNC machine on a static phase converter? It is not recommended. Static converters only provide full power during startup. CNC machines have sensitive electronics and motors that require stable, balanced 3-phase power. A rotary or digital phase converter is a much safer choice for protecting your investment.
How do I know if my dust collection system has enough CFM? You can use a handheld anemometer to measure the air speed at the hood. For metal dust and fumes, you generally want to see at least 3,500 to 4,000 feet per minute of velocity inside the duct. If the air feels weak at the hood, you likely have too much static pressure loss or a leak in your ducting.
What is the most common layout mistake in a small shop? The most common mistake is putting large machines against walls. While it seems to save floor space, it makes maintenance difficult and limits the size of the material you can process. Always consider the “swing” and “overhang” of long material when placing tools.
Why is voltage balancing important for 3-phase systems? Unbalanced voltage causes 3-phase motors to run hot and lose efficiency. For CNC systems, it can lead to electrical noise that interferes with the control signals. Keeping your legs within 5% of each other ensures your motors last longer and your cuts stay accurate.
How do I manage the heat generated by a large air compressor? Compressors should be placed in a well-ventilated area, ideally near an exterior wall. You can duct the hot exhaust air directly outside in the summer and vent it into the shop for heat in the winter. Just make sure the intake air is clean and cool.
What are the benefits of a U-shaped workshop flow? A U-shaped flow is great for shops with a single large door. Raw material comes in, moves around the perimeter through various stages (cutting, welding, grinding), and then exits as a finished product through the same door. This keeps the center of the shop open for large projects.
How often should I clean my workshop’s air filters? In a high-output shop, you should check your filters weekly. If you use a cyclone separator, the main filters will stay clean much longer. Replace or deep-clean them whenever you notice a drop in suction at your workstations.
Is a water table better than a downdraft table for plasma cutting? Water tables are generally cheaper and better at catching sparks and heavy dust. Downdraft tables are better at removing fine smoke but require a very powerful (and expensive) fan and filtration system. For most micro-manufacturers, a water table is the more practical choice.
(This article was written by one of our staff writers, Edward Sinclair. Visit our Meet the Team page to learn more about the author and their expertise.)