Easy Workshop Upgrades That Improve Productivity (Results)
I remember standing in my single-car garage back in 2013, staring at a pile of steel tubing and a brand-new, entry-level welder. I had spent exactly $1,850 to get my start, and I was terrified of wasting another dime. My background as an industrial maintenance technician taught me that efficiency isn’t about having the most expensive machines. It is about how you arrange your space and manage your resources. That first year, I spent more time looking for my tape measure and tripping over extension cords than I did actually melting metal.
The transition from a cluttered garage to a functional fabrication space does not require a massive bank account. It requires a methodical approach to how you move, how you store, and how you power your tools. Many beginners fall into the trap of buying “shiny” tools before they have a flat surface to work on or enough light to see their marks. By focusing on small, high-impact refinements to your workflow, you can significantly increase your output without overextending your budget.
Mapping Your Metalworking Footprint for Maximum Efficiency
This phase involves analyzing the physical flow of materials and the placement of stationary equipment to reduce unnecessary movement. A well-planned layout ensures that every step of the fabrication process—from raw material entry to the final product—follows a logical and unobstructed path.
When you work in a confined space, every square inch must earn its keep. I use a concept called the “Fabrication Flow,” which tracks a piece of metal through four distinct zones: Storage, Processing, Assembly, and Finishing. In my first shop, I made the mistake of putting my metal rack at the far back of the garage. This meant I had to carry heavy six-foot bars past my lawnmower and water heater every time I needed a cut.
Moving your heavy material storage closer to the garage door or your primary cutting station can save hours of physical labor over a month. I recommend using a “U-shaped” or “L-shaped” configuration. This keeps your main workbench in the center, with your saw on one side and your welder on the other. This setup minimizes the steps you take between tools.
| Zone | Primary Activity | Recommended Tooling |
|---|---|---|
| Raw Storage | Receiving and sorting metal | Vertical racks, scrap bins |
| Processing | Cutting and grinding | Chop saw, angle grinders, bandsaw |
| Assembly | Welding and tacking | Welding table, clamps, squares |
| Finishing | Cleaning and painting | Wire wheels, flap discs, paint rack |
Optimizing the Work Triangle
The work triangle is a layout strategy that places the three most used stations—the workbench, the saw, and the welder—in a triangular pattern. This arrangement allows the fabricator to pivot between tasks with minimal walking, which keeps the focus on the project rather than the logistics of the room.
In a garage, your “triangle” might be compressed. For example, my workbench is 4 feet away from my horizontal bandsaw. My welder sits on a mobile cart that I can pull right up to the table. By keeping these three points within a six-foot radius, I reduced my setup time for small brackets by nearly 40%. It sounds small, but those minutes add up when you only have a few hours after work to spend in the shop.
Prioritizing Power and Circuit Management
This section focuses on the electrical infrastructure of the workshop, specifically how to manage the high amperage demands of metalworking tools. Proper circuit planning prevents frequent breaker trips and ensures that machines like welders and compressors operate at their full rated capacity.
Most home garages are wired with a single 15-amp or 20-amp circuit that shares power with the garage door opener and the outdoor lights. When you plug in a MIG welder and a 4.5-inch angle grinder, you are likely to trip a breaker. I learned this the hard way during a project in 2014 when I kept losing power every time my air compressor kicked on while I was welding.
To improve your shop’s reliability, you need to understand the “draw” of your tools. A basic 110V welder can pull 15 to 20 amps on its own. If your lights are on the same circuit, they might flicker or go out. I suggest mapping your breakers before you start. Label every outlet so you know exactly which ones are linked. If possible, run a dedicated 20-amp line for your welding station to ensure consistent arc quality.
- 15-Amp Circuit: Suitable for hand drills, small grinders, and LED lighting.
- 20-Amp Circuit: The minimum requirement for most entry-level MIG and TIG welders.
- 30-Amp+ Circuit: Necessary if you plan to upgrade to a 220V welder or a large plasma cutter.
Understanding Duty Cycles and Power Draw
A duty cycle is the percentage of a ten-minute period that a machine can operate at a specific amperage before it needs to cool down. For budget-conscious beginners, understanding this number is vital because it dictates how fast you can work without damaging your equipment or wasting time waiting for a thermal reset.
If your welder has a 20% duty cycle at 90 amps, you can weld for two minutes out of every ten. If you try to push it further, the machine will shut down. You can improve your productivity by planning your workflow around these cooling periods. While the welder cools, use that time to prep the next set of joints or clean your previous welds with a wire brush. This “staggered” workflow keeps the project moving without stressing your electrical system.
| Tool Class | Typical Amp Draw (110V) | Recommended Circuit |
|---|---|---|
| Angle Grinder (Small) | 6 – 10 Amps | 15A Standard |
| Chop Saw (14-inch) | 15 Amps | 20A Dedicated |
| Entry-Level MIG Welder | 15 – 20 Amps | 20A Dedicated |
| Small Air Compressor | 12 – 15 Amps | 20A Dedicated |
Streamlining Tool Access with Smart Organization
This topic covers the implementation of storage solutions that keep essential tools visible and within reach. Effective organization reduces the “search time” that often plagues hobbyist shops, allowing for a more continuous and focused fabrication process.
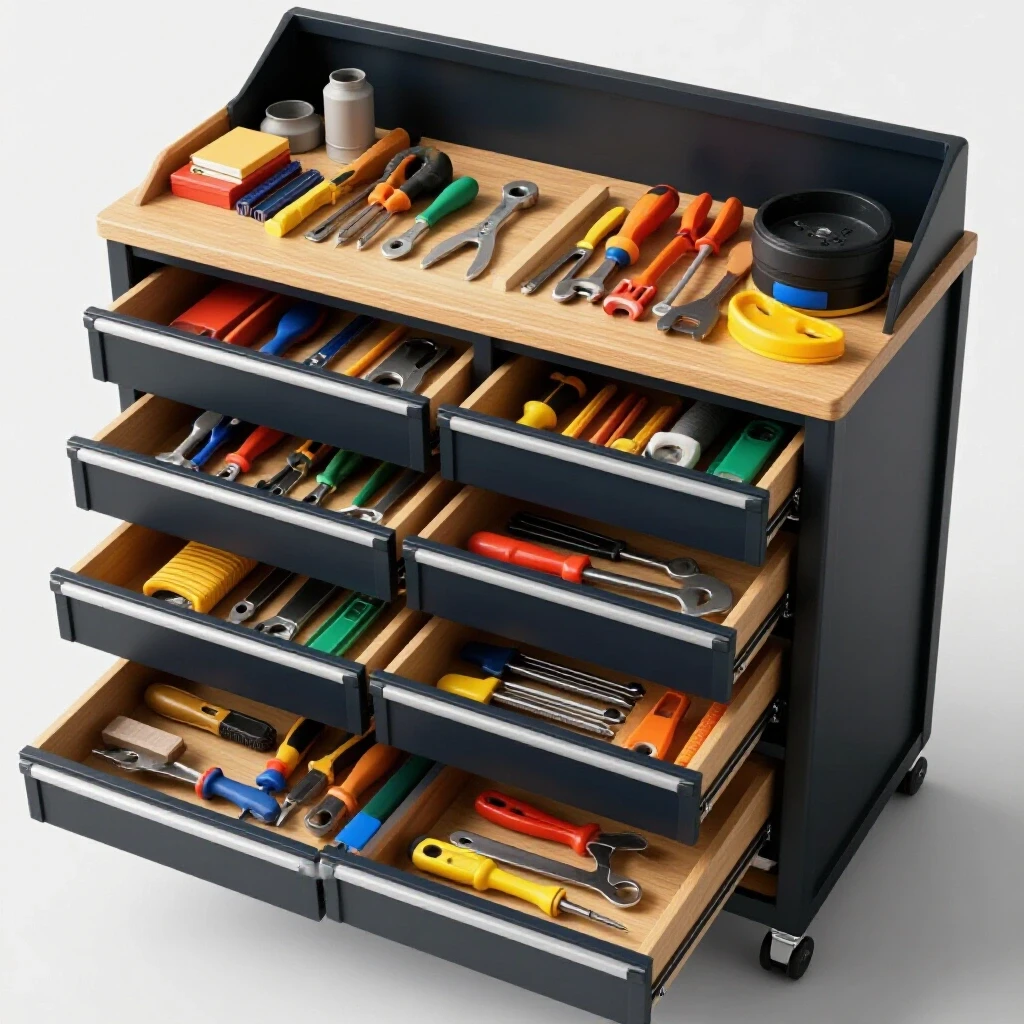
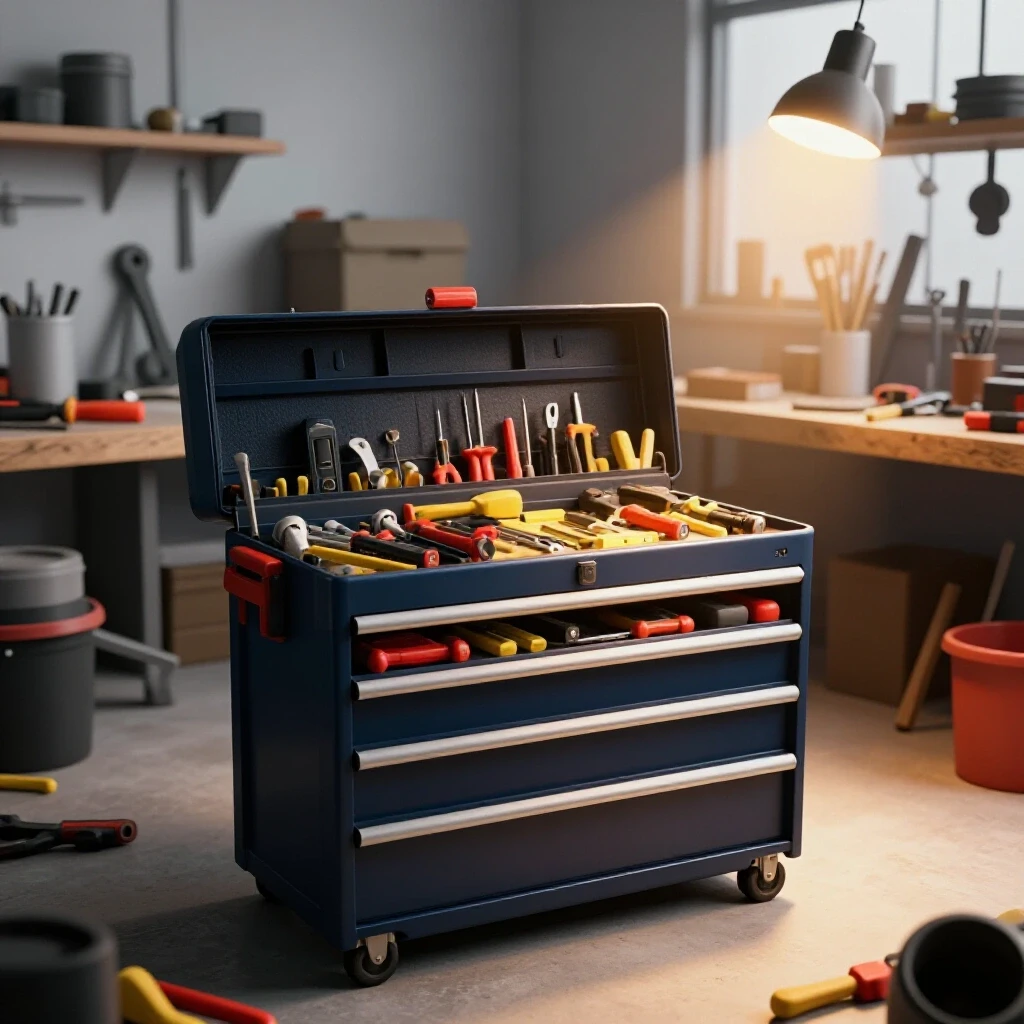
In my early days, I kept all my tools in a deep, red chest. Every time I needed a specific wrench or a scribe, I had to dig through three drawers. This is a massive productivity killer. I eventually switched to “point-of-use” storage. This means the tools I use for measuring are right next to the saw, and the tools I use for welding are right next to the welding table.
Shadow boards are an excellent low-cost upgrade. By hanging your most-used tools on a wall and tracing their outlines, you can see instantly if something is missing. For a metal shop, magnetic strips are also incredibly helpful. They can hold pliers, screwdrivers, and even small grinders, keeping your workbench clear for the actual workpiece.
- Magnetic Tool Holders: Mount these above your workbench for quick access to metal marking tools and pliers.
- Mobile Tool Carts: Build or buy a small cart for your welder that also holds your helmet, gloves, and chipping hammer.
- Vertical Bin Storage: Use clear bins for hardware like bolts, nuts, and washers so you can check inventory levels at a glance.
- Abrasive Organizers: Create a dedicated rack for your grinding, sanding, and cutting discs to prevent them from getting chipped or lost.
The Impact of Mobile Workstations
Mobile workstations are tool stands or benches equipped with heavy-duty casters that allow the user to reposition equipment as needed. In a small garage, the ability to move a heavy tool out of the way or bring it closer to the light can drastically change how efficiently a project moves forward.
I put everything in my shop on wheels—even my heavy welding table. This allows me to push the table into the center of the garage when I am working on a large frame, and then tuck it against the wall when I need to park a car. When choosing casters, look for “total lock” versions that stop both the wheel from spinning and the swivel from turning. This ensures your table stays rock-solid while you are hammering or grinding.
Enhancing Visibility through Strategic Lighting Refinements
This section explains how to upgrade workshop lighting to improve accuracy and reduce eye strain. Proper illumination is critical for seeing fine layout lines on dark steel and monitoring the weld puddle during the fabrication process.
Most garages have a single, dim bulb in the center of the ceiling. This creates shadows exactly where you don’t want them—usually right over your workpiece. When I upgraded my shop, I replaced that single bulb with four-foot LED shop lights. I aimed for a “daylight” color temperature, which is around 5,000 Kelvin. This makes the metal look more natural and helps you see the contrast between a scribe line and the mill scale on the steel.
Task lighting is another game-changer. I use a small, magnetic LED light that I can stick directly onto my drill press or band saw. This focuses the light exactly where the blade meets the metal. If you can’t see your marks clearly, you will make mistakes, and fixing mistakes is the biggest waste of time in any shop.
- Ambient Lighting: Aim for at least 50 to 75 foot-candles of light across the entire floor area.
- Task Lighting: Use adjustable lamps to provide 100+ foot-candles at the workbench surface.
- Reflectivity: Painting your garage walls a bright white can increase the effectiveness of your existing lights by reflecting more lumens back onto your work.
Building a High-Function Fabrication Surface
This involves the design and construction of a dedicated metalworking table that serves as the foundation for all assembly tasks. A proper table must be flat, conductive for welding grounds, and sturdy enough to handle the weight of heavy steel projects.
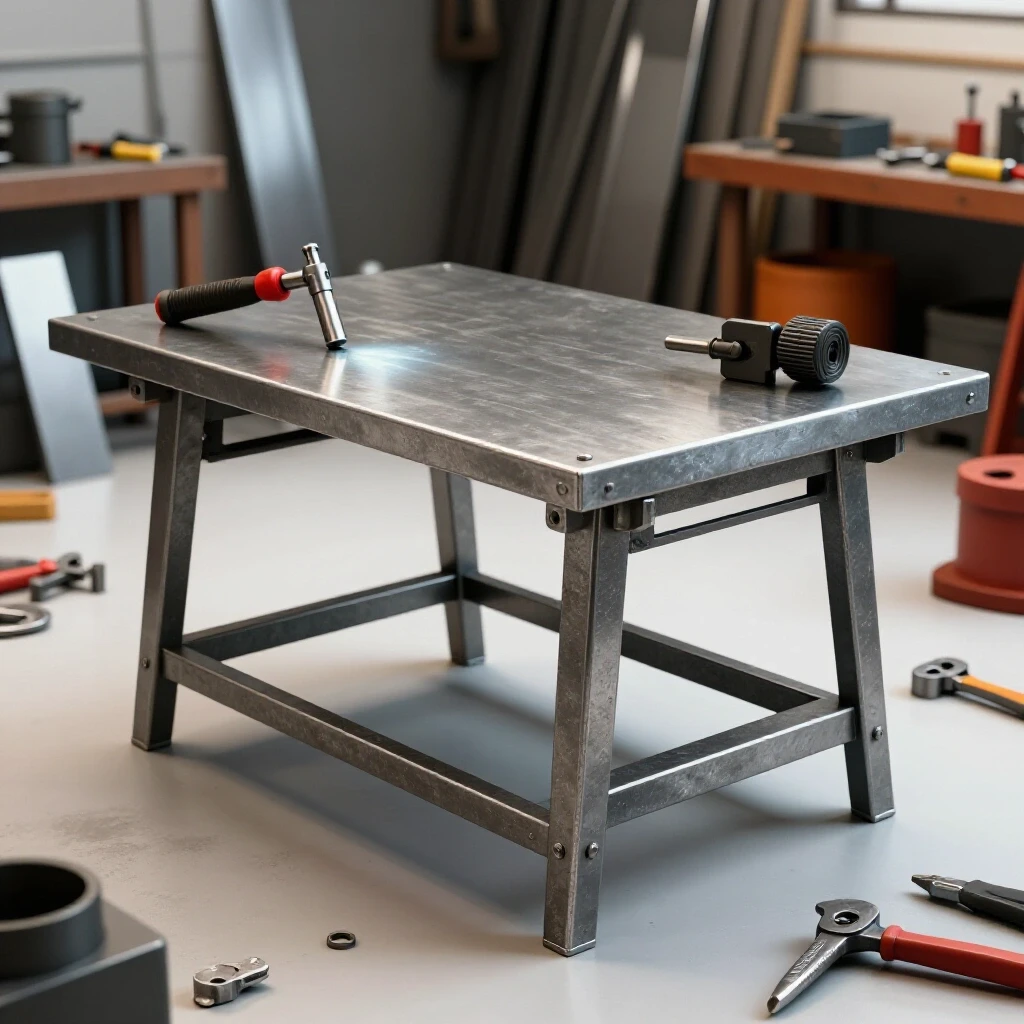
Your workbench is the heart of your shop. For years, I tried to weld on a wooden bench with a thin piece of sheet metal on top. It was never flat, and it was a constant fire hazard. When I finally built a proper table using a 3/8-inch thick steel plate, my productivity soared. A thick steel top stays flat, which means your frames will be square.
I recommend a table size of at least 2 feet by 4 feet for a beginner. This is large enough for most home projects but small enough to fit in a corner. You can also drill “fixture holes” into the top. These are 5/8-inch or 16mm holes spaced at regular intervals. They allow you to use specialized clamps to hold your work perfectly still while you tack weld.
Essential Features for a Starter Welding Table
A functional welding table needs more than just a flat top; it requires integrated features that simplify the welding process. These include dedicated locations for ground clamps and storage for frequently used hand tools to keep the workspace uncluttered.
- Integrated Ground Tab: Weld a small piece of scrap steel to the underside of the table. This is where you attach your welder’s ground clamp, so it never gets in the way of your work.
- Leveling Feet: Most garage floors are sloped for drainage. Use heavy-duty threaded bolts as feet so you can level the table perfectly.
- Lower Shelf: Use the space under the table to store your heavy tools like grinders or your welding machine. This lowers the center of gravity and saves floor space.
Managing Waste and Material Storage
This section details how to organize metal stock and scrap to maintain a clear workspace. Proper storage prevents material damage and makes it easier to find the right piece of steel for a specific task, reducing the time spent on material preparation.
Metal is heavy, awkward, and often dirty. If you leave it leaning against the wall, it will eventually fall over or get in your way. I use a vertical rack for long bars of square tubing and angle iron. This uses the height of the garage rather than the floor space. For smaller pieces, or “drops,” I use labeled buckets. I sort them by material type: one for flat bar, one for round tube, and one for thick plate.
Keeping a clean shop is not just about aesthetics; it is about speed. If you have to move five pieces of scrap to find the one you need, you are losing momentum. At the end of every shop session, I spend ten minutes putting my offcuts back in their bins. This “reset” ensures that when I walk into the shop the next day, I can get straight to work.
- Vertical Racks: Best for long stock (6 feet or more). Ensure they are anchored to the wall studs.
- Horizontal Cantilever Racks: Good if you have a long, empty wall. They make it easy to see every piece of steel you own.
- Scrap Bins: Use heavy-duty plastic or metal tubs for pieces under 12 inches.
- Labeling: Use a paint marker to write the dimensions and material type on the end of each bar. This prevents you from having to pull out the tape measure every time.
Actionable Tracking for Shop Improvements
To truly understand how your shop is performing, you should track your time and costs. I keep a simple notebook where I record how long a project takes and where I felt “stuck.” If I notice I am constantly walking across the room to get a grinder, I know it is time to move the grinder station.
I also track my consumable costs, such as welding wire and grinding discs. Beginners often overspend on these items because they don’t have a system for storing them. By keeping your discs in a dry, organized rack, they last longer and perform better.
| Improvement Category | Estimated Cost | Impact on Productivity |
|---|---|---|
| LED Lighting Upgrade | $50 – $100 | High (Reduced errors) |
| Mobile Tool Carts | $30 – $80 | Medium (Better floor space) |
| Dedicated 20A Circuit | $100 – $200 | High (No breaker trips) |
| Magnetic Tool Strips | $15 – $30 | Medium (Faster tool access) |
Frequently Asked Questions
How can I organize a small garage for metalwork? The best way to organize a small space is to use mobile bases for all heavy equipment and utilize vertical wall space for tool storage. Keep your primary work area clear and only bring out the tools you need for the current step of the project.
What is the best height for a welding table? For most people, a height of 34 to 36 inches is ideal. This allows you to work comfortably while standing but is also low enough that you can sit on a stool for detailed TIG welding or assembly work.
How much power does a basic MIG welder need? A standard 110V MIG welder typically requires a 20-amp circuit to run at its highest settings. While it may run on a 15-amp circuit, you will likely experience frequent breaker trips when welding thicker materials.
Why should I use mobile tool carts? Mobile carts allow you to bring your tools to the work rather than the work to the tools. This is especially important in small shops where you may need to move equipment to accommodate large or oddly shaped projects.
How do I manage metal scrap effectively? Sort your scrap by shape and size into dedicated bins or buckets. Labeling these bins “Flat Bar,” “Tubing,” and “Plate” will save you from digging through a single “junk pile” to find a small gusset or spacer.
What lighting is best for seeing weld puddles? High-output LED shop lights with a color temperature of 5,000K (Daylight) provide the best clarity. Additionally, using a dedicated task light near your welding area can help you see your joint clearly before you strike an arc.
How can I reduce setup time for small projects? Keep your most-used tools—like your square, scribe, and clamps—in a dedicated “reach zone” on your workbench. Having these items instantly available eliminates the time spent searching for them between tasks.
Should I store metal vertically or horizontally? In a small garage, vertical storage is usually better as it takes up less floor space. However, make sure the rack is tilted slightly toward the wall and secured at the base to prevent the material from sliding out.
What are the most important tools to keep on a workbench? You should always have a high-quality tape measure, a speed square, a scribe or silver pencil, and a set of basic clamps. These are the tools used in almost every phase of layout and assembly.
How do I plan a layout for a single-car garage? Start by identifying your “fixed” items like the garage door and electrical outlets. Place your heaviest tools, like the welding table and saw, in positions that allow for the longest material “in-feed” and “out-feed” clearances.
(This article was written by one of our staff writers, Michael Thompson. Visit our Meet the Team page to learn more about the author and their expertise.)