Essential Safety Gear You Should Wear for Grinding (Tips)
When I set up my first garage workshop in 2013, I had exactly $2,000 in my savings account and a lot of ambition. Like many of you, I spent hours scrolling through forums and watching videos, trying to figure out which tools were actually necessary and which were just expensive distractions. The anxiety of potentially wasting money on the wrong equipment is real, especially when you are working in a confined residential space. My background as an industrial maintenance technician taught me that the most expensive mistake isn’t buying a cheap tool; it is failing to account for the physical risks of the work itself.
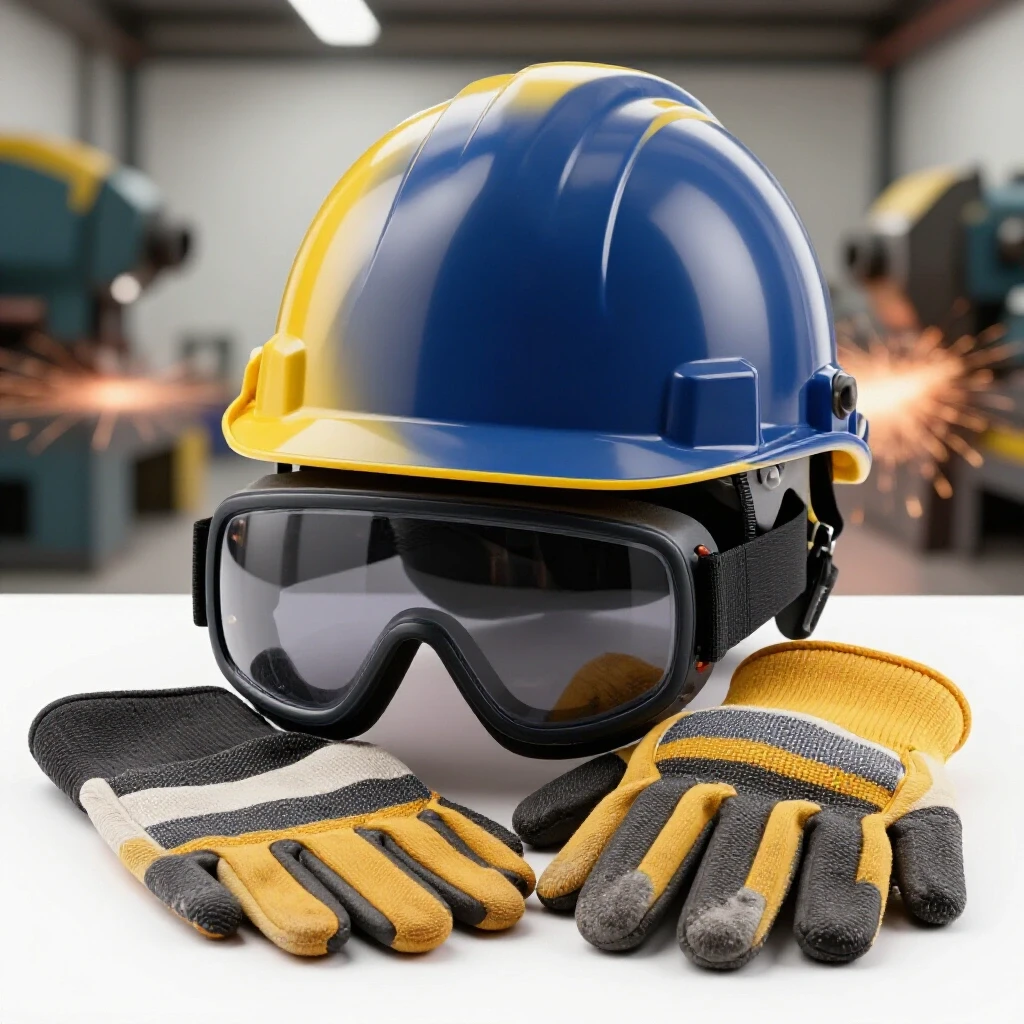
In those early days, I learned that a functional fabrication space is built on a foundation of safety and organization. Metalwork, particularly the process of smoothing and shaping steel with abrasive wheels, creates a unique set of hazards. You are dealing with high-velocity sparks, fine metallic dust, and noise levels that can quickly damage your hearing. This guide is designed to help you navigate these challenges without overspending, ensuring your first shop is both productive and compliant with basic safety principles.
Assessing Your Starter Metal Workshop Layout for Safety
Establishing a dedicated area for abrasive work is the first step in creating a functional fabrication space. This involves identifying a zone where sparks can fly safely without hitting flammable materials and ensuring there is enough physical clearance to move around your workpiece. A well-planned layout prevents accidents and improves the efficiency of your workflow.
When I planned my 20-by-20-foot garage, I realized that my biggest constraint wasn’t the square footage, but the placement of my workbench relative to my storage. In a home shop, you need at least a three-foot clearance around your grinding station. This “clear zone” ensures that if a tool kicks back or a piece of metal slips, you have the room to react without tripping over a cord or a bucket. I recommend marking this zone on your floor with high-visibility tape. It serves as a constant reminder of where the “hot work” happens.
Another critical factor is the floor surface. Many beginners overlook the fact that sparks can smolder in sawdust or cardboard for hours. If your garage has a wooden floor or a rug, you must cover the work area with a fire-resistant mat or a sheet of 16-gauge steel. My first shop had a concrete floor, which is ideal, but I still had to be careful about the “spark path.” I always aimed my grinder toward the center of the floor, away from the walls and any stored chemicals or fuel cans.
Evaluating Budget Metalworking Tools and Power Constraints
Selecting the right tools for a new shop requires balancing performance with the electrical limits of a residential garage. Most home circuits are rated for 15 or 20 amps, which can be a limiting factor when running high-draw machinery. Understanding how your tools interact with your power supply is essential for avoiding tripped breakers and electrical fires.
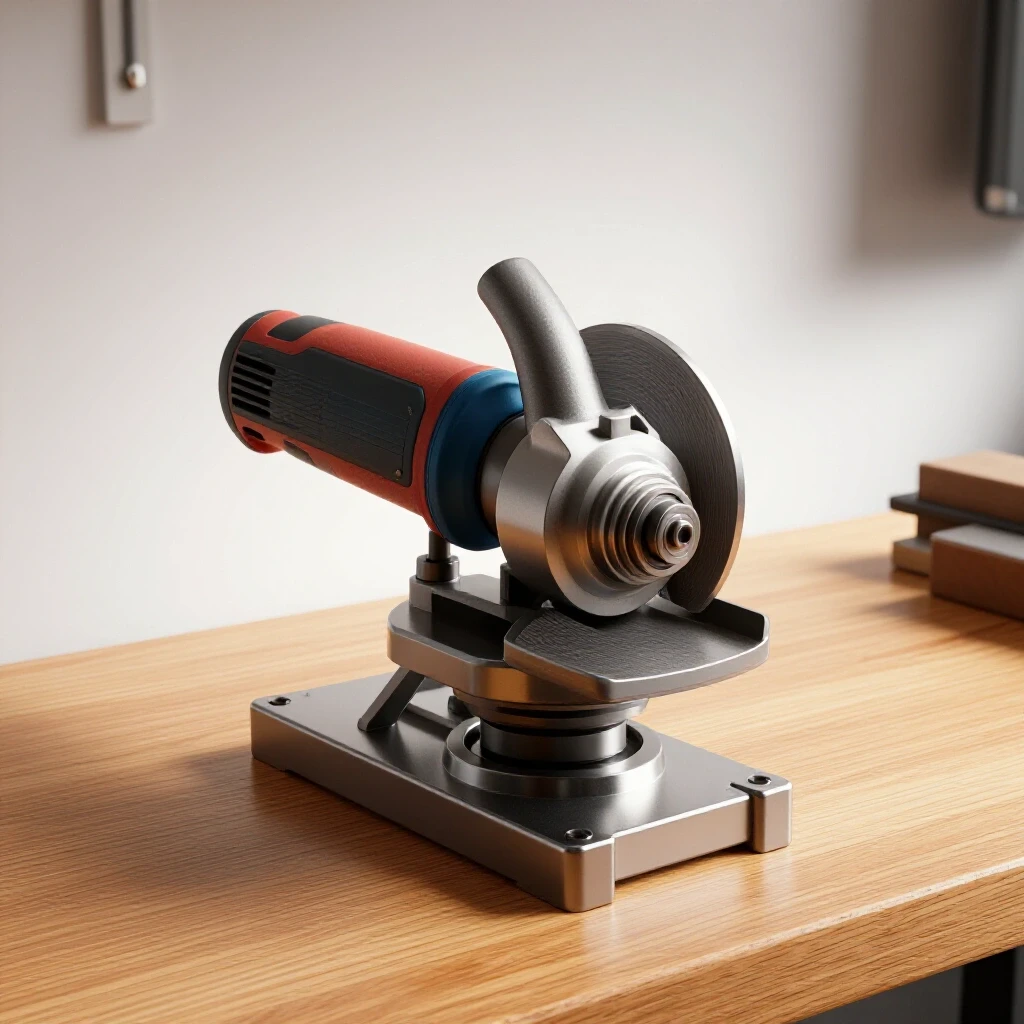
A standard 4.5-inch angle grinder typically pulls between 6 and 10 amps under load. If you are also running a shop vacuum for dust collection and a bright LED shop light, you are approaching the limit of a 15-amp circuit. In my first shop, I learned this the hard way when I tried to grind a heavy weld while my wife was running the dryer on the same circuit. The breaker tripped instantly. I highly recommend mapping your garage outlets to see which ones are on the same circuit before you start your first project.
| Tool Class | Typical Amp Draw | Recommended Circuit | Footprint (Sq. Ft) |
|---|---|---|---|
| Small Angle Grinder (4.5″) | 6A – 10A | 15A Dedicated | 1 |
| Bench Grinder (6″) | 4A – 7A | 15A Shared | 2 |
| Large Angle Grinder (7-9″) | 12A – 15A | 20A Dedicated | 1.5 |
| Shop Vacuum (Dust Prep) | 8A – 12A | 20A Dedicated | 3 |
As you can see from the table above, the power requirements for affordable fabrication tools can vary significantly. If you have the budget, installing a dedicated 20-amp circuit for your grinding station is one of the best investments you can make. It provides a “safety buffer” that prevents the voltage drops that can cause your tools to overheat or run inefficiently.
Implementing Shielding for Eyes and Face During Abrasive Work
Protecting your vision is the most critical aspect of any metalworking operation, as high-speed abrasive wheels can launch debris at speeds exceeding 150 miles per hour. Standard prescription glasses or cheap sunglasses offer almost zero protection against these high-velocity impacts. You need equipment that meets specific industrial safety standards to ensure your eyes remain unharmed.
The American National Standards Institute (ANSI) provides the Z87.1 rating, which is the benchmark for impact-resistant eyewear. When you are looking for protective gear, look for the “Z87+” mark on the lens or the frame. The “+” indicates that the gear has passed a high-velocity impact test. In my 15 years of shop work, I have seen shattered grinding wheels send fragments flying like shrapnel. A standard pair of safety glasses might stop a small spark, but they won’t stop a chunk of a broken wheel.
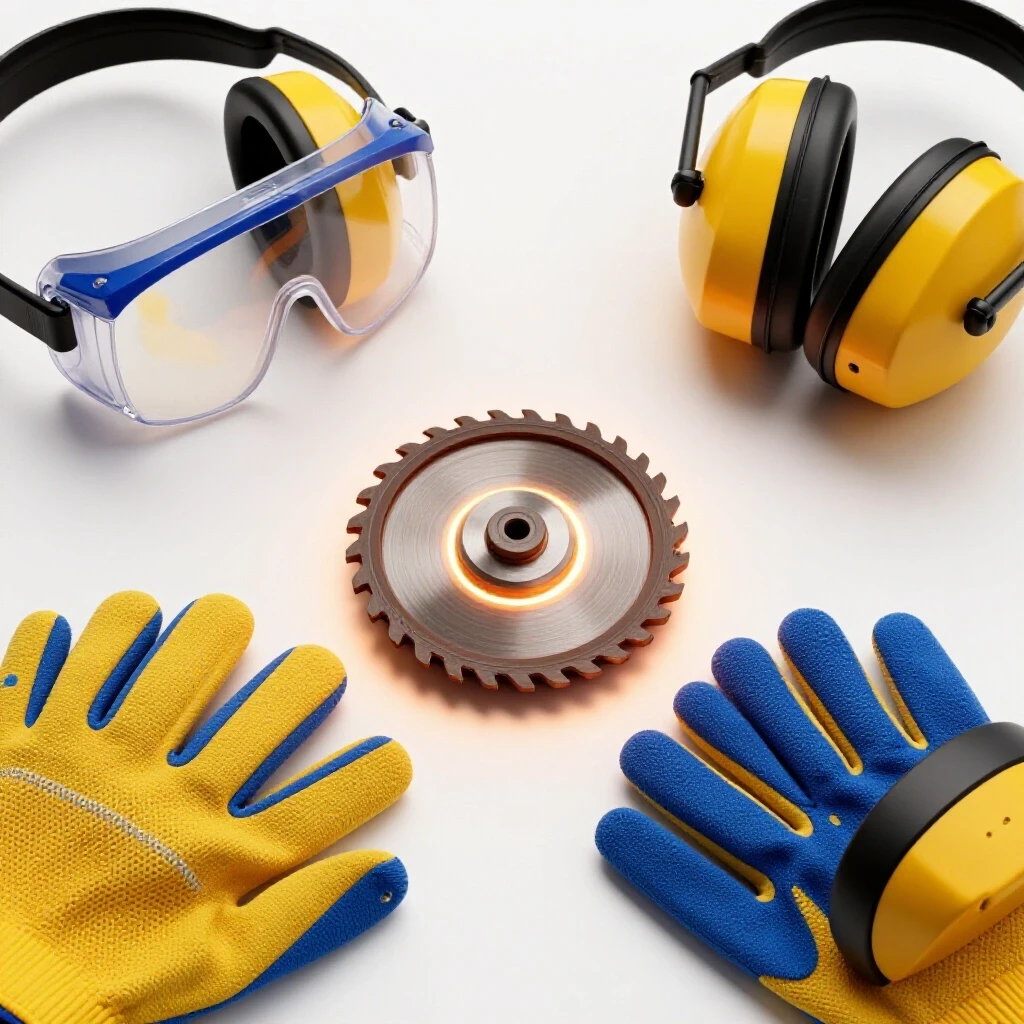
I always follow the “double-up” rule: I wear impact-rated safety glasses underneath a full-face shield. The glasses protect against fine dust that can swirl behind a shield, while the shield protects your entire face from larger debris and heavy sparks. This setup costs very little—often under $30 for both—but it provides a level of protection that is non-negotiable. If you wear prescription glasses, look for “over-the-glass” (OTG) safety eyewear that fits comfortably over your frames without creating gaps.
Managing Respiratory Health and Metallic Dust Collection
Grinding metal produces a cloud of fine particulates that are often too small to see but large enough to cause significant respiratory irritation. These particles consist of both the metal you are working on and the abrasive material from the wheel itself. Without proper filtration, these toxins can linger in your shop’s air for hours, posing a long-term health risk.
For a beginner on a budget, a disposable N95 respirator is the absolute minimum requirement. However, if you plan on doing more than five minutes of grinding, I strongly suggest upgrading to a half-mask respirator with P100 filters. These filters are designed to capture 99.9% of airborne particles, including oil-based aerosols. In my shop, I track the usage of my filters; if I start to smell the metallic “scent” of the work through the mask, I know it is time to replace the cartridges.
Garage workshop ventilation is another key piece of this puzzle. A respirator protects you, but it doesn’t protect the rest of your house if the garage is attached. You need to move the air. I use a simple “cross-flow” method: I open the main garage door about six inches and place a high-velocity fan in a window on the opposite side of the room to pull air out. This creates a vacuum effect that draws the dust away from your face and out of the building.
| Ventilation Component | Minimum Requirement | Ideal Setup | Budget Impact |
|---|---|---|---|
| Air Exchanges | 4 per hour | 8-10 per hour | Low |
| Fan Capacity (CFM) | 200 CFM | 600+ CFM | Moderate |
| Filtration | N95 Mask | P100 Half-Mask | Moderate |
| Dust Collection | Shop Vac at Source | Dedicated Extractor | High |
Selecting Hearing Protection for High-Decibel Environments
The high-pitched whine of an angle grinder against steel can reach levels between 100 and 110 decibels (dB), which can cause permanent hearing damage in as little as 15 minutes. Because hearing loss is cumulative and often painless, many beginners ignore this aspect of shop safety until the damage is already done. Consistent use of ear protection is the only way to preserve your hearing over time.
Hearing protection is rated by its Noise Reduction Rating (NRR). Most foam earplugs have an NRR of around 25 to 30, while over-the-ear muffs usually range from 20 to 28. For the best results, I often use both. Wearing “plugs and muffs” doesn’t double the NRR, but it does add about 5 dB of additional protection, which is significant given that the decibel scale is logarithmic. This means a 3 dB reduction actually cuts the sound energy in half.
When I started, I found that bulky muffs sometimes interfered with my face shield. I had to experiment with different combinations to find a setup that didn’t feel restrictive. If you find muffs uncomfortable, look for “behind-the-neck” styles that allow you to wear a face shield or a hat more easily. The goal is to choose gear that is comfortable enough that you won’t be tempted to leave it on the bench “just for one quick cut.”
Protecting Hands and Limbs with Cut and Heat Resistant Gear
Hand injuries are incredibly common in metalworking, ranging from minor “paper cuts” from sharp metal edges to severe burns from hot workpieces. The challenge is finding gloves that offer enough protection without sacrificing the dexterity you need to control a high-speed power tool safely. Using the wrong type of glove can actually be more dangerous than wearing no gloves at all.
For grinding, I avoid heavy, floppy welding gloves. They don’t provide the grip needed for a small angle grinder and can easily get caught in rotating parts. Instead, I use tight-fitting leather work gloves or specialized cut-resistant gloves rated ANSI Level A4 or higher. Leather is preferred because it won’t melt if a spark hits it. Never wear synthetic or “mechanic” style gloves made of nylon or polyester while grinding; these materials can melt to your skin if they catch a spark, causing a much worse burn.
Your clothing also acts as a barrier. I always wear long sleeves made of 100% cotton or a flame-resistant (FR) blend. Synthetic fabrics like polyester or spandex are a major hazard in a fabrication shop because they are essentially plastic; they melt and stick to the skin when exposed to heat. I keep a dedicated “shop shirt” made of heavy denim that I throw on over my regular clothes. It is a simple, low-cost way to prevent the “sunburn” effect that sparks can cause on your forearms.
Budgeting for Protection: The 30% Rule for Starter Shops
One of the biggest mistakes I see beginners make is spending their entire budget on a high-end machine and leaving nothing for the gear that makes the machine safe to use. This often leads to “cutting corners” on safety, which is a recipe for a costly injury. I advocate for a 30% allocation rule: 30% of your initial startup budget should go toward safety gear and measuring tools.
If you have a $1,000 budget for your first shop, $300 should be set aside for your respirator, eye protection, hearing defenders, gloves, and a fire extinguisher. This might seem like a lot when you are eyeing a better grinder, but high-quality safety gear lasts for years and directly impacts your ability to work confidently. A cheap grinder with good safety gear is a much better setup than an expensive grinder used by someone with no eye protection.
- Safety Glasses (Z87+): $10 – $15
- Face Shield: $15 – $25
- P100 Respirator: $30 – $45
- Hearing Muffs (NRR 25+): $20 – $35
- Leather Gloves: $15 – $25
- Cotton Shop Apron or Shirt: $20 – $40
- Fire Extinguisher (Class ABC): $40 – $60
Totaling these items shows that you can fully equip yourself for under $250. When you compare this to the cost of an emergency room visit for a metal fragment in the eye, the value is clear. I keep a simple spreadsheet to track these costs alongside my tool purchases to ensure I stay within my budget without compromising on my physical well-being.
Establishing a Safe Metalworking Testing Workflow
Before you dive into your first major project, it is important to establish a routine for testing your setup. This “pre-flight” check ensures that your tools are in good condition and that your safety gear is properly fitted. I have followed the same five-minute routine for over a decade, and it has saved me from numerous “near-misses.”
First, I inspect the abrasive wheel on my grinder for any chips or cracks. A damaged wheel can explode when it reaches full speed. Second, I check the power cord for any frays or exposed wires. Third, I ensure my work area is clear of any flammable liquids or rags. Finally, I put on my gear in a specific order: earplugs, then safety glasses, then respirator, then face shield, and finally gloves.
- Inspect the abrasive wheel for cracks or “ringing.”
- Check the guard position on the grinder; never operate without it.
- Test the “dead man” switch or trigger to ensure it doesn’t stick.
- Verify that your workpiece is securely clamped to the bench.
- Run the tool for 30 seconds at full speed under the bench before touching metal.
The “under the bench” test is a trick I learned in industrial maintenance. If a wheel is going to fail, it usually happens when it first spins up to speed. By holding the tool under the edge of a heavy workbench during the initial start-up, you put a layer of steel or wood between yourself and any potential fragments.
Organizing for Long-Term Shop Success
A safe shop is an organized shop. When tools are scattered and cords are tangled, you are more likely to trip or make a mistake. Developing a system for storing your protective gear is just as important as how you store your wrenches and hammers. If your respirator is buried under a pile of scrap metal, you are less likely to use it.
I use a dedicated “Safety Station” near the entrance of my grinding zone. It consists of a few simple hooks for my face shield and hearing muffs, and a sealed plastic container for my respirator to keep it free from shop dust. I also keep a small mirror nearby so I can check that my mask is seated correctly and that my glasses aren’t fogging up. This simple organizational habit removes the “friction” of getting ready to work.
As your skills grow, your shop will evolve. You might upgrade to a larger grinder or a more complex dust extraction system. However, the foundational principles of impact protection, respiratory health, and fire safety will remain the same. By starting with a methodical, budget-conscious approach, you are not just building a workshop; you are building a safe and sustainable hobby that will last for years.
Frequently Asked Questions
Can I use a welding helmet for grinding instead of a face shield? Most modern auto-darkening welding helmets have a “grind mode” that keeps the lens clear while providing impact protection. However, you must verify that the helmet is specifically rated for high-impact (ANSI Z87+). Even in grind mode, many people find welding helmets too bulky for tight spaces and prefer a dedicated, lightweight face shield for better visibility and comfort.
How often should I replace the filters on my respirator? Filter lifespan depends on the concentration of dust in your shop. A general rule for hobbyists is to change P100 filters every 30 to 40 hours of actual grinding time, or sooner if you notice an increase in breathing resistance or if you can smell the metallic dust through the mask. Always store your respirator in a sealed bag when not in use to prevent the filters from absorbing ambient moisture and dust.
Are leather gloves really necessary, or can I use heavy rubber ones? Rubber or plastic-coated gloves are a significant fire hazard when grinding. The sparks produced are essentially molten bits of steel that will melt through rubber instantly. Leather is the industry standard because it is naturally flame-resistant and provides a much better grip on the vibrating handle of a grinder.
What is the best way to handle sparks if I have a lot of stuff in my garage? If your garage is crowded, you should use “welding blankets” to drape over flammable items like lawnmower tires, plastic storage bins, or wooden shelves. These blankets are made of fiberglass and can withstand high temperatures. Additionally, always keep a fire extinguisher within arm’s reach and perform a “fire watch” for at least 30 minutes after you finish grinding to ensure nothing is smoldering.
Why do I need safety glasses if I am already wearing a face shield? A face shield is designed to protect against large impacts, but it is open at the bottom and sides. Fine metallic dust and small sparks can easily swirl up under the shield and into your eyes due to the air currents created by the spinning grinding wheel. Wearing Z87+ safety glasses underneath the shield provides a secondary seal that protects against these smaller, “sneaky” particles.
Does hearing protection expire? While the materials don’t “expire” like food, the foam in earplugs and the cushions on ear muffs will degrade over time. If the cushions on your muffs become stiff or cracked, they will no longer create an airtight seal around your ears, significantly reducing their effectiveness. Replace the cushions once a year or whenever they lose their flexibility.
How do I know if my garage circuit can handle a grinder? Check your breaker panel to see the amperage of the circuit serving your garage (usually 15A or 20A). To calculate the load, look at the “Amp” rating on your tool’s motor plate. If the tool is 8A and your vacuum is 10A, you are pulling 18A total. This will likely trip a 15A breaker. Try to run your dust collection and your grinder on different circuits if possible.
What should I do if a grinding wheel gets dropped? If you drop a grinding wheel or a tool with a wheel attached, you must discard the wheel immediately. Even if it looks fine, internal “micro-cracks” can form. When the wheel is spun up to 10,000+ RPM, those cracks can cause the wheel to disintegrate. The cost of a new $5 wheel is nothing compared to the danger of a wheel failure.
(This article was written by one of our staff writers, Michael Thompson. Visit our Meet the Team page to learn more about the author and their expertise.)