How to Set Up a Highly Productive Shop Workflow (Tutorial)
I spent my first three years in a fabrication shop fighting against my own workspace. I remember working on a heavy equipment trailer frame, tripping over a lead cord, and watching a grinder gouge a deep notch into a structural cross-member. That notch created a stress riser that eventually led to a crack during a load test. It was a humbling lesson: a cluttered shop isn’t just slow; it is dangerous to the integrity of the metal itself.
In my 14 years as a mechanical engineer and fabricator, I have learned that the way you move through your shop dictates the quality of your welds. If you are struggling to reach a joint or fighting for floor space, your focus shifts from the puddle to your own footing. This guide focuses on organizing your environment to support structural safety and material science. We will look at how a logical flow reduces the risk of structural cracking, warping, and those frustrating alignment errors that ruin a weekend project.
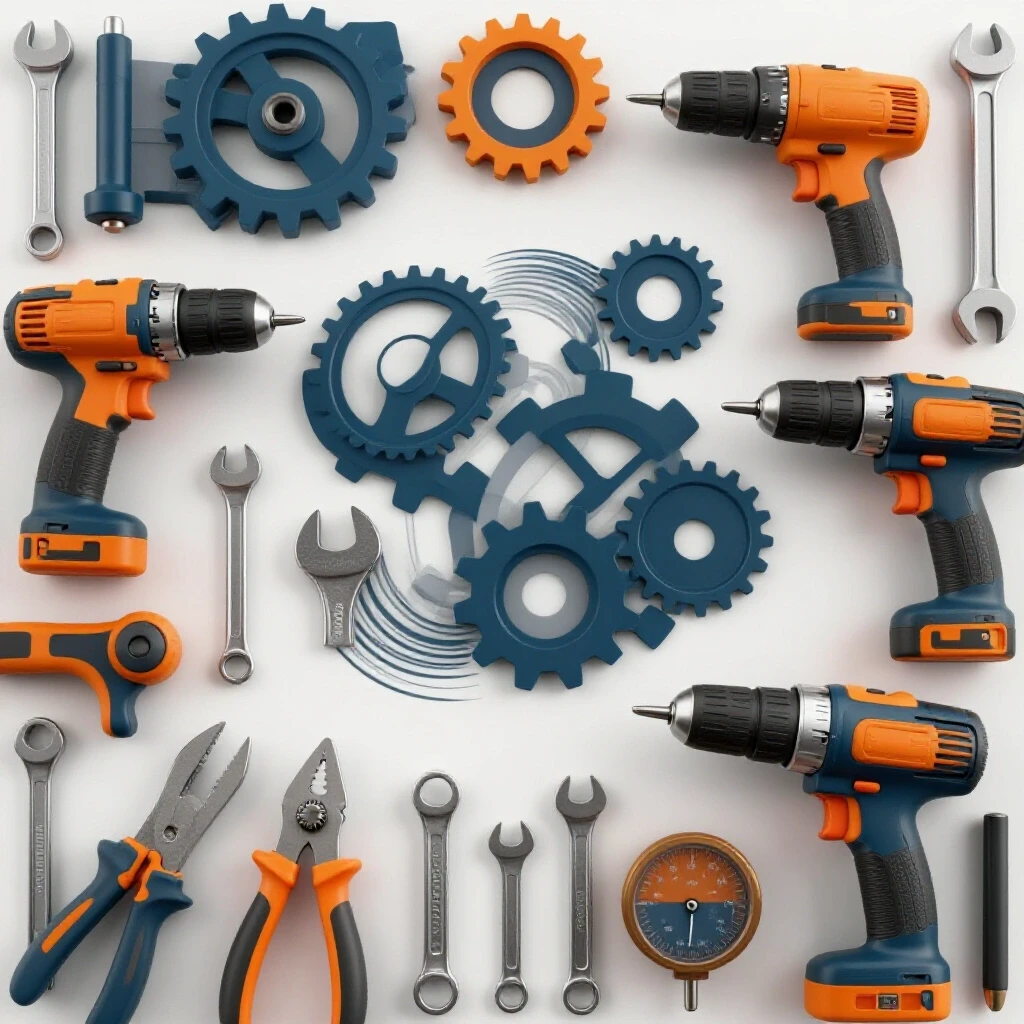
Analyzing Material Stress Thresholds for Safer Fabrication
Understanding how metal behaves under a load is the foundation of a reliable shop. Before you ever strike an arc, you must know the limits of your material and how your shop setup helps or hinders those properties. This knowledge prevents over-designing heavy, wasteful structures or under-designing dangerous ones.
Material selection is the first step in risk management. Every piece of steel or aluminum has a yield strength, which is the point where it will permanently deform. For common A36 structural steel, this is typically around 36,000 PSI. If your shop layout makes it hard to store materials flat, you might introduce “pre-stress” into a beam before you even start cutting.
| Material Type | Yield Strength (PSI) | Common Applications | Failure Risk |
|---|---|---|---|
| A36 Mild Steel | 36,000 | Frames, brackets, supports | Ductile tearing |
| 6061-T6 Aluminum | 35,000 – 40,000 | Lightweight structures | HAZ softening |
| 4130 Chromoly | 60,000 – 70,000 | Roll cages, aircraft | Brittle cracking |
| 304 Stainless Steel | 30,000 | Food grade, exhaust | Carbide precipitation |
- Tensile Strength: The maximum stress a material can withstand while being stretched before breaking.
- Yield Strength: The stress level where a metal stops acting like a rubber band and stays bent.
- Safety Factor: The ratio of the material’s strength to the actual load. For most home projects, a 2:1 or 4:1 safety factor is recommended.
Building a shop that respects these numbers means having a dedicated “Material Analysis Zone.” This is a flat, clean area where you can inspect raw stock for mill scale, rust, or factory defects. If you weld over rust, you introduce hydrogen embrittlement, which causes the metal to become brittle and snap under loads it should easily handle.
Creating a Functional Shop Layout to Minimize Errors
A productive shop layout follows a “linear flow” that mimics the life cycle of a project. By separating dirty tasks like grinding from clean tasks like TIG welding, you protect your equipment and your lungs. This physical separation is a key part of garage fabrication safety.
I divide my workspace into four distinct zones. This prevents “cross-contamination,” where metal dust from a grinder ruins the expensive electronics in a welding machine or settles into a joint you just cleaned.
- The Receiving and Rough-Cut Zone: Place this near the door. It should house your material rack and a horizontal bandsaw. Keeping long stock near the entrance prevents you from swinging 20-foot bars around the shop, which is a major safety hazard.
- The Preparation and Fit-Up Zone: This area requires a heavy, level welding table. Use a machinist’s level to ensure the surface is true. If your table is warped, your project will be warped.
- The Primary Welding Zone: This is where the magic happens. It must have dedicated ventilation and clear access to your welding gas flow rate regulators.
- The Finishing and Inspection Zone: Keep this area clean. It is used for cooling, measuring, and non-destructive testing (NDT) like dye penetrant checks.
By routing your work through these zones, you reduce the “mental load” of the build. You aren’t searching for a square because it has a permanent home in the Fit-Up Zone. You aren’t worried about sparks hitting your gas cylinders because they are secured in the Welding Zone.
Refining Joint Preparation and Welding Defect Troubleshooting
Structural failure rarely starts in the middle of a beam; it starts at the joint. If your shop isn’t set up for easy joint preparation, you will be tempted to skip the cleaning or beveling steps. This is where internal weld defects like lack of fusion or slag inclusions begin.
Proper joint preparation involves removing the “mill scale”—that dark grey coating on hot-rolled steel. Mill scale has a higher melting point than the steel underneath. If you don’t grind it off, the weld might look good on top but fail to “bite” into the base metal. This creates a cold lap, which is a hidden crack waiting to happen.
- Beveling: For materials thicker than 3/16-inch, grind a 30 to 45-degree angle on the edges. This allows the weld to penetrate the full thickness of the metal.
- Gap Management: Use a “root gap” (usually 1/16 to 1/8-inch) to ensure the weld bead reaches the back side of the joint.
- Cleaning: Use a dedicated stainless steel wire brush for aluminum and a carbon steel brush for mild steel to avoid cross-contamination.
In my experience, 90% of welding defect troubleshooting comes down to prep work. If you see “porosity” (tiny holes in the weld that look like a sponge), it is often because your shop’s ventilation is blowing away your shielding gas or you didn’t clean the oil off the metal.
Calibrating Shielding Gas and Electrical Parameters for Strength
Precision in your settings is what separates a structural weld from a “glue job.” Your shop should have clear, easy-to-read charts for your specific welding machine. I keep a laminated sheet on my welder that lists the wire speed and voltage for different material thicknesses.
The welding gas flow rate is a critical metric. Most MIG and TIG operations require a flow of 15–20 CFH (Cubic Feet per Hour). If the flow is too low, the weld oxidizes and becomes brittle. If it is too high, the gas becomes turbulent, pulling in outside air and causing porosity.
| Defect Type | Likely Cause | Solution |
|---|---|---|
| Porosity | Low gas flow or wind | Increase CFH to 20; block drafts |
| Undercut | Voltage too high | Lower voltage or slow down travel |
| Lack of Fusion | Dirty metal or low heat | Grind to bright metal; increase amps |
| Cracking | High carbon or fast cooling | Pre-heat metal; use low-hydrogen wire |
The Heat Affected Zone (HAZ) is another area where physics can ruin your day. This is the area right next to the weld that didn’t melt but got hot enough to change its internal structure. In 6061 aluminum, the HAZ can lose up to 50% of its strength. To manage this, your shop workflow should include “heat sinking”—using heavy copper or aluminum blocks to pull excess heat away from the joint.
Establishing a Reliable Workshop Safety and Inspection Routine
Safety is not just about wearing a mask; it is about the environment you create. A highly productive shop is one where safety is “built-in” to the layout. This includes managing “load shear paths,” which is how weight travels through a structure to the ground. If you are building a heavy workbench, you must ensure the welds are in compression rather than tension whenever possible.
Your workshop safety checklist should be performed every time you enter the shop. I have a five-minute routine that has saved me from at least three potential fires over the last decade.
- Check Gas Connections: Use soapy water to check for leaks at the regulator. A leaking cylinder can displace oxygen in a small garage, leading to asphyxiation.
- Inspect PPE: Ensure your welding helmet is set to the correct shade. For most MIG/TIG work, a Shade 10 to 13 filter is required to prevent “arc eye” (retina burns).
- Clear the Floor: Remove any flammable materials (sawdust, oily rags) within 35 feet of your welding area, per OSHA standards.
- Verify Ventilation: Ensure your fume extractor or fan is pulling smoke away from your face, not across it.
Once the fabrication is done, the inspection begins. I use a “visual inspection checklist” based on AWS D1.1 standards. I look for the “profile” of the weld. It should be slightly convex (bulging out) rather than concave (sinking in). A concave weld is often thin and weak. I also look for “undercut,” which is a groove melted into the base metal right at the edge of the weld. This acts like a perforated line on a piece of paper, making the metal easy to snap.
Practical Tools for Shop Verification
To maintain a high standard of work, you need more than just a welder and a grinder. You need diagnostic tools that tell you if your structure is actually safe. I recommend every intermediate fabricator keep a “verification kit” in their Finishing Zone.
- Weld Fillet Gauges: These simple metal templates check if your weld is the correct size for the material thickness.
- Infrared Thermometer: Use this to check “interpass temperature.” If the metal gets too hot between weld beads, you risk excessive grain growth and brittleness.
- Dye Penetrant Kit: This consists of a cleaner, a red dye, and a white developer. It “sucks” the dye out of microscopic surface cracks, making them visible to the eye.
- Electronic Gas Flow Meter: A handheld meter that you hold up to the welding torch to verify that the flow at the nozzle matches what the regulator says.
Building something that lasts requires moving away from guesswork. By treating your shop as a laboratory for material science, you eliminate the anxiety of “will it hold?” You know it will hold because you measured the stress, prepared the joints, and inspected the results against industry standards.
Frequently Asked Questions
What is the most common cause of structural failure in home-built frames? The most common cause is a lack of fusion at the “root” of the weld. This usually happens because the fabricator didn’t grind away the mill scale or didn’t use a proper bevel. The weld looks beautiful on the surface, but it is only “sitting” on top of the metal rather than being part of it. Under a heavy load, the weld simply peels off the base metal.
How do I know if my welding gas flow rate is set correctly? Start at 15–20 CFH. If you are working in a drafty area, you may need to go up to 25 CFH, but avoid going higher. If your welds have tiny holes or a brownish “soot” around them, your gas coverage is likely failing. Always check your nozzle for “spatter” buildup, as this can block the gas flow even if the regulator is set correctly.
Why is the Heat Affected Zone (HAZ) such a big deal? Think of metal like a box of organized toothpicks. When you heat it up during welding, you shake the box. The “toothpicks” (metal grains) become disorganized and larger. Larger grains are generally weaker and more brittle. In some metals, like heat-treated aluminum, the HAZ becomes a “soft spot” where the metal will bend or break long before the weld itself fails.
What safety factor should I use for a structural project? For stationary items like a heavy-duty workbench, a 2:1 safety factor is usually enough. For anything that moves or carries people (like a trailer or a lift), you should aim for 4:1. This means if the expected load is 1,000 pounds, you design the structure to technically handle 4,000 pounds. This covers you for “shock loads,” like hitting a pothole.
How can I prevent my projects from warping during welding? Warping is caused by the metal expanding and contracting as it heats and cools. To prevent this, use “tack welds” every few inches to lock the parts in place. Weld in short sections and move around the project to distribute the heat. Never weld one long seam from start to finish in one go; this “pulls” the metal toward the weld.
Is it safe to weld in a standard residential garage? Yes, but you must manage your environment. Ensure you have a dedicated circuit for your welder so you don’t trip breakers. Keep a Class ABC fire extinguisher within reach. Most importantly, ensure you have a “fume path.” This means an intake (like a cracked door) and an exhaust (like a fan) to move harmful hexavalent chromium and manganese fumes out of your breathing zone.
What is “undercut” and why is it dangerous? Undercut is a defect where the arc melts a groove into the base metal but doesn’t fill it back up with weld metal. This reduces the thickness of the base metal at its most stressed point—the joint. It creates a “stress riser” where cracks are likely to start. It is usually caused by having your voltage too high or moving the torch too quickly.
How do I test my welds without expensive X-ray equipment? For home shops, the “Destructive Bend Test” and “Dye Penetrant Testing” are the best options. If you are unsure of your settings, weld a sample piece of the same material and thickness. Put it in a vice and hit it with a sledgehammer until it bends 90 degrees. If the weld cracks or snaps, your settings are wrong. If the metal bends but the weld stays intact, you have a solid joint.
What is the difference between a “structural” weld and a “cosmetic” weld? A structural weld is designed to carry a specific load and must meet standards for penetration and throat thickness. A cosmetic weld is just there to hold a non-load-bearing piece in place or to look good. You should treat every weld on a frame or support as a structural weld. Never use “pretty” welds to hide poor penetration.
Why should I separate my grinding station from my welding station? Grinding creates “swarf,” which is fine metallic dust. This dust is conductive. If your welding machine’s cooling fan sucks this dust inside, it can short out the circuit boards. Additionally, grinding dust can settle on your cleaned joints, leading to contamination and weld defects like inclusions. Keeping them 10 to 15 feet apart is a good rule of thumb.
(This article was written by one of our staff writers, James Harlan. Visit our Meet the Team page to learn more about the author and their expertise.)