How to Avoid Layout Mistakes with Measuring Tapes (Tutorial)
In my 14 years of inspecting industrial steel frames and managing shop floor fabrication, I have learned that a structure is only as safe as its first mark. I remember a specific project involving a heavy-duty crane gantry where a simple 1/16-inch error in layout cascaded into a massive structural headache. Because the base plates were slightly out of alignment, the vertical columns did not sit perfectly plumb, creating an unintended bending moment that the design had not accounted for. This experience taught me that in the world of metalwork, precision is not a luxury; it is a primary safety protocol that prevents catastrophic structural failure.
When we work with steel, we are managing physical forces like tension, compression, and shear. If your layout is off, your joints will not fit tightly. This leads to excessive weld gaps, which require more heat to fill, expanding the heat-affected zone (HAZ) and potentially making the metal brittle. My goal is to share the rigorous, data-driven methods I use to ensure every measurement on the shop floor translates into a stable, load-bearing reality.
Structural Foundations and the Cost of Inaccurate Layout
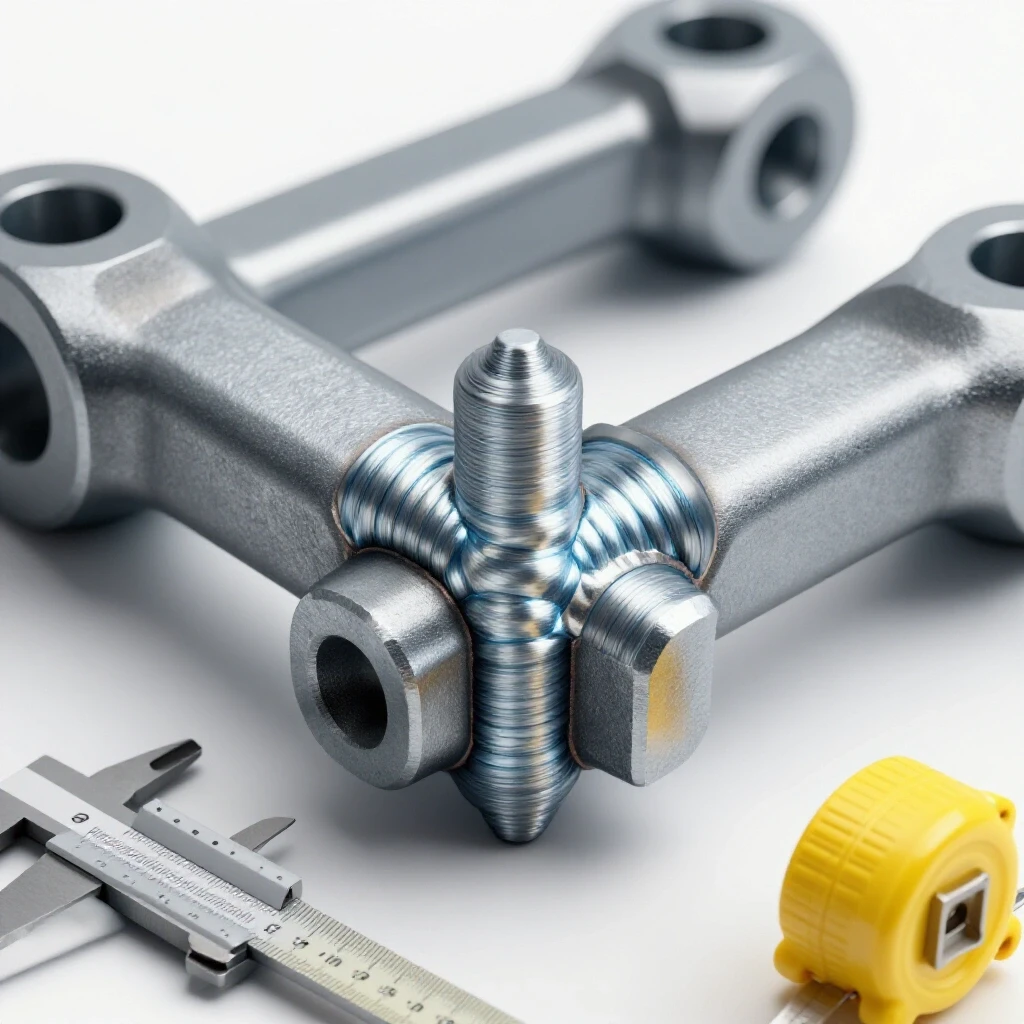
Precision in measurement ensures that load paths are direct and predictable, preventing unintended stress concentrations in the metal. When components do not align, the welder is forced to “bridge” gaps with extra filler material, which can lead to internal weld defects like lack of fusion or excessive porosity.
In my experience, many garage fabrication safety issues start before the welder is even turned on. If a beam is cut too short because of a measurement error, the resulting gap changes the physics of the joint. Instead of a tight fit where the metal shares the load, the weld itself must carry the entire weight. This can lead to brittle fracture under stress, especially in cold-weather environments or under cyclic loading.
Material Selection and Loading Analysis
Choosing the right metal grade is the first step in ensuring structural metal load capacity and long-term project stability. You must understand how different steels react to the heat of welding and the physical stress of the finished project’s intended use.
Before you pull a tape, you must know your material’s yield strength—the point where it deforms permanently. For common A36 structural steel, this is typically 36,000 PSI. If your layout leads to poor fit-up, the resulting weld might not meet the required safety factor, which is usually 2:1 for static loads and up to 4:1 for overhead or lifting equipment.
Impact of Fit-up Gaps on Weld Strength
| Gap Size | Impact on Weld Integrity | Corrective Action Required |
|---|---|---|
| 0″ – 1/32″ | Optimal; maximum penetration possible. | Standard welding procedure. |
| 1/16″ – 1/8″ | Increased heat input; risk of distortion. | Use weave technique; monitor heat. |
| 1/8″ – 3/16″ | Significant HAZ expansion; risk of burn-through. | Re-cut part or use a backing bar. |
| Over 3/16″ | Structural failure risk; weld may not hold load. | Reject part; do not attempt to fill. |
Mastering the Mechanics of the Analog Hook
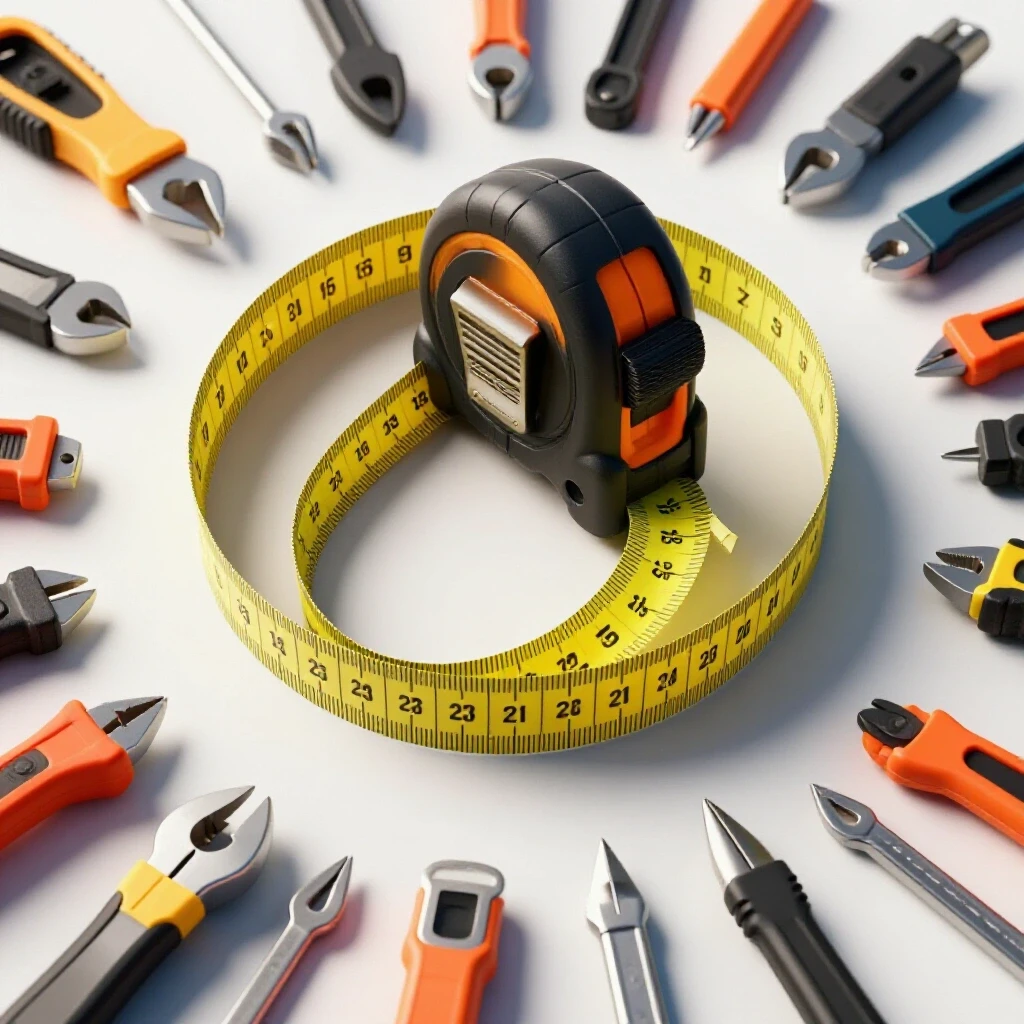
The sliding hook at the end of a measuring tape is a precision-engineered component designed to move exactly the thickness of its own metal. This movement allows the tape to provide an accurate reading whether you are hooking it over an edge (pulling) or pressing it against a surface (pushing).
I have seen many intermediate fabricators try to “fix” a loose hook by hammering the rivets tight. This is a critical mistake that destroys the tool’s accuracy. That “play” is what accounts for the hook’s thickness, ensuring that “zero” is always the face of the metal you are measuring, regardless of the measurement direction.
Calibrating Your Layout Tools for Consistent Results
Calibration is the process of verifying that your measuring tools provide an accurate representation of a standard unit of length. In a metal shop, heat, drops, and metal shavings can all affect the reliability of your tape over time.
I make it a habit to check my tape at the start of every project. I pull a measurement against a known steel rule or another trusted tape to ensure they match. If the hook is bent or the rivets are elongated from years of snapping the tape shut, I discard it. A tool that gives inconsistent data is a liability to your workshop safety checklist.
- Inspect the hook for bends or burrs that prevent it from sitting flush.
- Check the rivets for excessive side-to-side wobble.
- Clean the blade to ensure metal dust isn’t causing the hook to stick.
- Verify the first inch of the tape against a machinist’s square.
- Ensure the spring tension is sufficient to keep the blade flat.
Mitigating Parallax and Sightline Errors
Parallax error occurs when your eye is not positioned directly over the measurement mark, causing the blade’s lines to appear shifted against the metal surface. Since the blade of the tape sits slightly above the workpiece, viewing it from an angle can easily lead to a 1/16-inch or 1/8-inch discrepancy.
To avoid this, I always look straight down at the tape, positioning my dominant eye directly over the mark. Interestingly, some fabricators prefer to “burn an inch” by starting their measurement at the 1-inch mark instead of using the hook. While this eliminates hook error, it introduces a human error risk—forgetting to subtract that inch from the final total.
The “Knife Edge” Technique for Marking
To achieve the highest accuracy, I use a scribe or a very sharp pencil to mark the metal. A thick soapstone line can be 1/8-inch wide, which is far too imprecise for structural fit-up. By using a fine point and marking a “V” or “crow’s foot” where the point of the V is the exact measurement, I ensure the mark is unmistakable.
This level of precision is vital for managing the heat affected zone weakness. When parts fit perfectly, you can use less amperage and move faster, which keeps the grain structure of the steel more stable. A tight joint is a strong joint because it allows for a more efficient transfer of energy from the welding arc to the base metal.
Compensating for Tape Sag and Blade Tension
On long spans of steel, gravity causes the measuring tape to sag, which creates an arc rather than a straight line. This arc is longer than the actual linear distance between two points, meaning your cut will likely be too short if you don’t compensate.
When I am measuring a 20-foot stick of tubing, I apply consistent tension to pull the tape as flat as possible. If I cannot eliminate the sag, I support the tape at mid-points with magnets or have a helper hold it against the steel. Even a small dip in the tape can change a measurement by a significant margin, leading to structural design uncertainty.
Tape Sag vs. Span Distance (Approximate)
| Span Length | Estimated Sag Error (Untensioned) | Required Tension for Accuracy |
|---|---|---|
| 5 Feet | < 1/32″ | Light pull |
| 10 Feet | 1/16″ | Moderate pull |
| 15 Feet | 1/8″ | Firm pull; two hands |
| 20 Feet | 1/4″ or more | Mechanical support required |
Scribing and Punching for Permanent Precision
Once a measurement is taken, transferring that number to the metal requires a permanent and visible mark that won’t disappear under heat or sparks. In industrial structural verification, we use center punches to “set” our layout lines into the steel surface.
A center punch creates a small indentation that serves as a physical guide for drill bits or a visual reference during welding. I always punch my layout lines because soapstone and markers often burn off as the metal heats up. This ensures that even if the surface becomes discolored by the welding gas flow rate or smoke, I still know exactly where my structural members need to be.
Identifying Internal Weld Defects through Layout
Proper layout actually helps you avoid welding defect troubleshooting later in the process. For example, if you are building a T-joint, and your layout line is slightly off, the web of the “T” might not be centered on the flange. This misalignment creates an eccentric load, which can cause the joint to twist or fail under pressure.
By using a square and a scribe to mark both sides of where a member should sit, you create a “landing zone.” This allows you to check for squareness in multiple planes before you ever strike an arc. If the part doesn’t fit the layout, do not force it. Re-measure and re-cut to maintain the structural safety margins required for a safe build.
- Scribe the primary layout line with a hardened steel tip.
- Verify the line’s position from both ends of the workpiece.
- Use a center punch to mark the line at 2-inch intervals.
- Highlight the punch marks with a silver marking pencil for visibility.
- Check the diagonal measurements to ensure the entire frame is square.
Heat Affected Zone (HAZ) Management through Precise Fit-up
The Heat Affected Zone is the area of base metal that has not been melted but has had its microstructure and properties altered by the heat of welding. A poor layout that results in large gaps requires more weld passes, which keeps the metal at high temperatures for longer.
This prolonged heat exposure can lead to grain growth, making the steel less ductile and more prone to cracking. In my 14 years of fabrication, I have seen many “strong” looking welds fail because the base metal right next to the weld became brittle. Tight fit-up, achieved through meticulous measurement, is your best defense against HAZ-related failures.
Workshop Safety Checklist for Layout and Assembly
- Verify Tool Accuracy: Check tape hook and rivets for damage.
- Surface Preparation: Remove mill scale and rust before marking to ensure scribed lines are visible.
- Double-Check Diagonals: On rectangular frames, ensure diagonal measurements are equal within 1/16″.
- Account for Kerf: Remember that the saw blade removes material (usually 1/16″ to 1/8″); measure accordingly.
- Secure the Work: Use clamps to prevent metal from shifting while you pull measurements.
- Lighting: Ensure the shop has adequate overhead light to prevent eye strain and parallax.
- PPE Integration: Wear safety glasses even during layout; metal splinters from scribing can cause eye injury.
Conclusion: The Path to Structurally Sound Projects
Precision in the workshop is a habit, not a one-time event. By understanding the mechanical limits of your measuring tape and the physical properties of the steel you are working with, you can prevent the majority of fabrication failures before they happen. I always tell my team that ten minutes spent on a more accurate layout saves two hours of grinding and re-welding later.
As you move forward with your projects, treat your analog tape as a precision instrument. Respect the hook, watch your sightlines, and always account for the physical forces like sag and tension. When your measurements are dead-on, your joints will be tight, your welds will be stronger, and your structures will be safe for years to come. Start small, verify every mark, and never settle for “close enough” when structural integrity is on the line.
FAQ: Frequently Asked Questions about Metal Layout
Why does my tape measure hook feel loose?
The hook is designed to slide back and forth by exactly its own thickness. When you pull on the tape (outside measurement), the hook slides out to include its thickness in the total. When you push the tape against a surface (inside measurement), the hook slides in so its thickness is not added to the measurement. Never tighten the rivets, or your measurements will be off by the thickness of the metal hook.
How do I prevent a long tape from sagging?
For measurements over 10 feet, use a helper or magnetic tape holders to keep the blade flat against the metal. If you are working alone, pull the tape until it is taut, but be aware that excessive tension can slightly stretch some lower-quality tapes. The best method is to support the tape at intervals to ensure it follows a straight line.
What is parallax error and how do I stop it?
Parallax occurs when you look at the tape from an angle, making the mark on the blade appear to be in a different spot on the metal than it actually is. To stop this, always position your eye directly over the mark you are making. Keeping the tape blade as flat as possible against the metal surface also reduces the gap that causes this visual distortion.
Should I mark metal with a pencil, soapstone, or scribe?
For structural work, a hardened steel scribe is best because it creates a fine, permanent line. Soapstone is useful for rough cuts but is too thick for precision fit-up. Pencils can work on clean metal but the lines often disappear under the heat of a welding torch. Scribed lines, especially when highlighted with a center punch, are the most reliable.
Why is fit-up so important for welding safety?
Tight fit-up ensures that the weld can properly penetrate both pieces of metal without requiring excessive heat. Large gaps act as “heat sinks,” requiring higher amperage which can weaken the surrounding steel (the Heat Affected Zone). A structure with poor fit-up is more likely to suffer from internal defects and eventual structural failure.
How do I check if a large frame is square using only a tape?
Use the 3-4-5 rule or measure the diagonals. For a rectangle, measure from the top-left corner to the bottom-right, then from the top-right to the bottom-left. If the two diagonal measurements are identical, the frame is square. Even a 1/8-inch difference over a 4-foot span can indicate the frame is out of alignment.
What is “burning an inch” and is it safe?
“Burning an inch” is when you start your measurement at the 1-inch mark instead of the hook to avoid hook inaccuracies. While it can be more precise for small parts, it is a common source of layout errors because it is easy to forget to subtract that inch. If you use this method, write “Minus 1” on your layout sheet to remind yourself.
Can temperature affect my tape measure’s accuracy?
Yes, metal tapes expand and contract with temperature changes. While this is usually negligible for small shop projects, in extreme heat or cold, a long tape can vary by 1/16-inch or more. Try to keep your tape and your metal at the same ambient temperature for the most consistent results.
How often should I replace my measuring tape?
Replace your tape if the hook is bent, the blade is kinked, or the markings are becoming difficult to read. A tape that has been dropped or stepped on can develop internal damage that affects how the blade extends. In a professional shop, tapes are often replaced every 6 to 12 months to ensure continued accuracy.
What is the best way to mark a circular cut on steel?
Use a specialized layout tool like a wrap-around or a contour gauge for pipe, or a beam compass for flat plate. For simple circles, you can use a tape to mark the center, then use a scribe attached to a fixed pivot point at the radius distance. Always center-punch the circle’s path before cutting.
(This article was written by one of our staff writers, James Harlan. Visit our Meet the Team page to learn more about the author and their expertise.)