Essential Shop Tools to Prevent Fabrication Failure (Guide)
Starting a metalworking journey in a home garage often feels like navigating a minefield of expensive decisions. When I built my first shop in 2013, I had less than $2,000 and a lot of questions about which equipment actually mattered. I quickly learned that the difference between a functional workspace and a pile of wasted capital lies in how you prioritize your foundational implements. In those early days, I spent more time resetting tripped breakers than actually shaping metal because I hadn’t yet learned to respect the electrical limits of a residential space.
My background as an industrial maintenance technician taught me that precision and safety are not optional extras; they are the core of any successful project. In a professional setting, we followed strict OSHA guidelines and maintained meticulous records of every tool’s performance and maintenance schedule. Bringing that same discipline to a small-scale workshop is what prevents the common “fabrication failure” where projects end up crooked, weak, or dangerous. You don’t need a massive industrial budget to produce high-quality work, but you do need a structured plan for your layout, power, and tooling choices.
Establishing a Reliable Power Foundation for Fabrication
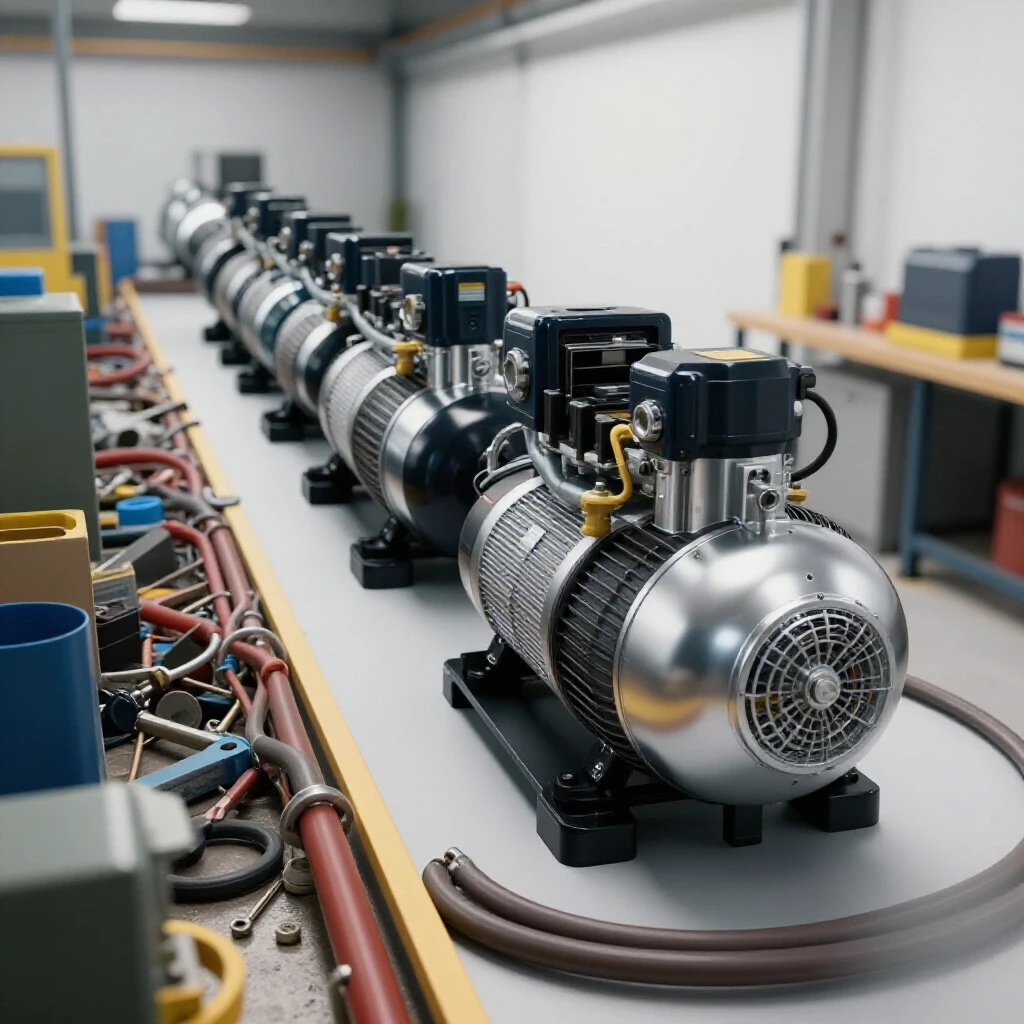
A successful workshop begins with the infrastructure behind the walls rather than the tools on the bench. Understanding your electrical capacity is the first step in ensuring that your equipment operates at peak efficiency without posing a fire risk or causing constant interruptions. This phase involves mapping your circuits and calculating total load requirements.
Understanding Circuit Load and Amperage Limits
Every electrical circuit in your home has a specific limit, usually 15 or 20 amps, which dictates how much power you can draw at once. Most high-torque fabrication tools, like large grinders or heavy-duty drills, pull a significant amount of current during startup. If your circuit is already shared with a refrigerator or garage door opener, you will likely face frequent power interruptions.
When I first started, I tried to run a high-amperage abrasive saw on a 15-amp circuit shared with my shop lights. Every time the blade touched the metal, the lights went dark. This isn’t just annoying; it’s a safety hazard. I eventually learned to install a dedicated 20-amp line for my primary machines. This ensures that the tool receives consistent voltage, which extends the motor’s life and prevents the “stalling” that leads to poor cuts and damaged materials.
Calculating Equipment Duty Cycles
In the world of machinery, the duty cycle is the amount of time a tool can operate under load within a ten-minute period before it needs to cool down. For example, a tool with a 20% duty cycle can run for two minutes but then requires eight minutes of rest. Overworking a tool beyond its rated capacity is a primary cause of premature equipment failure in home shops.
I recommend keeping a simple log of your most-used machines and their rated duty cycles. In my shop, I noticed that my small bench grinder would get hot to the touch after only five minutes of heavy sharpening. By tracking this, I adjusted my workflow to rotate between different tasks, allowing the tools to cool naturally. This methodical approach saves money by preventing the need for frequent replacements.
| Tool Class | Typical Amp Draw (Start/Run) | Recommended Circuit | Duty Cycle Note |
|---|---|---|---|
| Handheld Grinders | 5A / 12A | 15A Standard | High (Intermittent) |
| Bench Drills | 8A / 15A | 20A Dedicated | Medium |
| Abrasive Saws | 15A / 20A | 20A Dedicated | Low (Needs cooling) |
| Shop Vacuums | 6A / 10A | 15A Standard | High |
Selecting Core Material Removal and Cutting Implements
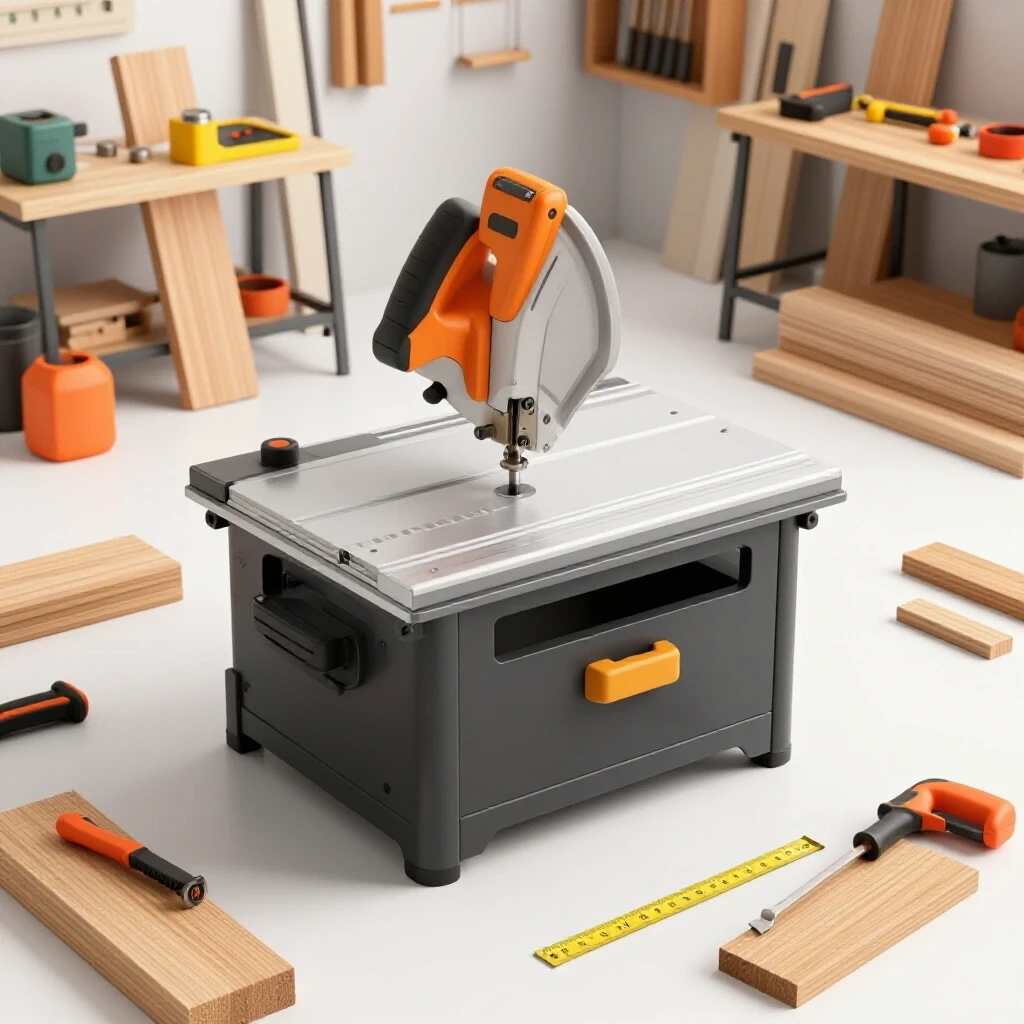
Choosing the right tools for shaping and cutting metal is a balancing act between capability and cost. For a beginner, the goal is to acquire tools that provide clean, repeatable results while fitting within a starter metal workshop layout. Focus on versatile equipment that can handle a variety of material thicknesses and shapes.
Why Abrasive Speed Ratings Matter for Safety
Abrasive tools, such as angle grinders and bench grinders, use spinning disks to remove metal. Every disk has a maximum RPM (revolutions per minute) rating that must never be exceeded by the tool’s speed. If a disk rated for 10,000 RPM is placed on a tool that spins at 12,000 RPM, the centrifugal force can cause the disk to shatter, sending high-speed fragments across the shop.
I always cross-reference the ANSI safety ratings on my abrasives with the data plate on my grinders. This is a non-negotiable step in my workshop safety checklist. Using a disk that is too large or incorrectly rated is a common rookie mistake that can lead to severe injury. Beyond safety, using the correct abrasive for the specific metal type prevents cross-contamination and ensures a cleaner finish for your project.
The Utility of Manual Cutting Tools
While power saws are faster, manual tools like high-tension hacksaws and cold-cut shears offer a level of control that power tools often lack. A manual hacksaw with a bi-metal blade can make incredibly precise cuts in tight spaces where a bulky power tool won’t fit. These tools are also essential for beginners on a budget because they require zero electricity and have very low maintenance costs.
In my experience, a high-quality manual saw is often more reliable than a cheap, vibrating power saw. When I was refining my first shop, I found that I could achieve straighter lines by hand-sawing small tubing than by using an entry-level abrasive chop saw that had too much “play” in the pivot arm. Learning the mechanics of manual cutting also builds a better “feel” for how different metals respond to pressure and heat.
Implementing Precision Measurement and Layout Tools
In metal fabrication, a fraction of an inch can be the difference between a project that fits together and one that goes into the scrap bin. Precision measurement tools are the foundation of accurate work, allowing you to transfer your designs onto the material with high fidelity. Investing in quality here pays off by reducing material waste.
The Importance of Reference Surfaces
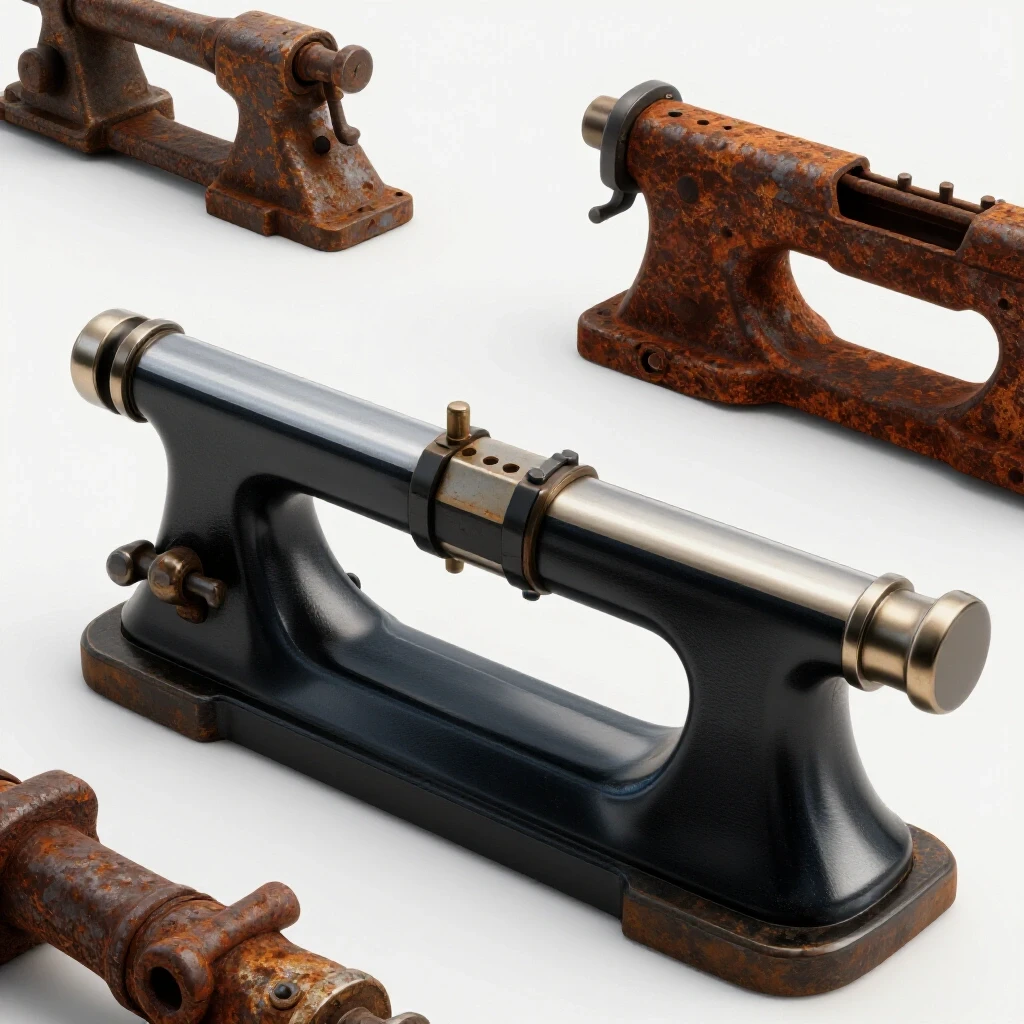
A reference surface is a known flat area, like a heavy steel table or a granite plate, used to check the squareness and flatness of your workpieces. Without a reliable flat surface, it is almost impossible to build structures that are plumb and level. For a budget-conscious beginner, a thick, clean steel plate mounted to a sturdy workbench can serve as an excellent primary reference point.
I spent years struggling with “rocking” frames because my workbench was made of warped plywood. Once I transitioned to a leveled steel surface, my fabrication quality improved overnight. I use a combination of machinist squares and levels to ensure my reference surface remains accurate. This setup allows me to detect twists in my material before I ever make a cut, saving hours of corrective grinding later.
Essential Measuring Devices for Metalworking
For most home fabrication tasks, you need a set of calipers, a high-quality tape measure, and a combination square. Calipers allow you to measure the thickness of your metal (gauge) and the diameter of holes with precision down to a thousandth of an inch. A combination square is used for drawing 90-degree and 45-degree lines, which are the building blocks of almost every metal project.
- Steel Rulers: Use these for layout marks rather than wooden or plastic ones, as they won’t warp or wear down.
- Scribes: A hardened steel or carbide-tipped scribe creates a much finer line than a pencil, leading to more accurate cuts.
- Center Punches: These create a small “dimple” in the metal to prevent your drill bit from wandering.
Workholding Systems for Secure Material Shaping
Safe and accurate fabrication is impossible if your workpiece is moving while you try to cut or grind it. Workholding refers to the various vises, clamps, and jigs used to lock your material in place. Secure workholding not only protects your hands but also ensures that the force of your tools is directed exactly where you want it.
Vertical vs. Horizontal Clamping Forces
Different tasks require different types of clamping force. A bench vise provides massive horizontal pressure, making it ideal for filing, sawing, or bending metal. On the other hand, C-clamps and F-style clamps provide vertical pressure to hold pieces flat against a table. Understanding which direction the tool force will be coming from helps you choose the right clamp to prevent the material from slipping.
During a project in 2015, I tried to drill a large hole in a piece of plate steel that was only held by one small clamp. The drill bit caught, and the steel spun like a propeller, nearly hitting my arm. That “helicopter” effect is a common danger in the shop. Now, I always use at least two points of contact for any drilling or high-torque operation. It’s a simple rule that has kept me safe for over a decade.
Building a Versatile Clamping Kit
You don’t need fifty clamps to start, but you do need a variety of types. I recommend starting with a 4-inch bench vise and four 6-inch F-clamps. As your projects grow in complexity, you can add locking pliers and specialized magnetic holders. The key is to ensure that your clamps are made of forged steel rather than cast iron, as forged tools can handle the heat and stress of metalwork without cracking.
- Bench Vise: The heart of the shop. Look for one with replaceable jaws.
- C-Clamps: Best for heavy-duty, long-term holding.
- F-Clamps: Quick to adjust and great for holding pieces to the table edge.
- Locking Pliers: Excellent for small parts or as a “third hand” during fit-up.
Workshop Safety and Ventilation Layouts
Metalworking produces fine dust, sparks, and potentially harmful fumes. Creating a safe environment involves more than just wearing safety glasses; it requires a layout that manages these hazards effectively. Proper ventilation and fire prevention are the most critical components of a residential fabrication space.
Calculating CFM for Metal Dust Mitigation
CFM stands for Cubic Feet per Minute, which is a measurement of how much air a fan or extraction system can move. In a small garage, you want to aim for at least 15 to 20 air changes per hour. This means that if your garage is 2,000 cubic feet, your ventilation system should be able to move about 500 to 600 CFM to keep the air clear of fine metallic dust.
I use a combination of a high-volume floor fan and a dedicated localized dust collector near my grinding station. Metallic dust is not only bad for your lungs, but it is also conductive. If it settles inside your power tools or electrical outlets, it can cause short circuits. By tracking the airflow in my shop, I’ve managed to keep my workspace significantly cleaner and my equipment running longer.
Establishing a “Hot Zone” and a “Clean Zone”
One of the best ways to organize a garage workshop is to separate “dirty” tasks from “clean” tasks. Grinding and cutting should happen in a designated “hot zone” away from flammable materials and sensitive electronics. This area should have non-flammable flooring (like concrete) and be clear of sawdust or chemical rags.
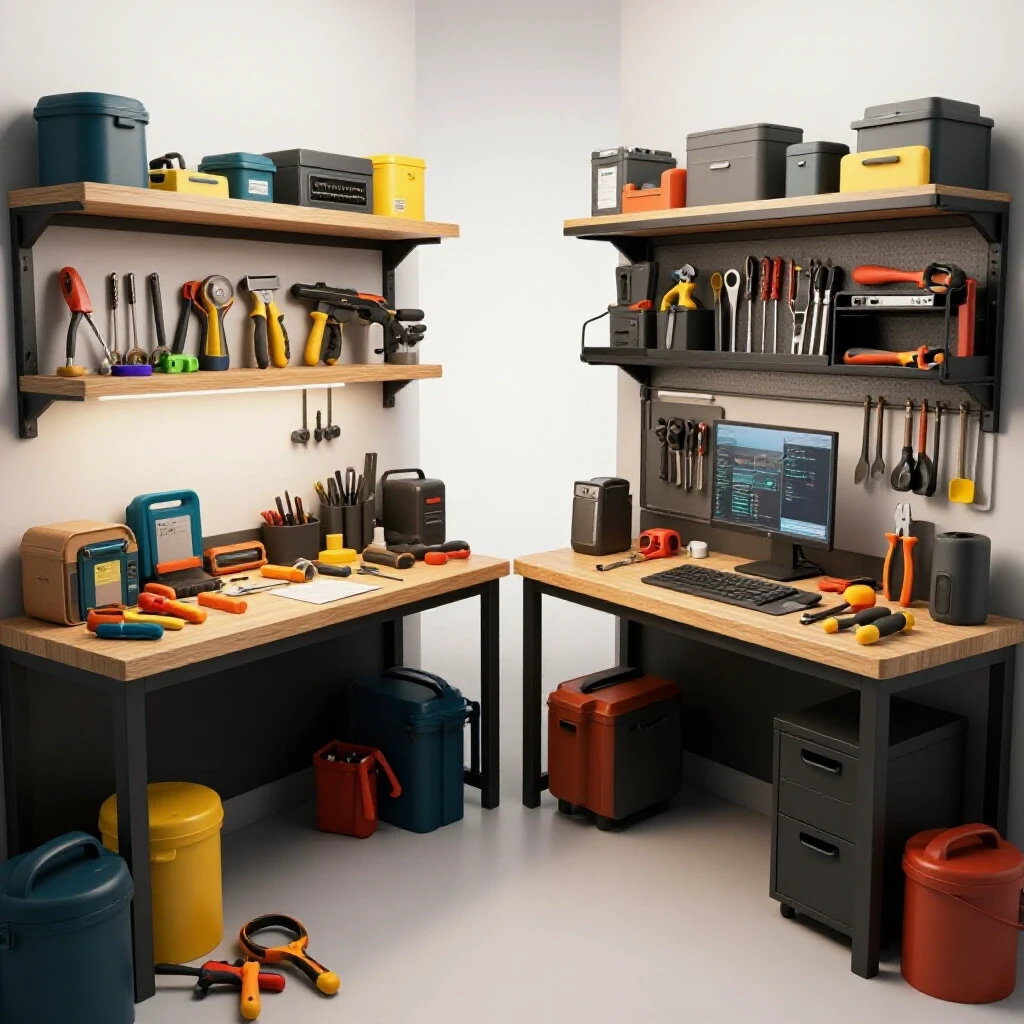
In my current layout, I keep my precision measuring tools and records in a “clean zone” on the opposite side of the shop from my grinder. This prevents abrasive grit from getting into my calipers and ruining their accuracy. It also makes the final cleanup much easier. Following this structural separation is a key part of my affordable fabrication tools strategy, as it protects my investment from environmental damage.
| Safety Category | Requirement/Standard | Purpose |
|---|---|---|
| Eye Protection | ANSI Z87.1 Rated | Impact resistance from flying chips |
| Hearing Protection | NRR 25dB or higher | Prevents long-term hearing loss from saws |
| Ventilation | 15+ Air Changes/Hour | Removes metallic dust and fumes |
| Fire Safety | Class ABC Extinguisher | Handles electrical and material fires |
Budget Tracking and Equipment Maintenance Logs
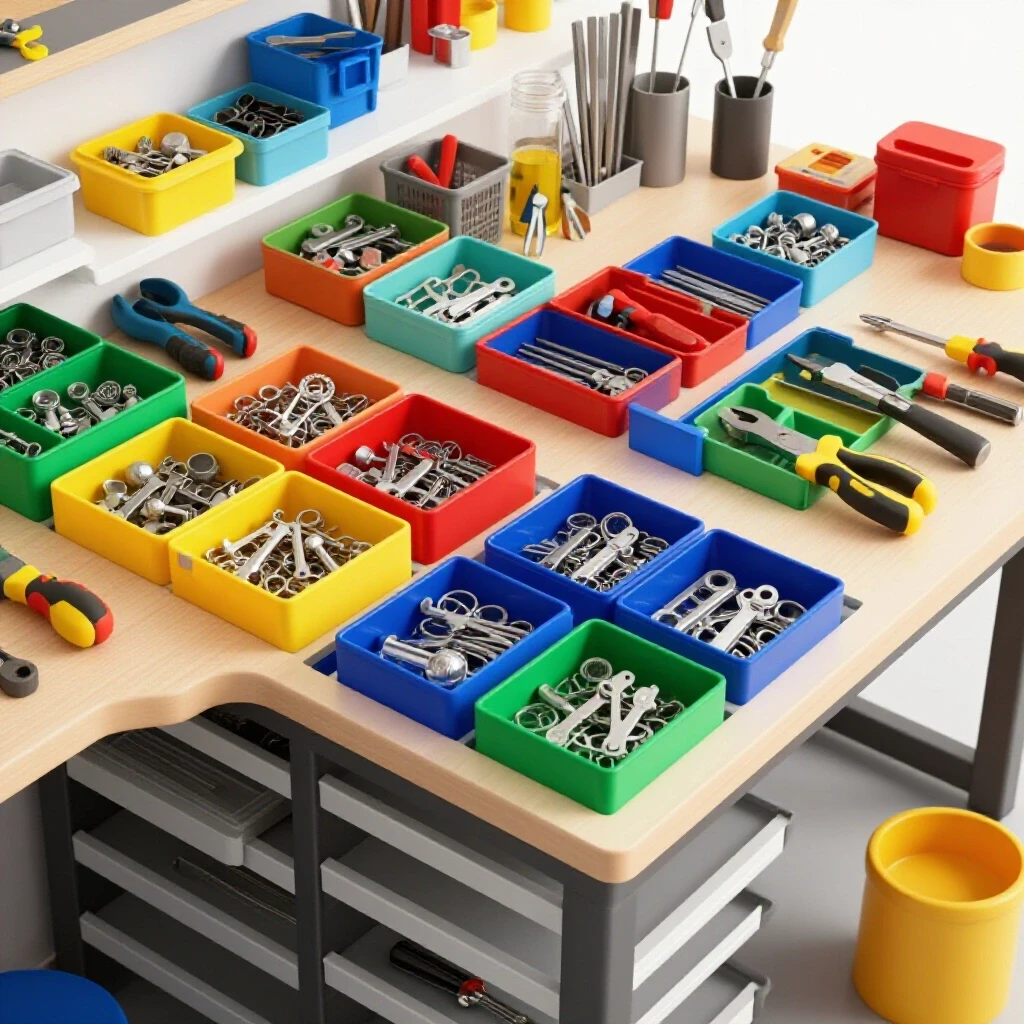
The most overlooked tool in a beginner’s shop is a simple notebook or spreadsheet. Keeping track of what you spend, where you buy your supplies, and when you maintain your tools is the only way to stay within a strict budget. This data-driven approach allows you to see the true cost of your hobby and helps you plan for future upgrades.
Creating a Tooling-to-Machine Cost Ratio
A common mistake is spending 90% of the budget on a machine and only 10% on the accessories needed to run it. In reality, the consumables—drill bits, saw blades, and grinding disks—can quickly exceed the cost of the machine itself. I generally recommend a 70/30 split: 70% for the core machine and 30% for high-quality safety gear and initial tooling.
When I tracked my spending over a three-year period, I found that I was spending more on cheap drill bits that broke than I would have spent on one high-quality set. By recording these failures in my shop log, I was able to justify the higher upfront cost of professional-grade bits, which actually lowered my long-term expenses. This kind of financial transparency is essential for anyone trying to build a shop on a budget.
Actionable Tracking Frameworks
To keep your shop organized and your budget in check, I recommend using the following numbered lists as a starting point for your own records:
- Electrical Load Map: List every outlet in your shop and which breaker it connects to. Note the total amperage for each circuit.
- Maintenance Schedule: Create a log for every power tool. Record the date you changed the brushes, lubricated the gears, or replaced the cord.
- Consumable Inventory: Track how many grinding disks or saw blades you use per project. This helps you predict future costs.
- Safety Drill Log: Periodically check your fire extinguisher’s pressure and test your smoke detectors. Record these checks to ensure they aren’t forgotten.
Conclusion: Taking Your First Steps
Building a functional fabrication space is a marathon, not a sprint. By focusing on the foundational elements—power, precision, and safety—you create a workspace that supports your growth as a maker rather than hindering it. Start with the basics: a solid workbench, a reliable vise, and a few high-quality manual tools. As you gain experience and your shop log shows you where your bottlenecks are, you can strategically add more complex machinery.
The most important thing is to start with a plan that respects both your budget and your safety. Don’t let the fear of making a mistake keep you from starting. Every experienced fabricator has a story about a ruined piece of metal or a tripped breaker. The difference is that they used those moments as data points to improve their process. If you follow these structured guidelines, you’ll be well on your way to a shop that is as efficient as it is safe.
Frequently Asked Questions
How do I know if my garage outlets can handle a large metal saw? You need to check your home’s breaker panel. Look for the circuit that powers your garage; it will usually be labeled. A 15-amp breaker is standard, but many heavy-duty fabrication tools require a 20-amp circuit. You can identify a 20-amp outlet by the small horizontal “T” slot on one of the vertical openings. If you are unsure, consulting a licensed electrician is the safest way to assess your capacity.
What is the most important safety item for a new shop? While safety glasses are the most common answer, a high-quality, well-fitted respirator is equally important. Metal dust is extremely fine and can stay in the air long after you finish grinding. Protecting your lungs from these particulates is a long-term health necessity that many beginners overlook in favor of more “exciting” tools.
How can I make my workshop layout more efficient in a small one-car garage? The best strategy for small spaces is mobility. Put your heavy tools, like your drill press or main workbench, on high-quality locking casters. This allows you to move equipment to the center of the room when in use and tuck it against the wall to save space when you’re finished. Always leave at least three feet of clearance around any stationary tool for safe operation.
Why shouldn’t I just buy the cheapest tools available to get started? Cheap tools often have lower manufacturing tolerances, meaning they vibrate more and are less accurate. In metalworking, vibration leads to “chatter,” which ruins the finish of your metal and can cause blades to snap. Additionally, cheap tools often lack the thermal protection found in better models, meaning they can burn out quickly under the heavy loads required for metal fabrication.
How do I calculate the ventilation needs for my specific shop size? First, find the total volume of your shop (Length x Width x Height). To get 15 air changes per hour, multiply the volume by 15 and then divide by 60. This gives you the required CFM for your fan. For example, a 10x20x8 garage is 1,600 cubic feet. (1,600 x 15) / 60 = 400 CFM. You would need a fan rated for at least 400 CFM to meet this basic safety standard.
What is the best way to store metal to prevent it from rusting in a garage? Keep your metal off the concrete floor, as concrete holds moisture that can cause rapid oxidation (rust). Use a raised rack or even simple wooden blocks to provide airflow underneath your material. For long-term storage, a very light coat of machine oil or a specialized rust preventative spray can help protect the surface of steel.
Can I use a standard shop vacuum for metal dust collection? Yes, but you must be careful. Hot sparks from grinding can ignite debris inside a vacuum bag. It is best to use a vacuum with a HEPA filter and ensure the bin is emptied of any flammable materials (like sawdust) before you start working with metal. Some fabricators use a “cyclone” separator to drop the heavy metal chips into a metal bucket before they reach the vacuum.
How do I keep track of my tool maintenance without it becoming a chore? I recommend a simple “Maintenance Tag” system. Attach a small tag to each tool’s power cord. Every time you perform maintenance, like oiling a drill press or cleaning a grinder’s vents, write the date on the tag. This provides an immediate visual reminder of when the tool was last serviced without needing to open a spreadsheet every time.
What are the signs that I’m pushing a tool beyond its duty cycle? The most obvious sign is heat. If the motor housing feels hot to the touch, or if you smell a “burnt” electrical odor, stop immediately. Other signs include a noticeable drop in RPMs under load or an unusual humming sound. Learning to listen to your tools is a key skill that comes with experience and helps prevent costly failures.
Is a dedicated workbench necessary, or can I use a folding plastic table? Never use a plastic or light wooden folding table for metalwork. Metal is heavy, and the forces involved in sawing or grinding will cause a light table to wobble or collapse. A sturdy, heavy workbench is a safety requirement. It provides the rigid base needed for accurate measurement and secure workholding, which are essential for preventing fabrication errors.
(This article was written by one of our staff writers, Michael Thompson. Visit our Meet the Team page to learn more about the author and their expertise.)