Essential Welding Clamps Every Fab Shop Needs (Buying Guide)
When I first started sticking metal together in my small garage, I focused entirely on the arc. I obsessed over the glow of the puddle and the hum of the machine, thinking that my shaky hands were the only thing standing between me and a professional-grade bead. It took me nearly two years and dozens of warped projects to realize that my hands weren’t the primary problem. The issue was that I was fighting the metal because I didn’t have it secured. In fabrication, if your workpiece moves even a fraction of a millimeter during a pass, your arc length changes, your travel speed falters, and your consistency vanishes.
Learning metal fabrication is as much about managing physical forces as it is about melting steel. When you apply high heat to a joint, the metal expands and then contracts as it cools. Without the right work-holding strategies, this movement is unpredictable. I spent a long time struggling with erratic bead shapes and poor penetration before I understood that a stable setup is the foundation of torch control. By using the right mechanical aids to lock a joint in place, you remove one of the biggest variables in the learning process. This allows you to focus purely on your muscle memory and hand-eye coordination.
Mastering Body Mechanics and the Role of Work-Holding
Work-holding refers to the methods and tools used to secure a workpiece firmly in place during the fabrication process. It ensures the metal remains stationary against the forces of thermal expansion and physical impact, providing a stable platform for precise welding, cutting, or grinding operations.
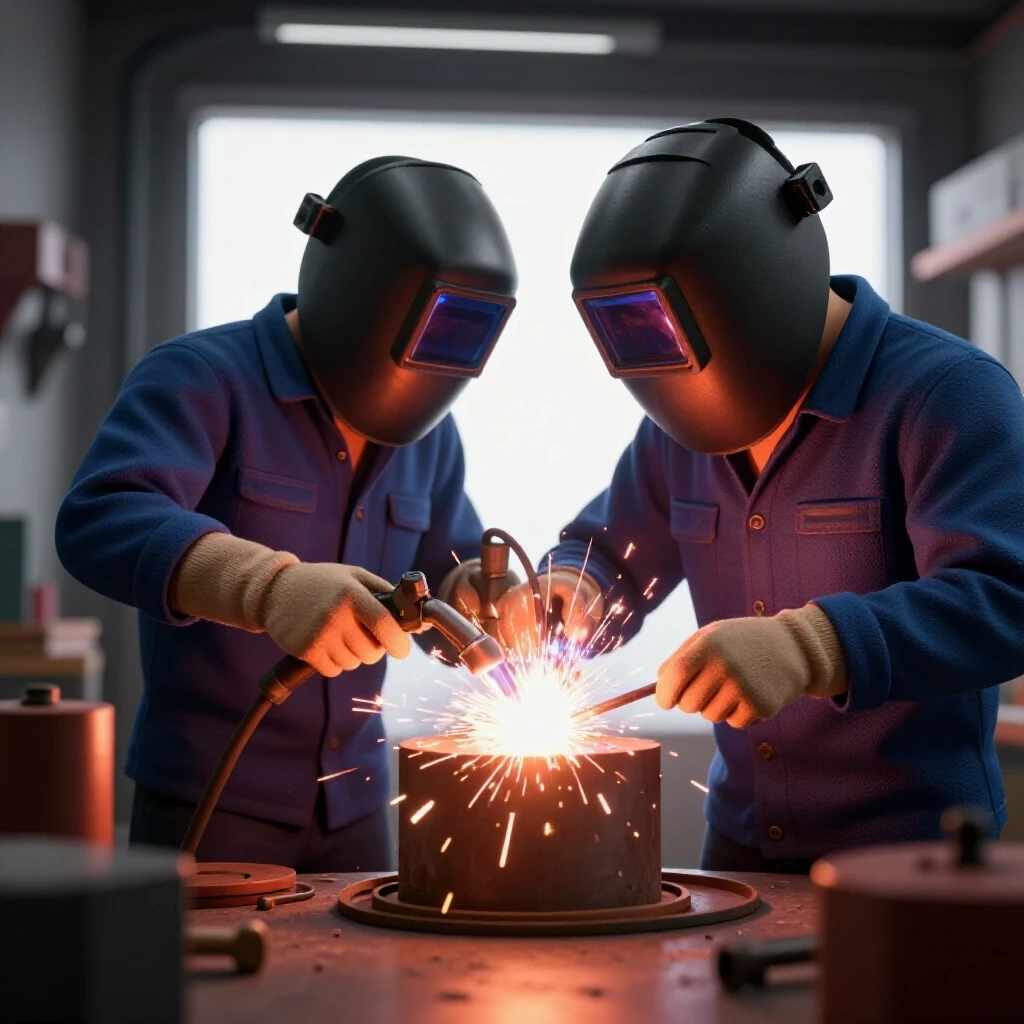
When you are practicing your welding technique progression, your body needs to be in a relaxed, repeatable position. If you are trying to hold a piece of metal with one hand while welding with the other, you are setting yourself up for failure. I call this “chasing the puddle.” Instead, you should use mechanical helpers to do the heavy lifting. This allows you to use both hands to steady the torch or gun, which is essential for maintaining a consistent 10 to 15-degree drag angle.
In my early practice logs, I noticed that my most consistent beads occurred when I could rest my elbows on the table. To do this, the workpiece must be clamped in a way that brings the joint to you, rather than you leaning over the joint. Proper fixturing is the secret to achieving that steady 8 to 12 inches per minute (IPM) travel speed that instructors always talk about. When the part is locked down, you can focus on the arc gap—keeping it at a steady 3/32″ to 1/8″—without worrying about the metal shifting under the heat.
The Foundation of Precision: Standard C-Clamps
C-clamps are a fundamental manual tool featuring a C-shaped frame and a threaded screw that provides high-pressure compression. They are used to hold two or more pieces of metal together with significant force, preventing any movement during the high-heat cycles of the welding process.
Every metal welding practice guide will tell you that C-clamps are the workhorses of the shop. I prefer the forged steel variety over cast iron because they handle the heat of a nearby arc much better without cracking. When you are setting up a lap joint for a practice run, the C-clamp provides the necessary force to close any gaps between the plates. Even a 1/16″ gap can cause your weld to fall through or create excessive slag inclusions.
One metric I track in my shop is “clamping pressure versus material thickness.” For thinner 16-gauge sheet metal, you only need enough pressure to keep the surfaces in contact. For thicker 1/4″ plate, you need to crank down the screw to resist the massive pulling forces of the cooling weld. I always recommend having at least four 6-inch C-clamps with a deep throat depth. The throat depth is the distance from the screw to the back of the frame; a deeper throat allows you to reach further into the center of a wide plate to keep it flat against your table.
| Material Thickness | Recommended Clamp Type | Typical Clamping Force | Purpose |
|---|---|---|---|
| 1/16″ to 1/8″ | Copper-plated C-Clamp | Light to Medium | Prevent warping/maintain alignment |
| 1/8″ to 3/8″ | Forged Steel C-Clamp | Heavy | Resist thermal contraction |
| Square Tubing | Locking Pliers (C-Jaw) | Medium | Quick positioning for tacks |
| Round Pipe | Chain Clamp | High | Uniform pressure around circumference |
Speed and Versatility: Locking Pliers for Metalworkers
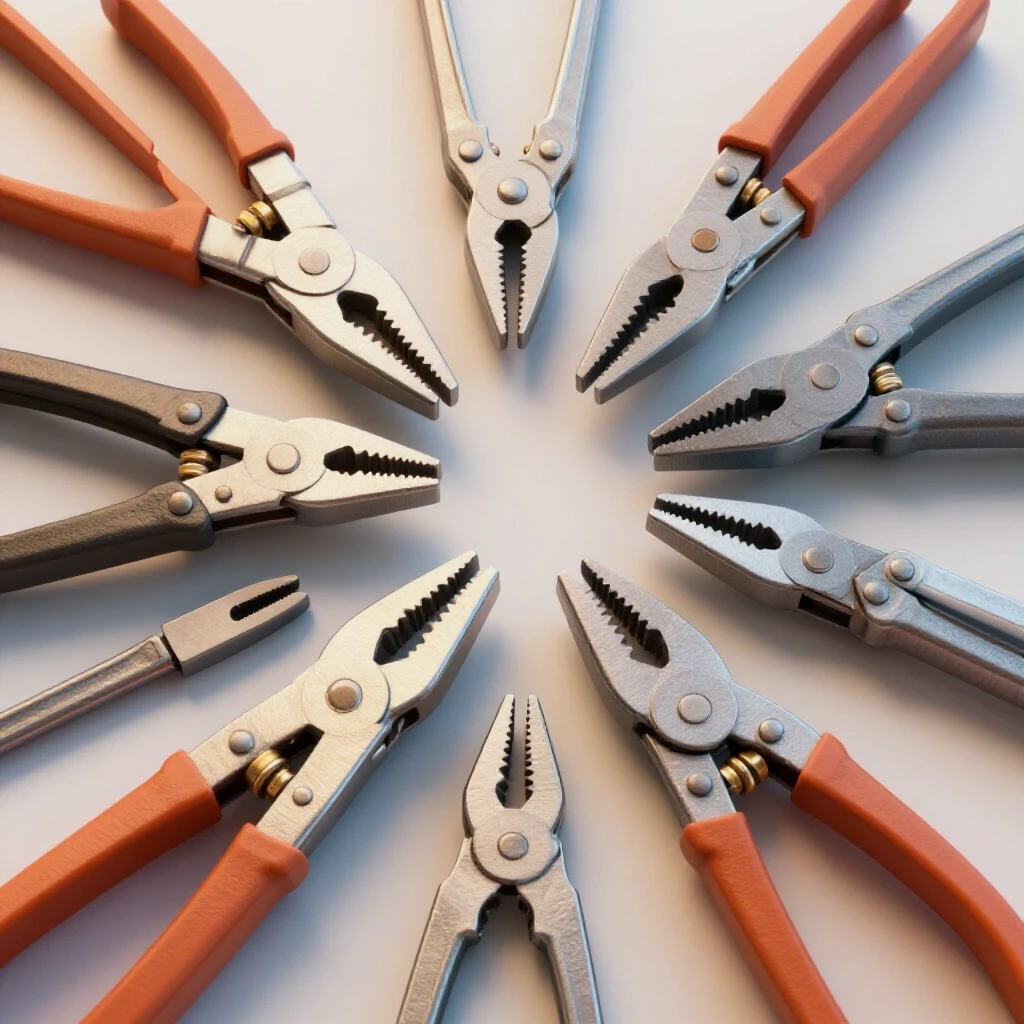
Locking pliers are hand-held tools that use a lever-action mechanism to snap shut and maintain a set amount of pressure. In fabrication, specialized versions with wide jaws or long reaches are used to quickly tack parts together before final welding.
If you want to improve your trade school practice drills, you need tools that allow for fast adjustments. Locking pliers, often called by the brand name Vice-Grip, are indispensable for this. I remember a specific project where I was building a small utility cart. I tried using standard C-clamps for every tack weld, and it took me three hours just to get the frame squared up. When I switched to locking C-clamps, my setup time dropped by half.
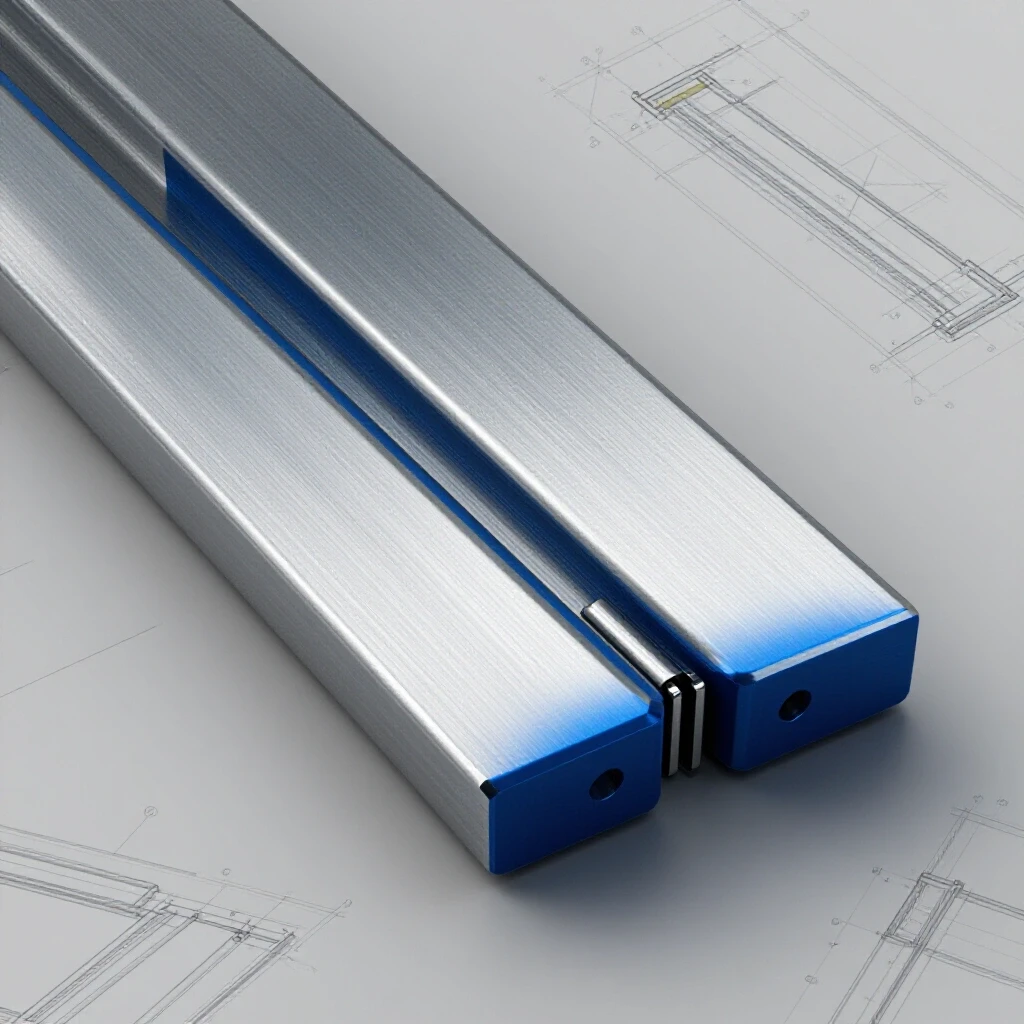
The “snap” of a locking clamp gives you immediate feedback. For beginners, I suggest practicing the “one-handed set.” This is a physical skill where you hold the part in alignment with your left hand and engage the locking pliers with your right. It builds the tactile sensitivity needed to feel if a joint is flush. In my own technique refinement, I found that using the U-shaped jaw version of these pliers is best for butt joints because it allows you to weld right through the center of the jaw while the tool holds both sides of the seam perfectly level.
Specialized Fixturing: F-Clamps and Sliding Bar Tools
F-clamps, also known as bar clamps, consist of a long flat bar with a fixed jaw and a sliding jaw that can be moved quickly to accommodate various widths. They provide a combination of rapid adjustment and high clamping force for larger fabrication projects.
As you progress in your learning metal fabrication journey, you will eventually outgrow the reach of standard C-clamps. This is where the F-clamp comes in. These are excellent for securing work to the edge of a welding table. Because the sliding arm moves freely until pressure is applied, you can set them up in seconds. I use these primarily for large-scale layout work, such as squaring up a tabletop or holding a long piece of angle iron for a series of stitch welds.
One tip I give to intermediate students is to look for F-clamps with a “heavy-duty” rating. The thin bars on cheap woodworking versions will flex under the heat of a MIG or TIG arc. A flexing clamp is a failing clamp; if the bar bends, the pressure on your joint drops, and the metal will pull out of square. When I track my project quality assessments, I always note if a joint pulled more than 2 degrees out of square. Usually, the culprit was a bar clamp that wasn’t stiff enough to fight the weld’s shrinkage.
Magnetic Holders and Temporary Fit-ups
Magnetic welding holders are permanent magnets encased in steel shells, shaped at specific angles like 45, 90, and 135 degrees. They are used to hold metal components in place temporarily for tack welding without the need for manual clamping.
Magnets are a controversial topic in some vocational training materials. Some instructors hate them because they can cause “arc blow,” where the magnetic field pulls your welding arc away from the joint. However, for a beginner trying to master torch control, they are a lifesaver for initial fit-ups. They act as an extra set of hands to hold a vertical piece of plate while you grab your tacking tool.
The key is to use magnets only for the “tack and move” phase. I use them to get my 90-degree angles set, then I place a small 1/4″ tack weld at each corner. Once the tacks are set, I remove the magnets and replace them with mechanical clamps before doing the final bead. This prevents the magnetic field from messing with the fluid puddle tension. If you’ve ever seen your arc dance wildly or your weld spatter excessively near a magnet, you’ve experienced arc blow. It’s a great lesson in physics, but a terrible way to learn bead consistency.
Heat Management and Material Expansion Physics
Thermal expansion is the tendency of metal to change its shape, area, and volume in response to a change in temperature. In welding, this results in “pull,” where the cooling weld bead acts like a shrinking rubber band, drawing the metal parts toward the weld.
To achieve professional-grade fabrication results, you must understand the “why” behind clamping. When you lay down a bead, the molten metal is at its maximum volume. As it solidifies and cools to room temperature, it shrinks. If you are welding a T-joint and only clamp one side, the cooling metal will pull the vertical piece toward the weld, ruining your 90-degree angle.
I teach a simple drill to visualize this: 1. Take two pieces of scrap 1/4″ plate and set them in a T-joint. 2. Tack only one side without any clamps. 3. Measure the angle with a square. 4. Run a full 3-inch bead on that side. 5. Measure the angle again once it’s cool.
You will likely see the metal has pulled 3 to 5 degrees. To counter this, we use “pre-setting” or heavy clamping. By clamping the part slightly past the 90-degree mark (pre-setting) or using massive force to hold it at exactly 90, you force the metal to stretch internally rather than moving the whole piece. This is where you move from being a “welder” to being a “fabricator.”
Establishing a Practice Log for Fixturing Consistency
A practice log is a structured record used by fabricators to track variables like machine settings, clamping configurations, and weld outcomes. It serves as an objective tool for identifying patterns in skill progression and troubleshooting technical plateaus.
If you are struggling with a technical plateau, the answer is usually found in your data. I recommend keeping a notebook at your welding station. For every ten practice joints you weld, record the following metrics:
- Setup Time: How long did it take to clamp the joint?
- Clamp Type Used: Did you use C-clamps, magnets, or locking pliers?
- Warping Measurement: Did the part stay square within 1 degree?
- Bead Consistency: Was the arc gap maintained at 1/8″ throughout?
- Travel Speed: Did you hit the 8-12 IPM target?
By tracking these, you can see if your “poor torch control” is actually just a result of the metal moving mid-weld. I found that when I increased my clamping force on fillet welds, my bead width became much more uniform. This was because I wasn’t subconsciously trying to compensate for the plate tilting away from me as I welded.
Physical Practice Progression Steps for Better Fit-ups
Mastering the physical motions of fabrication requires a structured approach, moving from simple tasks to complex assemblies. This progression ensures that the fundamental habits of stability and alignment are ingrained before attempting difficult joints.
- Step 1: The Bead-on-Plate Drill. Clamp a single flat plate to the table using two C-clamps. Practice running straight beads at 10-15 degrees drag. The goal is to keep the plate perfectly flat and the beads parallel.
- Step 2: The Lap Joint. Use locking pliers to overlap two plates. Ensure there is zero gap between them. Focus on the heat input; if the plates start to gap in the middle, you need more clamping force.
- Step 3: The T-Joint. Use a combination of a square and C-clamps to hold a vertical plate. Practice your “tack-sequence.” Tack the ends, then the middle, then the opposite side to balance the heat.
- Step 4: The Butt Joint. Use a copper backing bar or a specialized U-jaw locking clamp to hold two plates edge-to-edge. This is the hardest joint to keep flat because the heat has nowhere to go but into the metal, causing it to “wing” upward.
Why Travel Speed Rules the Puddle
Travel speed is the rate at which the welding electrode or torch moves along the joint, usually measured in inches per minute (IPM). It dictates the amount of heat input into the metal and directly influences the weld’s penetration and bead profile.
I often see beginners moving too slowly because they are afraid of losing the puddle. This dumps too much heat into the metal, causing massive warping that even the strongest clamps can’t stop. If you move too fast, you get “cold lap,” where the metal doesn’t fuse properly.
To find the “sweet spot,” I use a digital metronome or a timer. If I am welding a 6-inch coupon, I know it should take me roughly 30 to 45 seconds to finish the bead at a proper 8-12 IPM. If my clamps are set up correctly, I can glide my hand along the table or a steady-rest, ensuring my travel speed is a smooth, continuous motion rather than a series of jerky starts and stops.
Common Rookie Mistakes in Work-Holding
Even with the best tools, there are pitfalls that can ruin your progress. One of the most common is “over-clamping” thin materials. If you apply too much pressure to a thin-walled tube, you can actually deform the metal before you even start welding. I once crushed a piece of expensive aluminum tubing because I used a heavy-duty F-clamp where a light-duty spring clamp would have sufficed.
Another mistake is clamping too far from the joint. The closer the clamp is to the weld, the more it resists the “pull” of the cooling metal. However, you have to balance this with leaving enough room for your torch and your hands to move freely. I always leave at least 2 inches of “clean zone” around the joint where no clamps are present, allowing me to maintain my 10-15 degree torch angle without hitting an obstruction.
Finally, never weld directly onto a clamp. It sounds obvious, but in the heat of the moment, it’s easy to let your arc stray. This can “arc-weld” the clamp to your project or, worse, damage the tempered screw of the clamp, making it useless. I always use copper-plated clamps when working close to the arc because weld spatter won’t stick to the copper as easily as it does to steel.
Skill Verification Checklist for Your Shop
Before you strike an arc on your next project, go through this checklist. It’s based on the same standards I used when I was training for my AWS certifications, adapted for the self-taught fabricator.
- Clean Zone: Is the metal ground to shiny silver at least 1 inch back from the joint?
- Gap Check: Is the fit-up tight? Can you see light through the joint? (You shouldn’t).
- Stability: Can you lean your weight on the workpiece without it moving?
- Obstruction Check: Can you run a “dry pass” (moving the torch without an arc) the full length of the joint without hitting a clamp?
- Grounding: Is your ground clamp attached directly to the workpiece or the table it’s clamped to?
- Squareness: Have you checked the angles with a machinist’s square after clamping but before tacking?
Conclusion
Building your skills in the shop is a marathon, not a sprint. It took me a long time to realize that the difference between a “hobbyist” weld and a “professional” weld often has nothing to do with the machine and everything to do with the preparation. By investing in a solid set of work-holding tools and treating your setup with the same rigor as your arc control, you remove the frustrations of warping and inconsistency.
Start small. Buy a few high-quality forged C-clamps and a pair of locking pliers. Practice your fit-ups until they are perfect. Log your progress, watch your travel speeds, and don’t be afraid to walk away from a joint if the setup isn’t right. The more you control the environment, the faster your hands will learn the dance of the puddle.
FAQ
What is the most versatile clamp for a beginner to buy first? The 6-inch forged steel C-clamp is the best first purchase. It offers the highest clamping force for the price and can handle the heat of most welding projects. I recommend starting with at least four of these to handle basic T-joints and lap joints.
Why do my welds still warp even when I use heavy clamps? Clamps can only resist so much force. If your heat input is too high (moving too slowly), the internal stresses will eventually overcome the clamp or cause the metal to distort once the clamp is removed. Focus on increasing your travel speed and using a proper tack-welding sequence.
Can I use woodworking clamps for metal fabrication? Generally, no. Most woodworking clamps have plastic components or thin steel bars that will melt or lose their temper when exposed to the intense heat and UV light of a welding arc. Stick to all-metal, forged, or copper-plated tools designed for high-heat environments.
How do I prevent weld spatter from ruining my clamp threads? Look for clamps with copper-plated screws. Weld spatter does not easily adhere to copper. If you have steel-threaded clamps, you can apply a light coating of anti-spatter spray or even a bit of specialized welding grease to the threads before you start.
What is the “clean zone” and why does it matter for clamping? The clean zone is the area around the joint that has been ground down to bare, shiny metal. Not only does this ensure a good weld, but it also ensures your clamps have a flat, non-slip surface to grip. Clamping over mill scale or rust can lead to the part slipping under heat.
Is it better to have many small clamps or a few large ones? A mix is ideal, but for most shop work, “more is better.” Having several smaller clamps allows you to distribute the pressure more evenly along a seam, which is more effective at preventing warping than one giant clamp in the center.
How do I know if I’m over-tightening my clamps? If you see the frame of the clamp beginning to flex or “bow,” you are at the limit of the tool’s capacity. For the workpiece, if you see the metal visibly indenting under the clamp pad, you are applying too much pressure for that material thickness.
Should I clamp the part to the table or just clamp the parts to each other? Whenever possible, clamp the project to a heavy, flat welding table. This uses the mass and flatness of the table as a “jig,” which helps keep your entire project from twisting or bowing during the welding process.
What is “pre-setting” a joint? Pre-setting involves clamping a joint at an angle slightly wider than the desired final angle (e.g., 92 degrees for a 90-degree goal). As the weld cools and pulls the metal, it “shrinks” into the perfect 90-degree position. It takes practice to know exactly how many degrees to pre-set.
How does arc blow affect my choice of magnets? If you find your arc is being “pulled” away from the joint or becoming unstable, your magnets are too close to the arc. Switch to mechanical clamps for the final weld pass to eliminate the magnetic field and regain torch control.
(This article was written by one of our staff writers, Thomas Langley. Visit our Meet the Team page to learn more about the author and their expertise.)