Essential Welding Safety Protocols for Home Workshops (Tips)
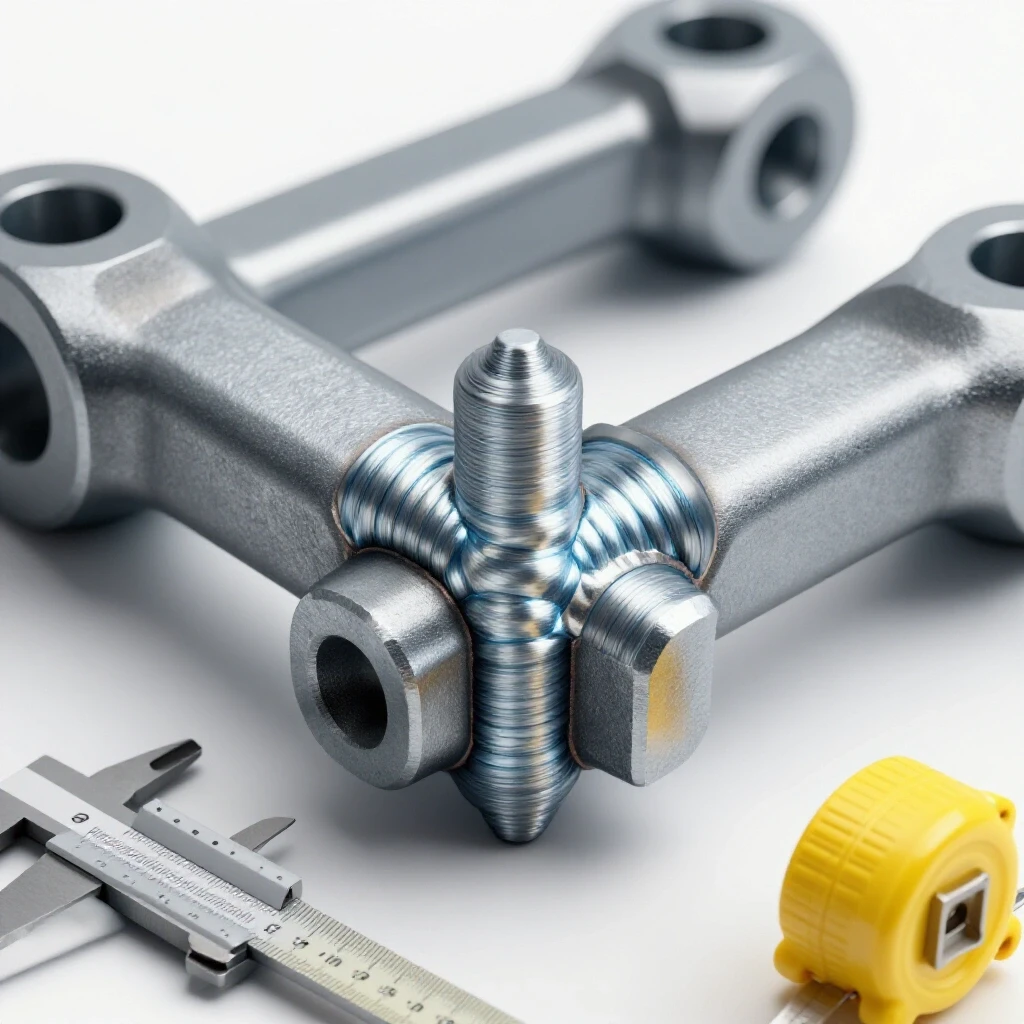
I remember standing over a custom-built engine stand in my garage about eight years ago. I had spent three weeks on it, meticulously measuring every cut and ensuring every corner was square. On paper, the design was solid, but as I lowered a heavy big-block V8 onto the frame, I heard a sickening “tink” sound. It was the unmistakable noise of a brittle fracture. One of my fillet welds had failed because I had overheated the joint, creating a massive heat-affected zone that turned the steel brittle. That moment was a wake-up call. It didn’t matter how pretty the weld looked if the physics behind the structure were compromised.
In my 14 years as a mechanical engineer and fabricator, I have seen that most home workshop failures do not happen because of a lack of effort. They happen because of a lack of data. We often underestimate the invisible forces at play—residual stress, atmospheric contamination, and the subtle ways heat changes the molecular structure of our projects. My goal is to help you navigate these risks by applying the same rigor I use for industrial inspections to your home projects. By understanding the mechanical limits of your materials and the hazards of your environment, you can build structures that are both safe to create and safe to use.
Understanding Structural Integrity and Metal Stress
Structural integrity refers to the ability of a fabrication to support its intended load without breaking or deforming excessively. Metal stress is the internal resistance a material offers to an external force, usually measured in pounds per square inch (PSI). Understanding these concepts ensures your projects do not collapse under pressure.
When you start a project in a residential setting, you are essentially acting as your own quality control officer. You must understand how the material behaves under load. Most hobbyists use A36 structural steel, which has a yield strength of about 36,000 PSI. The yield strength is the point where the metal will permanently deform. If you exceed this, your project is effectively ruined, even if it hasn’t snapped yet.
I always recommend designing with a safety factor. For a stationary workbench, a 2:1 safety factor might be enough. However, for anything that moves or supports a person, a 4:1 factor is more appropriate. This means if you expect a shelf to hold 500 pounds, you should design it to theoretically hold 2,000 pounds. This margin accounts for imperfections in the metal or minor defects in the joining process.
The Role of Tensile and Yield Strength
Tensile strength is the maximum amount of pulling stress a material can withstand before failing. Yield strength is the lower point where the metal begins to stretch and will not return to its original shape. Knowing these values helps you select the right thickness for your structural components.
In my experience, many garage builders overbuild the wrong parts. They might use 1/4-inch plate where 1/8-inch would do, but then they use a weak joint design that creates a leverage point. You should always look at the manufacturer’s data sheets for your specific batch of steel. This data, often found on sites like MatWeb, tells you exactly what that piece of metal can handle before it reaches its breaking point.
Analyzing Load Paths in Home Projects
A load path is the route that weight takes as it travels through your structure to the ground. If a load path is interrupted by a poorly placed joint or a thin piece of metal, that point becomes a “stress riser.” Stress risers are where cracks start because the force is concentrated in one small area.
When I inspect a frame, I look for “bottlenecks” in the load path. For example, if you have a heavy table top supported by four legs, but the legs are only attached by small welds at the very top, all the weight is concentrated on those tiny points of contact. Using gussets or bracing helps spread that load over a larger surface area, reducing the PSI at any single point.
Managing the Heat-Affected Zone (HAZ) in Garage Projects
The Heat-Affected Zone, or HAZ, is the area of base metal that has not been melted but has had its microstructure and properties altered by the heat of the joining process. This area is often weaker or more brittle than the rest of the metal.
Every time you apply heat to steel, you are performing a mini-heat treatment. If you get the metal too hot for too long, the grains of the steel grow larger. Larger grains generally mean a weaker, more brittle material. This is why a joint might look perfect on the surface but fail right next to the weld. I have seen many trailers fail on the highway because the fabricator spent too much time “washing” the weld back and forth, creating a massive, brittle HAZ.
To manage this, you must control your heat input. This involves managing your travel speed and amperage. If you move too slowly, you soak the metal in heat. If you move too fast, you don’t get proper penetration. It is a delicate balance that requires constant attention to the color and behavior of the metal.
Why Brittle Fracture Occurs Near Joints
Brittle fracture is a sudden failure that occurs without any prior deformation. It is particularly dangerous because there is no warning—the metal simply snaps. This often happens in the HAZ because the rapid heating and cooling cycles can create hard, glass-like structures in the steel.
In a home shop, you can mitigate this by allowing your projects to cool slowly. Never quench a structural weld in water to speed up the process. This “shocks” the metal and is a guaranteed way to create internal stresses and brittleness. Let the metal air cool naturally. If you are working in a very cold garage, you might even need to pre-heat the metal to 200 or 300 degrees Fahrenheit to prevent the temperature from dropping too fast after you finish.
Controlling Thermal Distortion and Warping
Warping happens because metal expands when it gets hot and contracts when it cools. If one side of a joint cools faster than the other, it pulls the metal out of alignment. This isn’t just an aesthetic issue; a warped frame introduces “built-in” stress that eats into your safety margin.
- Tack welding: Place small tacks every few inches to hold the structure in place before doing the final pass.
- Back-stepping: Instead of one long continuous bead, weld in short sections, moving backward to fill the gaps.
- Staggering: Move from one side of the project to the other to keep the overall heat distribution even.
- Fixturing: Use heavy clamps or a dedicated welding table to physically restrain the metal while it cools.
| Material Type | Typical Yield Strength (PSI) | Risk Factor | Common Failure Point |
|---|---|---|---|
| A36 Mild Steel | 36,000 | Low | Overheating (HAZ) |
| 6061-T6 Aluminum | 35,000 | High | Loss of temper near weld |
| 4130 Chromoly | 63,000 | Medium | Cracking without pre-heat |
| 304 Stainless | 30,000 | Medium | Severe warping/distortion |
Critical Protective Gear and Vision Safety
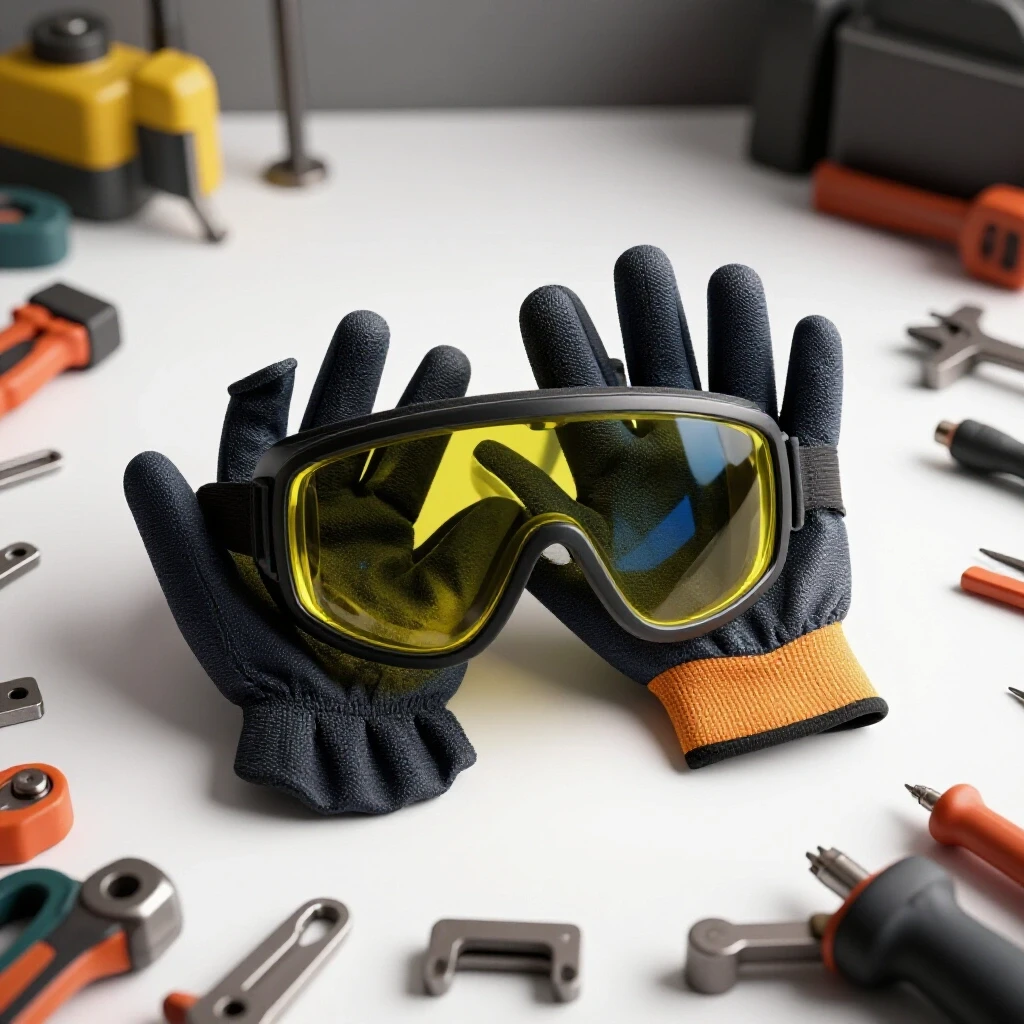
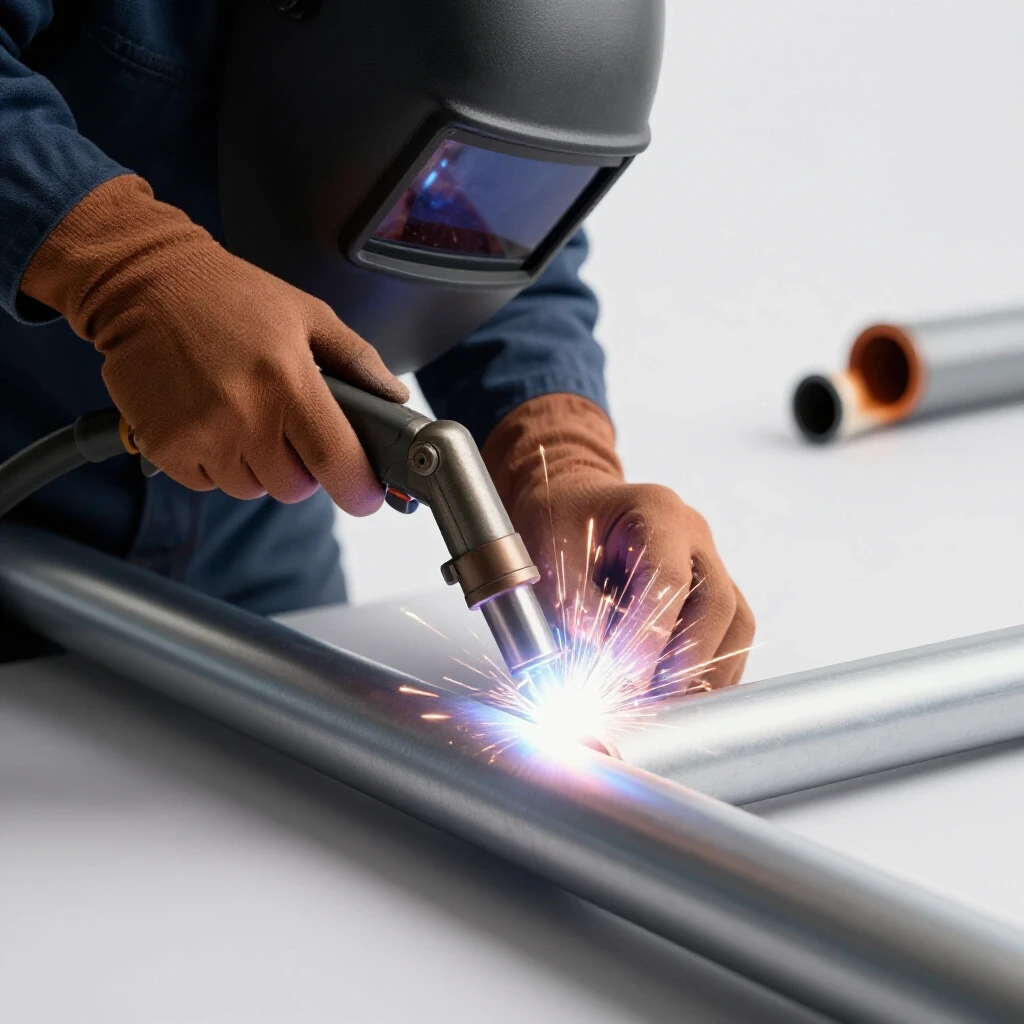
Personal Protective Equipment (PPE) is your last line of defense against the intense light, heat, and sparks generated during fabrication. For home users, selecting the right gear is about matching the equipment to the specific intensity of your equipment.
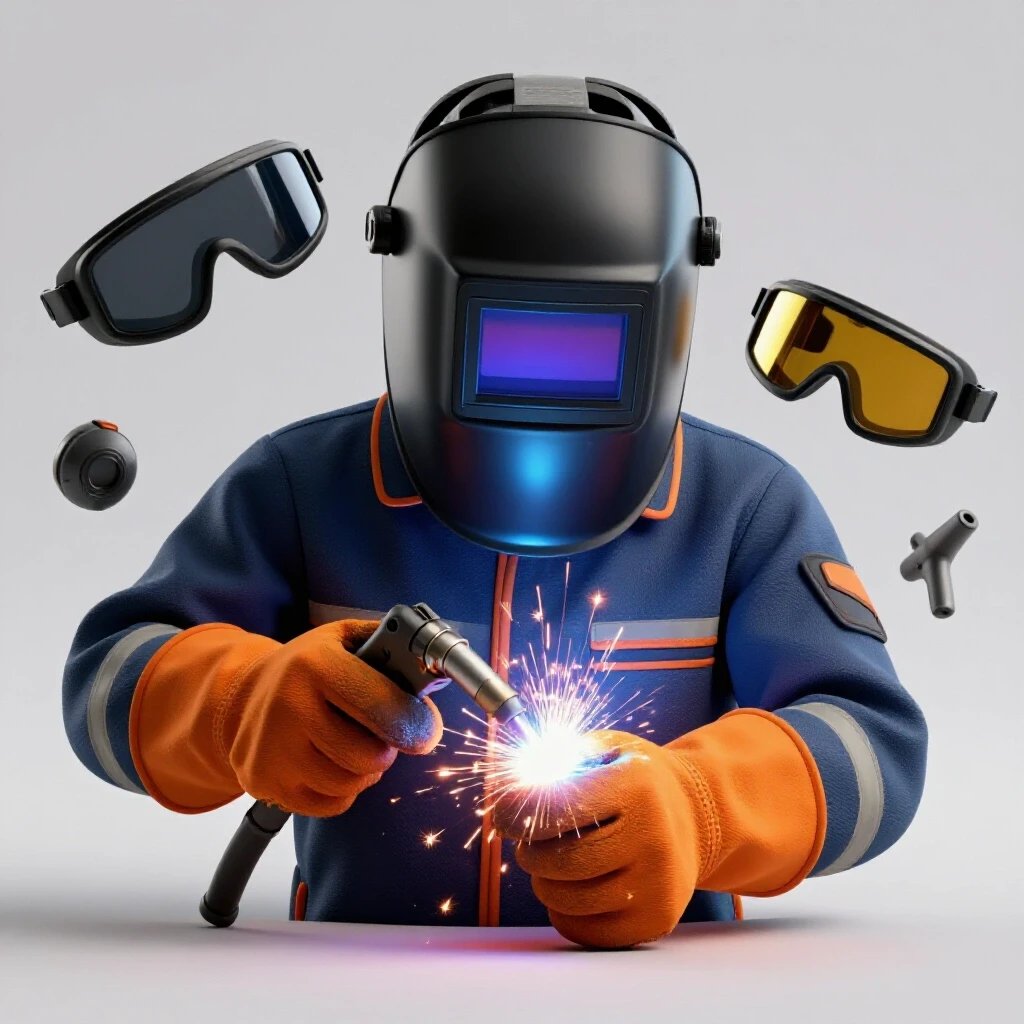
I cannot stress the importance of eye protection enough. I once had a “flash” burn on my eyes because I was using a cheap, off-brand helmet that didn’t darken fast enough. It felt like someone had rubbed sand in my eyes for three days. In a home shop, you don’t have a safety officer checking your gear, so you have to be the expert. Look for helmets that meet the ANSI Z87.1 standard, which ensures the lens provides adequate protection against ultraviolet (UV) and infrared (IR) radiation.
Selecting the Correct Lens Shade
The “shade” of a welding lens refers to how much light it filters out. If the shade is too light, you will damage your retinas. If it is too dark, you won’t be able to see the joint, which leads to poor quality and potential structural failure.
For most home MIG or TIG projects between 100 and 200 amps, a shade 10 to 12 is standard. If you are doing heavy stick welding at higher amperages, you may need a shade 13. Modern auto-darkening helmets are excellent, but you must test them before you start. I always strike a spark against a piece of scrap metal while looking away slightly to ensure the lens triggers before I start my actual project.
Respiratory Protection in Enclosed Spaces
Many people think that because they are in a “large” two-car garage, they don’t need a respirator. This is a dangerous mistake. Fumes from galvanized steel, stainless steel, or even basic primers can cause serious respiratory issues. “Metal fume fever” is a real condition caused by inhaling zinc oxide fumes, and it feels like a severe case of the flu.
- P100 Respirators: Use a half-mask respirator with P100 filters that fit under your helmet.
- Fume Extraction: A simple box fan in a window is better than nothing, but a dedicated fume extractor is best.
- Avoid Coatings: Never weld on metal that has been galvanized or painted without grinding the coating off at least two inches back from the joint.
Atmospheric Hazards and Ventilation Strategies
The environment of your workshop plays a massive role in both your safety and the quality of your work. Atmospheric hazards include the buildup of shielding gases, the presence of flammable vapors, and the lack of breathable air.
Shielding gases like Argon or CO2 are “inert,” meaning they don’t react with the metal. However, they are also asphyxiants. Because they are heavier than air, they can settle in low spots of a garage or basement. If you have a leak in your tank overnight, you could walk into a pocket of gas that has displaced all the oxygen. I always close my tank valves tightly and check my regulators with soapy water to ensure there are no slow leaks.
Managing Shielding Gas Flow Rates
Gas flow is measured in Cubic Feet per Hour (CFH). If your flow is too low, oxygen will contaminate the weld, causing porosity (tiny holes). If it is too high, it creates turbulence that actually sucks air into the weld. Both scenarios lead to a weak, porous joint that will eventually fail.
For a typical home setup using a MIG welder, a flow rate of 15 to 20 CFH is usually the “sweet spot.” If you are working in a breezy area, like an open garage door, you might need to bump it up to 25 CFH or use a wind screen. Remember, more gas is not always better. It is about steady, laminar flow that blankets the molten metal.
Ventilation and Air Current Control
Proper ventilation is a balancing act. You need enough airflow to remove toxic fumes, but not so much that it blows away your shielding gas. I prefer a “source capture” method. This means placing an exhaust fan as close to the work area as possible to pull fumes away from my face before they rise.
If you are working in a garage, try to position yourself so the natural airflow comes from behind you or from the side. Never have a fan blowing directly across your work surface, as this will strip away your gas coverage and lead to “wormhole” porosity. This defect is a major cause of structural failure because it creates a hollow path through the center of your weld bead.
Fire Prevention and Electrical Grounding for Residential Spaces
Fire is perhaps the greatest risk in a home workshop. Unlike an industrial plant with concrete walls and high ceilings, a garage often contains wood framing, stored gasoline, and cardboard boxes.
I once saw a small fire start in a pile of oily rags twenty feet away from where a guy was grinding. He didn’t notice for ten minutes because he had his helmet on. Sparks can fly much further than you think. A standard angle grinder can throw sparks up to 30 feet. Before you strike an arc, you must perform a “fire sweep” of your area.
Establishing a Safe Grounding Path
Electrical safety in a home shop starts at the wall outlet. Most home welders run on 120V or 240V circuits. If your machine isn’t properly grounded, the electricity will look for the easiest path to the earth—which might be through you or your garage’s metal plumbing.
Always attach your work clamp (often called the ground clamp) directly to the piece you are working on. Do not rely on the table or a series of chains to carry the current. A poor ground connection creates resistance, which generates heat at the clamp and causes your welder to perform inconsistently. This leads to “cold starts” where the weld doesn’t fuse properly to the base metal, creating a major structural weak point.
Fire Safety Checklist for Garages
- Clear the Zone: Remove all flammable liquids, paper, and wood within a 35-foot radius.
- Fire Extinguisher: Keep an ABC-rated fire extinguisher within arm’s reach, not buried in a corner.
- Watch the Walls: If you have drywall, be aware that sparks can get behind it through electrical outlets or cracks.
- The “Fire Watch”: After you finish working, stay in the shop for at least 30 minutes. Many shop fires start from a smoldering ember long after the lights are turned off.
Identifying Internal Weld Defects Through Visual Inspection
A weld can look smooth and shiny on the outside while being completely hollow or disconnected on the inside. Visual inspection is the first step in ensuring your fabrication won’t fail under load.
When I inspect a joint, I look for “fusion.” This is the point where the base metal and the filler metal become one. If you see a distinct line where the weld sits on top of the metal like a bead of cold wax, you have “lack of fusion.” This is a critical defect. Under stress, the weld will simply peel away from the base metal.
Common Defects and Their Structural Impact
- Porosity: These are small bubbles caused by gas trapped in the cooling metal. It makes the weld look like a sponge. Porosity reduces the effective cross-section of the weld, meaning it can’t hold as much weight as a solid bead.
- Undercut: This is a groove melted into the base metal right at the edge of the weld. It acts like a perforation on a piece of paper, giving the metal a perfect place to snap.
- Slag Inclusion: In stick or flux-core welding, bits of the flux coating can get trapped inside the metal. This creates a “void” that weakens the internal structure.
- Crater Cracks: These are small cracks at the very end of a weld bead. They are caused by the metal shrinking as it cools. If not filled, these cracks can grow across the entire joint.
Using Simple Diagnostic Tools
You don’t need an X-ray machine to check your work. A few simple tools can tell you a lot about the quality of your joints.
- Flashlight and Magnifying Glass: Look closely at the “toes” (edges) of the weld for tiny cracks or undercut.
- Weld Filament Gauge: This measures the size of the weld. A weld that is too small won’t hold the load; a weld that is too big adds unnecessary heat and distortion.
- Dye Penetrant Kit: You can buy a basic kit that uses a red dye and a white developer. The dye seeps into any surface cracks that are invisible to the naked eye. If the red dye “bleeds” through the white developer, you have a crack that needs to be ground out and re-welded.
| Defect Name | Visual Indicator | Structural Consequence | Primary Cause |
|---|---|---|---|
| Porosity | Tiny holes/pits | Reduced load capacity | Low gas flow or dirty metal |
| Undercut | Groove at weld edge | Stress concentration point | Amperage too high |
| Lack of Fusion | Weld sits “on top” | Sudden peeling failure | Travel speed too fast |
| Longitudinal Crack | Line down center | Total joint separation | High internal stress/cooling |
Structural Load Testing and Safety Margins
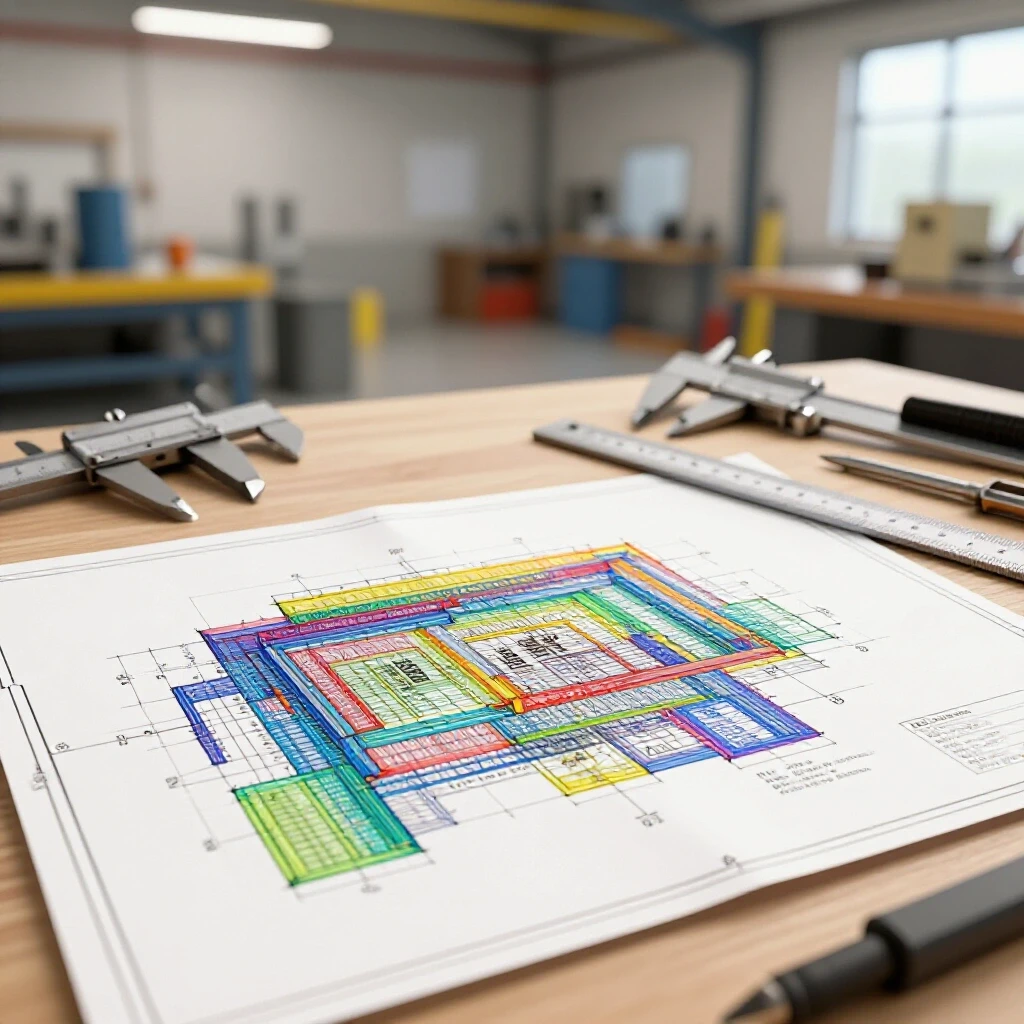
Before you put a project into service, you should perform a controlled load test. This is the only way to verify that your calculations and your execution match up.
In the industrial world, we often test to 125% of the rated load. For a home project, you can do something similar. If you built a rack to hold 400 pounds of lumber, carefully load it with 500 pounds in a way that won’t hurt anyone if it fails. Use sandbags or water jugs—something that won’t bounce or shatter. Leave the weight there for an hour and then inspect every joint for signs of deformation or cracking.
Calculating Safety Factors for Home Builds
A safety factor is a multiplier used to ensure a design can handle more than its expected load. It accounts for “unknowns,” such as a sudden impact or a slightly thinner piece of steel than advertised.
To calculate this, take the “Ultimate Tensile Strength” of your material and divide it by the “Allowable Stress.” For example, if your steel fails at 60,000 PSI and you design the structure so it never sees more than 15,000 PSI, you have a safety factor of 4. For most home projects, aiming for a factor between 3 and 5 provides a comfortable buffer against fabrication errors.
The Importance of “Tack and Check”
One of the biggest mistakes I see is someone welding an entire frame together before checking if it’s straight. Once those long beads are laid down, the metal is locked in place. If it’s crooked, you’ll have to cut it apart, which weakens the metal further.
Always follow a “tack and check” protocol: 1. Tack all corners with 1/2-inch welds. 2. Measure the diagonals of your frame. If they are equal, the frame is square. 3. Check for “twist” by looking across the top of the frame from one end. 4. Only after everything is verified should you begin the final welding sequence.
Actionable Shop Safety Audit
To keep your workspace safe, you should perform a monthly audit. This isn’t just about cleaning up; it’s about inspecting your infrastructure to prevent a failure before it happens.
- Inspect Hoses and Leads: Look for cracks in gas hoses or frayed insulation on electrical leads. A spark jumping from a frayed lead can start a fire instantly.
- Check Regulator O-Rings: A dry or cracked O-ring on your gas tank can cause a leak that wastes money and creates an atmospheric hazard.
- Test the GFCI: If you are plugged into a Ground Fault Circuit Interrupter, test it to make sure it actually trips.
- Verify Ventilation: Clean the dust off your fans and ensure your filters aren’t clogged. Clogged filters force your fans to work harder and move less air.
- Inventory PPE: Check your gloves for holes. Even a tiny hole can lead to a painful “arc burn” on your skin. Check your helmet lens for spatters that might be blocking your view.
Building in a home workshop is incredibly rewarding, but it requires a different mindset than other hobbies. You are working with forces that can melt steel and light that can blind. By respecting the physics of the metal and the hazards of the process, you can ensure that your projects are built to last. I’ve spent 14 years looking at what happens when things go wrong; take it from me, the time you spend on safety and preparation is the most valuable part of the build.
Frequently Asked Questions
Why does my weld look like it has “bubbles” in it?
This is called porosity. It happens when the shielding gas is blown away by a draft, or if the metal is dirty. Porosity creates a very weak joint because the metal is full of air pockets. Always clean your metal to shiny silver before starting and check for drafts in your garage.
Can I weld on a concrete garage floor safely?
Concrete contains moisture. If you apply high heat directly to it, the moisture can turn to steam and cause the concrete to “pop” or explode, sending hot chips flying. Always use a welding table or place a sheet of fire-rated material over the concrete.
How do I know if my garage circuit can handle a welder?
Most small welders need a 20-amp or 30-amp circuit. If you use a standard 15-amp household outlet, you will likely trip the breaker. More importantly, using an undersized circuit can cause the wires inside your walls to heat up, creating a fire risk. Always consult the manufacturer’s manual for the required breaker size.
Is it safe to use an extension cord with a welder?
Generally, it is discouraged. If you must use one, it needs to be a heavy-duty cord (10-gauge or thicker) and as short as possible. A thin extension cord will cause a “voltage drop,” which makes the welder run poorly and can damage the machine’s internal electronics.
What is the safest way to store gas cylinders?
Cylinders should always be stored upright and chained to a wall or a sturdy cart. If a cylinder falls and the valve snaps off, it becomes a rocket that can go through brick walls. Always keep the protective cap on when you aren’t using the tank.
How can I tell if I have “undercut” on my weld?
Run your fingernail across the edge of the weld bead where it meets the flat metal. If your nail “catches” in a groove, you have undercut. This groove makes the metal thinner at that point and is a common cause of structural cracking.
Do I really need a respirator if I’m only welding for five minutes?
Yes. Some of the most toxic fumes, like those from hexavalent chromium (found in stainless steel) or zinc (found in galvanized steel), can be harmful even in small doses. It only takes a few seconds to put on a mask, and it protects your long-term health.
What should I do if I see a crack in my weld after it cools?
You must grind the entire weld out until you see clean, solid metal again. Do not just “weld over” a crack; the crack will still be there underneath and will eventually spread through the new metal. Finding a crack is a sign that the metal cooled too fast or was under too much stress.
Why is “mill scale” a safety issue?
Mill scale is the dark grey coating on new hot-rolled steel. It is an electrical insulator. If you don’t grind it off, your arc will be unstable, leading to poor fusion and a weak joint. A weak joint in a structural project is a major safety hazard.
How far away should I keep my gas tanks from the welding arc?
Try to keep them at least 5 to 10 feet away, or behind a protective shield. You want to prevent sparks or heat from reaching the regulator or the tank itself. Never let the welding electrode touch the gas cylinder, as this can weaken the tank’s structure.
(This article was written by one of our staff writers, James Harlan. Visit our Meet the Team page to learn more about the author and their expertise.)