How Keeping a Shop Log Book Improves Fabrication (Results)
Setting up your first metalworking space often feels like a balancing act between your bank account and your ambitions. I remember standing in my empty garage in 2013 with exactly $2,000 and a long list of tools I thought I needed. The anxiety of potentially wasting money on the wrong welder or a flimsy workbench was real. Through twelve years of trial and error, I found that the secret to a successful shop isn’t just the tools you buy, but how you document the work you do with them. By systematically tracking your settings, costs, and mistakes, you can turn a modest starter shop into a professional-grade fabrication space.

Why Tracking Project Parameters Prevents Costly Mistakes
Recording specific settings and measurements ensures every cut and weld is repeatable and accurate. This practice moves you away from “guessing” and toward a data-driven approach where you know exactly why a project succeeded or failed.
When I first started, I wasted three expensive sheets of 16-gauge steel because I couldn’t remember the exact settings that worked for a clean corner weld the week before. I realized then that my memory was a poor filing cabinet. I began writing down every variable: the amperage on the welder, the gas flow rate, the thickness of the metal, and even the ambient temperature in the garage.
This habit of documentation acts as a roadmap for your future self. If you find a specific brand of grinding wheel that lasts twice as long as the cheap ones, recording that “cost per cut” helps you manage your limited budget. In a small shop, efficiency is your best friend. Every minute you spend hunting for a setting you used last month is a minute you aren’t building.
Planning Your Starter Metal Workshop Layout for Efficiency
Arranging tools and workstations based on workflow data helps you maximize a small space and minimize safety hazards. A well-planned layout reduces the physical strain of moving heavy metal and keeps sparks away from flammable materials.
Before you bolt anything to the floor, you need to understand your “workflow path.” This is the route a piece of metal takes from the time it enters your garage as a raw tube or sheet until it leaves as a finished product. In my first shop, I didn’t plan this, and I ended up carrying 10-foot steel bars over my expensive welder just to get to the saw. It was a safety nightmare.
I recommend using a simple floor plan to mark out “zones.” You need a clean zone for layout and assembly, a dirty zone for grinding and cutting, and a dedicated welding area.
- Clean Zone: For measuring, marking, and final assembly. Keep this away from grinders.
- Dirty Zone: For the chop saw, angle grinders, and sanders. This area needs the most ventilation.
- Welding Zone: Needs a fire-resistant surface and proximity to your electrical sub-panel.
Table 1: Tool Footprint and Clearance Requirements
| Tool Type | Physical Footprint | Required Working Clearance | Primary Safety Concern |
|---|---|---|---|
| Welding Table | 2′ x 4′ | 3′ on all sides | Fire/Sparks |
| Chop Saw | 1.5′ x 2′ | 10′ (for long stock) | High-speed debris |
| Drill Press | 1.5′ x 1.5′ | 2′ on sides | Entanglement |
| Bench Grinder | 1′ x 1′ | 2′ front clearance | Eye injuries |
Analyzing Budget Metalworking Tools Through Performance Records
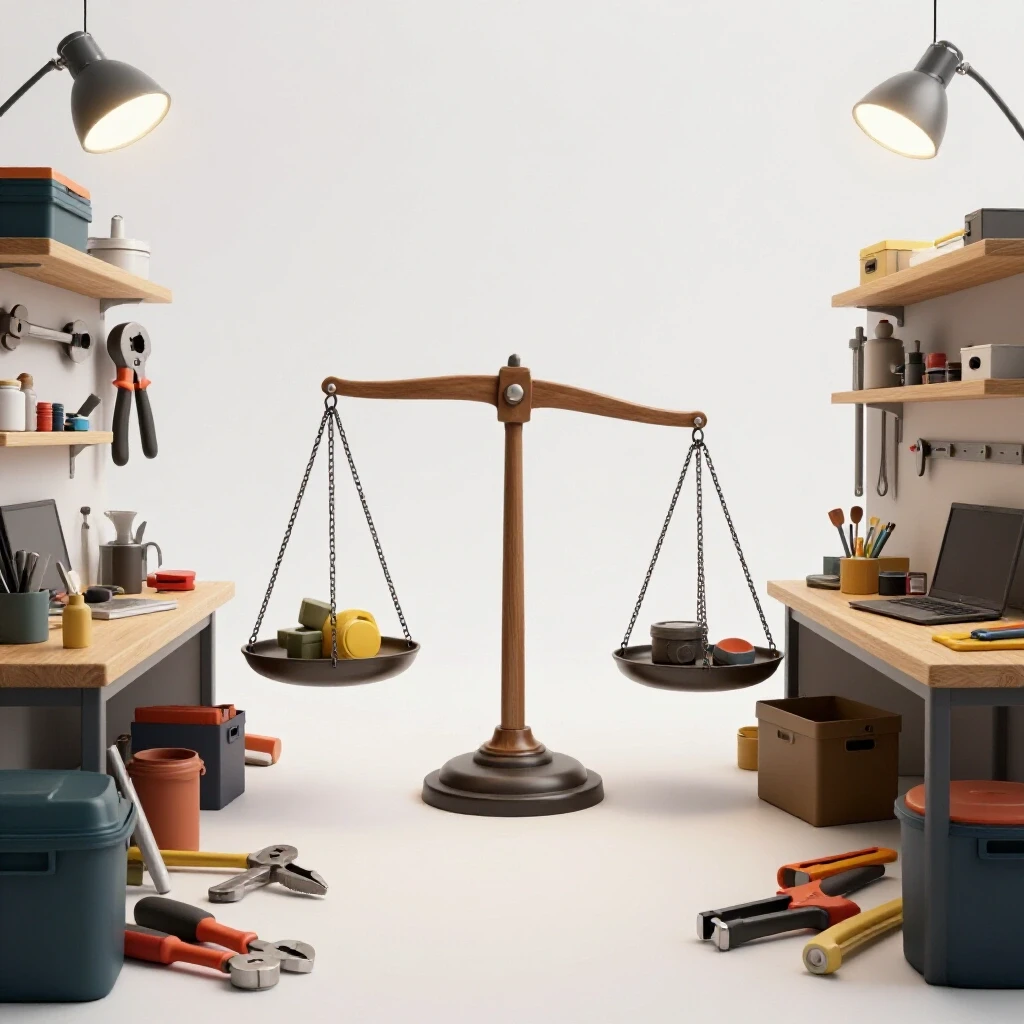
Using historical data helps you determine if entry-level equipment meets your project needs or requires an upgrade. This prevents you from falling into the trap of buying the cheapest tool three times instead of buying a mid-grade tool once.
When you are on a strict budget, you will be tempted by the lowest-priced tools. Sometimes, these are great values. Other times, they are “disposable” tools that fail during a critical project. By keeping a log of how many hours a tool runs before it needs maintenance, you can calculate its true value.
For example, I tracked the lifespan of $5 angle grinders versus $60 professional models. The $5 models often had poor “duty cycles.” A duty cycle is the amount of time a tool can run before it needs to cool down. If a cheap grinder overheats every 10 minutes, you are losing money in lost labor time.
Table 2: Tooling-to-Machine Cost Ratios
| Machine | Initial Budget Cost | Expected Tooling/Consumable Cost (Year 1) | Key Consumables |
|---|---|---|---|
| MIG Welder | $500 – $800 | 40% of machine cost | Gas, Wire, Tips |
| Angle Grinder | $40 – $100 | 100% of machine cost | Flap discs, Cut-off wheels |
| Drill Press | $150 – $300 | 30% of machine cost | Cobalt bits, Cutting fluid |
| Band Saw | $300 – $600 | 20% of machine cost | Replacement blades |
Mastering Beginner Welder Power Requirements and Electrical Limits
Understanding the electrical draw of your equipment prevents circuit overloads and potential fire hazards in a residential garage. Most home shops are limited by the existing breakers, which are typically 15A or 20A.
One of the most frustrating moments in a new shop is having your breaker trip right in the middle of a perfect weld bead. This usually happens because you haven’t calculated the “load” on your circuit. A standard 110V household outlet is often shared with garage lights, a chest freezer, or the garage door opener. When you plug in a welder that pulls 18 amps, the circuit fails.
To avoid this, I documented every device on my garage circuits. I found that I could not run my shop vacuum (dust collection) and my chop saw at the same time on the same 15A line.
- 15A Circuit: Good for lights, small grinders, and hand drills.
- 20A Circuit: The minimum for most entry-level MIG welders and larger saws.
- 220V/50A Circuit: Required for professional-grade welders and large compressors.
If you are stuck with a single 20A circuit, your log book should include a “Power Map.” This is a list of which tools can run simultaneously. For instance, “Welder ON = Fan ON, but Compressor OFF.”
Optimizing Garage Workshop Ventilation and Safety Standards
Maintaining a safe breathing environment requires tracking air exchange rates and filter health. Metalworking produces fine dust and toxic fumes that can linger in a confined garage space for hours.
Safety isn’t just about wearing goggles; it’s about the environment you create. OSHA guidelines for industrial spaces are a great reference point, even for a hobbyist. You want to aim for a specific “CFM” (Cubic Feet per Minute) of air movement. To calculate this, find the volume of your shop (Length x Width x Height) and aim to exhaust that entire volume of air every 5 to 10 minutes.
In my shop, I tracked the effectiveness of different fan placements. I found that a fan blowing out a window was more effective than a fan blowing at me. I also kept a log of when I changed my respirator filters. If you wait until you can smell the fumes, the filter has already failed.
- Source Extraction: Place your exhaust fan as close to the welding or grinding area as possible.
- Make-up Air: You must crack a door or window on the opposite side of the shop to allow fresh air to enter.
- Filter Logging: Record the date of every filter change to ensure you are always protected.
Why Cheap Abrasives Cost More in the Long Run
Allocating your budget toward high-quality consumables can actually save money by reducing material waste and tool wear. Abrasives like grinding wheels and sanding discs are the “fuel” of your metal shop.
I once bought a bulk pack of 50 cut-off wheels for $20. I thought I was being smart. However, my records showed that I used five of those cheap wheels to make a single cut in 1/4-inch plate steel. Later, I bought a single $5 high-quality wheel that made ten cuts on its own. The cheap wheels were actually costing me more per cut, and they created significantly more dust and debris.
By tracking your “consumable burn rate,” you can adjust your budget. I recommend allocating 30% of your initial startup funds specifically for high-quality safety gear and measuring tools. A cheap welder can still make a good joint if you have a high-quality helmet to see what you are doing.
Strategic Workshop Electrical Setup Checklists
A structured approach to your electrical needs prevents equipment damage and ensures you have enough “juice” for your fabrication goals. Use this checklist to audit your space before buying high-draw tools.
- Identify the Breaker Panel: Locate your main service panel and see if there are open slots for a dedicated 20A or 240V line.
- Map the Outlets: Plug a lamp into each outlet and flip breakers to see which outlets are linked together.
- Calculate Total Load: Sum the amperage of your lights and your largest tool. If it exceeds 80% of the breaker rating, you need a new circuit.
- Verify Wire Gauge: Ensure your outlets are wired with 12-gauge wire for 20A circuits. 14-gauge is only rated for 15A.
- Grounding Check: Metal shops involve a lot of grounded equipment. Ensure your garage outlets are properly grounded to prevent shocks.
Improving Fabrication Results Through Iterative Adjustment Records
Systematic documentation of material batches and tool settings allows you to refine your techniques over time. This is the difference between a hobbyist who “gets lucky” and a fabricator who delivers consistent quality.
When you start a project, note the source of your metal. Steel from a local scrap yard might have a different “mill scale” (the dark coating on hot-rolled steel) than new steel from a supplier. This scale affects how your welder performs. If you record that “Batch A” required more cleaning time or a higher heat setting, you won’t be frustrated when your usual settings don’t work.
I also track my “test cuts.” Before I start a final project, I take a piece of scrap from the same batch and perform a test weld or cut. I write down the results. If the weld is too tall (cold), I bump up the voltage and record the new number. This “calibration log” becomes your most valuable tool in the shop.
Essential Starter Tool Sequencing for Budget Builders
Prioritizing your purchases based on the order of operations in fabrication prevents you from owning a welder but having no way to cut the metal to size. Follow a logical sequence to build your capability.
Many beginners buy a welder first. Then they realize they have no way to cut the steel, no table to weld on, and no way to grind the welds smooth. My advice is to buy your “prep and finish” tools first.
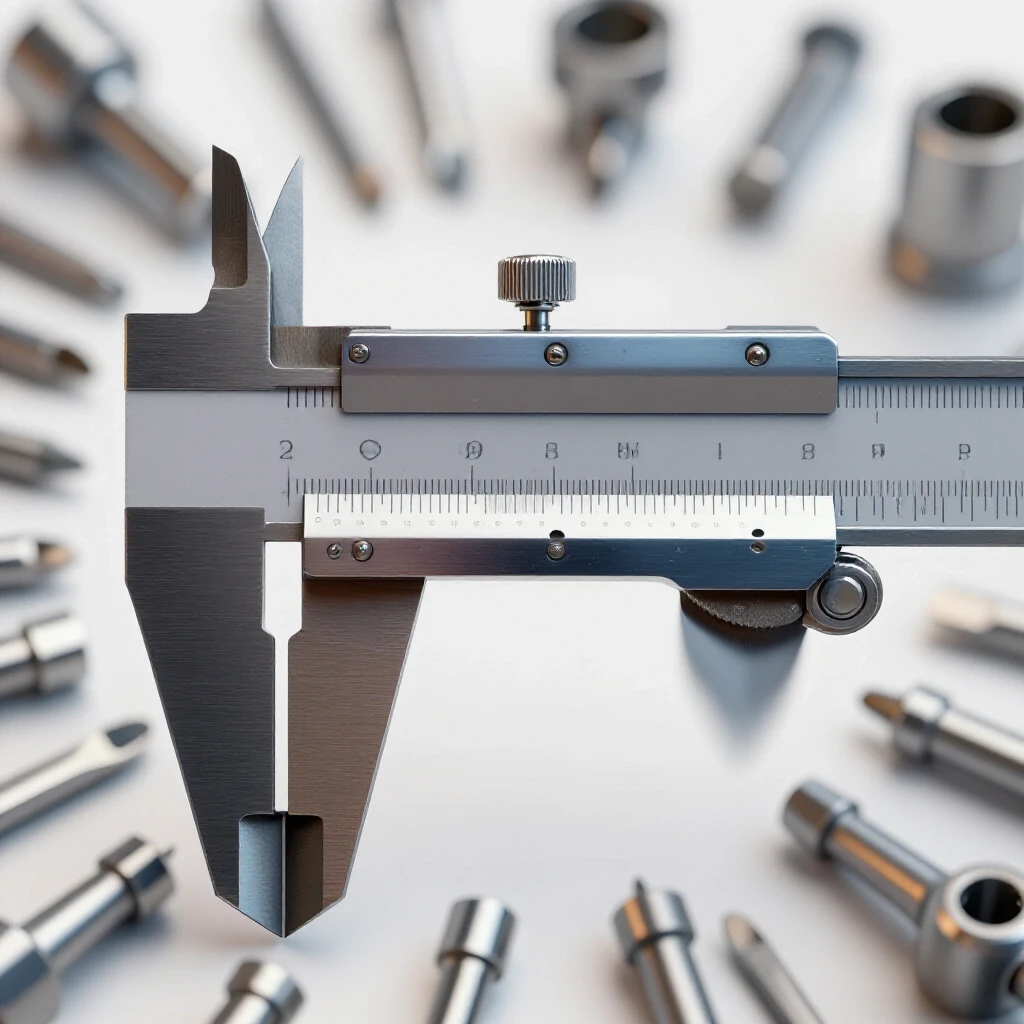
- Phase 1: Measurement and Layout: Square, tape measure, scribe, and center punch.
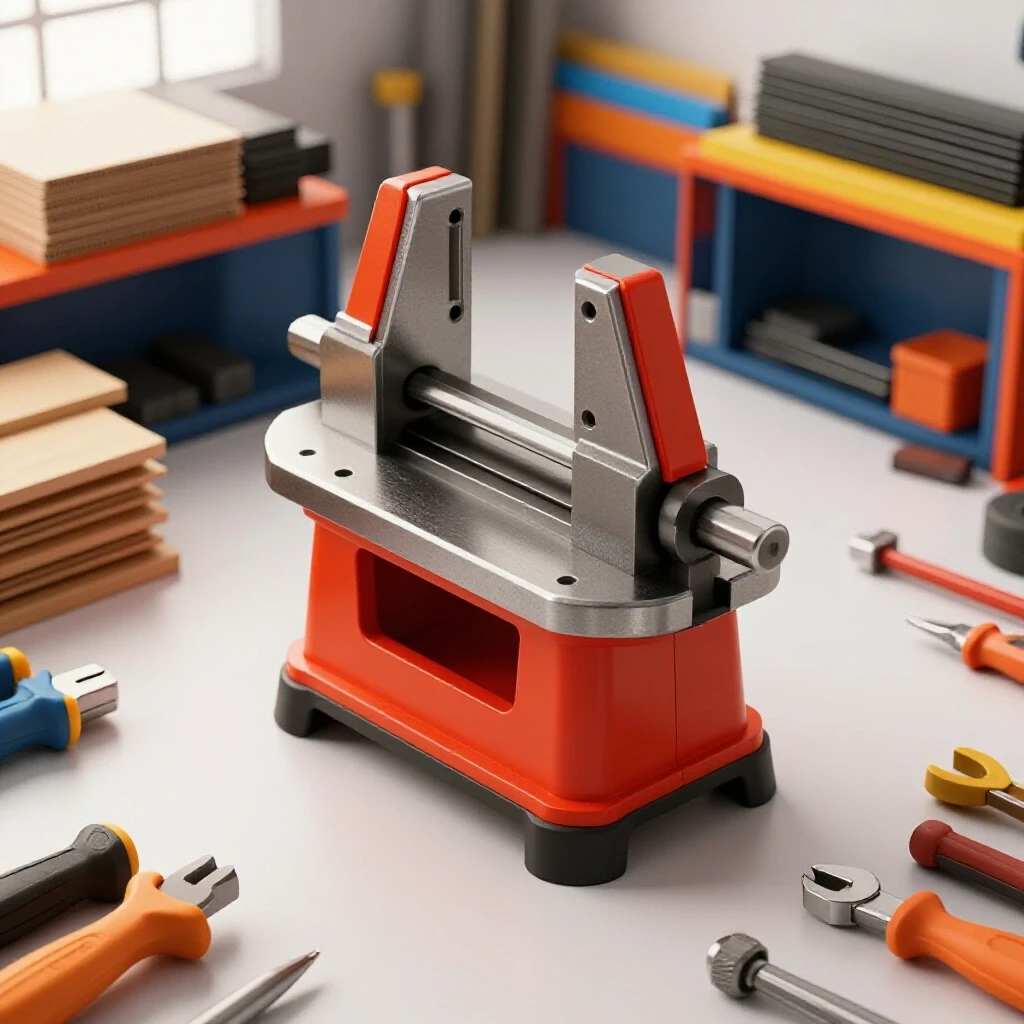
- Phase 2: Cutting and Shaping: Angle grinder with various discs and a solid bench vise.
- Phase 3: The Work Surface: Build or buy a heavy steel table. This is your foundation.
- Phase 4: Joining: The welder and its required safety gear (helmet, gloves, jacket).
- Phase 5: Precision: Drill press or a small band saw.
Actionable Tracking Frameworks for the New Fabricator
Implementing a simple system for recording data doesn’t have to be complicated. Use these three frameworks to keep your shop organized and your projects on track.
- The Project Sheet: For every build, list the material dimensions, the total cost of the steel, and the time spent. This helps you understand your “shop rate” and plan future budgets.
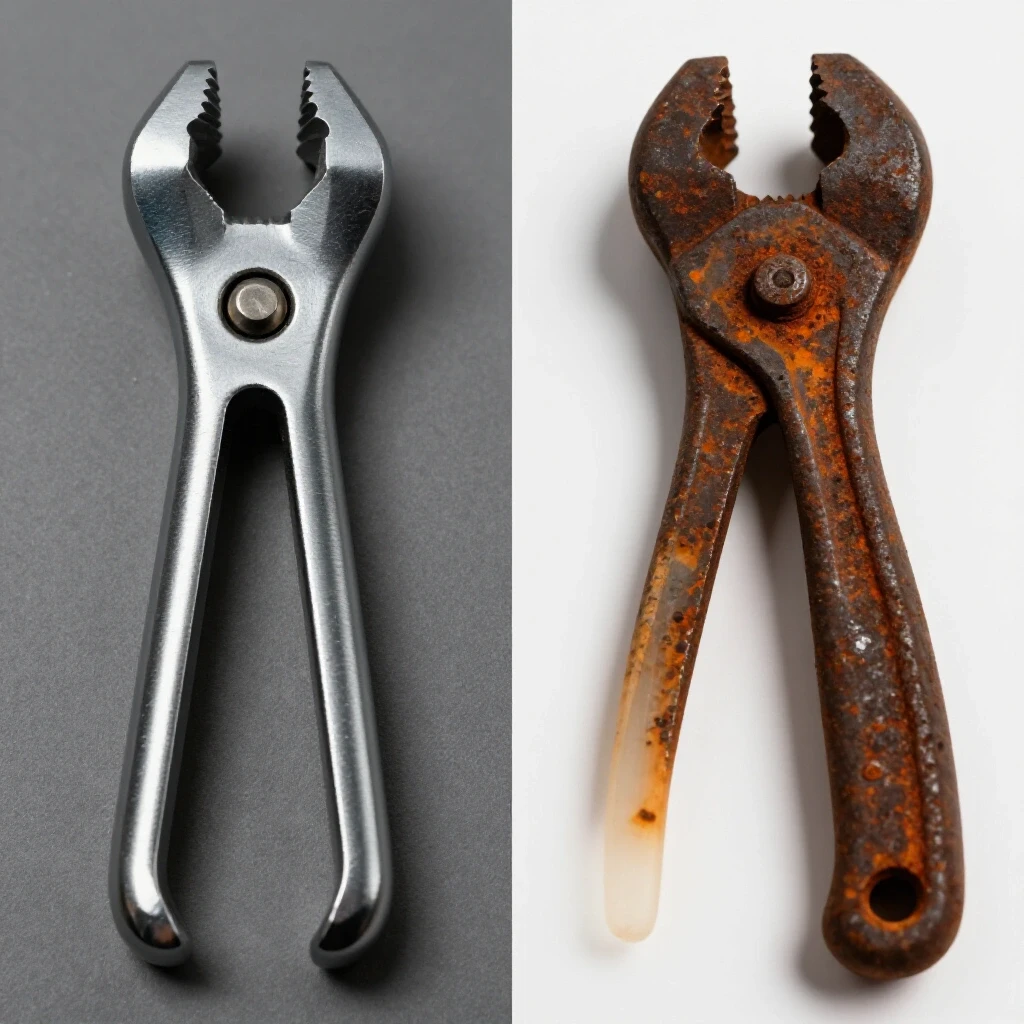
- The Maintenance Log: Note every time you change the oil in your compressor, replace a saw blade, or clean your welder’s drive rolls. This extends tool life significantly.
- The Error Journal: When a weld fails or a cut is crooked, write down why. Was the metal dirty? Was the blade dull? This prevents you from making the same mistake twice.
Conclusion: Taking the First Step Toward a Functional Shop
Building a metalworking shop on a budget is a marathon, not a sprint. By focusing on the data—tracking your costs, your power limits, and your project settings—you remove the guesswork that leads to expensive failures. You don’t need the most expensive tools to produce high-quality work; you need a systematic approach to the tools you have.
Start by auditing your garage’s electrical capacity and clearing a dedicated space for a “dirty zone.” Buy your safety gear and measurement tools first, then move into cutting and welding equipment as your budget allows. Keep your shop records updated with every project, and soon you’ll have a personal library of fabrication knowledge that is worth more than any piece of machinery.
Frequently Asked Questions
How does tracking material batches improve my welding results? Steel can vary slightly in composition and surface finish between different suppliers or batches. By recording which settings worked for a specific batch of “hot-rolled” versus “cold-rolled” steel, you can avoid frustrating trial-and-error periods and move straight to productive fabrication.
What is the most important metric to track when buying budget tools? The “Duty Cycle” is critical. This tells you what percentage of a ten-minute period a tool can run at a certain power level. For example, a welder with a 20% duty cycle at 90 amps can only weld for two minutes before needing eight minutes of cooling. Tracking this helps you plan your work sessions without damaging your equipment.
Why should I record my electrical circuit loads in a shop log? Metalworking tools like welders and compressors pull high amperage. If you don’t know which outlets share a breaker, you risk tripping circuits or causing electrical fires. A log helps you manage “power sequencing,” ensuring you aren’t running high-draw tools simultaneously on the same line.
How do I calculate the ventilation needs for my small garage shop? Measure your shop’s total cubic feet (Length x Width x Height). For welding and grinding, you want to replace that air every 5 minutes. If your shop is 2,000 cubic feet, you need an exhaust fan rated for at least 400 CFM (2,000 divided by 5).
Can keeping a log really save me money on consumables? Yes. By tracking the “cost per cut” or “cost per weld” of different brands of abrasives and welding wire, you can identify which products offer the best value. Often, mid-priced consumables last significantly longer than the cheapest options, saving you money over a year of fabrication.
What should I include in a “test cut” log entry? Record the metal type, thickness, tool used (e.g., angle grinder or chop saw), the specific blade or disc type, and the result (e.g., “clean cut, no blueing” or “heavy burr, slow cut”). This helps you choose the right tool for the job every time.
How often should I update my workshop maintenance records? You should update them every time you perform a non-routine task. This includes changing blades, cleaning filters, or tensioning belts. A quick entry like “6/12/23: Replaced 14TPI blade on band saw” ensures you know exactly how much life you are getting out of your equipment.
Is it necessary to track the ambient temperature in my shop? For most hobbyist work, it’s not strictly necessary, but it helps with painting and certain welding processes. Extreme cold can affect how a welder starts or how paint adheres to metal. If a project fails in the dead of winter, having that temperature data can help you identify the cause.
What is the “30% rule” for shop budgeting? I recommend allocating 30% of your total startup budget to high-quality safety gear (auto-darkening helmet, respirator, fire-resistant clothing) and precision measuring tools. These items protect your health and ensure your projects are square and accurate, regardless of the quality of your primary machines.
How do I track my workshop’s “workflow path”? Draw a simple map of your shop and trace the movement of a project from “Raw Material Storage” to “Cutting” to “Welding” to “Finishing.” If your lines cross or double back frequently, your layout is inefficient. Use your log to note where you feel “cramped” during a build and adjust your layout accordingly.
(This article was written by one of our staff writers, Michael Thompson. Visit our Meet the Team page to learn more about the author and their expertise.)