How to Assemble a Heavy Duty Steel Shelving System (Tutorial)
I still remember the first time I tried to build a set of heavy-duty shop racks. I had my cut list ready, a pile of 2-inch square tubing, and a brand-new welder. I spent hours measuring and cutting, only to watch in frustration as the entire frame pulled out of square by nearly half an inch after the final weld cooled. The shelves didn’t sit flat, and the unit wobbled like a three-legged dog. That project taught me that metal isn’t a static material; it is a living, breathing thing that reacts to heat and stress.
In my 13 years as a prototype technician, I have learned that the difference between a professional-grade storage unit and a crooked mess lies in the preparation and the sequence of assembly. When you are working on custom fabrication projects, you aren’t just sticking metal together. You are managing thermal forces that want to twist your work into a pretzel. This guide focuses on the practical steps to ensure your high-capacity steel racks remain straight, square, and structurally sound from the first cut to the final bead.
Planning Your Heavy-Duty Storage Build
Designing a custom storage solution requires more than just a rough sketch on a napkin. You need a detailed plan that accounts for material thickness, tool limitations, and the specific loads the unit will carry. Proper planning prevents wasted material and ensures that your components fit together without forced alignment.
Drafting the Cut List and Calculating Kerf
A cut list is a detailed inventory of every piece of metal required for the project, including its length and angle. Kerf is the width of the material removed by the cutting tool, such as a saw blade or a plasma torch. Ignoring kerf can lead to a cumulative error that makes your final shelf dimensions inaccurate by a significant margin.
When I plan a project, I always account for a 1/8-inch kerf for a standard abrasive chop saw or a 1/16-inch kerf for a cold saw. If you are cutting ten pieces for a shelf frame, a 1/8-inch error on each cut adds up to over an inch of missing material. I recommend using a dedicated cutting layout template to maximize your material yield.
| Cutter Type | Typical Kerf Width | Dimensional Tolerance |
|---|---|---|
| Abrasive Chop Saw | 1/8 inch (3.2mm) | +/- 1/16 inch |
| Cold Saw | 1/16 inch (1.6mm) | +/- 1/32 inch |
| Band Saw | 0.035 – 0.050 inch | +/- 1/32 inch |
| Plasma Cutter | 0.060 – 0.100 inch | +/- 1/8 inch |
- Always measure and mark each piece individually rather than marking multiple lengths at once.
- Use a fine-point scribe or a silver streak pencil for high-visibility lines that don’t rub off.
- Double-check your “inside-to-inside” measurements to ensure your shelf decking will fit properly.
Precision Layout for Metal Storage Units
The layout phase is where you set the foundation for a square project. If your base isn’t level and your corners aren’t 90 degrees, every subsequent step will amplify those errors. This is where workshop jigs and fixtures become your best friends, providing the physical restraint needed to fight material movement.
Using Workshop Jigs and Fixtures
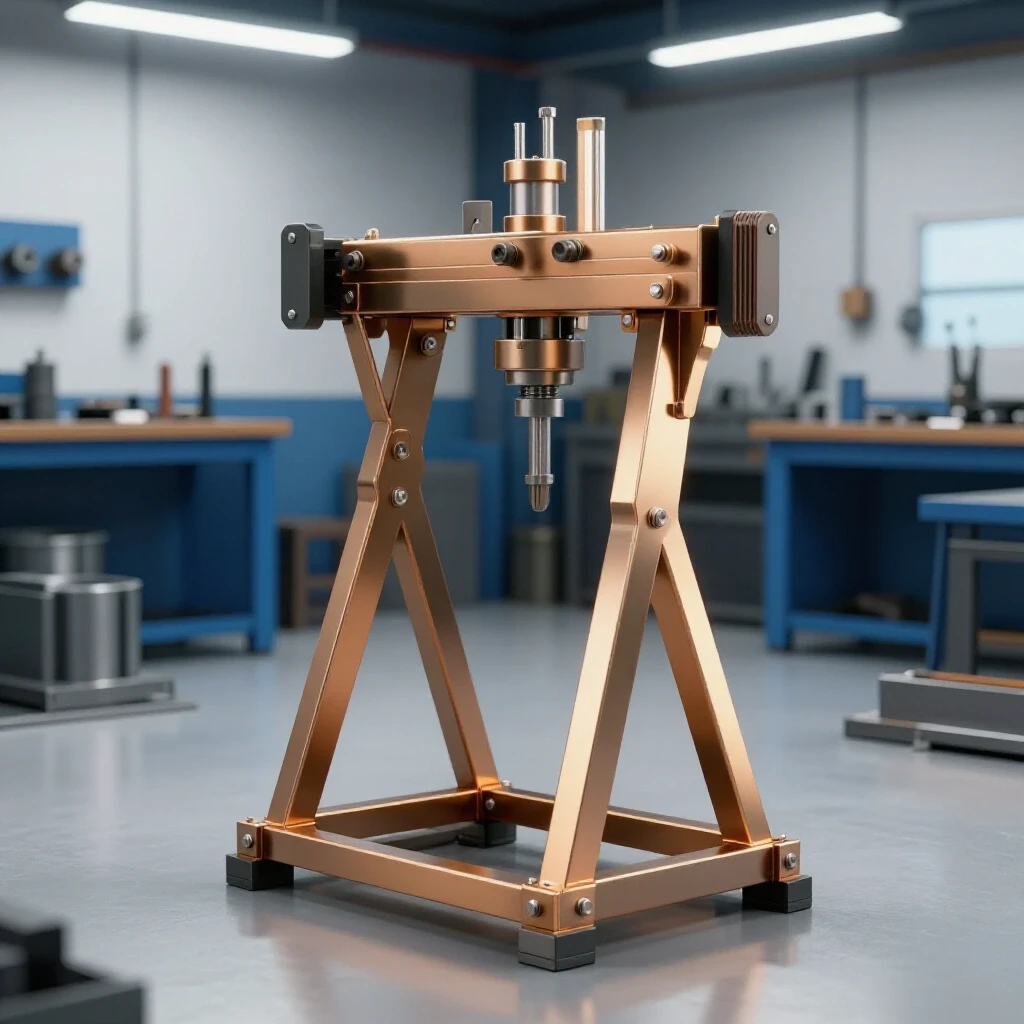
Workshop jigs and fixtures are temporary or permanent tools used to hold workpieces in a specific position during assembly. A jig guides the tool, while a fixture holds the part. In custom fabrication projects, a simple 90-degree corner fixture can save hours of frustration by keeping your vertical posts aligned with your horizontal rails.
I often build my own fixtures out of scrap C-channel or heavy angle iron. By tacking these to a heavy steel table, I create a “nest” where I can drop my tubing and know it is square. For a shelving unit, you should focus on a fixture that supports the full width of the shelf. This ensures that the two side ladders are identical, which is critical for a level finished product.
- Level your work surface: Use shims to ensure your welding table or floor space is perfectly flat.
- Square the first corner: Use a large framing square and check the 3-4-5 triangle method (3″ side, 4″ side, 5″ hypotenuse) for accuracy.
- Clamp aggressively: Use F-clamps or C-clamps every 12 to 18 inches to prevent the metal from “walking” during the tacking phase.
- Check diagonals: Measure from opposite corners; if the measurements are identical within 1/16th of an inch, your frame is square.
Managing Thermal Distortion in Custom Fabrication Projects
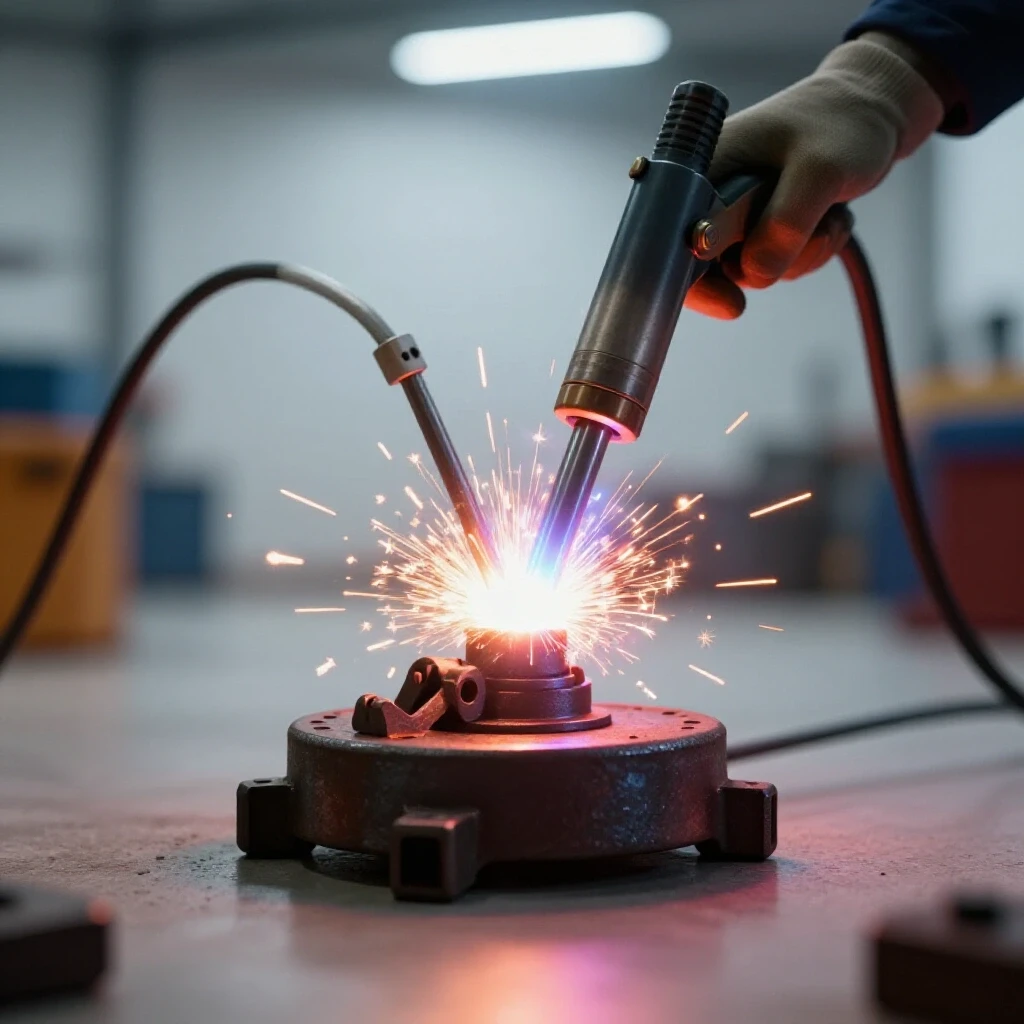
Welding introduces intense heat into the steel, causing it to expand. As the weld cools, the metal contracts, pulling the surrounding structure toward the weld. This phenomenon is known as weld shrinkage, and it is the primary cause of metal warping in DIY builds.
Weld Sequencing Layout and Heat Control
Weld sequencing layout refers to the specific order and direction in which you apply welds to a joint. By strategically placing welds on opposite sides of a member, you can use the shrinkage of one weld to counteract the pull of another. This is one of the most effective metal warping solutions available to the home fabricator.
When I assemble a shelf frame, I never weld one corner completely before moving to the next. Instead, I follow a “balanced” approach. If I weld the outside corner of the front-left post, my next weld will be the outside corner of the back-right post. This distributes the heat and the resulting tension across the entire structure rather than concentrating it in one area.
| Sequence Type | Description | Distortion Risk |
|---|---|---|
| Sequential | Welding one joint fully before moving to the next. | Very High |
| Back-stepping | Welding in short segments opposite to the direction of travel. | Low |
| Staggered/Balanced | Moving between corners and sides to distribute heat. | Moderate |
| Skip Welding | Leaving gaps between welds and returning once cooled. | Very Low |
- Tack weld size: Keep tacks small but deep—about the size of a pencil eraser.
- Tack spacing: Space tacks every 2 to 3 inches on longer joints to maintain alignment.
- Cooling time: Allow the metal to become cool enough to touch before removing clamps.
Structural Assembly and Load Distribution
A heavy-duty shelf is only as strong as its weakest connection. For storage systems intended to hold engine blocks or heavy tooling, you must consider the physics of load distribution. This involves more than just thick steel; it requires proper joint preparation and reinforcement.
Tack Welding and Squaring Up
Tack welding is the process of making small, temporary welds to hold components in place before the final beads are laid. It allows you to “dry fit” the entire shelving unit and make adjustments if a measurement is off. If you weld a joint solid and realize the shelf is 1/8 inch too narrow, you’ll be reaching for the grinder; if it’s just tacked, a quick hit with a hammer can fix it.
I prefer to tack all four corners of a shelf frame and then re-measure the diagonals. If the heat from the tacks pulled the frame out of square, I can usually “cold form” it back into position with a dead-blow hammer. Once the frame is verified square, I add more tacks to the top, bottom, and sides of each joint. Only after the entire structure is tacked and checked do I begin the final weld sequencing layout.
- Clean your joints: Use a flap disc to remove mill scale and rust within one inch of the weld zone.
- Gap management: Ensure a tight fit-up; gaps larger than 1/32 inch increase the amount of weld metal needed, which increases heat and warping.
- Vertical alignment: Use a spirit level or a digital angle finder to ensure vertical posts are 90 degrees to the floor.
- Reinforce high-stress areas: Consider adding gussets or “fish plates” to the corners of the main load-bearing shelves.
Final Alignment and Straightening Techniques
Even with the best fixtures and sequencing, some distortion is inevitable. Professional fabricators know that the job isn’t done when the welding stops. You must evaluate the final product and apply corrective measures to ensure it meets your dimensional tolerances.
Correcting Warped Steel After Welding
Heat shrinkage is the contraction of metal as it cools, often resulting in “bowing” of long members. If a shelf rail has developed a slight curve, you can sometimes use “flame straightening” or mechanical force to bring it back. This involves applying controlled heat to the side opposite the warp to pull the metal back into alignment.
In my shop, I use a heavy-duty bench vise or a hydraulic press for minor corrections. For a shelving unit, if a post is leaning, I might use a ratcheting load binder (come-along) to pull it into square while I add a diagonal brace. Remember that steel has an elastic limit; once you bend it past a certain point, it stays bent. Your goal is to work within those limits to achieve a professional result.
- Check for “propeller” twist: Look down the length of the frame to see if the corners are in the same plane.
- Measure shelf spacing: Ensure the distance between shelves is consistent at all four corners within 1/8 inch.
- Verify foot contact: All legs must touch the floor simultaneously; if one is short, use an adjustable leveling foot.
- Post-weld inspection: Look for cracks in tacks or undercut in the final beads that could compromise strength.
Case Study: The 2,000-lb Workshop Rack
A few years ago, I built a 4-tier rack for a client who needed to store heavy transmission assemblies. The material was 2x2x3/16-inch square tubing. To ensure the unit stayed straight, I built a dedicated floor fixture using 3-inch channel iron.
I used a skip-welding technique, never welding more than two inches at a time. I tracked the heat using an infrared thermometer, ensuring no joint exceeded 400 degrees Fahrenheit before I moved to the next. By the time the project was finished, the total deviation across a 6-foot span was less than 1/16th of an inch. This level of precision is only possible by respecting the metal’s reaction to heat and using a disciplined weld sequencing layout.
- Material Sourcing: Ensure all tubing is from the same batch to maintain consistent wall thickness.
- Cutting: Use a stop block on your saw to ensure every shelf rail is the exact same length.
- Fixturing: Clamp the vertical posts to a known straight edge during the initial tacking.
- Sequencing: Weld the “inside” of the joints first, as these are often the most difficult to correct if they pull.
Essential Tools for Fabrication Accuracy
To achieve professional results in your garage, you need a specific set of tools designed for layout and alignment. While a tape measure is a start, these items provide the precision necessary for heavy-duty builds.
- Machinist Squares: For checking 90-degree angles with high precision.
- Digital Angle Finder: Essential for ensuring vertical posts are plumb.
- String Line or Laser Level: For checking the straightness of long horizontal spans.
- Heavy-Duty F-Clamps: To provide the 500+ lbs of clamping force needed to resist weld pull.
- Flap Discs (60-80 grit): For cleaning joints and removing weld spatter for a clean finish.
- Scribe or Carbide Tip Pen: For marking lines that won’t disappear under heat.
Actionable Build Checklist
- [ ] Verify all material dimensions against the blueprint.
- [ ] Clean all weld zones to bright metal.
- [ ] Set up a square fixture on a level surface.
- [ ] Tack-weld the base frame and check diagonals.
- [ ] Clamp vertical posts and check for plumb.
- [ ] Apply tacks to all shelf levels before final welding.
- [ ] Execute a balanced weld sequence, moving diagonally across the structure.
- [ ] Allow the unit to air cool completely before removing clamps.
- [ ] Inspect all welds for penetration and consistency.
- [ ] Check final dimensions and adjust if necessary.
Building a storage system that can handle thousands of pounds requires a blend of engineering and craftsmanship. By focusing on accurate square cuts and controlling the thermal forces during welding, you can create a piece of shop furniture that lasts a lifetime. Don’t rush the layout—a project that starts square is much easier to keep square.
Frequently Asked Questions
Why does my shelf frame twist even when I use a square?
Even if you start square, the heat from welding causes the metal to contract as it cools. If you weld one side of a joint completely, it will pull the metal toward that side. You must use a balanced weld sequencing layout and heavy clamping to resist these forces.
How many tack welds are necessary for a heavy-duty joint?
For 2-inch square tubing, I recommend at least four tacks—one on each corner of the joint. This provides enough structural integrity to hold the piece during measurement while still allowing for minor adjustments with a hammer.
What is the best way to ensure all four legs touch the floor?
Always build your unit on a known level surface. If your shop floor is sloped, use a welding table or build a temporary leveled platform. Adding adjustable threaded leveling feet to the bottom of the posts is the best way to compensate for uneven floors later.
How do I calculate the weight capacity of my steel shelving?
Weight capacity depends on the span of the shelf, the thickness of the steel, and the quality of the welds. For most DIY builds using 1/8-inch or 3/16-inch wall tubing, the welds are rarely the failure point; the horizontal rails will usually bow (deflect) first. Consult a beam deflection chart for your specific steel size.
Should I weld the shelves to the posts or use bolts?
Welding provides maximum rigidity and is faster for a permanent shop fixture. Bolting allows for adjustability and makes the unit easier to move. If welding, ensure your weld sequencing layout accounts for the heat buildup in the vertical posts to prevent bowing.
What is the maximum tolerance I should allow for a shop rack?
For a standard heavy-duty rack, a dimensional tolerance of +/- 1/16th of an inch is a good goal. If your diagonals are within this range, your shelves will sit flat and the unit will look professional.
Can I use a regular wood square for metal fabrication?
Wood squares are often not accurate enough for metalwork and can be damaged by heat. Invest in a steel framing square or a machinist square for better durability and precision.
How do I prevent the “banana” effect on long horizontal rails?
This happens when you weld only on the top or bottom of a rail. To prevent this, use skip welding and ensure you weld the sides of the tubing as well. This balances the tension on both sides of the neutral axis of the beam.
Is it better to weld the inside or outside of the corner first?
I usually tack the outside corners first to lock the dimensions.
What should I do if a shelf is slightly out of square after welding?
If the error is minor (less than 1/8 inch), you can often “pull” it back into square by welding a small gusset on the opposite corner. The shrinkage of the gusset weld will pull the frame back toward the desired position.
(This article was written by one of our staff writers, Robert Kline. Visit our Meet the Team page to learn more about the author and their expertise.)