How to Build a Chop Saw Stop Block for Repeat Cuts (Guide)
I have spent over a decade in prototype shops and home garages, and if there is one thing I have learned, it is that a project’s success is decided before the welder ever sparks up. I remember building a heavy-duty utility trailer a few years back. I was in a rush and decided to “eyeball” my marks on the abrasive chop saw. By the time I had the frame laid out on the floor, I realized three of my cross-members were off by nearly an eighth of an inch. Those tiny gaps looked harmless, but as soon as I started tacking, the heat began to pull the frame into a diamond shape. I spent the next four hours with a floor jack and a sledgehammer trying to force a twisted mess back into square. That was the day I stopped trusting my tape measure for repeat tasks and started relying on workshop jigs and fixtures.
The Critical Role of Accurate Square Cuts in Fabrication
Inaccurate cuts lead to uneven gaps that cause excessive weld shrinkage and structural misalignment. When pieces vary in length, even by a small fraction, the resulting gaps require more filler metal during the welding process. This extra heat increases the risk of the frame pulling out of square as the metal cools and contracts.
When you are working on custom fabrication projects, consistency is your best friend. If you are building a workbench with four identical legs, a variation of even 1/16th of an inch can result in a frustrating wobble. More importantly, in structural frames, uneven lengths mean that your joints will not sit flush. When a joint has a gap on one side but is tight on the other, the weld bead will pull the metal toward the side with the gap as it solidifies. This is a primary cause of metal warping that haunts many backyard builders.
A manual positioning fixture attached to your saw fence eliminates the human error of marking and lining up the blade for every single cut. It ensures that the distance from the blade to the stop remains constant. This level of precision allows you to focus on your weld sequencing layout rather than fighting with a tape measure every five minutes.
Designing a Simple Manual Positioning Fixture
A reliable stop block is a mechanical reference point that ensures every piece of stock is cut to the exact same length without manual re-measuring. By creating a physical limit for the material to rest against, you lock in your dimensions. This simple tool turns a standard chop saw into a precision production machine.
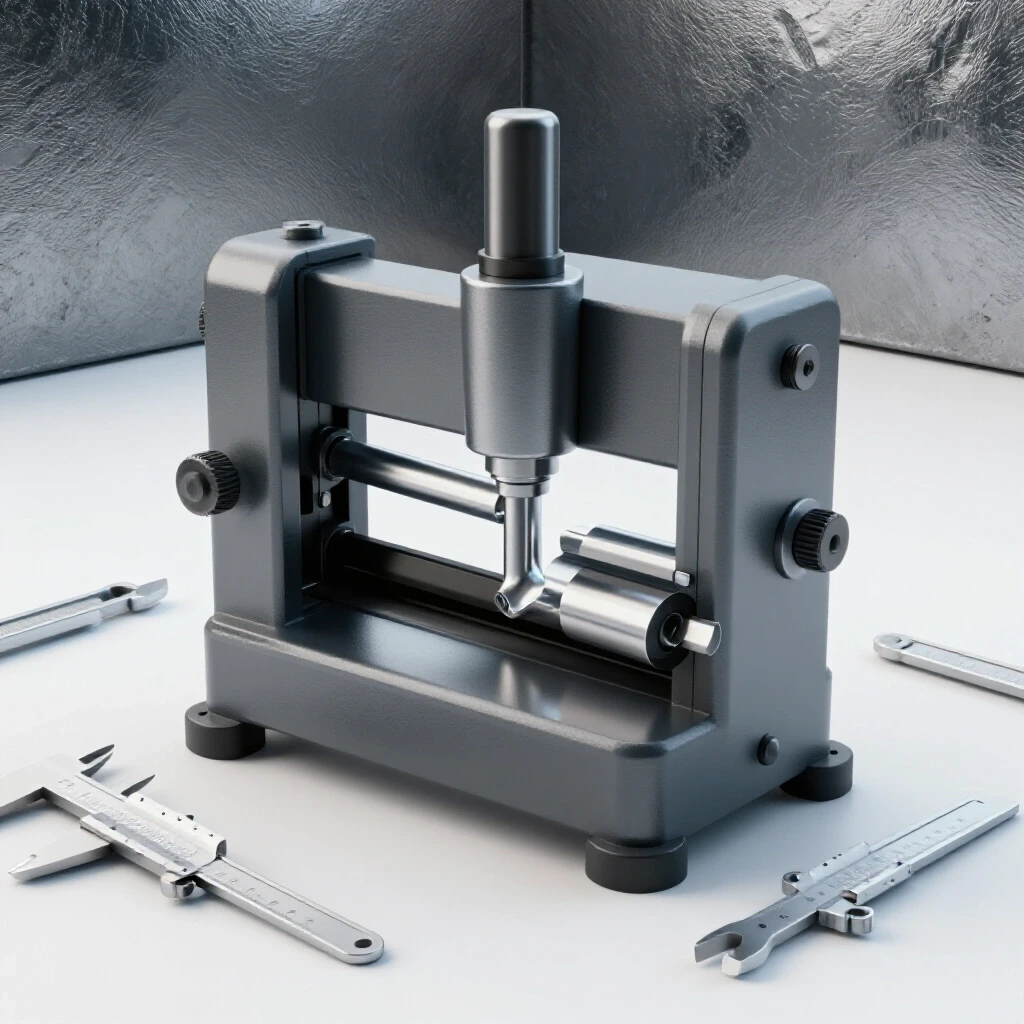
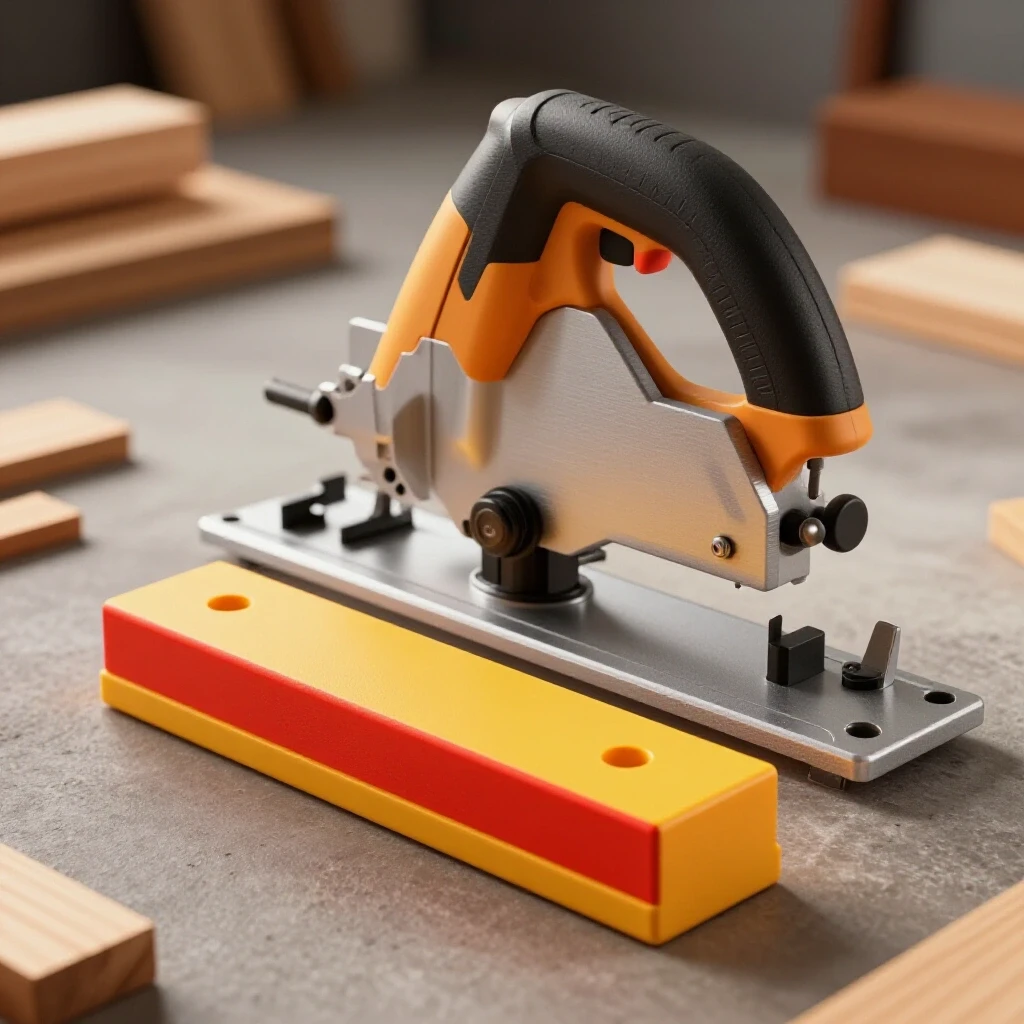
The design of a stop block does not need to be complex to be effective. It essentially consists of three parts: a mounting rail or extension for your saw’s fence, a sliding arm that can be locked in place, and a flat face for the material to butt against. I prefer a design that uses a piece of steel angle or heavy-duty hardwood as the extension arm. This arm should be bolted directly to the existing holes in your chop saw fence. If your saw doesn’t have holes, you may need to drill a couple of 3/8-inch holes through the cast iron or steel fence to provide a secure mounting point.
One thing I have learned from building workshop jigs and fixtures is that rigidity is everything. If the stop block can flex when you push a heavy piece of square tubing against it, your cuts will not be consistent. I aim for a design that uses a locking bolt or a heavy-duty thumb screw to pinch the stop block onto the rail. This ensures that even the vibration of the saw won’t cause the stop to drift over time.
Material Selection for Durable Workshop Jigs
Selecting the right material for your stop block—whether steel, aluminum, or wood—depends on the frequency of use and the weight of the stock being cut. Each material has different thermal expansion rates and durability levels that affect long-term accuracy.
For most garage builders, steel is the gold standard. It is heavy, resists wear from the sharp edges of cut tubing, and can be easily modified if you need to weld on additional features. However, aluminum is a great choice if you want something lightweight and easy to machine with standard woodworking tools. Hardwood is a viable “quick-and-dirty” option for a single project, but it can swell with humidity and may get dented by heavy steel stock, leading to a loss of precision over time.
| Material Type | Pros | Cons | Ideal Use Case |
|---|---|---|---|
| Cold Rolled Steel | Extremely durable, high rigidity, matches saw fence. | Heavy, prone to rust if not painted. | High-volume metal fabrication. |
| Aluminum Bar | Lightweight, easy to cut/drill, rust-proof. | Softer than steel, can dent over time. | Light-duty or mobile setups. |
| Hardwood (Oak/Maple) | Cheap, easy to build quickly. | Swells with moisture, wears down. | Temporary one-off projects. |
Regardless of the material you choose, the contact surface of the stop should be perfectly square to the fence. If the stop is angled, the material might “climb” the stop or sit at a slight diagonal, which will throw off your length. I often use a piece of 1/4-inch thick flat bar for the stop face itself, as it provides a solid, non-yielding surface for the material.
Step-by-Step Construction of the Stop Block
Building a stop block involves creating a sliding arm, a locking mechanism, and a sturdy attachment point for the saw’s fence. This process requires careful alignment to ensure the stop remains parallel to the material path. Following a structured build sequence prevents common errors like misaligned locking bolts.
- Prepare the Fence Extension: Measure the height of your saw’s fence. Cut a length of steel angle (2×2 inch is usually sufficient) to act as the extension. I typically make mine 36 to 48 inches long to accommodate most frame components.
- Mount the Extension: Drill two holes through the saw fence and the extension arm. Use Grade 5 bolts to secure the arm. Ensure the arm is perfectly level with the saw table so the material doesn’t tip as it slides toward the stop.
- Fabricate the Sliding Block: Create a “C” shaped bracket that fits snugly over your extension arm. This can be made by welding three pieces of flat bar together. It should slide freely but have very little “play” or wobble.
- Install the Locking Mechanism: Drill and tap a hole in the top of the sliding bracket. Insert a T-handle bolt or a standard hex bolt. When tightened, this bolt should press against the extension arm to lock the block in place.
- Attach the Stop Face: Weld or bolt a vertical piece of flat bar to the front of the sliding bracket. This is the surface your material will hit. Ensure it is tall enough to catch the largest size of tubing you plan to cut.
I once made the mistake of making the stop face too small. While cutting some 3-inch channel iron, the material slipped right over the top of the stop, and I didn’t notice until I had cut five pieces at the wrong length. Now, I always ensure the stop face is at least 4 inches tall to provide a clear physical barrier.
Calculating Kerf and Layout Allowances
Kerf is the thickness of the material removed by the saw blade during a cut, which must be accounted for in every measurement. Failing to include the kerf in your layout will result in parts that are consistently shorter than intended. This is especially critical when using abrasive blades that can be 1/8-inch thick.
When you set your stop block, you are measuring from the inside edge of the blade to the face of the stop. If you want a 12-inch piece of steel, and your blade is 1/8-inch thick, you must ensure the stop is exactly 12 inches from the teeth that are closest to it. If you measure to the center of the blade or the wrong side, your part will be 1/16 or 1/8 of an inch too short.
- Abrasive Chop Saw Kerf: Typically 0.125″ (1/8″) to 0.150″.
- Cold Saw/Carbide Blade Kerf: Typically 0.090″ to 0.100″.
- Tape Measure Hook Error: Always check that your tape measure hook isn’t bent, as this can add 1/32″ of error before you even start.
To calibrate your stop, I recommend cutting a “test piece” first. Set the stop, cut a scrap piece of stock, and measure it with a high-quality machinist’s rule. If it is 12-1/16 inches instead of 12 inches, tap the stop block back slightly and try again. This “measure-cut-measure” cycle is the only way to ensure your workshop jigs and fixtures are performing to your required tolerances.
Managing Weld Sequencing through Precise Cuts
When parts are identical in length, the fit-up is tighter, allowing for a balanced weld sequence that minimizes heat-induced warping. Precise cuts are the foundation of metal warping solutions because they allow for consistent tack welds and predictable heat dissipation across the entire joint.
If your cuts are accurate, your joints will have a uniform gap (or no gap at all). This is vital for a proper weld sequencing layout. When I build a rectangular frame, I start by tacking all four corners on the top side. Because my stop block ensured the opposite sides are exactly the same length, the frame naturally wants to sit square. If one rail was even 1/16th longer, I would have to “force” the corner square, which puts internal stress on the metal. As soon as you apply heat to a stressed joint, that stress is released, and the frame will twist.
| Fabrication Step | Tolerance Goal | Impact of Failure |
|---|---|---|
| Initial Cut | +/- 1/32 inch | Large gaps, excessive heat needed to fill. |
| Tack Welding | 1/2 inch beads | Parts shift during main welding passes. |
| Root Pass | Full penetration | Joint lacks structural integrity. |
| Sequence | Alternating sides | One-sided shrinkage pulls frame out of square. |
By using a stop block, you ensure that the physical geometry of your parts assists in the welding process. You aren’t just cutting metal; you are preparing a puzzle where every piece fits perfectly. This reduces the amount of “clamping and praying” you have to do once the welder is turned on.
Troubleshooting Common Alignment Issues
Even with a stop block, material can shift due to vibration or debris, requiring specific techniques to maintain tolerances. Metal layout tips often overlook the “small things” like sawdust or metal shavings that can get trapped between the material and the stop block.
One common issue is “creep.” As you tighten the locking bolt on your stop block, the block itself might shift a tiny bit. I always double-check the distance after tightening the bolt. Another problem is the buildup of “burrs” on the end of your stock. If the end of your steel tube has a large burr from the previous cut, it won’t sit flat against the stop. This can easily add 1/32 of an inch to your length. I keep a file or a handheld grinder nearby to quickly deburr the end of the stock before it touches the stop block.
- Check for Debris: Clean the fence and the stop block face every 5-10 cuts.
- Monitor Vibration: Chop saws vibrate heavily; check that your stop block bolts haven’t loosened halfway through a big job.
- Square the Stock: Ensure the material is pushed firmly against the back fence and the stop block before clamping the saw’s vise.
- Avoid “Spring-Back”: On very long pieces, the weight of the metal can cause the extension arm to sag. Use a roller stand to support the long end of the material so it stays level with the saw table.
Practical Layout Calculation Walkthrough
When I start a custom fabrication project, I create a “Cut List” that accounts for every piece of the puzzle. Let’s say I am building a basic shop cart that is 24 inches wide and 36 inches long using 2-inch square tubing.
- Identify the Main Rails: Two pieces at 36 inches.
- Calculate the Cross-Members: Since the tubing is 2 inches wide, and the total width is 24 inches, the cross-members need to be 20 inches long (24″ minus 4″ for the two side rails).
- Set the Stop Block: I set my manual positioning fixture to exactly 36 inches. I cut the two side rails. Then, I move the stop to 20 inches and cut the three cross-members.
- Verify Consistency: I stack the two 36-inch pieces next to each other on a flat surface. They should be identical. If I can feel a “step” between them with my fingernail, they are not close enough. I do the same for the 20-inch pieces.
- Layout and Tack: I lay the pieces out on my welding table. Because the lengths are identical, the diagonals of the rectangle should match perfectly. If the diagonals match, the frame is square.
This systematic approach prevents the “cascading error” effect, where a small mistake at the saw becomes a massive headache during the final assembly. By using the stop block for every single repeat cut, I eliminate the variables that lead to a crooked finished product.
Advanced Tips for Complex Jigs
Once you have a basic stop block, you can modify it for more complex workshop jigs and fixtures. For example, if you frequently cut 45-degree angles for mitered frames, you can create a secondary “angled” attachment for your stop block.
Another trick is to use a “flip stop.” This is a stop block that can be flipped up out of the way without losing its position. This is incredibly useful if you need to trim the end of a long board or pipe before making your final precision cut. You flip the stop up, trim the end, flip it back down, and slide the material against it for the final length. While this requires a bit more hinge work during construction, the time it saves during a large build is well worth the effort.
Why Precision Matters for the Backyard Builder
It is easy to think that “close enough is good enough” when you are working in a garage. However, the laws of physics regarding thermal expansion and weld shrinkage do not care where you are working. A professional shop uses fixtures because they know it saves money and time. As a DIY builder, your time is your most valuable resource.
By investing a Saturday into building a high-quality manual positioning fixture for your saw, you are essentially buying back hours of frustration on every future project. You will find that your weld sequencing layout becomes more predictable, your frames stay squarer, and your overall confidence in your fabrication skills will grow. There is a specific kind of satisfaction that comes from a frame that drops together perfectly with zero gaps, and that satisfaction starts at the saw.
FAQ: Mastering Repeat Cuts and Stop Blocks
Why shouldn’t I just use a tape measure for every cut? Using a tape measure for every cut introduces “measurement drift.” Each time you pull the tape, you might be off by a hair. Over ten cuts, those errors can add up. A stop block ensures that the physical distance remains identical for every piece, providing a level of consistency that a manual tape measure cannot match.
How do I handle the “burr” on the end of the metal? The burr created by a saw can prevent the material from sitting flush against the stop block. Always deburr the leading edge of your stock with a file or grinder before sliding it against the stop. This ensures the measurement is taken from the actual face of the metal, not the jagged edge left by the blade.
What if my saw fence isn’t perfectly straight? Many budget chop saws have fences that are slightly bowed. If your fence isn’t straight, your stop block extension will also be crooked. You may need to shim the extension arm or use a piece of heavy-duty straight-edge material (like a piece of cold-finished steel) to create a new, perfectly straight fence line.
Can I use a stop block for angled cuts? Yes, but you must be careful. When cutting an angle, the “point” of the angle is what will hit the stop block. If that point is sharp, it can dig into a wooden stop or slip under a steel one. Ensure your stop face is large enough to capture the full profile of the angled cut.
How long should my extension arm be? For most home shop projects, a 4-foot extension is the “sweet spot.” It allows you to cut long frame rails for workbenches and carts while still being manageable in a small space. If you build trailers frequently, you might want a modular system that can extend up to 8 feet.
How do I account for the blade “walking” or flexing? Abrasive blades are notorious for flexing, especially if you apply too much pressure. This can make the cut slightly diagonal rather than square. To prevent this, use a stop block to set the length, but let the saw do the work with steady, light pressure. Don’t force the blade through the material.
Does temperature affect the accuracy of my stop block? In an unheated garage, extreme temperature swings can cause steel to expand or contract. While this is usually negligible for most DIY projects (less than 1/64″), if you are working to very tight tolerances, try to calibrate your stop block in the same temperature environment where you will be doing the cutting.
How do I secure the extension arm if I can’t drill into my saw? If you are hesitant to drill into your saw’s cast iron fence, you can build a “sub-fence” out of plywood or steel that clamps onto the existing fence using heavy-duty C-clamps. The stop block then attaches to this sub-fence. However, drilling and bolting is always the more rigid and reliable solution.
What is the best way to “zero” my stop block scale? If you want to add a measurement scale to your arm, first cut a piece of stock at a known length (e.g., 12 inches). With the piece still against the blade and the stop block, mark the “12-inch” spot on your arm. You can then lay down a sticky-backed measuring tape starting from that reference point.
How often should I check the alignment of the jig? I check mine at the start of every project and after any “event” like a dropped piece of heavy steel or a blade jam. It only takes thirty seconds to verify the distance with a tape measure, and it can save you from ruining an entire batch of expensive material.
Can I build a stop block for a miter saw used for wood? Absolutely. The principles are the same. In fact, many woodworkers use a “T-track” system which is just a commercial version of the manual positioning fixture we’ve discussed. For metal, however, you need the extra beefiness of steel or heavy aluminum to handle the weight and heat.
What is the “creep” I should look out for? “Creep” happens when the act of tightening the stop block’s handle actually pushes the block forward or backward. To avoid this, always apply downward pressure on the block while tightening the side bolt, and do a quick visual check against a reference mark to ensure it stayed put.
(This article was written by one of our staff writers, Robert Kline. Visit our Meet the Team page to learn more about the author and their expertise.)