How to Measure and Fix Drill Press Spindle Runout (DIY Fix)
I remember a specific Tuesday in my third year as a millwright when a simple bracket job nearly sent me over the edge. I was drilling half-inch holes in 3/8-inch plate, and no matter what I did, the holes were coming out egg-shaped. The drill bit would wander as soon as it touched the metal, creating a rhythmic, metallic screaming sound that signaled immediate tool chatter. I checked my speeds, my feeds, and my coolant, but the problem persisted. It wasn’t until I put a dial indicator on the spindle that I realized the machine was fighting itself. The spindle was wobbling just enough to turn a precision operation into a guessing game.
In fabrication, we often blame the consumable first. We swap the drill bit or adjust the belt tension. However, when you encounter persistent vibration or holes that are consistently oversized, the issue usually lies deeper in the mechanical assembly of the machine. Rotational inaccuracy, often called runout, is the measurement of how far a rotating component deviates from its true axis. If your spindle isn’t spinning perfectly true, every tool you put in it will suffer.
Mastering the process of identifying and correcting these deviations is a fundamental skill for any serious fabricator. It moves you away from “eyeballing” a fix and toward a data-driven approach where you can quantify the error and eliminate it. This guide focuses on the systematic steps to diagnose and repair these rotational errors in a standard workshop drill press.
Understanding Rotational Inaccuracy in Vertical Drilling
Rotational inaccuracy is the distance a tool or spindle moves away from its intended center of rotation during a full 360-degree turn. In a perfect world, a drill bit would rotate around a single, stationary point, but in reality, mechanical tolerances, wear, and debris cause the bit to “orbit” that center point.
This deviation is measured in thousandths of an inch (or hundredths of a millimeter). Even a small amount of play—say, 0.005 inches—can be enough to cause significant tool chatter, which is a resonant vibration that occurs when the cutting edge of the tool bounces off the workpiece rather than shearing through it. This chatter doesn’t just ruin the finish of your hole; it can chip carbide tips and accelerate wear on the machine’s internal bearings.
Why Precision Alignment Matters for Tool Life
When a spindle is out of alignment, the load on the drill bit is no longer symmetrical. One flute of the drill ends up doing more work than the other, leading to uneven heat distribution and premature dulling. Furthermore, the lateral force exerted by a wobbling spindle puts unnecessary stress on the quill and the machine’s casting.
| Symptom | Potential Mechanical Cause | Impact on Fabrication |
|---|---|---|
| Egg-shaped holes | Excessive spindle or chuck runout | Poor bolt fitment and structural weakness |
| High-pitched squealing | Harmonic vibration from tool chatter | Rapid tool dulling and poor surface finish |
| Visible bit “wobble” | Bent spindle or poorly seated chuck | Broken small-diameter drill bits |
| Excessive heat at the tip | Uneven flute loading | Work hardening of the material |
Tracking Down the Source of Mechanical Play
Before you start tearing a machine apart, you must isolate exactly where the error is occurring. A drill press has several connected parts: the motor, the pulleys, the spindle, the chuck, and finally, the drill bit itself. Any one of these can introduce inaccuracy.
I always start with the simplest variable: the drill bit. It is common for a bit to be slightly bent from previous use or improper storage. If you measure the wobble at the tip of a long bit, you might see 0.010 inches of movement, but that doesn’t mean your machine is broken. It could just be a bad bit. To truly diagnose the machine, you have to work from the “inside out,” starting at the spindle and moving toward the tool.
The Process of Elimination Strategy
Isolation is the heart of professional troubleshooting. By removing components one by one, you can find the exact point where the “wobble” begins. If the spindle itself is true, but the chuck is wobbling, you know the issue is in the chuck or how it is mounted. If the spindle itself is moving off-center, you are likely looking at a bearing issue or a bent internal shaft.
- Check the bit: Replace the drill bit with a known straight, ground steel rod or a high-quality “test bar.”
- Check the chuck: Measure the runout on the outer body of the chuck and then on the test bar held within the jaws.
- Check the spindle taper: Remove the chuck entirely and measure the internal (or external) taper of the spindle.
- Check the quill: Check for lateral movement (side-to-side play) in the quill assembly when it is fully extended.
Precision Tools for Quantifying Spindle Deviation
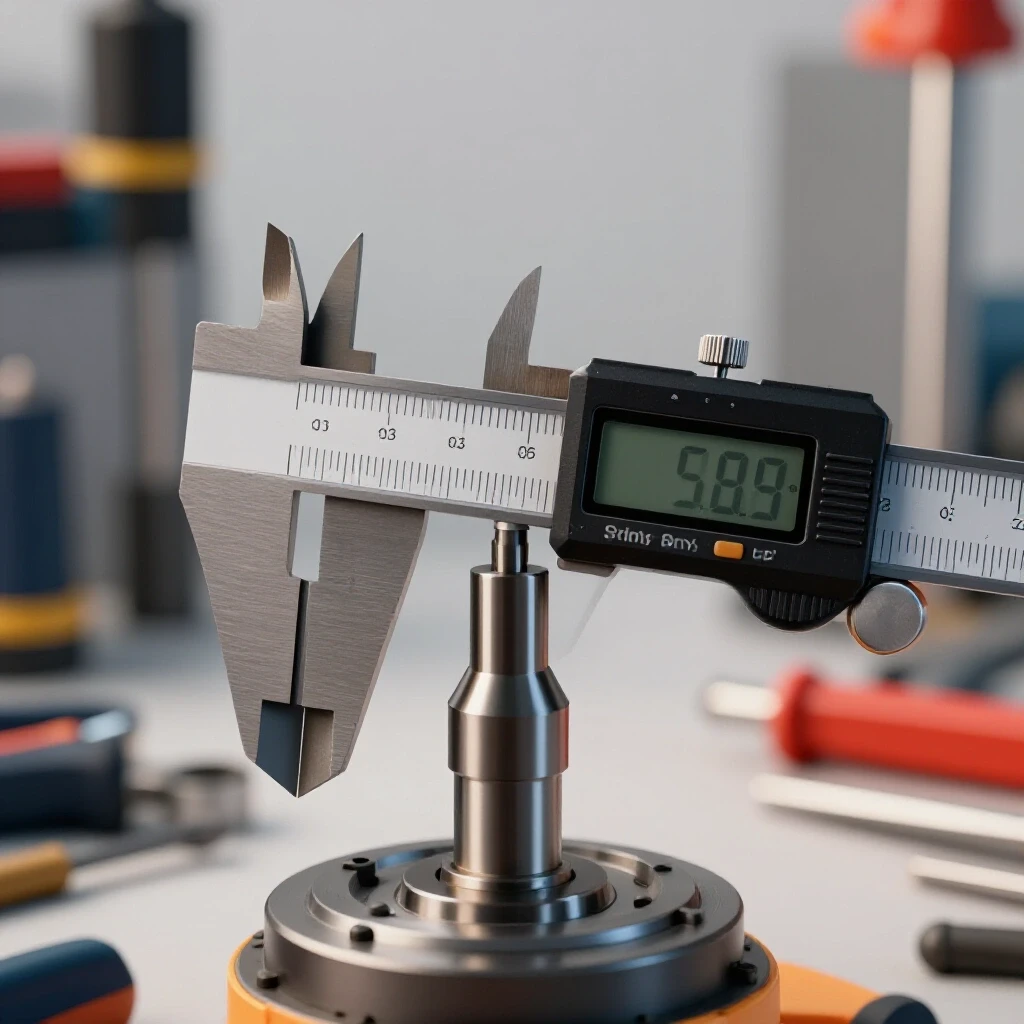
You cannot fix what you cannot measure. While you can sometimes see a major wobble with the naked eye, professional-grade repairs require a dial indicator. This tool uses a small plunger or lever to measure physical movement and displays it on a circular dial.
For most workshop environments, a dial indicator with a resolution of 0.001 inches is sufficient. However, if you are doing high-precision work, a dial test indicator (which uses a swiveling tip) can be more versatile for getting into tight spaces like the inside of a spindle taper.
Essential Diagnostic Kit for Fabricators
To perform a thorough assessment, you will need a few specific items. These tools allow you to move from guessing to knowing exactly how much your machine is out of spec.
- Magnetic Base: This holds your indicator firmly to the drill press table or column. Any movement in the base will ruin your readings.
- Dial Indicator (0.001″ graduation): The primary tool for measuring “Total Indicated Runout” (TIR).
- Ground Precision Rod: A 1/2-inch or 12mm hardened steel rod that is known to be perfectly straight. This acts as a reference point.
- Solvent and Lint-Free Rags: For cleaning tapers and mating surfaces. Even a single speck of dust can cause 0.002 inches of error.
- Brass Drift and Hammer: For safely removing and reseating the chuck without damaging the precision surfaces.
Systematic Measurement of Spindle and Chuck Alignment
Once you have your tools, it is time to map the error. I always record my readings in a small notebook. This prevents me from getting confused as I move through the steps. We are looking for “Total Indicated Runout” (TIR), which is the difference between the highest and lowest points on the dial during one full rotation.
Start by cleaning the spindle and the chuck. I cannot stress this enough. In my experience, about 30% of “wobble” issues are caused by a tiny metal chip or dried grease trapped between the chuck and the spindle taper. Use a clean rag and a bit of solvent to wipe down both mating surfaces until they are spotless.
How to Conduct the “Inside-Out” Test
Mount your magnetic base to the table and position the indicator tip against the inside surface of the spindle taper (if it’s a female taper) or the outside (if it’s a male taper). Rotate the spindle slowly by hand.
- Reading the Spindle: If the needle moves less than 0.001 to 0.002 inches, your spindle is in great shape. If it moves more than 0.003 inches, the problem is internal—likely a bent spindle or worn bearings.
- Reading the Chuck Body: Reinstall the chuck and place the indicator on the smooth upper part of the chuck body. Rotate again. If the runout increases significantly here, the chuck is either poorly seated or the chuck itself is manufactured poorly.
- Reading the Test Bar: Insert your ground rod into the chuck and tighten it. Place the indicator about one inch below the chuck jaws. This is the “real world” runout that your drill bit experiences.
Common Root Causes of Rotational Variance
When your measurements show a deviation that exceeds 0.004 or 0.005 inches, it is time to look for the cause. In the world of DIY machinery repair, the causes usually fall into three categories: contamination, mechanical wear, or structural damage.
One of the most common issues I see in older shops is “quill slop.” This is when the housing that holds the spindle (the quill) has become loose inside the head of the drill press. You can test this by extending the quill halfway and trying to shake it back and forth by hand. If you feel a “clunk,” your runout might actually be coming from a loose quill rather than a bent spindle.
Identifying the Culprit
- Debris and Burrs: Small nicks on the Morse taper or a piece of swarf can prevent the chuck from sitting flush. This causes the chuck to sit at a slight angle, which translates to a massive wobble at the end of a long drill bit.
- Worn Bearings: If you hear a growling or grinding noise when the machine is running, the bearings are likely shot. Worn bearings allow the spindle to shift off-axis under load.
- Bent Spindle: Often caused by someone trying to pry something off the table using the spindle or a heavy “catch” during a drilling operation. This is the hardest issue to fix and often requires a replacement part.
- Poor Chuck Quality: Inexpensive chucks often have internal jaws that don’t close symmetrically. If your spindle is true but your bit wobbles, the chuck is the prime suspect.
DIY Solutions for Restoring Rotational Accuracy
If your diagnosis points to a seating issue or minor contamination, the fix is relatively straightforward. If the issue is deeper, like a bent spindle or worn bearings, the repair requires more patience but is still manageable for an intermediate fabricator.
Building on the data we gathered during the measurement phase, we can now apply targeted fixes. Never use excessive force; precision machinery responds better to cleanliness and gentle persuasion than to a sledgehammer.
Cleaning and Reseating the Taper
If you found that the spindle was true but the chuck was wobbling, start by removing the chuck. Inspect the taper for “fretting,” which looks like small rusty patches or shiny spots. These are signs that the chuck has been slipping.
- Use a fine-grit Scotch-Brite pad or a very fine stone to gently remove any raised burrs on the taper. Do not remove actual metal; just the high spots.
- Clean both the spindle and chuck taper with acetone or brake cleaner.
- Lower the spindle and “snap” the chuck into place with a firm upward motion. Use a rubber mallet or a block of wood to give it one solid tap to seat the taper.
- Re-measure. You might find that this simple cleaning reduces your runout by 0.002 to 0.003 inches.
Adjusting for Quill Play
Many drill presses have a pinch-bolt or a set of adjustment screws on the side of the head casting. These are designed to take up the slack as the quill wears down over years of use.
- Loosen the locking nut on the adjustment screw.
- Tighten the screw until you feel resistance when moving the quill up and down.
- Back the screw off about 1/8th of a turn until the quill moves freely but no longer wobbles side-to-side.
- Lock the nut and re-check your runout at the spindle. Reducing quill play often stabilizes the entire rotating assembly.
Addressing Bearing Wear and Spindle Play
If your dial indicator showed movement at the spindle itself, and you’ve ruled out quill play, you are likely dealing with bearing failure. Bearings are the “shoes” of your spindle; once they wear out, the spindle can no longer run in a straight line.
Replacing bearings is a standard maintenance task. Most drill presses use common “6000 series” ball bearings that are inexpensive and widely available. The key is to press the old ones out and the new ones in without applying force to the inner race of the new bearing, which would damage it immediately.
Spindle Bearing Replacement Checklist
- Disassemble the Quill: Remove the spindle from the quill housing. This usually involves removing a snap ring or a threaded collar at the bottom.
- Identify the Bearings: Read the numbers on the side of the bearing seals (e.g., 6203RS).
- Check the Spindle for Straightness: While the spindle is out, roll it across a known flat surface (like a cast iron table). If you can see light under the middle of the shaft as it rolls, the spindle is bent and should be replaced.
- Press in New Bearings: Use a bench vise or a small press. Ensure you are only pushing on the outer race when installing the bearing into the quill, and only on the inner race when pressing the spindle into the bearing.
- Reassemble and Lubricate: Use a high-quality spindle grease. Avoid over-greasing, as this can cause heat buildup at high RPMs.
Mitigating Vibration and Tool Chatter
Sometimes, even with a relatively true spindle, you might still experience tool chatter. This is often a result of “systemic harmonics,” where the thinness of the material, the length of the tool, and the speed of the motor create a vibration loop.
While fixing mechanical runout is the first step, you can also “dampen” the system to improve performance. For example, if you are drilling a large hole in a thin plate, the plate itself can act like a drumhead, vibrating in sync with the spindle’s minor inaccuracies.
Strategies to Reduce Resonant Vibration
- Shorten the Tool: Use “stubby” or screw-machine length drill bits. The shorter the bit, the less any minor spindle runout is magnified at the tip.
- Adjust RPM: If you hit a resonant frequency where the machine starts to shake, change your belt speed. Often, moving 200 RPM up or down can pull the system out of its “harmonic sweet spot.”
- Clamping: Ensure your workpiece is clamped firmly to the table. A loose workpiece can move in sync with spindle runout, making the “wobble” appear much worse than it actually is.
- Pilot Holes: If runout is causing a large bit to wander, drill a pilot hole first. This provides a “track” for the larger bit to follow, which can help overcome minor mechanical play.
Long-Term Maintenance and Calibration Checklists
A drill press is a precision tool, but it is often treated like a blunt instrument in many shops. To keep your rotational accuracy within acceptable limits—generally under 0.003 inches for general fabrication—you need a recurring maintenance schedule.
I’ve found that the most common cause of “creeping” runout is simply neglect. Dust and oil mix to create a grinding paste that wears down tapers and bearings. By spending ten minutes a month on basic checks, you can avoid a four-hour teardown later.
Monthly Precision Checklist
- Clean the Taper: Pop the chuck out, wipe the taper, and reseat it. This prevents “fretting” and ensures the chuck stays true.
- Check Belt Tension: Over-tightened belts pull the top of the spindle to one side, which can prematurely wear the upper bearings and introduce runout.
- Lubricate the Quill: Apply a light coat of machine oil to the outside of the quill to ensure smooth travel and prevent galling against the head casting.
- Verify Table Squareness: While not directly related to spindle runout, an out-of-square table will cause the same “egging” of holes. Use a machinist’s square to ensure the table is 90 degrees to the spindle.
Data Log for Machine Calibration
Keep a small logbook near the machine. When you measure the runout, write it down. If you notice the TIR (Total Indicated Runout) increasing from 0.002″ to 0.005″ over six months, you know your bearings are on their way out before they actually fail during a critical project.
| Date | Measured Runout (TIR) | Location of Measurement | Action Taken |
|---|---|---|---|
| 01/10 | 0.002″ | Spindle Taper | None (Baseline) |
| 03/15 | 0.004″ | Chuck Body | Cleaned and Reseated |
| 03/15 | 0.002″ | Chuck Body | Post-cleaning check |
| 06/20 | 0.007″ | Test Bar | Replaced lower bearing |
Conclusion: Mastering the Diagnostic Mindset
Fixing a wobbling spindle isn’t just about turning a wrench; it’s about developing a diagnostic mindset. By moving from the tool back to the motor, and by using precision instruments like dial indicators, you remove the guesswork from your fabrication process.
When you take the time to eliminate these mechanical errors, you’ll find that your drill bits last longer, your holes are cleaner, and the overall “feel” of your shop work improves. It’s the difference between fighting your tools and having your tools work for you. Start with the basics—clean your tapers, check your quill play, and measure your runout. You might find that a “broken” machine just needs a little bit of systematic attention to return to factory-spec performance.
FAQ: Resolving Spindle and Rotational Issues
What is an acceptable amount of runout for a standard drill press? For most general metal fabrication, a Total Indicated Runout (TIR) of 0.003 to 0.005 inches measured at the chuck is acceptable. For high-precision work or when using very small bits (under 1/8″), you should aim for 0.001 to 0.002 inches.
Can a bent drill bit cause the spindle to wobble? A bent bit won’t cause the spindle itself to wobble, but it will create the appearance of runout and cause significant vibration. Always test your machine with a known straight ground rod to isolate the machine’s performance from the tool’s condition.
How do I know if my bearings are bad or if the spindle is just dirty? Dirty tapers usually result in a consistent, static runout that doesn’t change. Bad bearings often produce “intermittent” runout, a grinding noise, or visible side-to-side play when you push on the spindle by hand.
What is the best way to remove a stuck Morse taper chuck? Use a “drift key” if your spindle has a slot for one. If not, use a “chuck removal wedge” set. Never hit the chuck body directly with a steel hammer; always use a brass or lead hammer to avoid deforming the metal.
Does high RPM affect the amount of runout? Runout is a mechanical geometry issue, so the physical deviation remains the same regardless of speed. However, the effects of runout, such as vibration and tool chatter, become much more violent as RPM increases.
Can I fix a bent spindle myself? It is extremely difficult to straighten a spindle to within 0.001″ without a hydraulic press and a set of V-blocks. In most cases, it is more cost-effective and reliable to purchase a replacement spindle from the manufacturer.
Will a better chuck improve my machine’s accuracy? Yes. Many “budget” drill presses come with low-quality chucks. Upgrading to a high-quality, brand-name chuck can often reduce your measured runout at the bit by 50% or more, even if the spindle itself isn’t perfect.
Why does my drill bit wander only at the start of the hole? This is often a combination of minor runout and the bit’s “web” being too thick. Using a center punch to create a starting point or a “spotting drill” will help the bit stay on center despite minor mechanical inaccuracies.
Is quill play the same as spindle runout? No, but they feel similar. Spindle runout is the shaft spinning off-center. Quill play is the entire housing moving inside the machine head. Both cause “wobble,” but they require different fixes (adjusting pinch bolts vs. replacing bearings).
Can heat cause a spindle to go out of alignment? Heavy, continuous use can cause the spindle and bearings to expand. If the bearings are too tight or lack lubrication, this heat can cause the assembly to bind or shift slightly, increasing temporary runout during the operation.
(This article was written by one of our staff writers, Paul Whitaker. Visit our Meet the Team page to learn more about the author and their expertise.)