How to Build a Compact Magnetic Clamp Holder Cart (DIY Plan)
Restoring a 1940s lathe or a pre-war drill press is rarely about the destination. It is about the hundreds of hours spent coaxing seized pulleys off shafts and scrubbing away layers of congealed “shop lard.” In my eighteen years of reviving neglected workshop machinery, I have learned that the biggest enemy of a successful restoration is not the rust itself, but the chaos of a disorganized workspace. When you are deep into a project, trying to align a heavy cast-iron table or steadying a headstock for a bearing replacement, you need your magnetic clamps and fixtures within arm’s reach.
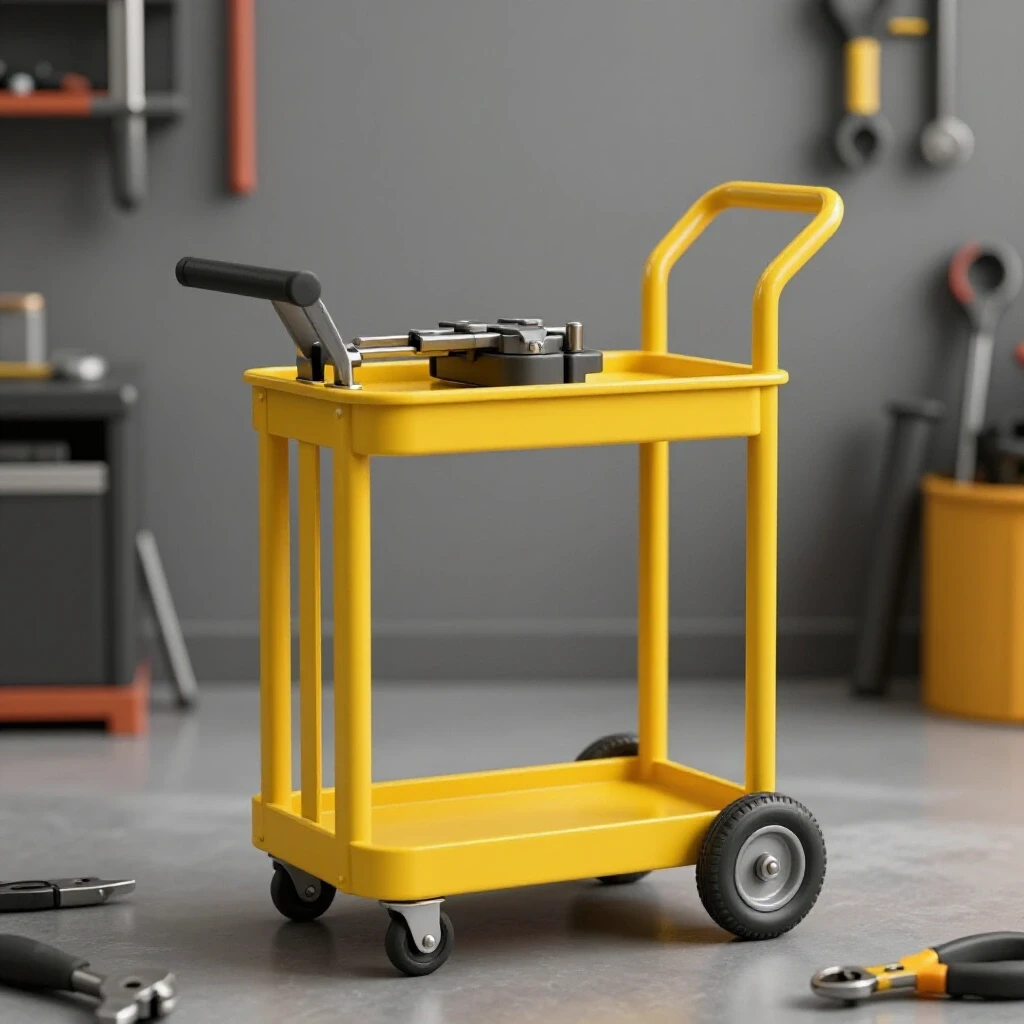
Searching for a misplaced clamp while holding a thirty-pound casting in place is a recipe for physical injury or a cracked machine part. I remember a particularly stubborn 1930s bandsaw restoration where a slipped clamp resulted in a chipped casting that took weeks to repair. That experience taught me that building dedicated, mobile storage for my most-used holding tools was not a luxury, but a safety requirement. A small, rugged steel station designed specifically for magnetic clamping tools keeps your workspace clear and your precision instruments off the floor.
Assessing the Need for a Specialized Magnetic Tool Station
Designing a dedicated mobile unit for holding magnetic fixtures ensures that heavy tools are organized and accessible during complex machine reassembly. This prevents the clutter that often leads to accidents when handling heavy cast-iron components.
When you are restoring classic machinery, your workbench quickly disappears under a sea of fasteners, gears, and shim stock. Magnetic clamps are essential for holding parts in alignment during welding repairs or for securing dial indicators when checking for runout. However, these clamps are heavy and often end up buried under shop rags or covered in metal shavings. A mobile storage unit with a footprint under 24 by 18 inches allows you to roll your entire clamping kit directly to the machine you are servicing.
In my shop, I prioritize vertical storage to keep the floor clear. A compact frame built from 1/8 inch thick angle iron provides the necessary rigidity to hold several heavy clamps without bowing. By keeping the center of gravity low, you ensure that the unit remains stable even when moving over uneven concrete floors or across shop drains. This focus on stability is critical when you consider that a full set of magnetic welding squares and clamps can easily exceed fifty pounds.
Sourcing and Preparing Salvaged Steel Components
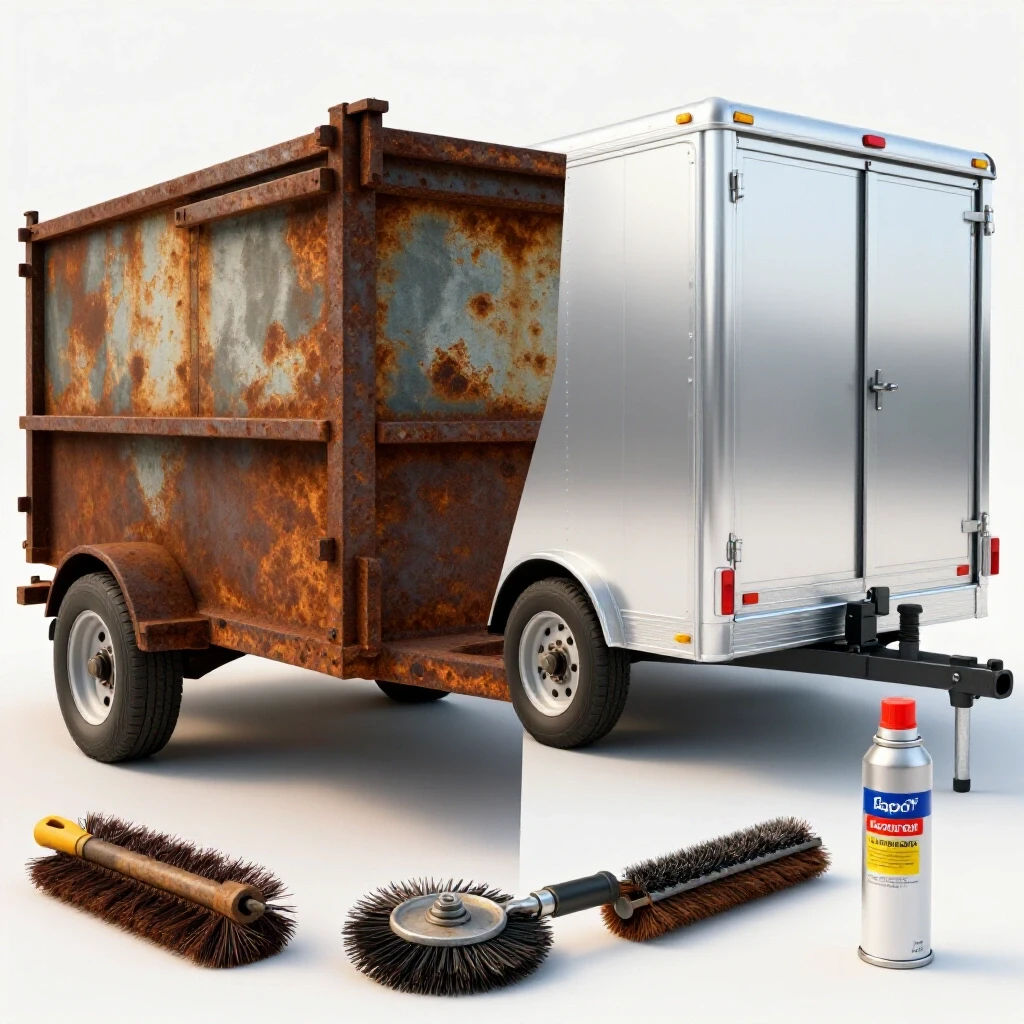
Evaluating and cleaning old metal stock is a fundamental skill for any restorer, involving the removal of deep-seated oxidation to prepare for welding. This process mirrors the initial stages of a machine rescue where the base metal must be revealed and inspected.
For this project, I often source material from scrap yards or old machinery stands. Salvaged 1.5 inch angle iron is perfect for the frame. Before you strike an arc, you must address the decades of rust that likely coat the steel. I prefer a mechanical approach for heavy scale, using a wire wheel or a flap disc on an angle grinder. If the steel has deep pitting, I might use a chemical chelator or an electrolysis bath to ensure the metal is perfectly clean for a strong weld.
| Rust Removal Method | Best For | Pros | Cons |
|---|---|---|---|
| Electrolysis | Intricate parts/Cast iron | Preserves base metal, low effort | Requires 12V DC setup, slow |
| Evapo-Rust | Precision surfaces | Non-toxic, very effective | Expensive for large batches |
| Wire Wheel | Structural steel/Frames | Fast, removes heavy scale | Can be messy, leaves scratches |
| Phosphoric Acid | Large surface areas | Leaves protective coating | Harsh fumes, requires rinsing |
When I restored an old 1950s milling machine base, I used an electrolysis bath powered by a simple 12V battery charger. For your storage rack frame, a similar setup can work wonders on small salvaged brackets. Simply submerge the part in a solution of water and washing soda, connect the negative lead to your part and the positive lead to a scrap piece of rebar, and let the current do the work. This method is safer for the metal than aggressive grinding, which can thin out the structural walls of your frame.
Fabricating a Rigid Framework for Heavy Clamping Tools
The construction of a steel chassis requires precise cutting and welding to create a square, durable structure capable of supporting heavy loads. A well-built frame prevents the unit from racking or tipping during use in a busy workshop.
I start by cutting four vertical legs to 30 inches and four horizontal rails to 22 inches, with four more at 16 inches for the depth. Using a dedicated welding square is non-negotiable here. When I am aligning the bed of a lathe, I work to tolerances of 0.001 inches, and while a tool cart does not require that level of precision, a “diamonded” or twisted frame will never roll correctly. I aim for a squareness tolerance of 1/16 inch across the diagonals.
- Cut all pieces using a cold saw or abrasive chop saw for clean edges.
- Deburr all ends to ensure tight fit-up.
- Tack weld the top and bottom rectangles first.
- Connect the rectangles with the vertical legs.
- Check for squareness after every few tacks to manage heat distortion.
Heat management is vital. Just as you wouldn’t dump a bucket of cold water on a hot engine block, you shouldn’t run long, hot beads on thin-walled tubing without a plan. I use short, staggered welds to keep the frame from pulling out of alignment. This patience pays off when you go to install the shelves and find that everything sits flush and true.
Precision Assembly and Squareness Checks
Ensuring that a mobile fixture is perfectly level and square is a practice that translates directly from the world of machine tool alignment. This step involves using machinist tools to verify that the structure will remain stable under load.
Once the frame is tacked, I use a machinist’s level to check the horizontals. While a standard carpenter’s level is fine for a house, restorers often have precision levels that can detect a rise of 0.0005 inches per foot. Using these tools on your shop fixtures is great practice for when you eventually have to level your main lathe or mill. If the frame is slightly off, a gentle tap with a dead-blow hammer or a strategically placed C-clamp can pull it back into line before the final welds are laid.
After final welding, I inspect every joint for penetration and pinholes. In the world of vintage machinery, a failed weld can mean a dropped part and a ruined restoration. I treat these shop projects with the same respect I give to a 1920s gear housing repair. If a weld looks “cold” or lacks fusion, I grind it out and start over. There is no room for “good enough” when you are building equipment meant to hold heavy, expensive tools.
Integrating Magnetic Mounting Panels
Strategically placing high-strength magnets on a steel frame allows for the secure and organized storage of clamps. This requires understanding the pull force of different magnet types to ensure tools stay put during movement.
The heart of this mobile unit is the vertical panel where the clamps will live. I like to use a sheet of 11-gauge steel for this. To hold the clamps, I mount neodymium or ceramic magnets directly to the panel. Neodymium magnets offer incredible pull for their size, but they can be brittle. I often use cup magnets, which house the magnetic material in a steel shell for protection.
- Map out the placement of your largest clamps first.
- Drill holes for the magnet mounting bolts.
- Use a thread locker on the nuts to prevent them from vibrating loose.
- Ensure there is enough space between magnets to allow your hand to grip the clamp handle.
In my experience, placing magnets about 6 inches apart provides enough clearance for most magnetic welding squares. If you are storing heavy dial indicator bases, you may need to increase the spacing. The goal is to have the clamps “snap” into place firmly but still be removable with one hand. This mimics the tactile feedback you want from a well-adjusted machine lever or a smooth-running lead screw.
Mobility Solutions for Heavy-Duty Restoration Environments
Selecting the right wheels is about more than just movement; it is about ensuring the cart can navigate a shop floor littered with metal chips and oil. The choice of casters affects both the safety and the usability of the finished project.
For a restoration shop, I always recommend 3 inch or 4 inch locking swivel casters. Smaller wheels tend to get stuck on the smallest metal chip or a stray washer. Polyurethane wheels are a good choice because they are resistant to the oils and solvents we use to clean old cast iron. I avoid rubber wheels, as they can flat-spot over time if the cart sits in one place for too long under a heavy load.
- Load Rating: Ensure each caster is rated for at least 75 pounds.
- Locking Mechanism: Choose casters that lock both the wheel and the swivel.
- Mounting: Bolt the casters to the frame rather than welding them, so they can be easily replaced.
I once restored an old industrial cart that had original cast-iron wheels. While they looked beautiful, they were loud and vibrated the tools right off the shelves. Modern casters provide a much smoother ride, which is important if you are also using the cart to hold precision measuring tools like micrometers or calipers during a machine teardown.
Finishing the Surface for Chemical Resistance
A proper finish protects the steel from the harsh environment of a restoration shop, where degreasers and rust removers are common. This step ensures that the effort put into fabrication lasts for decades.
Before painting, I use a wax and grease remover to strip away any oils from the welding process. For shop fixtures, I am a fan of “machinery gray” enamel. It hides dust well and matches the aesthetic of vintage lathes and presses. I prefer a brush-on application for the frame, as it allows for a thicker coat that resists chipping better than most spray paints.
If you are feeling ambitious, you can use a two-part epoxy paint. This is the gold standard for machine restoration because it is nearly impervious to cutting oils and coolants. When I repainted my 1947 South Bend lathe, I used a high-solids enamel that has held up remarkably well against the daily abuse of metal shavings and oil spills. Applying that same logic to your tool cart ensures it won’t be a rusted mess in five years.
| Coating Type | Durability | Chemical Resistance | Ease of Application |
|---|---|---|---|
| Spray Enamel | Low | Moderate | Very Easy |
| Brush-on Enamel | Moderate | High | Easy |
| Two-Part Epoxy | Very High | Excellent | Difficult (Needs mixing) |
| Powder Coat | Excellent | High | Requires professional shop |
Maintaining Precision and Safety in the Shop
Building your own shop fixtures is an excellent way to hone the skills needed for high-level machinery restoration. Every time you cut, weld, or align a piece of steel, you are practicing the same mechanical principles required to bring a dead machine back to life.
Safety is the final consideration. Always ensure your mobile unit is balanced. If you put all your heaviest clamps on one side, the cart will become a tipping hazard. I like to store my heaviest items, like large magnetic V-blocks, on the bottom shelf to keep the center of gravity as low as possible. This is the same principle used in the design of heavy machine bases, where the weight is concentrated at the bottom to dampen vibration and prevent instability.
As you move forward with your machine rescues, you will find that having a dedicated place for every tool makes the process much more enjoyable. There is a deep satisfaction in reaching for a tool and finding it exactly where it belongs, clean and ready for work. This mobile station is more than just a cart; it is a piece of shop infrastructure that supports the precision and care you put into every restoration project.
Frequently Asked Questions
Why shouldn’t I just use a wooden cart for my magnetic clamps?
Wood is susceptible to absorbing oils and solvents, which are prevalent in machinery restoration. It can also warp over time and does not provide a conductive surface if you ever need to use the cart as an auxiliary ground for welding. Steel is more durable, fire-resistant, and easier to clean when covered in shop grime.
What is the best way to attach magnets to the steel panel?
I recommend using countersunk bolts or machine screws. Avoid using adhesives alone, as the constant “snapping” of heavy clamps onto the magnets can eventually break the glue bond. A mechanical fastener ensures the magnet stays put for the life of the cart.
How much weight can a small 24×18 inch cart safely hold?
If built with 1/8 inch angle iron and quality welds, a cart of this size can easily handle 200 to 300 pounds. However, the limiting factor is usually the casters. Always check the weight rating on your wheels before finalizing the design.
Can I use this cart to store my dial indicators as well?
Yes, but be careful. Magnetic clamps can create a magnetic field that might interfere with the delicate internal mechanisms of some vintage indicators. I recommend keeping precision measuring tools on a separate shelf or in a padded drawer away from the strongest magnets.
How do I prevent the cart from rusting in a damp garage?
A high-quality enamel paint is your first line of defense. Additionally, keeping a light coat of machine oil on any unpainted steel surfaces will help. For a restorer, a wipe-down with an oily rag is a habit that protects both the tools and the fixtures.
Is it better to weld or bolt the frame together?
Welding provides a more rigid, permanent structure that won’t vibrate loose over time. Bolting is an option if you don’t have a welder, but you will need to use gussets and lock washers to ensure the frame stays square under the weight of heavy metalworking tools.
What should I do if my salvaged steel is heavily pitted?
Pitting doesn’t necessarily ruin the structural integrity, but it makes it harder to get a clean weld. Use a flap disc to grind the areas where you will be welding until you reach shiny, solid metal. For the rest of the surface, a high-build primer can help fill in the pits before you apply the final paint.
How do I ensure the cart doesn’t tip when I’m pulling off a strong magnet?
Keep the height of the cart reasonable (around 30-36 inches) and ensure the wheelbase is as wide as the frame. Mounting the magnets on a panel that is centered over the wheelbase also helps distribute the pulling force more evenly.
Can I use neodymium magnets for everything?
Neodymium magnets are very strong, which is great for small items, but they can be too strong for large clamps, making them difficult to remove. For larger, heavier clamps, ceramic magnets often provide a more manageable level of “stick” that doesn’t require a pry bar to release.
What is the advantage of using a 12V electrolysis bath for cleaning parts?
Unlike grinding, electrolysis is a line-of-sight process that removes rust from every nook and cranny without removing any of the healthy base metal. This is vital when you are cleaning parts with fine threads or delicate casting marks that you want to preserve during your restoration.
(This article was written by one of our staff writers, Richard Beaumont. Visit our Meet the Team page to learn more about the author and their expertise.)